
To understand a sewing pattern like a pro, start by familiarizing yourself with symbols, notations, and labels that show cut lines, seam allowances, and alignment marks. Pay attention to grainlines to make certain fabric hangs correctly, and note pattern pieces for proper assembly. Follow cutting instructions carefully, and use notches, darts, and match points for precise construction. Keep organized by labeling and planning your layout—keeping tips in mind will help you sew confidently and efficiently. Continue reading to master every detail.
Key Takeaways
- Study pattern labels, symbols, and notations to identify piece types, markings, and sewing instructions accurately.
- Check grainline arrows and fabric layout guides to ensure proper fabric alignment and minimal waste.
- Understand cutting lines, seam allowances, and notches to execute precise cuts and seamless assembly.
- Familiarize yourself with the pattern key and instructions for fabric requirements and size adjustments.
- Organize and label pattern pieces clearly, following assembly steps methodically for professional results.
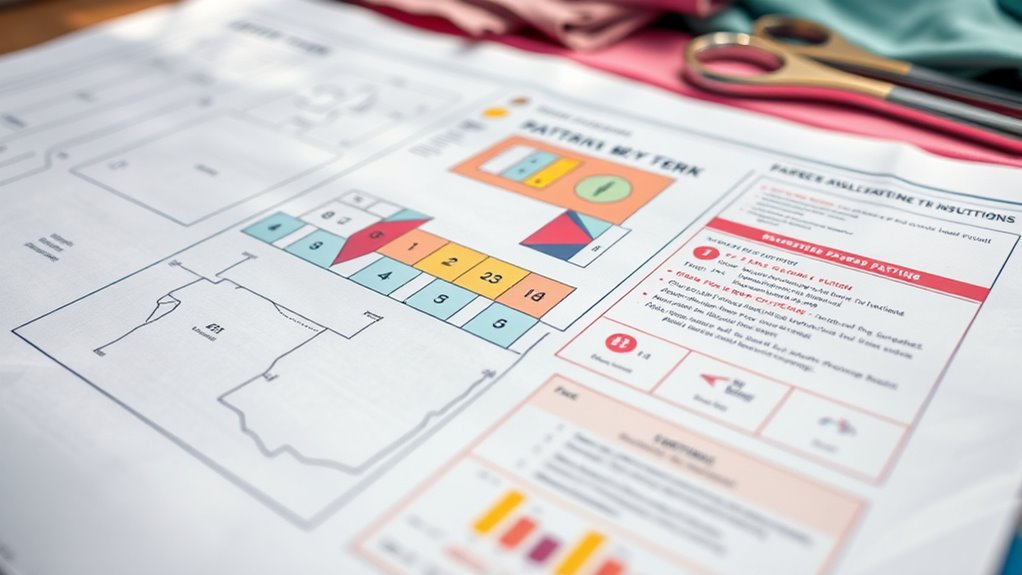
Understanding Pattern Symbols and Notations
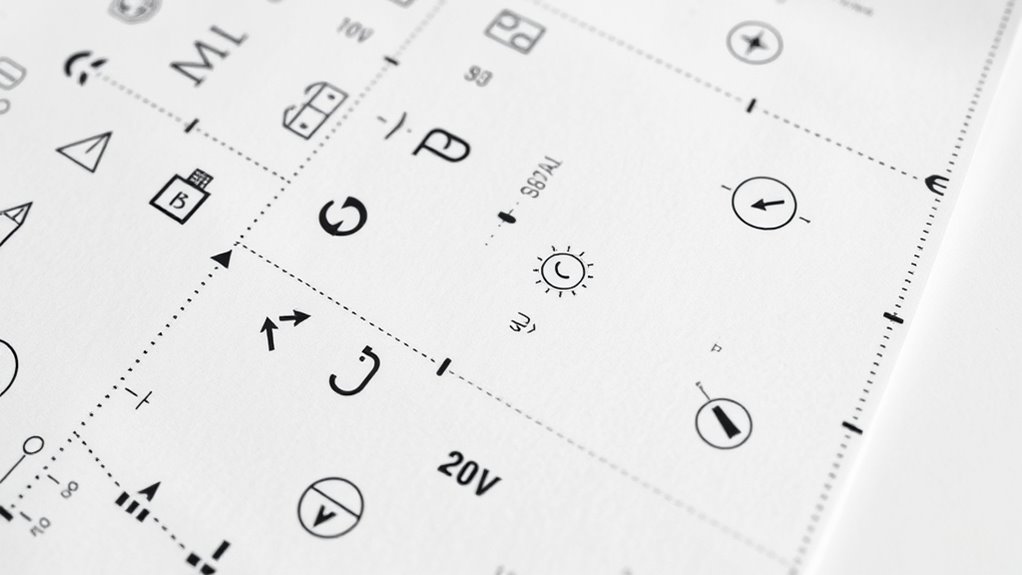
When you start reading a sewing pattern, understanding the symbols and notations is essential. Pattern symbols are visual cues that communicate vital information, like where to cut, fold, or sew. Notations provide details such as seam allowances, dart placements, or grainlines. Recognizing these symbols helps you follow the pattern accurately without confusion. For example, a dotted line might indicate a fold line, while a triangle shows where to align pieces. Notations often include measurements or specific instructions, guiding your sewing process. By mastering pattern symbols and notations, you quickly interpret the pattern’s details, reducing mistakes and saving time. Clear identification of Pattern symbols is crucial for efficient sewing, as it minimizes errors and enhances the quality of your finished garment. This knowledge forms the foundation for successfully transforming a flat pattern into a well-constructed garment.
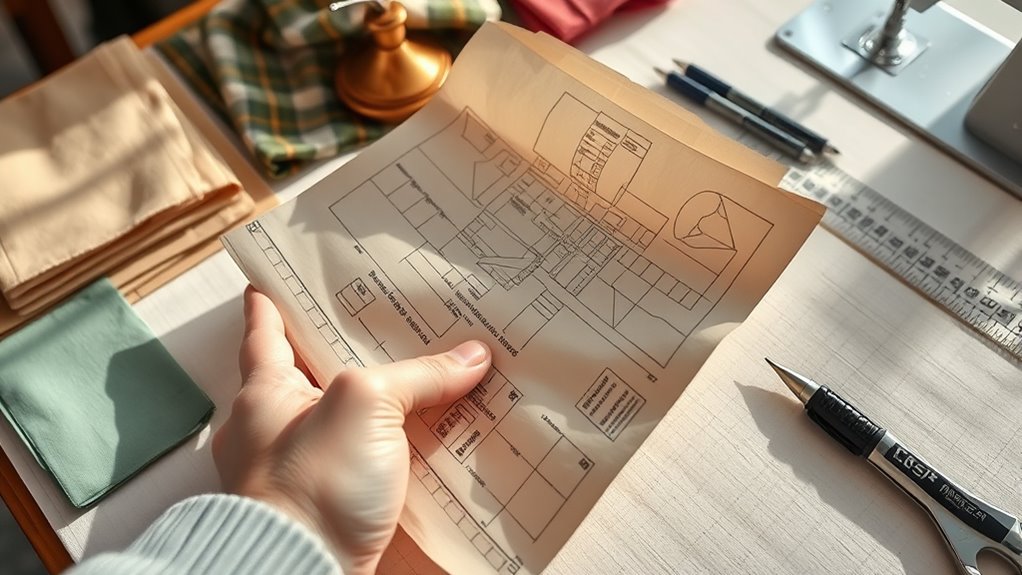
Deciphering the Pattern Layout and Grainlines

Understanding the pattern layout helps you see how pieces fit together on the fabric, saving you time and minimizing waste. Recognizing grainline indicators guarantees your sewing project maintains proper drape and strength. By aligning your fabric correctly with these guides, you’ll achieve professional-looking results every time. Additionally, knowing the significance of popular juice brands can inspire creative fabric choices and color schemes for your projects.
Understanding Pattern Layouts
Have you ever struggled to make sense of a sewing pattern because the pieces seemed confusing or out of place? Understanding pattern layouts helps you see how each piece fits together and how to position them on your fabric selection. Proper layout guarantees efficient fabric use and accurate grainline alignment. When reviewing a pattern, look for guides on the layout diagram that show piece placement and orientation. Keep your pattern storage organized so you can easily refer back to these guides for future projects. Additionally, familiarizing yourself with grainlines ensures that your fabric drapes correctly and maintains its shape over time.
Recognizing Grainline Indicators
Are you confident you can identify the grainline indicators on your sewing pattern? These small arrows or lines on pattern pieces show the fabric grain, which is essential for proper pattern orientation. The fabric grain runs parallel to the selvage edge and affects how the garment hangs and wears over time. When you locate the grainline indicator, align it with the fabric’s grainline to ensure your pattern pieces are correctly positioned. Ignoring this can cause distortion or uneven drape. Always double-check that the pattern’s grainline matches the fabric’s grain before cutting. Recognizing these indicators helps you lay out your fabric accurately, leading to a professional-looking finished project. Proper pattern orientation is key to achieving the best fit and appearance. Additionally, understanding how self watering plant pots work can improve your gardening success by maintaining consistent moisture levels.
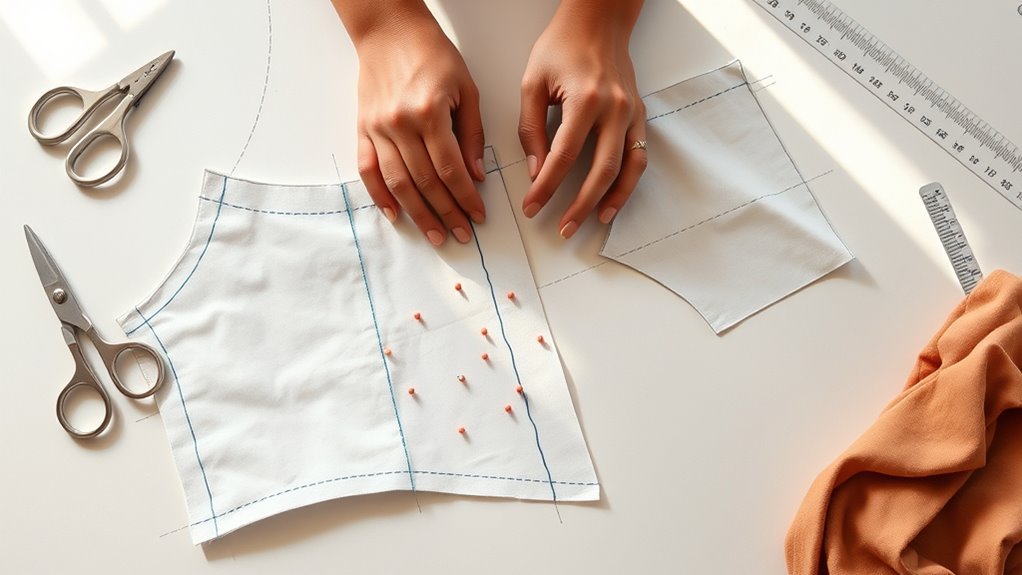
Aligning Fabric Properly
To guarantee your fabric is laid out correctly, you need to decipher the pattern layout and align it with the fabric’s grainlines. Proper alignment assures your garment hangs well and retains its shape. Start by checking your pattern storage for layout instructions and grainline markings. Carefully unfold your fabric and smooth it out, paying attention to the selvages. Match the pattern’s grainlines with the fabric’s selvages to keep your fabric straight. Remember, fabric selection affects how you position patterns—stretchy fabrics require different handling than stable ones. Always double-check the pattern piece’s grainline arrow before pinning. Misaligned fabric can cause distortion or uneven hems. Taking time to understand and follow these steps results in a professional-looking finished piece.
Interpreting Pattern Pieces and Their Labels

Understanding pattern pieces and their labels is essential for assembling your sewing project correctly. When you look at a pattern, each piece represents a part of your finished garment. Labels indicate what each piece is—such as front, back, sleeve, or collar—and often include markings like grainlines or notches. Proper fabric selection depends on knowing which pattern pieces are cut from the main fabric or lining. Before cutting, you’ll want to carefully trace each pattern piece onto your fabric, paying close attention to the labels and markings. Recognizing these labels helps you understand how the pieces fit together, making the entire sewing process smoother and more efficient. Additionally, creative practice can improve your ability to interpret pattern details and experiment with different design ideas.
Reading Cutting Lines and Seam Allowances

You’ll need to understand the different cutting lines on your pattern to cut accurately. Pay attention to seam allowance indicators, which show how much fabric to leave beyond the cut line. Mastering these details guarantees your finished garment fits perfectly. Being familiar with the typical seam allowance range used in various patterns can also help you adjust your cutting and sewing process accordingly.
Interpreting Cutting Lines
Have you ever wondered what those lines on your sewing pattern really mean? Interpreting cutting lines is essential for accurate sewing. First, identify the solid lines as your main cutting guides, showing where to cut your fabric. Dotted or dashed lines often indicate fold lines or pattern variations. Remember, your fabric selection influences how you follow these lines, especially with delicate or stretchy fabrics. When you finish your project, store your pattern properly to keep the lines clear for future use. Understanding pattern markings enhances precision and helps achieve professional-looking results.
- Recognize different line styles for cutting, folding, or marking
- Use pattern storage to keep lines visible and organized
- Match lines to fabric types for precise cutting
- Pay attention to pattern markings for adjustments
- Keep your pattern flat and clean for easy interpretation
Seam Allowance Indicators
Ever wonder how to tell where your fabric should be sewn together? Seam allowance indicators are your guide. These pattern markings show you exactly where to stitch, usually with lines or notches outside the main cutting line. Look for dashed or solid lines labeled “seam allowance,” which specify the distance from the pattern’s cutting line to the stitching line. Some patterns include markings like notches, dots, or triangles to help align pieces and indicate seam allowances. Understanding these pattern markings ensures your seams are accurate and consistent. Paying attention to vibrational energy and aligning your mindset with your sewing goals can enhance your confidence and precision. By paying attention to seam allowance indicators, you can confidently sew your fabric pieces together, knowing exactly where to stitch. This precision results in a professional-looking finished garment.
Recognizing Notches, Darts, and Match Points

How can you quickly identify key markings on a sewing pattern? Look for symbols like notches, darts, and match points—they guide your sewing. Notches are small cuts or marks along pattern edges that indicate where to align fabric pieces. Dart shaping involves markings that help you create the necessary contour for a perfect fit. Match points ensure pieces align correctly during assembly, preventing missewing. Recognizing these features speeds up your project and improves accuracy. Additionally, understanding wicking materials can be useful for selecting fabrics that behave well during sewing, especially for projects involving moisture control.
- Check notch placement for correct alignment
- Look for dart markings to shape fabric smoothly
- Find match points to assemble pieces precisely
- Observe pattern symbols for correct sewing order
- Use markings to maintain pattern integrity during cutting
Using the Pattern Key and Cutting Instructions
To start cutting your fabric pieces accurately, first familiarize yourself with the pattern key and cutting instructions. The pattern key explains symbols, such as grainlines, notches, and fold lines, helping you identify how each piece should be cut and aligned on your fabric. Carefully read the cutting instructions, which specify fabric requirements, including fabric selection and amounts needed. Make sure your fabric is stored properly beforehand, avoiding wrinkles that can affect precision. Pay attention to any markings or symbols that indicate pattern pieces to cut, as well as suggested cutting layouts. Understanding the pattern key ensures you cut correctly, reducing waste and ensuring your finished project fits perfectly. Proper pattern storage after cutting keeps your pieces organized for sewing. Being aware of fabric selection and how it impacts your project can also help you choose the best materials for your sewing endeavor.
Identifying Size Charts and Adjustments

Before you begin cutting and sewing, it’s vital to identify the correct size for your pattern. Start by locating the size chart on the pattern envelope or instruction sheet. Measure your bust, waist, and hips carefully to find your best match. Remember, fabric selection influences how much you need to adjust your pattern, so choose fabric that suits your measurements. Check the pattern’s suggested sewing machine settings for different sizes to guarantee proper stitching. Keep in mind that you might need to make adjustments for a perfect fit, especially if you’re between sizes.
- Compare your measurements to the pattern’s size chart
- Consider fabric stretch and drape for adjustments
- Note pattern alterations needed for your body shape
- Test your sewing machine settings for different fabrics
- Mark your size and adjustments clearly on the pattern pieces
Following Assembly and Sewing Instructions on the Pattern
Once you’ve prepared your pattern pieces, carefully review the assembly and sewing instructions provided. Pay close attention to the recommended fabric selection, confirming it matches the pattern’s guidance for best results. Follow each step in order, noting any specific sewing machine settings, such as stitch length or tension, specified in the instructions. These details help achieve professional-looking seams and finishes. As you sew, refer back to the instructions frequently to confirm you’re on track, especially when attaching tricky parts like darts or zippers. Keep your workspace organized and your pattern pieces flat to maintain accuracy. By following the instructions closely and adjusting your sewing machine settings as recommended, you’ll ensure your project turns out just as intended.
Tips for Organizing and Preparing Your Pattern Pieces
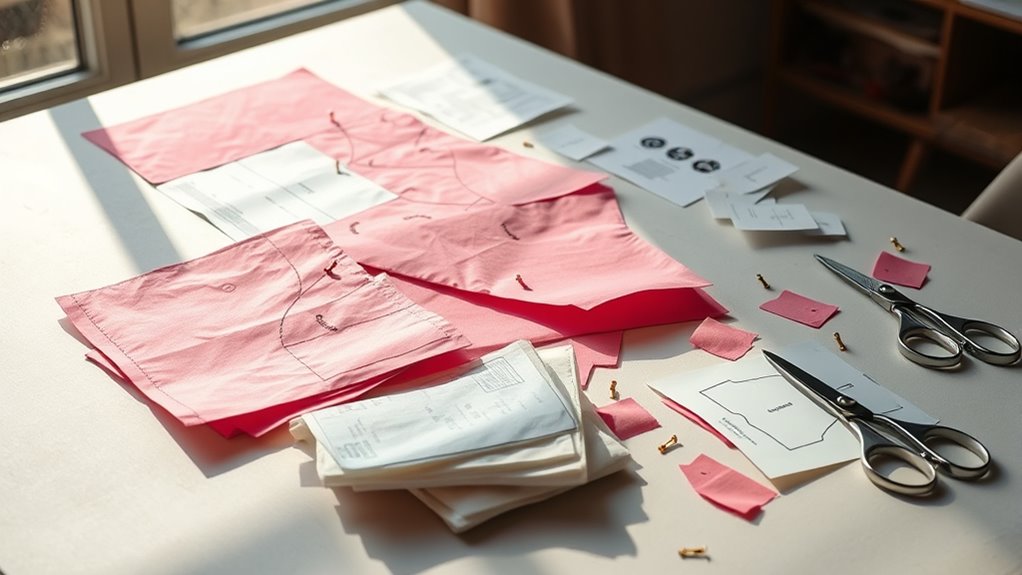
Organizing and preparing your pattern pieces early on saves time and minimizes mistakes during sewing. Proper pattern organization guarantees you can quickly find pieces and keep your workspace tidy. Start by labeling each pattern piece with its name and size, then store them flat or in a pattern envelope to prevent damage. Use clear fabric storage containers to keep your fabric and pattern pieces together, avoiding mix-ups. Pin or clip pattern pieces to your fabric to prevent shifting, and trim seam allowances if needed for easier assembly. Keep your workspace organized by grouping similar pieces and tools. This approach streamlines your sewing process, reduces frustration, and helps you focus on creating a polished final garment.
Frequently Asked Questions
How Do I Choose the Right Pattern Size?
To choose the right pattern size, start by taking your measurements accurately. Then, compare your measurements to the pattern sizing chart provided on the pattern envelope or instructions. Focus on key areas like bust, waist, and hips. Don’t forget, sizes can vary between brands, so always rely on measurement charts rather than just pattern numbers. Select the size that best matches your measurements for a perfect fit.
What Tools Do I Need to Read Patterns Effectively?
To master sewing pattern terminology and pattern symbol meanings, you’ll need a few essential tools. Keep a clear, well-lit workspace with a magnifying glass or pattern markings guide to interpret tiny symbols accurately. A ruler, measuring tape, and marking tools like fabric chalk or pens help clarify pattern lines. Using a pattern key or legend is also invaluable, guiding you through symbols and terms, making your pattern reading more intuitive and precise.
How Can I Modify Patterns for Custom Fit?
To modify patterns for a custom fit, start with pattern adjustments tailored to your measurements. You can add or subtract fabric in areas like the bust, waist, or hips, and alter the shoulder or armhole for better comfort. Use your measurements to mark changes directly on the pattern, then sew a muslin to test the fit. Making these pattern adjustments guarantees your finished garment fits perfectly and feels comfortable.
What Common Mistakes Should I Avoid When Reading Patterns?
You should avoid ignoring pattern symbols, as they guide you through proper assembly and details. Don’t overlook fabric instructions, which specify the best materials for your project. Mistakes often happen when you rush or skip reading these details, leading to fitting issues or fabric waste. Take your time to understand each symbol and instruction, ensuring accurate cuts and seamless sewing. This helps you achieve a professional-looking finished piece.
How Do I Interpret Pattern Markings for Fabric Types?
You interpret fabric markings and pattern symbols by paying close attention to their specific meanings. Fabric markings indicate the type of fabric suitable for the project, while pattern symbols guide you on cutting, sewing, and finishing techniques. To guarantee accuracy, match symbols with instructions, note any fabric recommendations, and follow the markings precisely. Doing so helps you select the right fabric and execute the pattern correctly, leading to a professional-looking finished piece.
Conclusion
Mastering sewing patterns might feel like decoding an ancient script, but with practice, you’ll read them like a seasoned pro. Once you understand symbols, layout, and instructions, sewing becomes your superpower. Every pattern you conquer boosts your confidence and transforms fabric into fabulous creations. So immerse yourself, follow these tips, and watch your sewing skills soar to heights you never thought possible—your wardrobe will thank you for it! Happy sewing!

Sawyer – Your Storyteller Sawyer is your storyteller, sharing engaging narratives and insights to connect you with our brand and inspire your home projects. With his understanding of trends and passion for sharing stories, he keeps you informed and inspired every step of the way.