To paint interior walls, start by cleaning them well. Patch up any cracks and holes, then apply primer. Sand rough spots for a thorough finish. Wait until the walls are completely dry before painting. Pick high-quality, durable paint that suits the room's lighting and size. Get the right tools like rollers, brushes, and tape. Use blue painter's tape correctly for clean lines. Apply paint with care using proper techniques like a W-shaped motion. Let each coat dry before adding more. For more detailed steps and tips, follow the thorough guide provided.
Key Takeaways
- Clean walls thoroughly and repair imperfections before painting.
- Choose high-quality, low-VOC paint that complements the room.
- Gather necessary tools like rollers, brushes, and painter's tape.
- Apply painter's tape correctly along trim for clean lines.
- Use proper techniques like even coats and allowing adequate drying time.
As an affiliate, we earn on qualifying purchases.
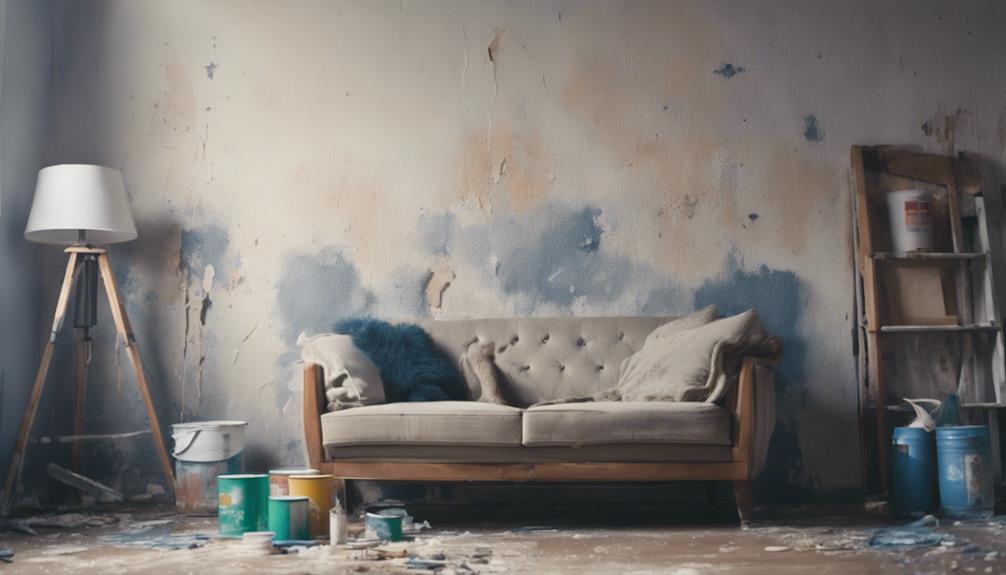
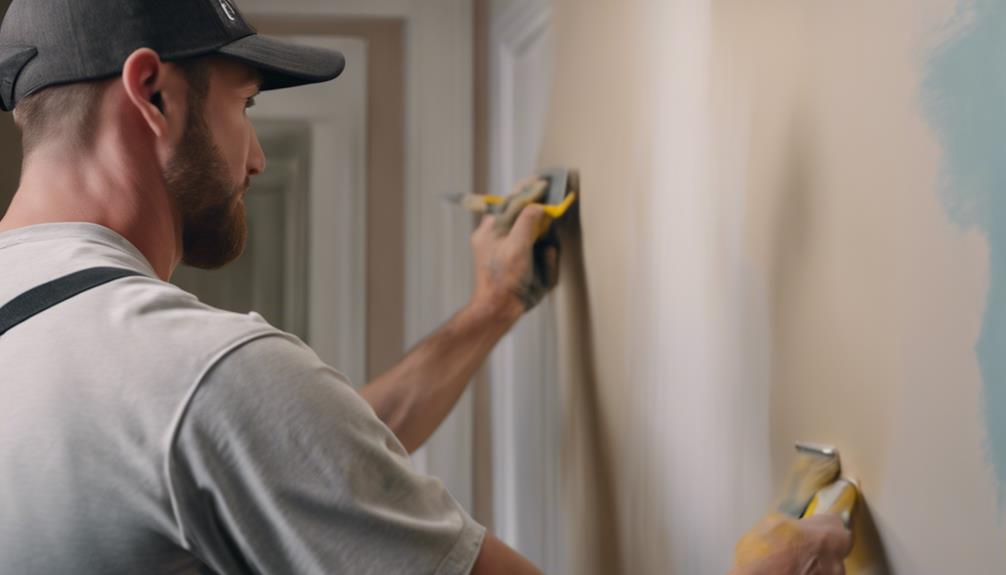
Wall Preparation for Painting
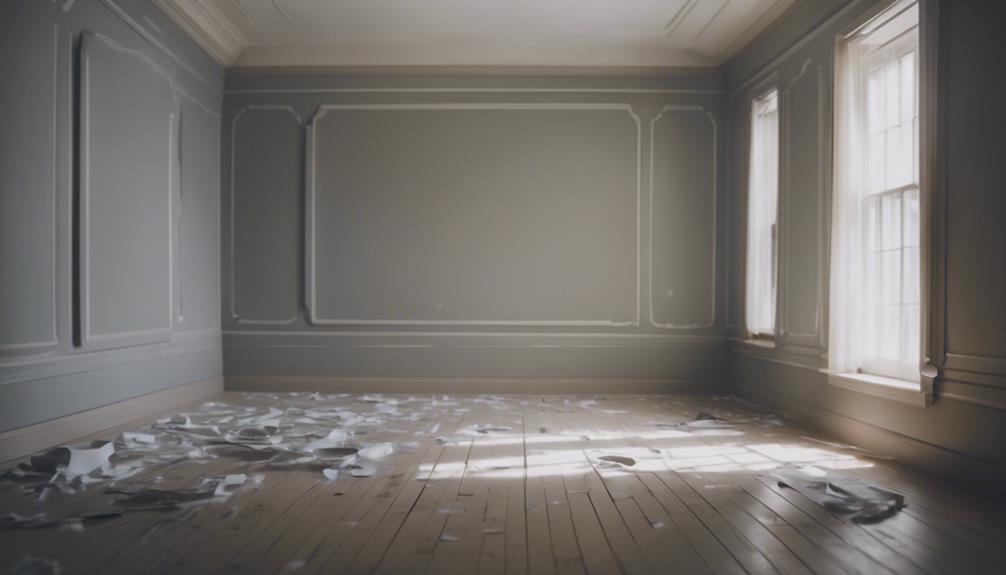
Before painting your interior walls, make sure to thoroughly clean, repair, and prime the surfaces for best results. Cleaning the walls is vital to remove dust, dirt, and grease, ensuring proper paint adhesion.
Repair any imperfections like cracks, holes, or peeling paint to create a smooth base for the new paint. Using a primer is essential as it seals the surface and helps the paint adhere uniformly.
After patching, sand rough areas to guarantee a smooth finish and ideal paint application. It's important to wait for the walls to dry completely before painting to prevent issues such as blistering or poor adhesion.
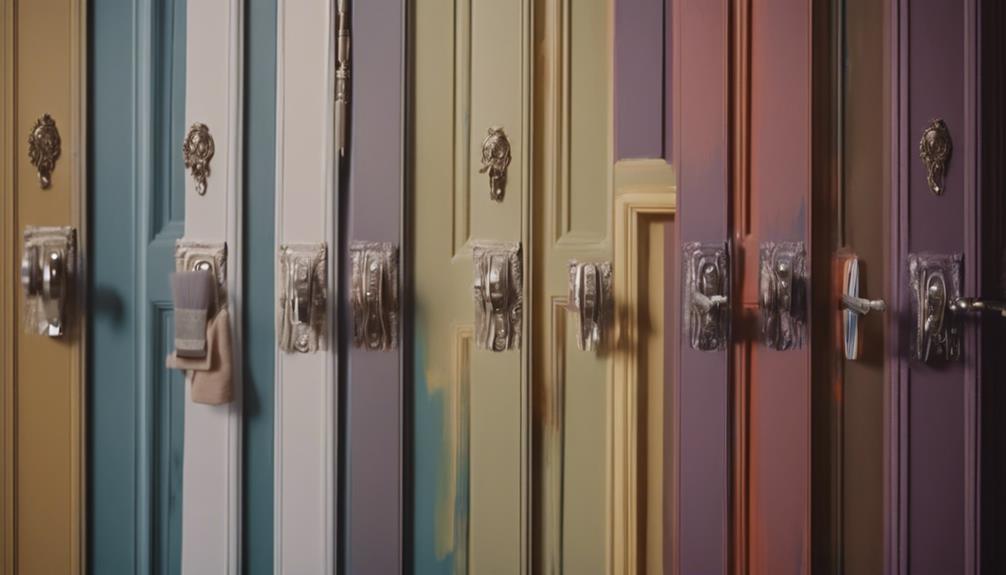
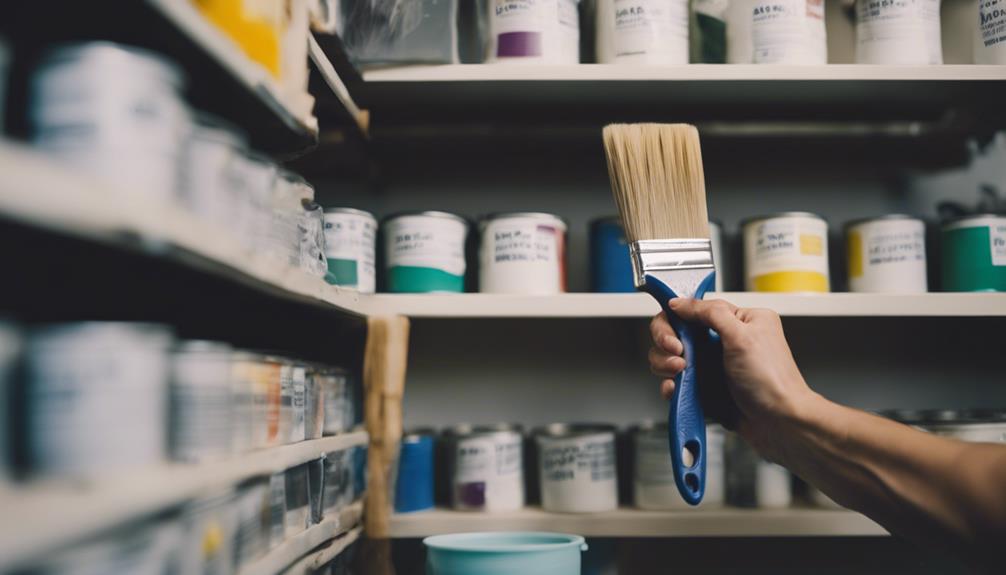
Choosing the Right Paint
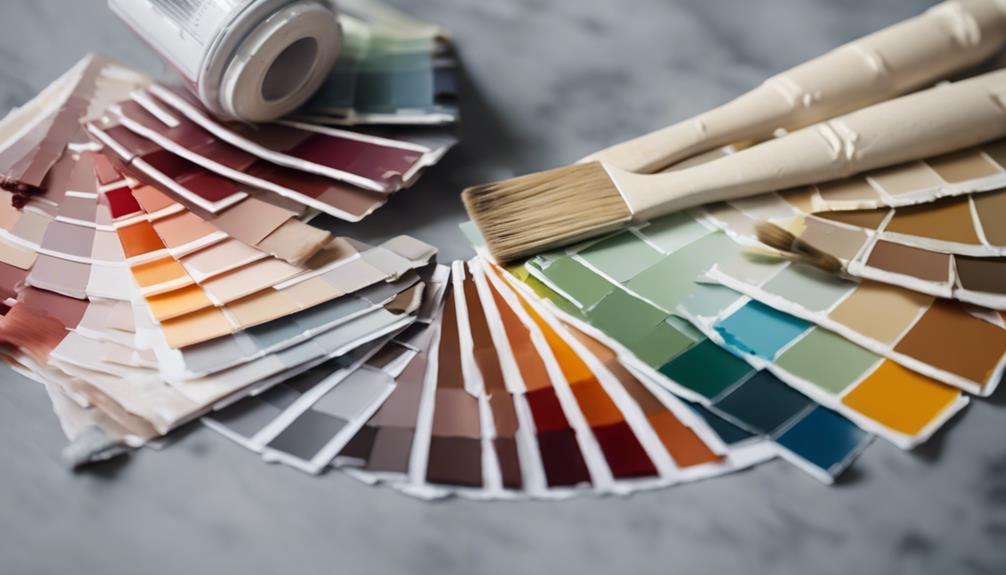
When selecting the right paint for your interior walls, prioritize taking into account factors such as the room's lighting, size, and desired ambiance to achieve the perfect look. Opt for high-quality paint that offers durability and aesthetic appeal. Look for low-VOC or VOC-free paints to create a healthier indoor environment. Take into consideration the existing decor and furnishings to make sure the paint color complements the overall room design. Seek advice from paint professionals or use online tools to test paint samples and visualize how different colors will look on the walls.
| Factors to Take into Account | Options Available | Benefits |
|---|---|---|
| Room Lighting | Natural vs. Artificial | Enhances Color Perception |
| Paint Color Selection | Various Shades and Tints | Sets the Mood |
| Paint Finish (e.g., Matte) | Matte, Satin, Semi-Gloss | Aesthetic Appeal |
| Low-VOC Paint | Environmentally Friendly | Healthier Indoor Air |
| Paint Samples | Test Colors Before Buying | Avoid Costly Mistakes |
Tools and Materials Needed
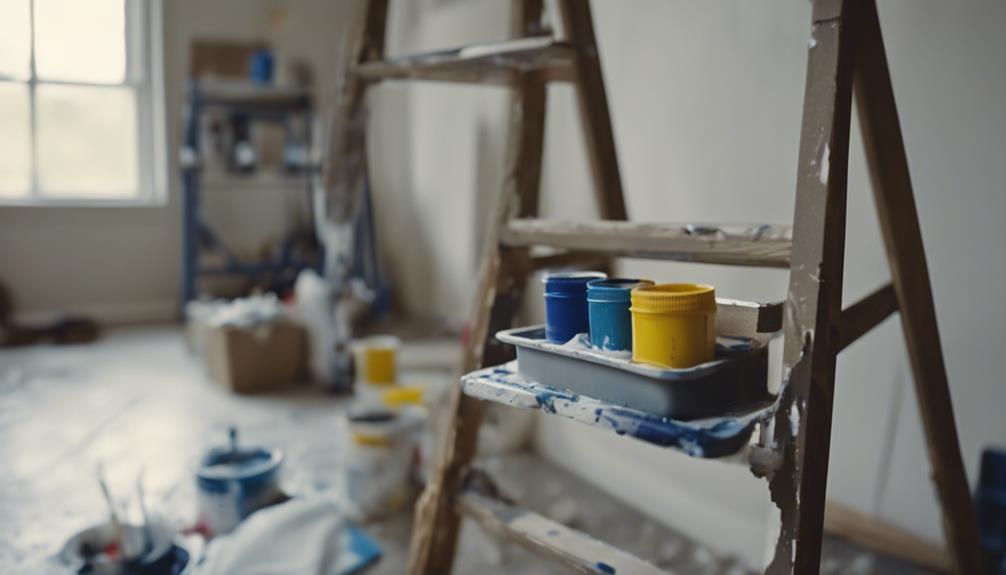
You'll need paint rollers, brushes, drop cloths, painters tape, sandpaper, and a paint tray to get started on painting your interior walls. These tools are essential for a successful painting project.
Make sure you have all the necessary materials before you begin to guarantee a smooth process.
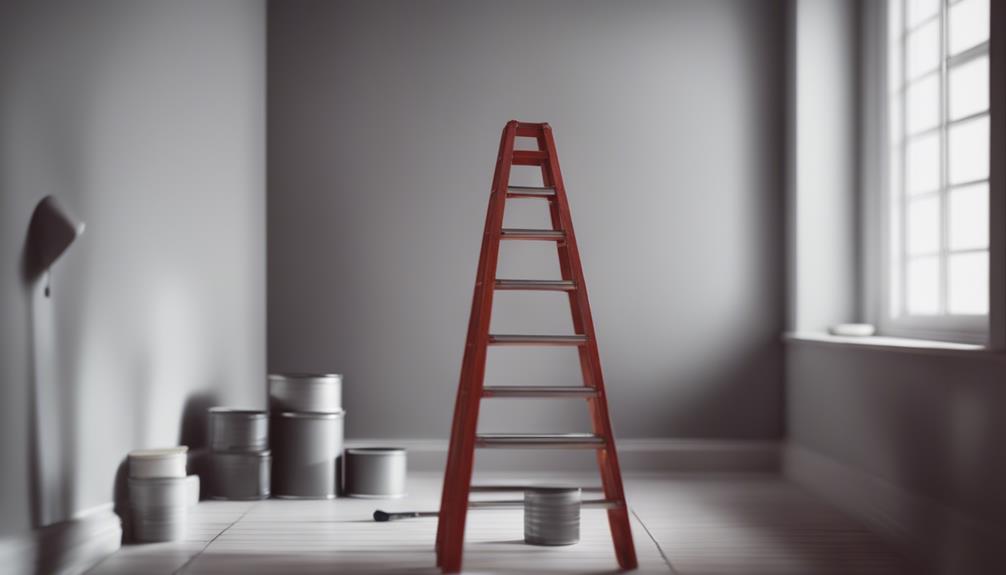
Essential Tools for Painting
To paint interior walls effectively, gather essential tools such as paint rollers, brushes, drop cloths, painter's tape, and a paint tray. Quality tools like high-density foam rollers and angled brushes guarantee a smooth paint application. A sturdy ladder or step stool is vital for reaching high areas, while extension poles help with ceilings and tall walls.
Having a 5-in-1 tool can be useful for tasks like scraping and opening paint cans. These tools will assist you in achieving a professional finish on your interior walls. Make sure to have all these essential tools on hand before starting your painting project for a successful outcome.
Required Painting Materials
Gather the essential painting materials needed for your interior wall project to guarantee a smooth and professional finish. You'll require paint rollers, brushes, drop cloths, painter's tape, and a paint tray for easy application.
Sandpaper smooths surfaces, spackle fills holes, and tack cloth cleans before painting. Use a spackle knife for applying spackle and spot prime repaired areas to make certain even paint coverage. Proper preparation with these tools is vital for achieving a polished outcome.
Applying Painter's Tape Correctly
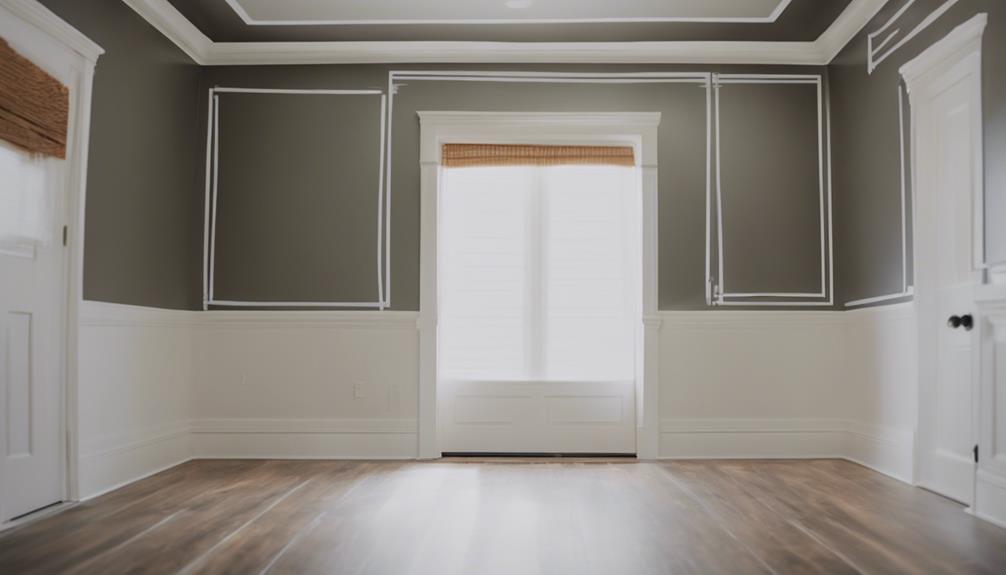
For achieving clean paint lines along edges, opt for blue painter's tape with medium adhesion.
When applying the painter's tape, make sure to run it in straight lines along the trim, pressing it down firmly to create a good seal.
To prevent peeling, remove the tape at a 45-degree angle before the paint fully dries.
It's important not to leave the tape on for too long to avoid it bonding with the paint, which could cause damage when removed.
Before taping off a large area, test a small section first to make sure it doesn't harm the existing paint or surface.
By following these steps, you can achieve sharp, professional-looking edges in your painting projects.
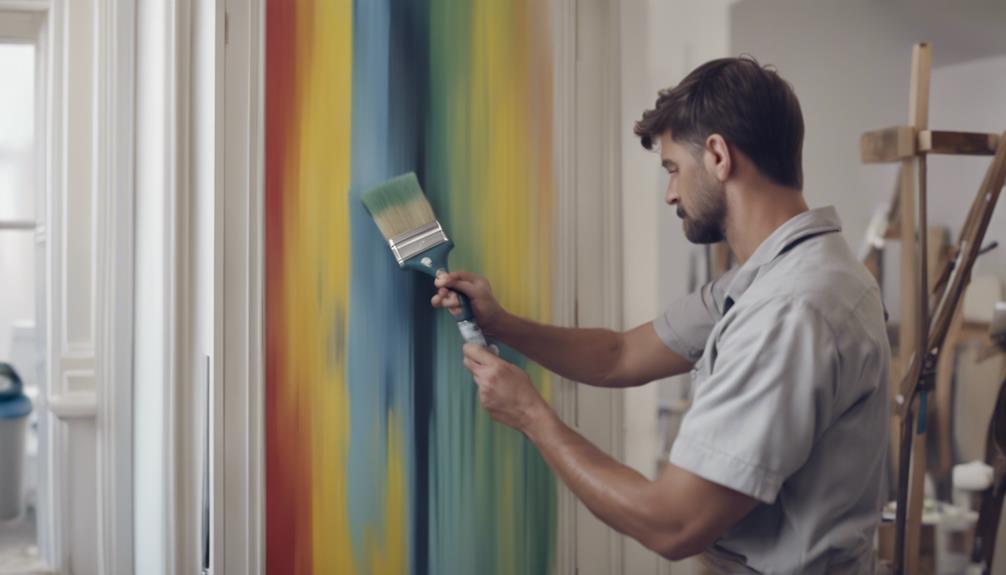
Painting Techniques and Tips
To achieve a polished look when painting interior walls, make sure you prep the walls properly, use high-quality paint, and apply coats evenly.
These steps will help you achieve a professional finish and enhance the durability of your paint job.
Remember to invest in the right tools and techniques for a successful painting project.
Prep Walls Properly
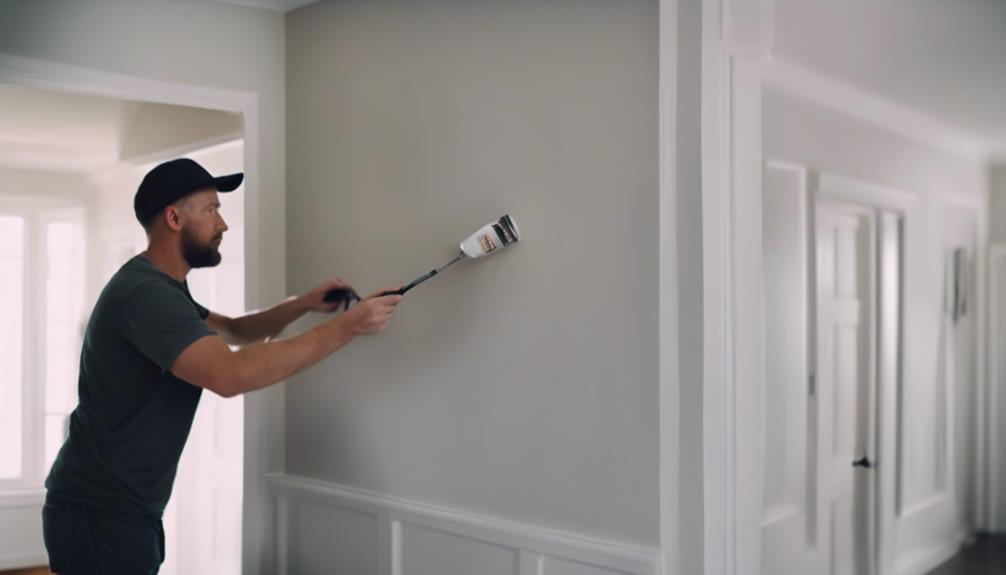
Thoroughly cleaning your walls before painting is essential to guarantee a smooth and professional finish. Start by using painter's tape to protect trim and ensure clean lines. Next, apply primer to the walls for better paint adhesion and a polished look. When painting, utilize the W-shaped painting technique for even coverage on your interior walls. Remember to allow each coat of paint to dry completely before applying the next coat. Following these steps will help you achieve a professional finish and ensure the paint adheres well to the walls. Below is a table summarizing the key points for prepping your walls properly:
| Prepping Walls Properly | ||
|---|---|---|
| Painter's Tape | Apply Primer | W-shaped Technique |
| Interior Walls | Coats of Paint | Professional Finish |
| Trim | Even Coverage |
Use Quality Paint
Consider selecting a high-quality paint containing elevated levels of acrylic and pigments for superior coverage and durability on your interior walls. When choosing paint, opt for low VOC levels to enhance indoor air quality.
Look for a satin or eggshell finish for a smooth, washable surface. Make sure the paint is specifically formulated for interior use to guarantee proper adhesion and long-lasting color retention.
Remember to use quality paint supplies such as painters tape and a suitable roller for the wall texture to achieve a professional paint job. Investing in good paint can make a significant difference in the overall look and longevity of your room's walls and ceiling.
Apply Coats Evenly
For a flawless finish on your interior walls, make sure you apply each coat evenly using a high-quality paint roller and a crisscross pattern technique. To guarantee a wet edge and blend sections seamlessly, work in small areas at a time. Allow the paint to dry completely between coats to avoid smudges. Inspect the painted walls under natural or artificial light for imperfections that may require touch-ups. Utilize a high-quality paint roller to achieve a smooth and even application. Remember to use painters tape to protect areas you don't want to paint. Following these steps will secure a professional-looking paint job on your interior walls.
| Steps for Applying Coats Evenly |
|---|
| Use a high-quality paint roller |
| Apply paint in a crisscross pattern |
| Maintain a wet edge |
| Allow paint to dry between coats |
Proper Cleanup and Storage
To preserve the quality of your paint tools and leftover paint, make sure you clean them promptly and store them properly. Here are some essential steps to follow for proper cleanup and storage:
- Clean paint brushes and rollers: Use warm, soapy water immediately after use to prevent paint from drying and clogging the bristles.
- Dispose of leftover paint: Seal the can tightly and store it in a cool, dry place away from extreme temperatures.
- Store paint cans upside down: This creates a better seal, preventing air from entering and prolonging the paint's shelf life.
- Label each paint can: Include the color, room, and date of purchase for easy identification during touch-ups or future projects.
Understanding Drying Times
When it comes to painting interior walls, understanding drying times is crucial for achieving a professional finish. Most paints dry to the touch in 1-2 hours, but it's best to wait 4 hours before applying a second coat. Latex paint dries faster, around 4 hours, compared to oil-based paint, which can take 6-8 hours.
Factors like temperature, humidity, and ventilation play a role in drying times; higher temperatures and lower humidity speed up the process. To guarantee a proper finish, allow the paint to cure for up to 30 days before cleaning or scrubbing the walls.
If you want to speed up drying, use fans or open windows to improve air circulation and reduce moisture in the room. By paying attention to these details, you can ensure your painted walls look professional and last longer.
Troubleshooting Common Painting Issues
Experiencing issues like blistering, cracking, or uneven sheen while painting interior walls can be frustrating, but understanding common problems and their solutions can help you achieve a professional finish.
Here are some common painting problems and how to troubleshoot them:
- Blistering or bubbling paint: Avoid painting in direct sunlight or high humidity levels.
- Cracking or flaking paint: Make sure you're not applying too thick of a coat and avoid painting over a dirty surface.
- Peeling paint: Check for moisture issues, improper surface preparation, or the use of low-quality paint.
- Uneven paint sheen: Be sure to mix the paint properly, use consistent application techniques, and avoid using different paint finishes on the same wall.
Frequently Asked Questions
What Is the Best Way to Paint Interior Walls?
To paint interior walls effectively, start with preparing surfaces by cleaning, fixing flaws, and priming for better paint adhesion.
Use quality paint and tools like brushes, rollers, or sprayers for a pro finish.
Employ proper techniques such as cutting in edges, rolling in a W shape, and applying multiple coats.
Allow drying time between coats for durability.
Finish by removing tape carefully, cleaning up, and admiring your transformed space.
What Is the Correct Order to Paint a Room?
To paint a room correctly, start with the ceiling, move to the walls, and finish with the baseboards, windows, and door trim. This sequence prevents drips on fresh paint and guarantees a polished look.
Working from top to bottom helps you avoid redoing sections due to paint overlap. It makes touch-ups easier and creates a smooth shift between surfaces.
Allow each coat to dry thoroughly for the best results.
How Do You Prepare an Inside Wall for Painting?
To prepare an inside wall for painting, start by cleaning it thoroughly to remove dust and dirt.
Repair any imperfections like cracks and holes using spackle and sanding.
Protect surrounding areas with drop cloths and painter's tape to avoid splatters.
Apply a primer to seal the wall for better paint adhesion.
Consider the room's lighting when choosing a paint color to create the desired atmosphere.
All these steps will guarantee a smooth and professional finish.
Can I Paint Interior Walls Myself?
You can definitely paint interior walls yourself. It's a money-saving DIY project that lets you personalize your space. With the right tools, preparation, and techniques, achieving professional-looking results is within reach.
Many resources, tutorials, and guides are available to help you through the process. Take your time, follow the steps, and enjoy the satisfaction of transforming your living space with a fresh coat of paint.
Conclusion
Now that you know the basics of how to paint interior walls, grab your paintbrush and get ready to transform your space!
Remember, preparation is key, so take your time to choose the right paint and tools.
Don't worry if you encounter a few bumps along the way – practice makes perfect.
So, go ahead and reveal your inner Picasso with a splash of color on your walls!
Happy painting!