
We're embarking on a journey to create custom, sturdy, and visually appealing table risers that cater to our specific needs and decorative styles. To get started, we'll need materials like 1X10 poplar wood, wood glue, and 220 grit sandpaper. Next, we'll design our table riser pattern, experimenting with shapes and sizes, and using a jig saw for intricate designs. After cutting and shaping our boards, we'll sand and smooth out the surfaces. Then, we'll attach legs, adding a decorative touch, before finally sealing our risers with polyurethane for durability. Now, let's delve into the details and explore the creative possibilities.
Key Takeaways
• Choose suitable wood, such as 1X10 poplar, and necessary materials like wood glue and sandpaper for a sturdy table riser.
• Design and pattern the riser with unique shapes, sizes, and decorative elements to add visual appeal.
• Cut, shape, and sand the wood with precision using saws and 220 grit sandpaper for a polished finish.
• Attach legs securely with wood glue and customize the look with unique leg designs for stability and balance.
• Finish and protect the riser with a suitable wax or sealant, decorative trim, and polyurethane for durability.
woodworking table riser kit
As an affiliate, we earn on qualifying purchases.
As an affiliate, we earn on qualifying purchases.
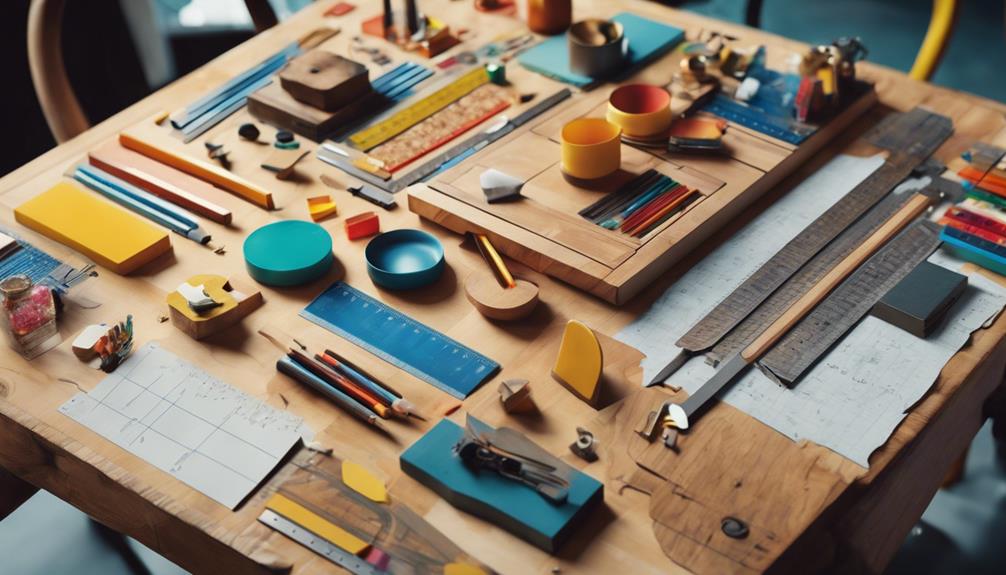
Gathering Essential Supplies
What essential supplies do we need to gather to make our DIY table risers?
To create a sturdy and visually appealing table riser, we'll need some fundamental materials. First, we'll require a suitable type of wood, such as 1X10 poplar, which will serve as the foundation of our table riser.
Next, we'll need wood glue to securely attach the feet to the riser, ensuring stability and decorative appeal. Additionally, we'll require sandpaper, specifically 220 grit, to smooth out the wood surface and prepare it for staining. It's important to have these fundamental supplies on hand before we begin our DIY project.
We'll also need wood candle cups or spindles to serve as the feet of our table riser, providing a sturdy base. Furthermore, pickling white gel stain will allow us to achieve the desired aesthetic for our table riser.
DIY wood table riser supplies
As an affiliate, we earn on qualifying purchases.
As an affiliate, we earn on qualifying purchases.
Designing Your Table Riser Pattern
Now that we've our essential supplies, let's explore designing a unique pattern for our table riser, considering factors like shape, size, and decorative elements to guarantee it complements our space.
As DIY enthusiasts, we can experiment with different shapes and sizes to customize the design of our table riser. For instance, we can use a jig saw to cut out intricate designs and achieve detailed cuts on our table risers. To add a decorative touch, we can use a tiles stencil and butter cream chalk mineral paint to create unique patterns on our table risers.
When it comes to the wood, we can sand it smooth using 220 grit sandpaper or a rotary sander for a polished finish. Additionally, we can add decorative elements to our table risers to enhance their visual appeal and match our decor style.
By considering these factors, we can create a table riser pattern that not only complements our space but also reflects our personal style.
As we design our table riser pattern, we must remember to keep it functional and aesthetically pleasing, ensuring it serves its purpose while adding a touch of elegance to our space.
custom wood table legs
As an affiliate, we earn on qualifying purchases.
As an affiliate, we earn on qualifying purchases.
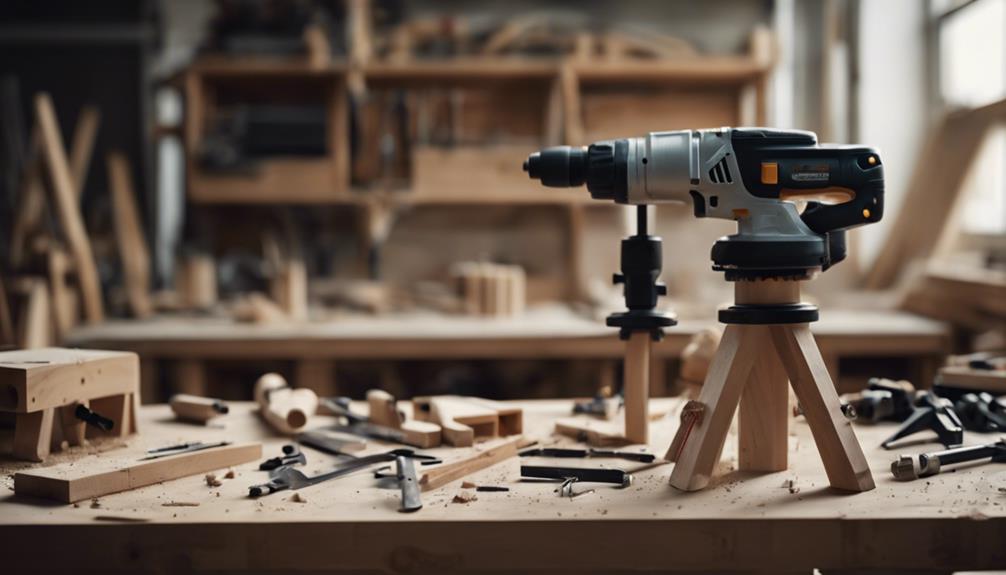
Cutting and Shaping Boards
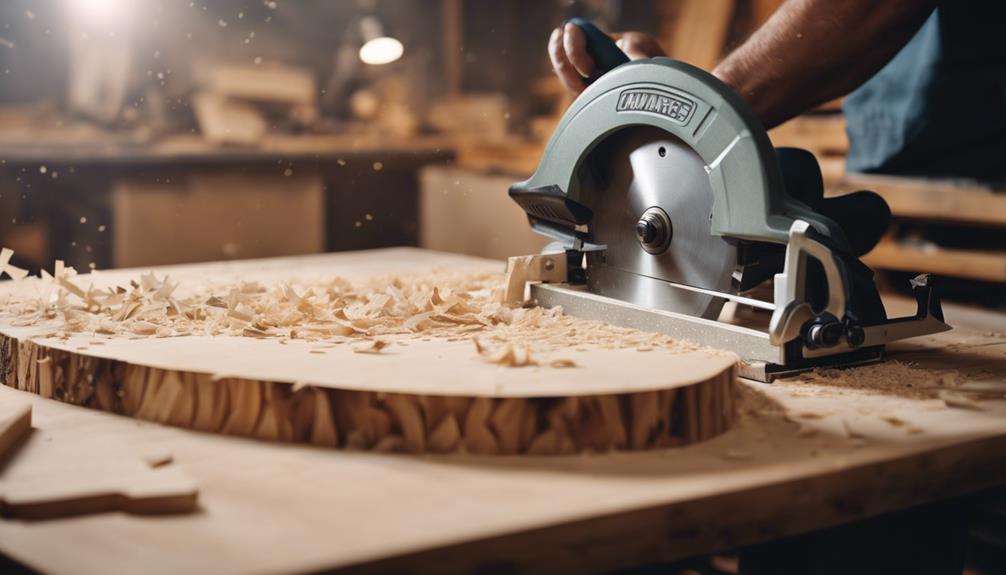
We use a saw to accurately cut our boards to size, carefully following our designed pattern to guarantee precise measurements and shapes. This guarantees that our DIY table risers will be sturdy and functional.
When it comes to intricate designs or detailed cuts, we consider using a jig saw to achieve the desired results. Cutting boards to the correct size and shape is vital, as it impacts the overall stability of the table riser. We take our time to carefully shape and cut the wood, making sure that the finished product meets our expectations.
After cutting, we sand the edges of the boards with 220 grit sandpaper to achieve a smooth and polished finish. By doing so, we can create table risers of varying heights using thicker wood, depending on our preferences.
With precision cutting and shaping, we can create a sturdy and functional table riser that serves its purpose.
table riser stencil and paint
As an affiliate, we earn on qualifying purchases.
As an affiliate, we earn on qualifying purchases.
Sanding and Smoothening Surfaces
As we move on to sanding and smoothening surfaces, we'll explore the essential methods for preparing our table risers for finishing.
We'll discuss the importance of removing imperfections completely, and the final smoothening techniques that will give our project a professional-looking finish.
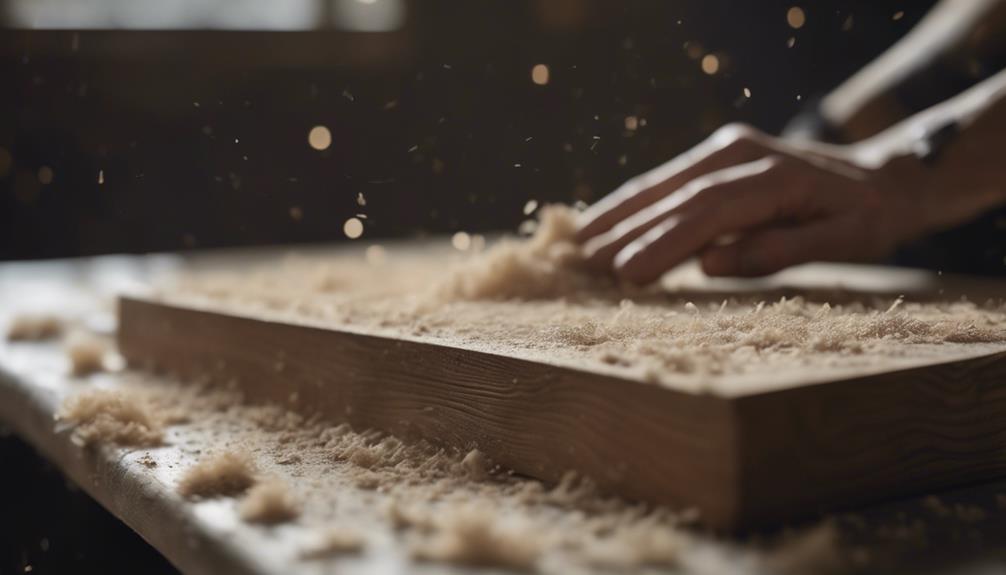
Surface Preparation Methods
When building DIY table risers, we take the initial important step towards a professional-looking finish by sanding and smoothening the wood surfaces. This surface preparation method is vital for a flawless outcome.
We begin by using coarse sandpaper with 80-100 grit to remove rough spots and imperfections from the wood surface. As we progress, we switch to finer grits, such as 220 grit, to achieve a smooth finish. It's crucial to sand along the grain of the wood to prevent scratches and achieve a uniform surface texture.
Proper surface preparation through sanding ensures a clean and even base for applying paints or stains, which enhances the overall appearance and durability of our DIY table risers. By following this step, we set ourselves up for success and a beautiful, long-lasting finish.
As experts agree, 'proper surface preparation is key to a successful woodworking project' (Woodworking Magazine). By taking the time to sand and smoothen our wood surfaces, we guarantee a professional-looking finish that will make our DIY table risers stand out.
Removing Imperfections Completely
By sanding and smoothening our wood surfaces, we guarantee the elimination of imperfections, creating a flawless base for our DIY table risers. Sanding removes imperfections like rough edges, splinters, and uneven surfaces, allowing us to achieve a smooth finish.
To achieve this, we use different grits of sandpaper, starting with coarser grits like 80 and progressing to finer grits like 120 and 220, for a gradual smoothing process. It's crucial to sand in the direction of the wood grain to maintain a consistent finish. By doing so, we avoid scratching or damaging the wood, which can lead to an uneven surface.
Proper sanding ensures a professional look and feel to our table risers. As we smoothen our wood surfaces, we create a polished finish that's both aesthetically pleasing and durable. With the right techniques and materials, we can achieve a high-quality finish that complements our DIY table risers.
Final Smoothening Techniques
We switch to 220 grit sandpaper or a sanding pad to achieve an ultra-smooth finish on our table risers. This is where the key part happens, and our DIY project starts to take shape.
We sand in a circular motion, making sure to cover every inch of the wood surface to remove any imperfections and create an even finish. This is important, as we want our table risers to be smooth to the touch and free from any rough edges that could cause splinters or injuries.
Don't forget to sand the feet of the table risers as well, ensuring they're level and stable.
Finally, consider applying a clear wax finish to give your table risers a polished look and added protection. This step is optional, but it can make a world of difference in the overall appearance and durability of your DIY project.
Building and Attaching Legs
We attach the legs to our table riser using wood glue, carefully selecting the right size and shape to guarantee stability and aesthetic appeal. This is an important step in building our DIY table riser, as it provides the necessary support and visual appeal.
When choosing the legs, we consider factors such as durability, safety, and style.
- Secure attachment: We make sure the feet are securely attached to the table riser using wood glue to prevent any accidents or damage.
- Aesthetic appeal: We select legs that complement the design and style of our table riser, considering factors such as shape, size, and material.
- Stability: We choose legs that provide stability and balance to our table riser, ensuring it remains sturdy and secure.
- Customization: We experiment with different leg designs and materials to customize the look of our DIY table risers and make them truly unique.
Adding Finishing Touches
Now that we've built and attached the legs, it's time to add the finishing touches to our table risers.
We'll start by applying a final coat of stain or paint to match our desired decor style, and then consider adding decorative elements like carved designs or stenciled patterns to give our risers a personal touch.
Final Coats Applied
After sanding our DIY table risers to a smooth finish, it's time to apply a final coat of wax or sealant to enhance their durability and appearance. This important step guarantees our handiwork will withstand the test of time and daily use.
We choose a wax or sealant that suits the type of wood used for the table risers, considering factors like moisture resistance and UV protection.
Here's what we need to do:
- Select the right wax or sealant: Pick a product that's compatible with our wood type and intended use.
- Apply the final coat: Ensure an even application to all surfaces of the table risers, following the manufacturer's instructions.
- Buff the wax: Use a soft cloth to buff the wax, creating a smooth finish and added protection.
- Let it dry: Allow the wax or sealant to dry completely before putting our table risers to use.
Decorative Trim Added
With our table risers fully assembled and coated with a protective finish, adding decorative trim becomes the perfect opportunity to inject a dash of personality into our DIY project.
This is where we can really make our DIY table risers stand out and add a unique flair to our home decor. We can choose from a variety of decorative trim options, such as molding, beading, or carved designs, to elevate the look of our table risers.
When applying the trim, we can use wood glue for a strong bond or a pin nailer for a more secure hold. To add an extra layer of personalization, we can paint or stain the trim to match or contrast with our table risers.
By adding decorative trim, we can take our DIY table risers from functional to fabulous, and create a one-of-a-kind piece that reflects our personal style.
As we add these finishing touches, we're not just building a piece of furniture, we're creating a conversation starter that showcases our creativity and attention to detail.
Polyurethane Sealed
We apply a polyurethane sealant to our DIY table risers, providing a durable and protective finish that safeguards them from damage. This coating is crucial to guarantee our creations last for a long time.
By sealing our table risers, we safeguard them from moisture, scratches, and UV rays, which can cause damage and discoloration.
Here's how we achieve a professional finish:
- Apply with a brush: We use a high-quality brush to apply the polyurethane sealant, ensuring a smooth and even coat.
- Thin coats are key: We apply thin, even coats, allowing each layer to dry completely before adding the next.
- Sand between coats: We lightly sand the surface between coats to achieve a smooth, professional finish.
- Allow to dry: We let each coat dry according to the manufacturer's instructions, ensuring a durable and protective coating.
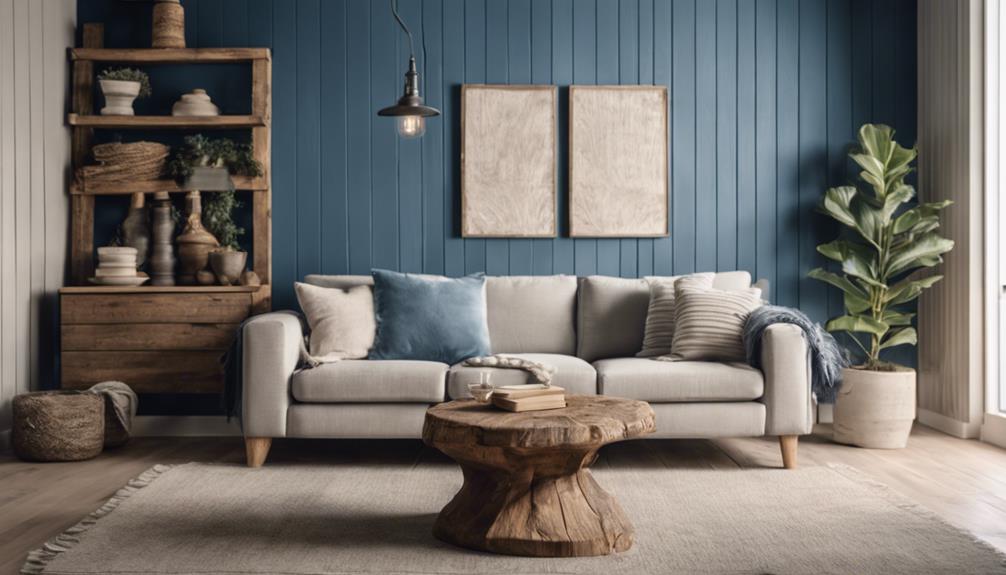
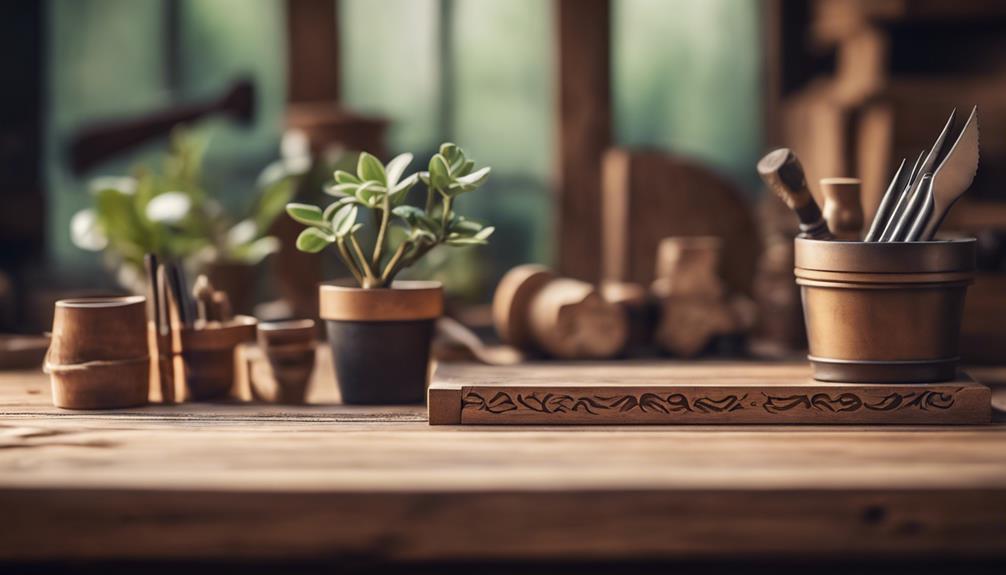
Styling and Decorating Your Riser

We're now ready to add our personal touch to our table risers, and styling and decorating them is where the real fun begins!
When it comes to making our table risers truly our own, we can start by adding a personal touch through painting or staining them to match our home's decor style. We can also consider using decorative elements like stencils, distressing techniques, or unique leg designs to give our risers a custom look.
Experimenting with different shapes, sizes, and heights can create a visually appealing display that showcases our favorite decorative items, such as plants, candles, books, or other treasured possessions.
Don't be afraid to mix and match materials like wood, metal, or repurposed items to create a creative and eclectic display that reflects our personal style. By doing so, we can make our table risers an integral part of our home's aesthetic, making them a true reflection of who we are.
Frequently Asked Questions
How to Make Table Risers?
We're making table risers! We choose thick wood, like 2X12 pine, and use a jig saw for intricate cuts. We sand smooth with 220 grit sandpaper and attach pieces securely with wood glue or a pin nailer.
How to Make Your Own Risers?
We're making our own risers by choosing the right wood, customizing designs, and using a jig saw for intricate cuts. We sand smooth for a polished finish and attach legs securely for stability.
What Can I Use for Table Risers?
"Did you know 75% of DIY enthusiasts repurpose household items? We're using wood blocks, spindles, or even cans as legs, and old picture frames or wooden rounds as bases to create unique table risers that fit our style!"
How to Make a Table Taller Diy?
We're tackling the DIY project of making a table taller by adding custom risers, using thicker wood for stability and incorporating unique designs, while ensuring a professional finish with sanded and polished wood.
Conclusion
As we step back to admire our handiwork, the table riser comes alive, its elevated surface beckoning us to create, work, or simply gather. The scent of freshly sanded wood wafts up, mingling with the satisfaction of a project well-executed.
With every detail meticulously considered, our DIY table riser stands as a demonstration of the power of imagination and elbow grease. 'The beauty of DIY lies in its ability to empower individuals to take control of their surroundings,' notes DIY expert, Sarah Jones.
Our creation is more than just a piece of furniture – it's a reflection of our ingenuity and creativity.