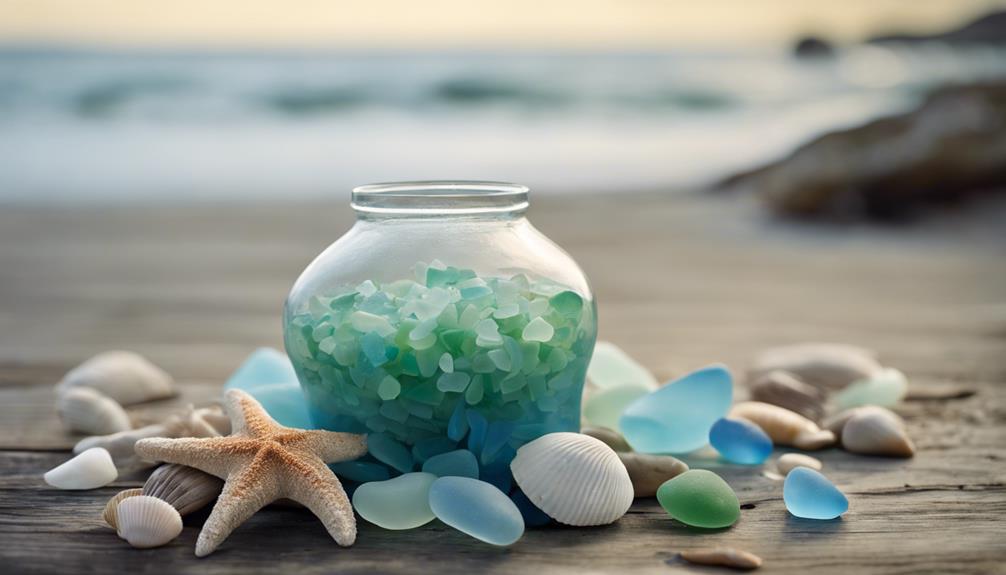
We can create stunning sea glass beach decor pieces that evoke the serene beauty of the ocean's coastline, all for under $15. With essential materials like sea glass pieces, Aleene's tacky glue, plastic wrap, a craft bowl, and sandpaper, we can get creative. By sorting and organizing sea glass pieces by color and shape, applying Aleene's Tacky Glue, and layering pieces carefully, we can achieve a realistic beachy look. With tips on balancing, sanding, and shaping sea glass, we can avoid common mistakes and create a unique, frosted appearance. Now, let's dive deeper into the techniques and variations that will make our masterpiece truly special.
Key Takeaways
• Use Aleene's Tacky Glue to adhere small, lightweight sea glass pieces to a craft bowl, creating a strong bond for a beach-inspired decor.
• Sort and organize sea glass pieces by color, shape, and size to create a visually appealing and cohesive design.
• Experiment with layering and arranging sea glass pieces to achieve a unique, beachy look, and use fine grit sandpaper to smooth edges.
• Add beachy elements like seashells or sand to enhance the decor, and mimic glass weathering effects for a frosted appearance.
• Display your masterpiece in a prominent spot with natural light, complementary decorative accents, and a simple, uncluttered display area.
Gather Essential Materials
We'll start by gathering the essential materials needed for our sea glass beach decor project, which include sea glass pieces, glue, plastic wrap, a craft bowl, and sandpaper.
For a strong bond, we recommend using Aleene's tacky glue, which dries clear and provides durability to our DIY sea glass decor. When it comes to preparing the surfaces for gluing, we'll use fine to medium grit sandpaper to guarantee a smooth finish.
We can use either real or craft simulated sea glass for our project, and add some extra decoration with seashells, buttons, or beads. To achieve a professional look, we'll make sure to stack our glass pieces from the bottom up, using plenty of glue that dries clear.
Remember to avoid getting glue on the outer edges of the bowl to maintain a frosted look. With all our materials in hand, we're ready to move on to the next step of preparing our craft bowl.
Prepare the Craft Bowl
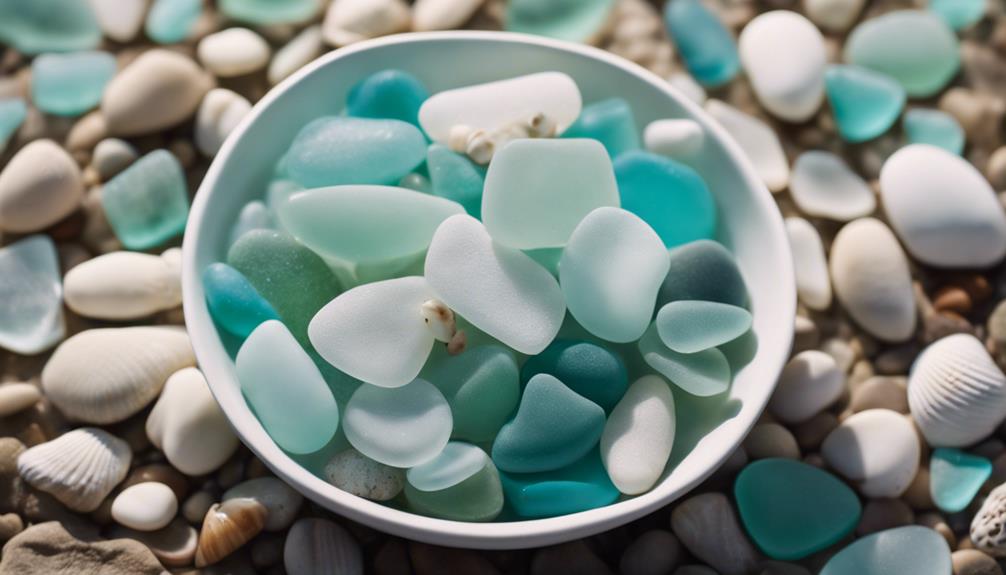
Now that we've our materials ready, let's prepare our craft bowl by giving it a thorough cleaning and drying to guarantee a strong bond between the bowl and our sea glass arrangement.
A clean and dry bowl is essential for a successful project, ensuring our sea glass pieces adhere properly. We recommend choosing a bowl that fits our desired arrangement, considering factors like size, shape, and material. A transparent or frosted bowl can enhance the sea glass effect, adding an extra layer of visual appeal to our project.
To make removal easier once our project is complete, we can place plastic sandwich wrap inside the bowl. This fun project is a great way to get creative and showcase our favorite sea glass pieces. If you have any questions or need further guidance, feel free to email us at [insert email address].
With our bowl prepared, we're one step closer to creating a stunning sea glass beach decor piece that will be the envy of all who see it.
Sort Sea Glass Pieces
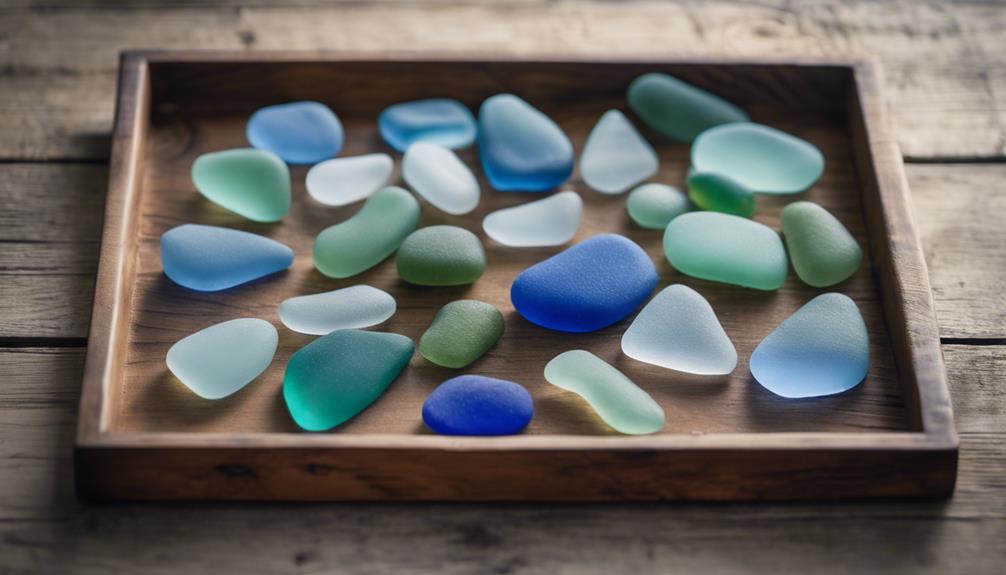
As we sort our sea glass pieces, we're not just organizing pretty objects – we're revealing the nuances of our collection.
We're about to explore how the colors and shapes of our sea glass pieces can enhance our beach decor, and it all starts with recognizing the significance of sorting by color and shape.
Sea Glass Colors Matter
When it comes to creating stunning beach decor, sorting sea glass pieces by color is essential for evoking the desired mood and theme in our projects. We can't wait to get started on our DIY beach-inspired crafts, and one of my favorite parts is organizing the sea glass by color.
Required fields are marked *, and we're eager to get started! Different sea glass colors like green, blue, and clear can evoke different moods and themes in our projects. By sorting our sea glass pieces by color, we can easily match pieces for a cohesive look in our decorations.
Having a variety of sea glass colors adds depth and interest to our DIY projects, allowing us to create stunning patterns and designs. We're excited to experiment with different color combinations to achieve the perfect look for our beach decor.
Whether we're going for a calming, natural vibe or a bold, statement piece, sorting our sea glass by color is the first step in bringing our vision to life.
Sorting by Shape
We categorize our sea glass pieces by shape to reveal a world of creative possibilities in our beach-inspired crafts. By sorting our sea glass by shape, we believe it would be easier to plan and execute specific projects.
For instance, round shapes can be used to create beautiful mosaics, while triangular shapes can add a unique touch to wind chimes. Sorting by shape allows us to think outside the box and come up with innovative designs. It's amazing how different shapes like square, triangle, and irregular can offer a variety of design possibilities.
By organizing our sea glass by shape, we can streamline the crafting process and enhance the final aesthetic. This approach also enables us to create visually appealing arrangements and patterns in our sea glass art. As we sort through our sea glass collection, we're excited to see the creative possibilities unfold.
Apply Aleenes Tacky Glue
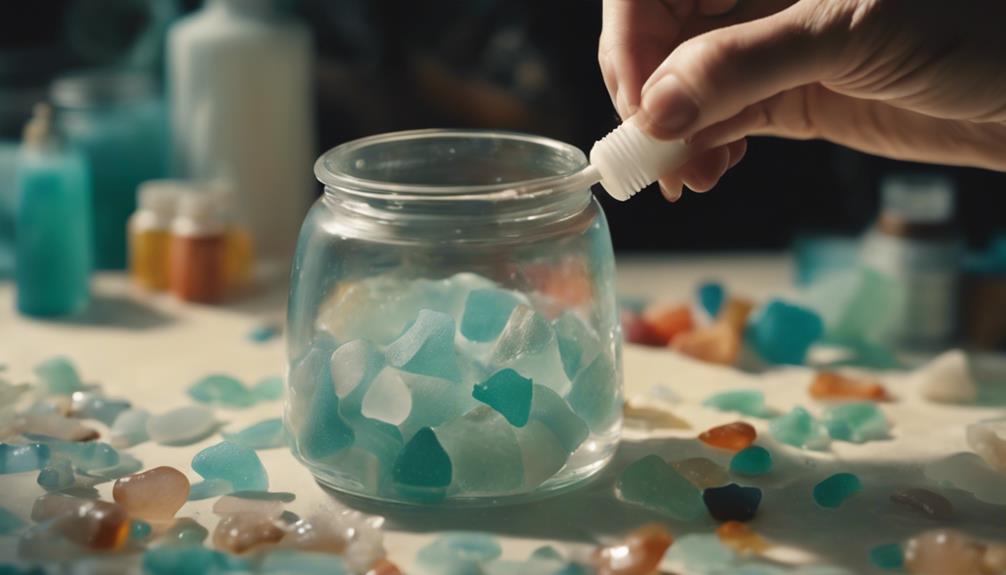
We apply a generous amount of Aleenes Tacky Glue to the surface where we'll be attaching the sea glass pieces. This strong adhesive is perfect for securing our treasures in place, and its clear drying property guarantees that it won't distract from the beauty of the sea glass.
To create durable crafts, we make sure to apply an ample amount of glue, strategically avoiding the outer edges to achieve a frosted effect. As we work, we find that using plastic sandwich wrap helps shape and smooth the sea glass pieces as we adhere them with the glue.
With Aleenes Tacky Glue, we can confidently attach our sea glass pieces, knowing they'll stay in place. This reliable adhesive is a game-changer for our DIY project, allowing us to focus on the fun part – creating stunning beach-inspired decor.
Create the First Layer
Applying a generous amount of Aleenes tacky glue to the inside bottom of a craft bowl, we start building our sea glass masterpiece by creating the first layer. For this initial layer, we opt for small, lightweight sea glass pieces that will provide a sturdy foundation for our decorative bowl.
We carefully stack these pieces from the bottom up, ensuring an even and sturdy layer. To maintain a clean, frosted look, we take care to avoid getting glue on the outer edges of the glass. Moreover, we apply plenty of glue between the sea glass pieces to guarantee durability.
This careful attention to detail will ultimately result in a beautiful, long-lasting decorative piece that showcases the beauty of sea glass. By taking the time to craft this initial layer with care, we set the stage for a truly stunning finished product.
Add Sea Glass Pieces Gradually
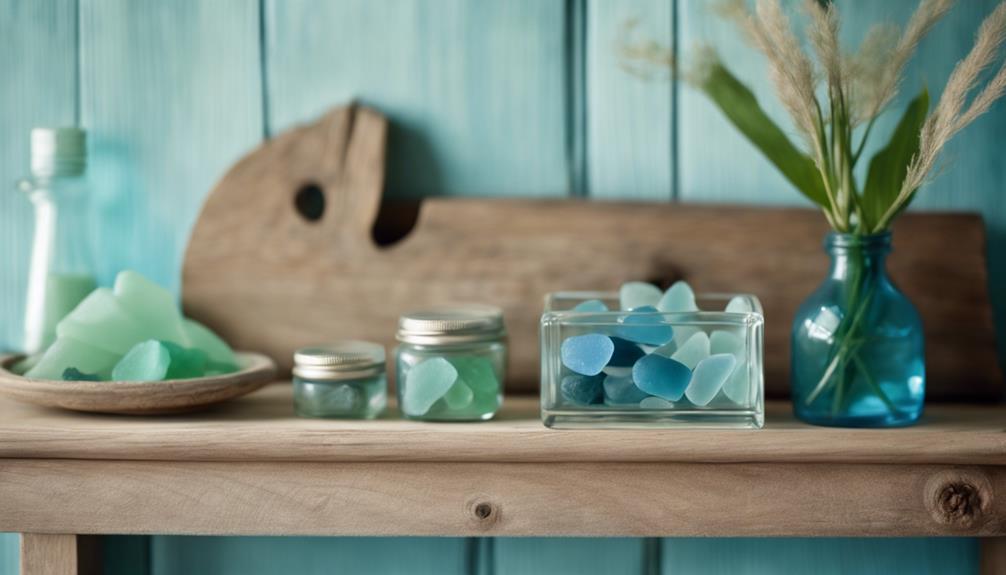
As we move forward with adding sea glass pieces gradually, we'll need to focus on selecting the right pieces that complement our design. This involves creating a focal point that draws the eye and balancing the arrangement to achieve visual harmony.
Selecting the Right Pieces
By incorporating sea glass pieces gradually, you'll create a balanced and visually appealing design that captivates the eye and sparks the imagination. As we select the right pieces, we want to guarantee our design is harmonious and engaging. To achieve this, we'll follow a few key guidelines.
Here are some essential tips to keep in mind:
- Start with a focal point piece: Choose a statement piece that sets the tone for your design, and build around it with smaller pieces.
- Mix and match: Combine different colors, shapes, and sizes of sea glass to create visual interest and variety.
- Create movement and flow: Arrange your sea glass pieces in a way that guides the viewer's eye through your design.
- Experiment with layouts: Try out different layouts before securing your pieces in place to make sure the best design.
Creating a Focal Point
We begin building our sea glass beach decor by adding a few carefully chosen pieces to a central point, gradually expanding outward to create a balanced and cohesive look. By doing so, we can establish a focal point that draws the eye and captures attention.
To accomplish this, we experiment with various patterns and layouts, finding the most appealing design for our beach decor. We use different sizes and colors of sea glass to create visual interest and depth, arranging them in a harmonious way to create a sense of harmony.
As we add more pieces, we make certain that the design remains balanced and cohesive, avoiding clutter and chaos. By gradually expanding the design outward, we create a sense of movement and energy, drawing the eye through the arrangement.
Balancing the Arrangement
We carefully add sea glass pieces to our arrangement, one by one, to maintain a delicate balance of colors, shapes, and sizes. As we build our arrangement, we keep in mind the importance of balance and harmony. To achieve this, we follow a few key guidelines.
Here are some tips to help us balance our arrangement:
- Start with a focal point: Begin with a few larger, statement pieces and build around them.
- Distribute pieces evenly: Spread sea glass pieces throughout the display to create visual interest.
- Experiment with shapes and colors: Mix and match different shapes and colors to add depth to our arrangement.
- Step back and assess: Periodically take a step back to evaluate our arrangement and make adjustments as needed.
Use Fine Grit Sandpaper
As we work on refining our sea glass pieces, fine grit sandpaper becomes an indispensable tool in our arsenal, allowing us to smooth out rough edges and achieve a polished finish. This vital step guarantees that our sea glass beach decor projects exude a refined, professional look. By using fine grit sandpaper, we can confidently handle our creations, knowing they're safe and comfortable to hold.
| Benefits | Description | Importance |
|---|---|---|
| Smooth Edges | Eliminates rough spots | Enhances visual appeal |
| Polished Finish | Achieves a refined look | Elevates overall aesthetic |
| Safe Handling | Ensures comfortable grip | Prevents injuries |
| Preserves Beauty | Maintains natural sea glass charm | Authenticates creations |
Fine grit sandpaper is essential for maintaining the natural beauty of sea glass while enhancing its aesthetic appeal. By incorporating this tool into our creative process, we can take pride in our sea glass beach decor projects, knowing they're both visually stunning and safe to handle.
Shape the Sea Glass Edge
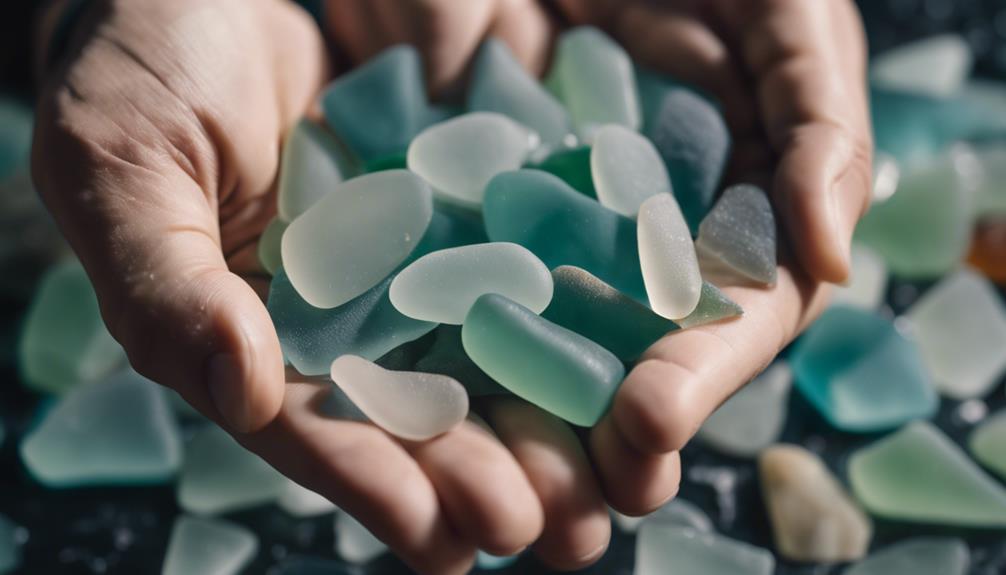
How do you achieve a beautifully rounded edge on your sea glass pieces without chipping or breaking them? We've all been there, carefully handling those delicate treasures, worried that one wrong move will ruin the entire project. But fear not, with the right techniques, you can achieve a stunning, smooth edge that will elevate your sea glass decor to the next level.
Here's how we do it:
- Start with the right grit: Use a fine to medium grit sandpaper to shape the edges of your sea glass.
- Gentle touch: Gently sand the edges to create a smooth and rounded finish. Avoid applying too much pressure, which can cause chipping or breaking.
- Customize the look: Shape the edges to your desired look, whether it's completely smooth or slightly textured.
- Take your time: Work carefully and patiently to achieve the perfect edge for your sea glass project.
Add Decorative Accents
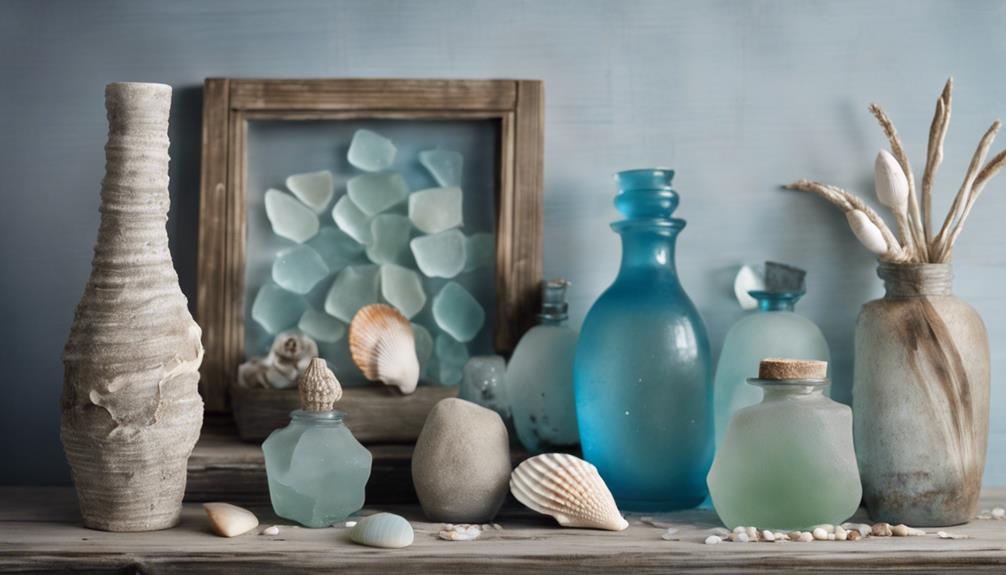
By incorporating decorative accents, such as charms, beads, or wire wraps, we can elevate our sea glass creations into stunning pieces of beach-inspired art. These accents not only add a touch of elegance but also create a visually appealing contrast to the frosted, recycled glass.
For instance, we can thread sea glass beads onto a wire wrap to create a beautiful mobile or wind chime that catches the light. Alternatively, we can use charms shaped like seashells or anchors to add a whimsical touch to our creations.
When selecting decorative accents, we should consider the color palette of our project and choose accents that complement the hues of our sea glass. By doing so, we can create a cohesive and harmonious design that exudes the tranquility of the beach.
With a little creativity, we can transform our sea glass projects into breathtaking pieces of art that evoke the serenity of the ocean.
Use Faux Sea Glass Alternatives
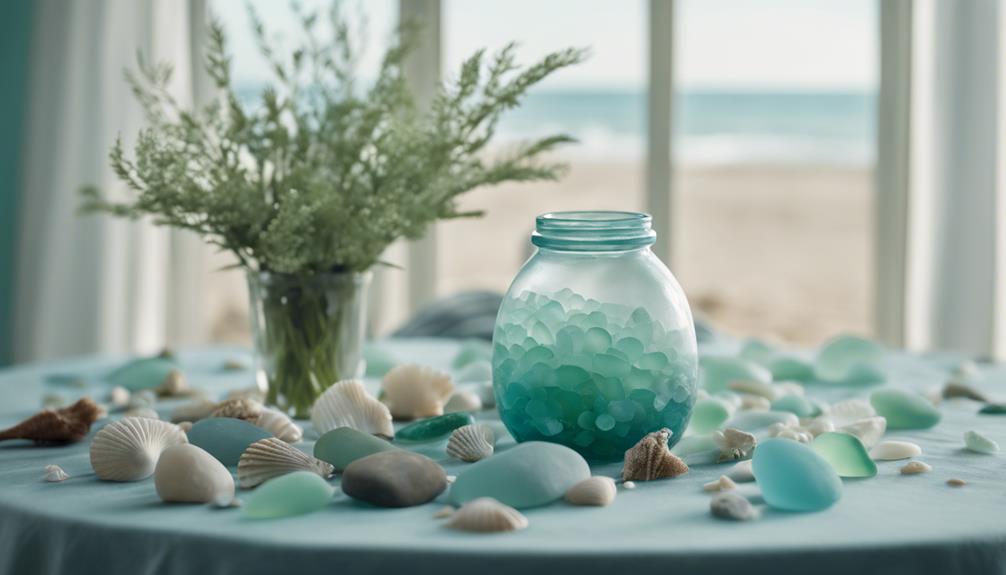
As we explore the world of sea glass beach decor, we're excited to discuss the benefits of using faux sea glass alternatives.
We'll examine the various faux glass options available, from recycled glass to tumbled and polished pieces, offering consistency in size and color.
We'll also explore creative glass paint techniques that can transform plain glass into stunning, ocean-inspired masterpieces that rival the real thing.
Faux Glass Options
We often turn to faux sea glass alternatives when we want to achieve the look of genuine sea glass without the hassle of searching for or collecting it. Fortunately, these alternatives are readily available at craft stores and online, offering a budget-friendly option for our beach-themed decor projects.
Here are some benefits of using faux sea glass alternatives:
- Variety of options: Faux sea glass beads come in various shapes, sizes, and colors, allowing for creative and customizable craft projects.
- Convenience: We don't need to search for or collect real sea glass, making it a convenient option for our decor projects.
- Budget-friendly: Faux sea glass alternatives are a cost-effective way to achieve the look of genuine sea glass without breaking the bank.
- Creative freedom: With faux sea glass beads, we can incorporate them into jewelry making, mosaics, wind chimes, and other beach-themed decor projects, giving us the freedom to express our creativity.
Glass Paint Techniques
Using glass paint techniques, we can create a convincing faux sea glass look by layering different colors and textures to mimic the weathered, matte finish of genuine sea glass. By experimenting with various shades and textures of paint, we can achieve unique and vibrant faux sea glass creations. This method allows for a cost-effective and customizable way to incorporate the beauty of sea glass into our DIY projects.
| Paint Technique | Description | Result |
|---|---|---|
| Layering | Building up layers of transparent paint | Deep, rich colors |
| Glazing | Applying multiple thin coats of paint | Smooth, glossy finish |
| Texturing | Adding texture with specialized paint or mediums | Matte, weathered look |
Glass paint can provide a smooth, glossy finish that resembles authentic sea glass, making it an excellent alternative for those on a budget or seeking a specific aesthetic. By mastering these techniques, we can reveal a world of creative possibilities for our beach-inspired decor projects. As we continue to explore the world of faux sea glass, we'll discover even more innovative ways to capture the essence of the ocean in our DIY creations.
Get Inspired by Pinterest
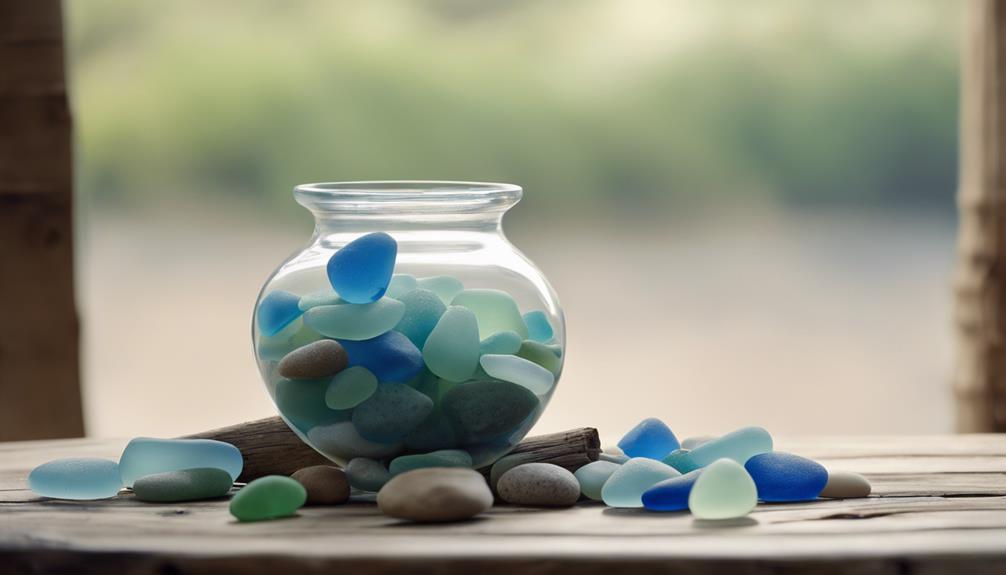
When searching for sea glass beach decor inspiration, we often find ourselves scrolling through Pinterest, where a vast array of creative DIY projects and stunning visuals await. As a popular platform for discovering creative DIY projects, Pinterest offers a wealth of ideas and tutorials to get us started. From decorative vases to coastal-themed wall art, the possibilities are endless.
Here are some ways Pinterest can inspire our sea glass beach decor:
- Browsing through boards: We can explore boards dedicated to sea glass decor, where users share their favorite projects and ideas.
- Discovering new tutorials: Pinterest is a treasure trove of step-by-step guides and video tutorials that teach us new skills and techniques.
- Saving and organizing ideas: We can save our favorite projects to virtual boards, making it easy to revisit and organize our ideas later.
- Exploring unique themes: From nautical to coastal chic, Pinterest offers a wide range of themes and styles to inspire our sea glass beach decor.
Tips for a Realistic Look
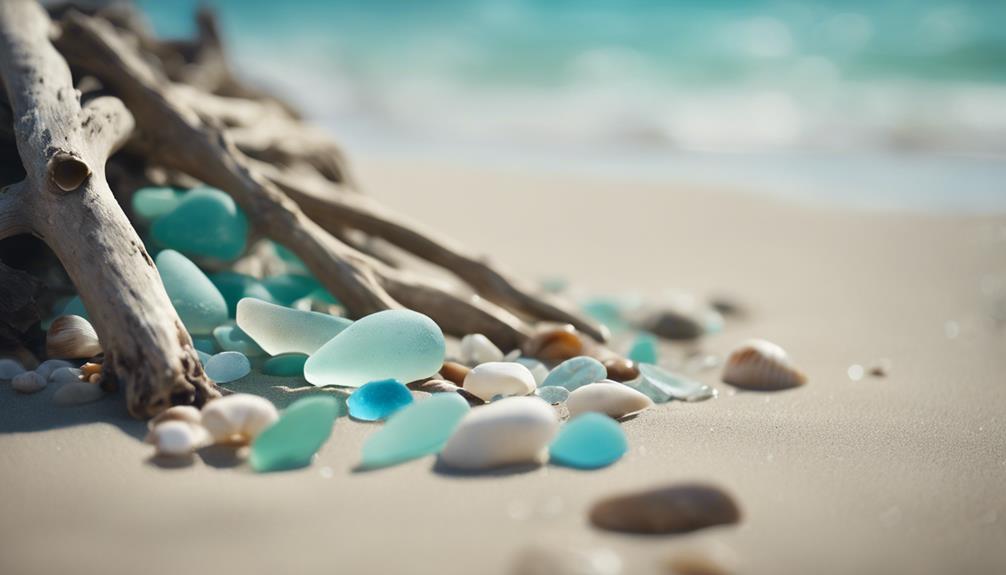
As we endeavor to create an authentic sea glass beach decor, we need to focus on the details that make it look realistic.
We'll explore the importance of using a range of sea glass colors, adding weathering effects to give our pieces a worn, beachy look, and incorporating other beach elements like shells and sand to enhance the overall aesthetic.
Sea Glass Colors
We find that incorporating a mix of green, blue, and clear sea glass into our decor creates a realistic beachy look that immediately transports us to the coast. To achieve this authentic look, we've discovered that incorporating a variety of sea glass colors, shapes, and sizes is crucial. By doing so, we can mimic the natural beach finds that have been weathered by the ocean.
Here are some tips to keep in mind when selecting sea glass for your decor:
- Mix and match colors: Combine green, blue, and clear sea glass for a realistic beachy look.
- Vary the sizes and shapes: Incorporate different sizes and shapes of sea glass to mimic natural beach finds.
- Experiment with layering: Layer the sea glass to create depth and texture in your decor.
- Add beachy elements: Incorporate other beach elements like seashells or sand to enhance the coastal theme.
Glass Weathering Effects
To replicate the authentic look of sea glass, we mimic the natural weathering process by using a combination of sand, saltwater, and rocks to create a frosted appearance on the glass. This process, which can take years to achieve naturally, involves exposure to ocean waves and sand, which helps create a frosted appearance on the glass.
The saltwater and minerals in the ocean also contribute to the smooth texture of sea glass over time. We've learned that authentic sea glass is highly sought after for its unique appearance and history of being tumbled by the sea. By replicating this process, we can achieve a realistic look that's reminiscent of the real thing.
To get the desired effect, we mix sand, saltwater, and rocks to create a textured, weathered appearance on the glass. This process allows us to create a frosted, smooth finish that's similar to authentic sea glass.
Beachy Texture Additions
By incorporating beachy textures, we can elevate our sea glass decor to a whole new level of realism. The right textures can transport us to the coast, surrounded by the soothing sounds of waves and the warmth of the sun on our skin. To achieve this, we can employ a few clever tricks.
Here are some beachy texture additions to contemplate:
- Frosted sea glass: Use fine to medium grit sandpaper to create a realistic frosted look on your sea glass pieces.
- Stacked sea glass: Stack small, lightweight sea glass pieces in a craft bowl for a textured effect that adds depth to your decor.
- Secure adhesion: Apply Aleenes tacky glue generously to contemplate the sea glass pieces adhere securely, but avoid getting glue on the outer edges for a frosted appearance.
- Alternative textures: Contemplate using faux sea glass, seashells, buttons, or beads for alternative texture options in your DIY projects.
Avoid Common Mistakes
When crafting a stunning sea glass beach decor, most of us have fallen prey to common mistakes that can quickly turn our masterpiece into a mess. We've learned the hard way that using low-quality materials or rushing through the process can lead to a subpar result.
To guarantee these mistakes, we make sure to start with the right materials. For instance, we opt for small, lightweight sea glass pieces to easily stack and create a cohesive design. We also consider using faux sea glass, seashells, buttons, or beads as alternative materials if real sea glass isn't available.
During the assembly process, we're meticulous about applying plenty of Aleenes tacky glue when stacking the sea glass in the bowl for a sturdy and durable finish. Additionally, we take care to avoid getting glue on the outer edges of the sea glass bowl to maintain a frosted appearance.
Display Your Masterpiece
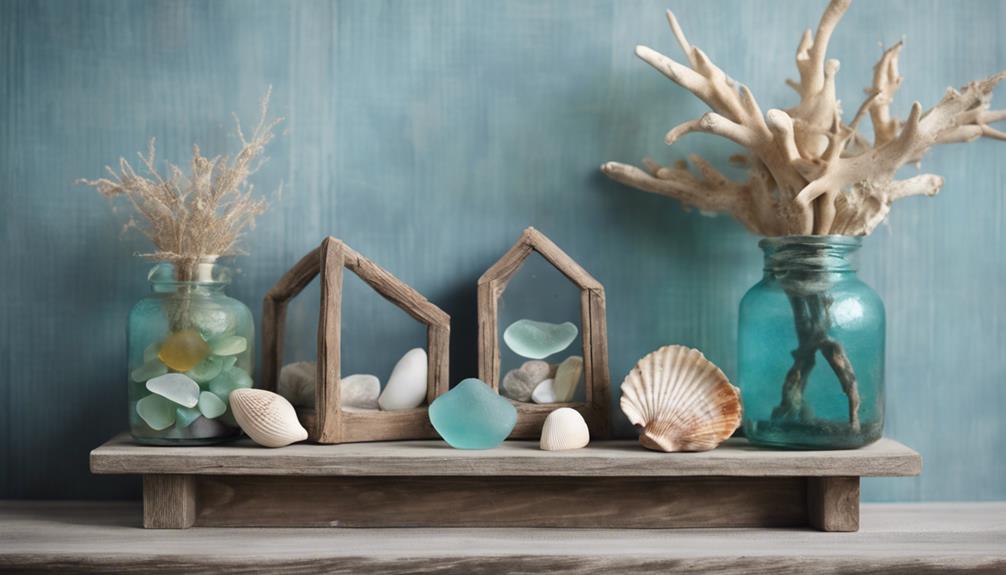
We proudly display our stunning sea glass masterpiece on a decorative shelf or mantle, where it can catch the light and showcase our creativity.
After carefully crafting our sea glass arrangement, we want to highlight its beauty in a way that complements our home decor.
Here are some tips to keep in mind when presenting our masterpiece:
- Choose a focal point: Select a prominent spot in our living room or entryway to draw attention to our artwork.
- Take into account the lighting: Position our display near a window or use spotlights to highlight the colors and textures of the sea glass.
- Add decorative accents: Surround our sea glass arrangement with complementary decorative items, such as seashells, starfish, or driftwood, to create a cohesive coastal look.
- Keep it simple: Avoid cluttering the surrounding area to allow our sea glass masterpiece to take center stage.
Get Creative With Variations
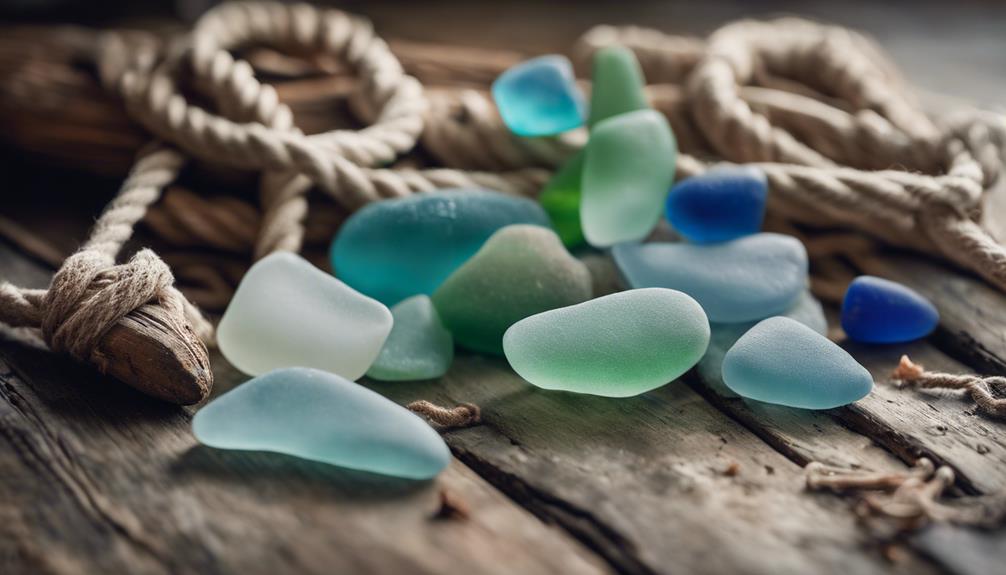
Let's break free from traditional designs and inject some personality into our sea glass decor by experimenting with unique variations.
We can start by playing with different colors of sea glass to create a one-of-a-kind look. For instance, combining turquoise and amber hues can evoke a warm, sunny feel, while a palette of soft blues and greens can bring a calming ambiance to a room.
We can also mix and match different shapes and sizes of sea glass to create visually appealing patterns. Why not combine sea glass with other beachy elements like shells or driftwood for a coastal vibe? Alternatively, we can pair sea glass with materials like wood or metal for a modern twist.
To take our decor to the next level, we can even add hand-painted designs or patterns to give it a personal touch. By experimenting with these variations, we can create truly unique pieces of sea glass decor that reflect our individual styles.
Frequently Asked Questions
What to Make With Sea Glass Easily?
We're excited to create something beautiful with sea glass! Since we're short on time, we're looking for easy projects that still showcase its unique charm.
How to Make Glass Look Like Sea Glass?
We easily achieve a sea glass look on clear glass bottles by applying a light coat of Krylon Sea Glass Spray in Aqua or Seafoam, adding more coats for a darker effect, and customizing with decorations.
How to Make a Sea Glass Mirror?
We're excited to create a stunning sea glass mirror! We'll arrange pieces around a round mirror's edge, securing them with clear adhesive or silicone glue, and let it dry before hanging our beautiful coastal-inspired decor.
Conclusion
As we step back to admire our handiwork, our sea glass beach decor glistens like a treasure trove of memories, each piece a symbol of the ocean's secrets and stories waiting to be unearthed.
Like the tides, our creativity ebbs and flows, shaping something beautiful from the fragments of the past.
With every glance, we're reminded that even the most ordinary materials can be transformed into something extraordinary, a validation of the power of imagination and the allure of the sea.
