We can easily transform an old dresser into a functional bookshelf by following three straightforward steps. First, we remove and prepare the drawers by disassembling the dresser, filling holes with wood putty, and sanding thoroughly. Next, we add shelves and supports by measuring, cutting, and attaching them to the dresser. Finally, we finish and accessorize the bookcase by adding decorative trim, baskets, and bins, and even LED lights for ambiance. By following these steps, we'll create a unique and functional bookshelf that's both stylish and eco-friendly. Now, let's get started on bringing new life to that old dresser!
Key Takeaways
• Disassemble the dresser, removing all hardware and filling holes with wood putty to prepare the structure for transformation.
• Measure and cut shelves to fit the dresser frame, installing them with cleats and wood screws for sturdy support.
• Add a decorative touch with trim or molding, and organize with baskets and bins to create a polished, functional bookshelf.
Remove and Prepare Drawers
We begin by disassembling the dresser, removing all the hardware from the drawers, including knobs and pulls, to pave the way for our repurposing project.
With the hardware gone, we're left with holes that need to be filled. We use wood putty to fill these holes, creating a smooth surface that's essential for our project's success.
Next, we sand the drawers thoroughly to remove any existing finish and prepare them for repurposing. This step is vital, as it allows us to start from a clean slate.
We take precise measurements of the drawers to determine the size of the shelves that will replace them in the bookshelf. These measurements will guide our construction of the shelves, ensuring a seamless fit.
Our goal is to transform the dresser frame into a sturdy base for our bookshelf. By meticulously preparing the drawers, we're setting ourselves up for success in the next stages of our repurposing project.
Add Shelves and Supports
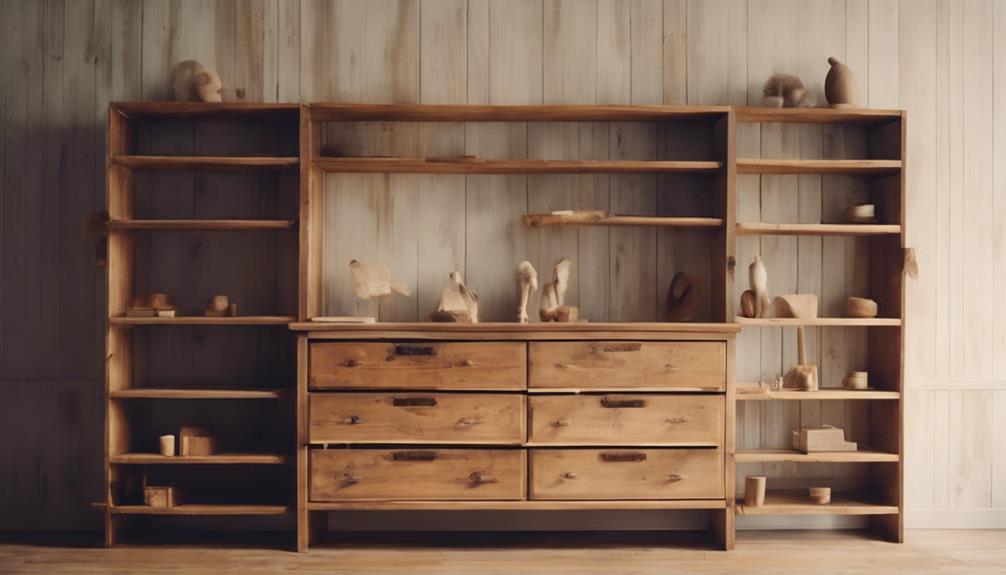
Measure and cut the shelves to fit snugly inside the dresser, making sure they're the desired width and length to hold our future book collection.
We're transforming this old dresser into a great repurposed dresser, and it's exciting to see it take shape.
Next, we'll add shelves to create the bookshelf functionality we need. To do this, we'll install cleats or other support structures to hold the shelves securely in place within the dresser.
We'll use wood screws and wood glue to attach the shelves to the cleats or supports for added stability. It's important to take into account the weight capacity of the shelves and supports to make sure they can safely hold books or other items.
Before finalizing the installation, we'll double-check the shelf alignment and levelness to ensure our bookshelf is both functional and visually appealing.
With these steps complete, we'll have a sturdy and reliable bookshelf that's perfect for our needs.
Finish and Accessorize Bookcase
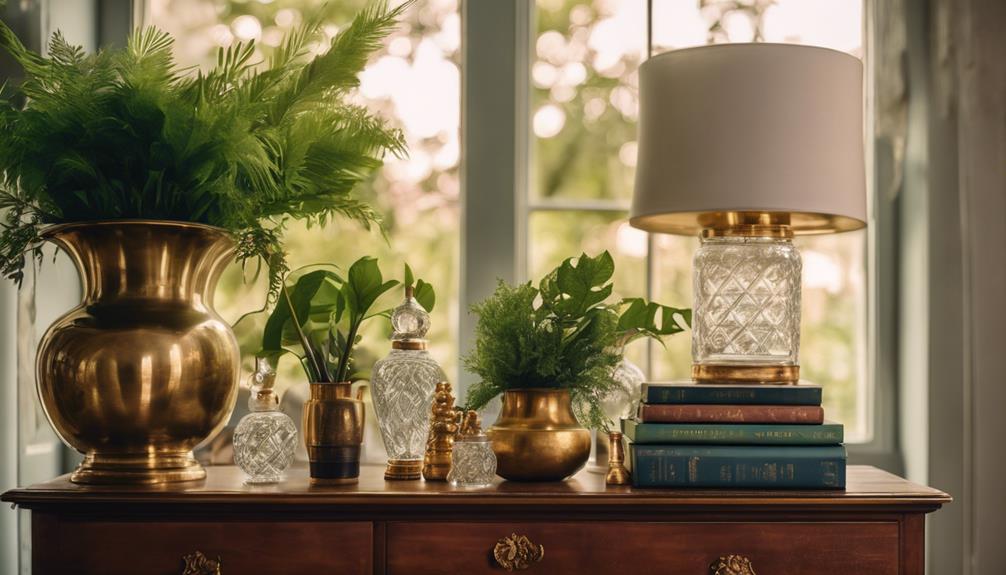
Now that our shelves are securely in place, it's time to add the finishing touches to our repurposed bookcase. We're almost there! To give our bookshelf a polished look, we can add some decorative elements.
Here are a few ideas to get us started:
- Add decorative trim or molding: Give our bookcase a professional finish with some decorative trim or molding along the edges.
- Accessorize with decorative items: Add some personality to our bookshelf with decorative items like vases, frames, or plants.
- Organize with baskets and bins: Use baskets or bins to store smaller items or books, keeping our shelves tidy and organized.
- Illuminate with LED lights: Install LED strip lights or battery-operated puck lights to create a cozy ambiance and highlight our favorite decorative pieces.
We can also consider painting the back panel of the bookcase in a contrasting color or with a fun pattern to add visual interest. With these finishing touches, our repurposed dresser turned bookshelf is ready to shine!
Frequently Asked Questions
Can You Turn a Dresser Into a Bookshelf?
We're often asked, can you turn a dresser into a bookshelf?
Absolutely! With some basic woodworking skills and creativity, we can breathe new life into an old dresser. By removing drawers and adding shelves, we can transform it into a unique and functional bookshelf.
It's a cost-effective and sustainable way to update our home decor, and we're excited to share how to do it in just a few easy steps.
How to Change a Drawer Into a Shelf?
We're excited to tackle the question of how to change a drawer into a shelf.
We start by removing all hardware and filling holes with wood putty to prep the surface.
Next, we sand the drawer to guarantee a smooth finish.
Then, we measure and attach a shelf using pocket holes for stability.
With these easy steps, we can transform a drawer into a functional shelf for our homes.
How to Repurpose a Dresser Drawer?
We're not just giving an old dresser a makeover, we're revitalizing it! Repurposing a dresser drawer can be a game-changer for our storage needs.
By transforming it into a functional bookshelf, entertainment center, or even a baby changing table, we're reducing waste and getting creative.
How to Turn a Dresser Into a Toy Box?
We're excited to turn a dresser into a toy box!
First, we remove the drawers to create a spacious storage area.
Then, we sand and repaint the dresser for a fresh look.
To make it kid-friendly, we add safety features like soft-close hinges and customize it with fun decals or paint.
We even repurpose the dresser knobs into playful drawer pulls.
With these simple steps, we'll create a fun and functional toy box that kids will love!
Conclusion
We've successfully transformed a dresser into a bookshelf in just three easy steps!
According to the American Library Association, the average American reads four books per year. Imagine having a dedicated space to store and display your favorite novels, textbooks, or even decorative items.
Our repurposed bookcase is now ready to hold your entire collection, and we can't wait to see how you'll fill it!
