
You're ready to breathe new life into that old dresser, and with these 10 steps, you'll be well on your way. Start by evaluating the dresser's condition, identifying areas that need attention, and defining its new purpose. Next, remove hardware, disassemble components, and prepare surfaces for painting or finishing. Apply primer and paint, then add decorative elements like hardware, trim, and molding. Finally, inspect and refine your work, ensuring a sturdy, functional, and beautiful piece. As you continue, you'll uncover the secrets to transforming an old dresser into a one-of-a-kind masterpiece that showcases your creativity.
Key Takeaways
• Inspect the dresser for flaws, functionality, and unique features to define its new purpose and design.
• Plan the project by identifying necessary repairs, creating a timeline, and preparing supplies and tools.
• Prepare the surface by removing hardware, sanding, and applying primer for a professional finish.
• Choose a suitable paint color and apply it evenly, allowing each coat to dry completely for full coverage.
• Add decorative elements, such as hardware, trim, and knobs, to elevate the dresser into a one-of-a-kind piece.

43.3in-59in Extendable Round Dining Table for 4-8,Modern Kitchen Oval Dining Table with Removable Leaves Space Saving,Wood Base with Storage Shelf for Kitchen Living Room (Walnut)
Retractable dining table for 4-8 people: Considering the use in different scenarios, the dining table adopts a retractable...
As an affiliate, we earn on qualifying purchases.
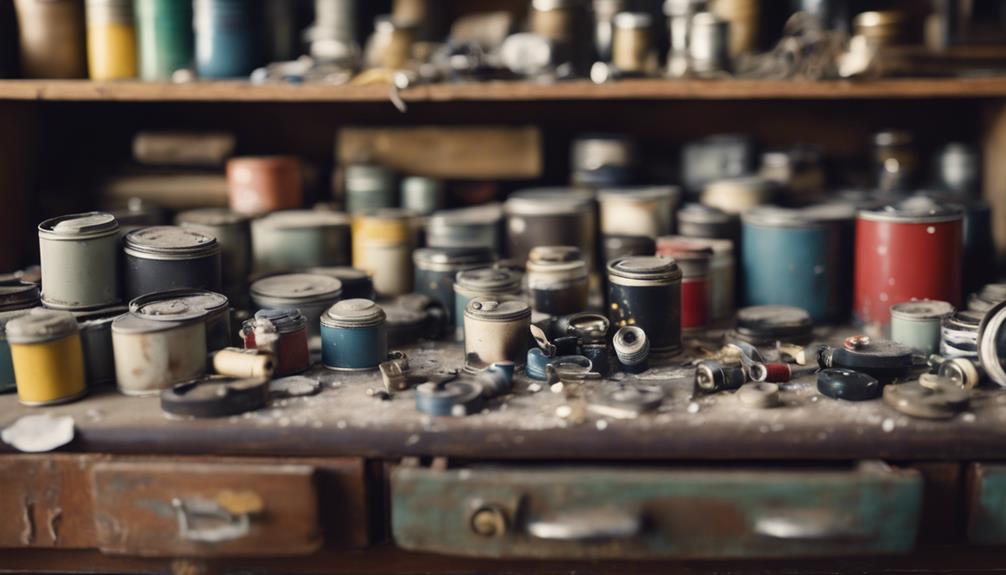
Assess the Dresser's Condition
Before you start repurposing your dresser, carefully inspect it from top to bottom to identify any flaws or areas that need attention. This old piece of furniture has likely been collecting dust and scratches over the years, so it's important to assess its condition before you start repurposing it.
Take a closer look at the drawers, checking if they're still functioning smoothly or if they need some TLC. Are the handles loose or broken? Do the drawers stick or slide out easily?
Assess the overall condition of the dresser's finish, looking for scratches, peeling paint, or water damage that may affect your repurposing plans. Take note of any unique features or design elements that can be highlighted or incorporated into your project.

41 in-78 in Extendable Dining Room Table for 4-8, Round Expandable Kitchen Table with Fluted Base, Modern Farmhouse Oval Dinner Tables for Dining Room Kitchen Living Room (Natural)
【Versatile Expandable Design】This expandable round oval dining table transforms from a cozy 41-inch round table for 4 into...
As an affiliate, we earn on qualifying purchases.
Develop a Repurposing Plan

Now that you've assessed your dresser's condition, it's time to develop a repurposing plan that suits your needs.
To get started, define your goals for the project, identifying what you want to achieve with your repurposed dresser, and pinpoint the key pieces that will help you get there.
Define Your Goals
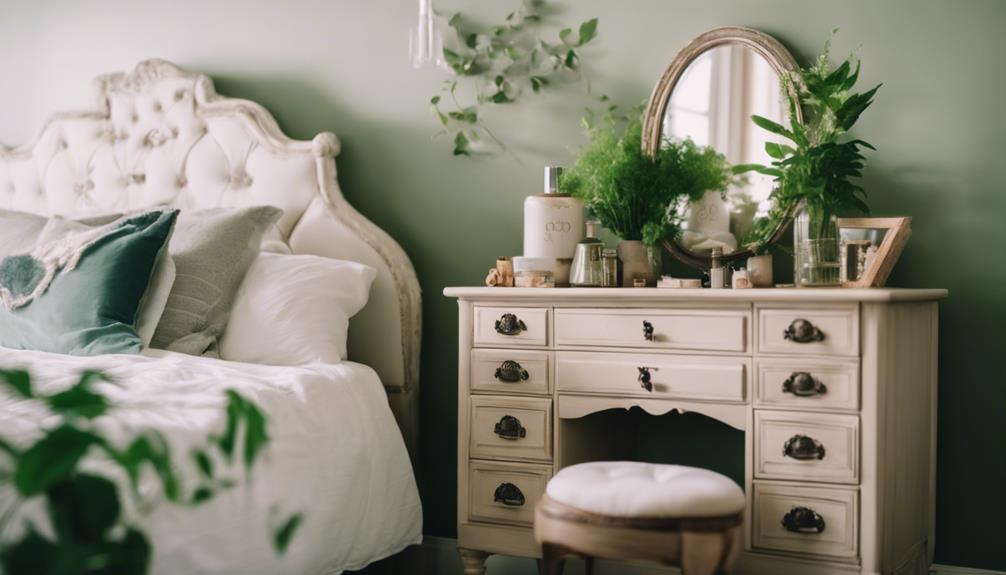
To repurpose your dresser successfully, you need to define its new purpose and plan the transformation process carefully. This is where you decide what kind of Repurposed Dresser Ideas you want to bring to life. Will it become a kitchen island, a bookshelf, or a bathroom vanity? Consider the style, design, and color scheme you want for the finished piece. Think about the Repurposed Life you want to give your old dresser.
| Repurposing Goals | Action Items |
|---|---|
| Define new purpose | Identify the dresser's new function |
| Plan design and style | Choose a style, design, and color scheme |
| Identify necessary repairs | Determine needed repairs or modifications |
| Create project timeline | Plan out the steps and timeline |
| Prepare supplies and tools | Make a list of required materials |
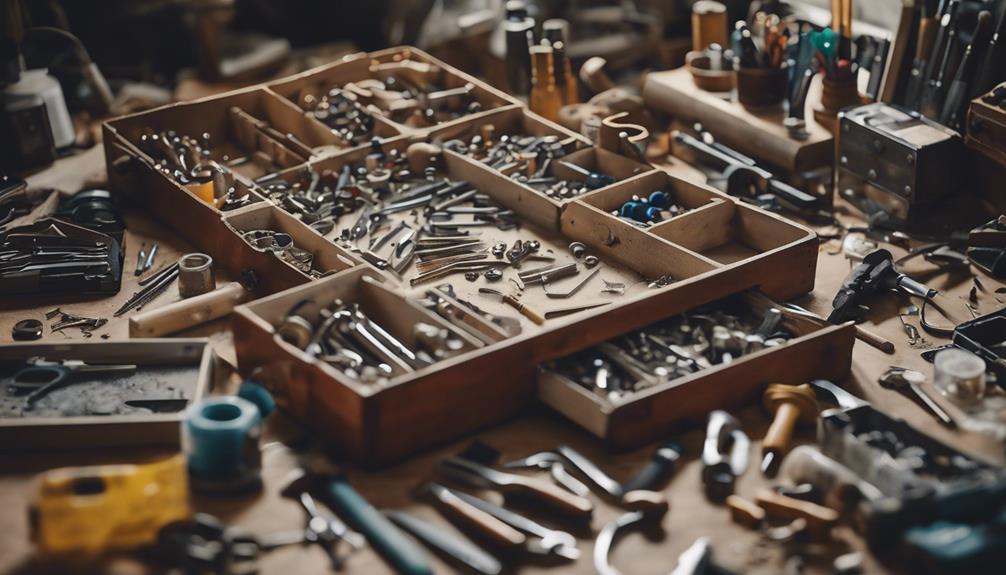
Identify Key Pieces
With your repurposing goals in mind, it's time to dissect your dresser into its key components, examining each part's potential to be reused or refashioned into something new.
Take a closer look at the drawers, frame, and hardware, considering how each piece can be repurposed. Think about how the drawers used to store clothes can now be used for storage in a home office or playroom.
Envision the frame transformed into a unique shelving unit or coffee table. Even the hardware can be reused or repurposed as decorative accents.
As you examine each piece, ask yourself what can be salvaged, what needs repair, and what can be refashioned into something entirely new.
By identifying the key pieces of your dresser, you'll be well on your way to developing a solid repurposing plan that meets your needs and creative vision.
Assess Current State
You'll need to evaluate the current state of your dresser to develop a solid repurposing plan that meets your creative vision. Take a close look at your old chest of drawers and examine it for any damage, missing parts, or structural issues that need to be addressed before repurposing.
Consider the material and design of the dresser, as these factors will impact your repurposing plans. Evaluate the dresser's dimensions, features, and potential limitations to align with your desired outcome.
Are you looking to create a unique storage unit, a bench, or perhaps a kitchen island? Determine the desired function and style of your repurposed dresser.

VASAGLE MAEZO Collection - Extendable Dining Table for 4/6/8, Kitchen Table with Tapered Legs, Curved Transitions, for Dining Room, Kitchen, Home Office, Honey Brown UKDT090K01V1
Style Reigns: Discover the MAEZO Collection—a furniture line featuring streamlined designs, tapered legs, and smooth, curved transitions. Each...
As an affiliate, we earn on qualifying purchases.
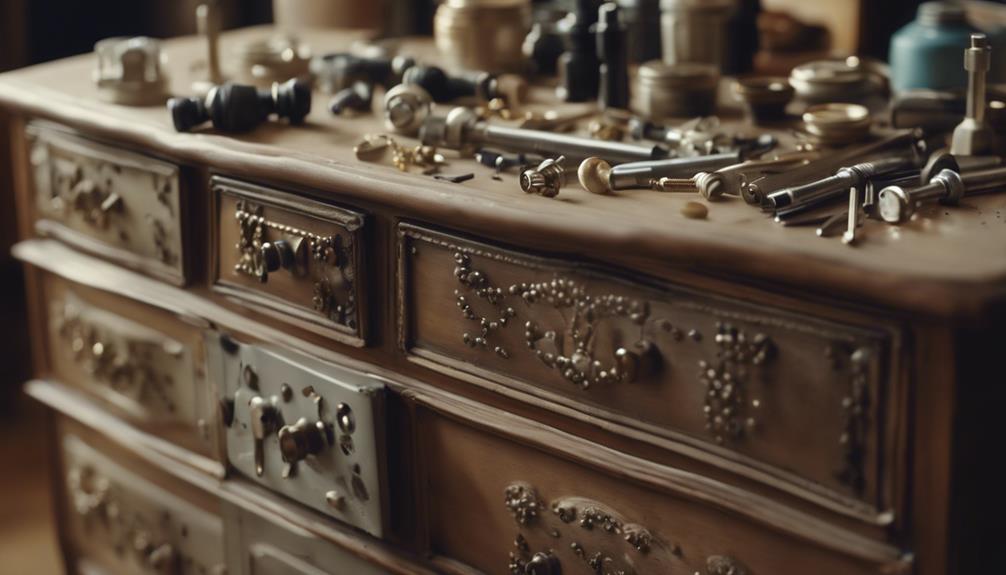
Remove Hardware and Sand
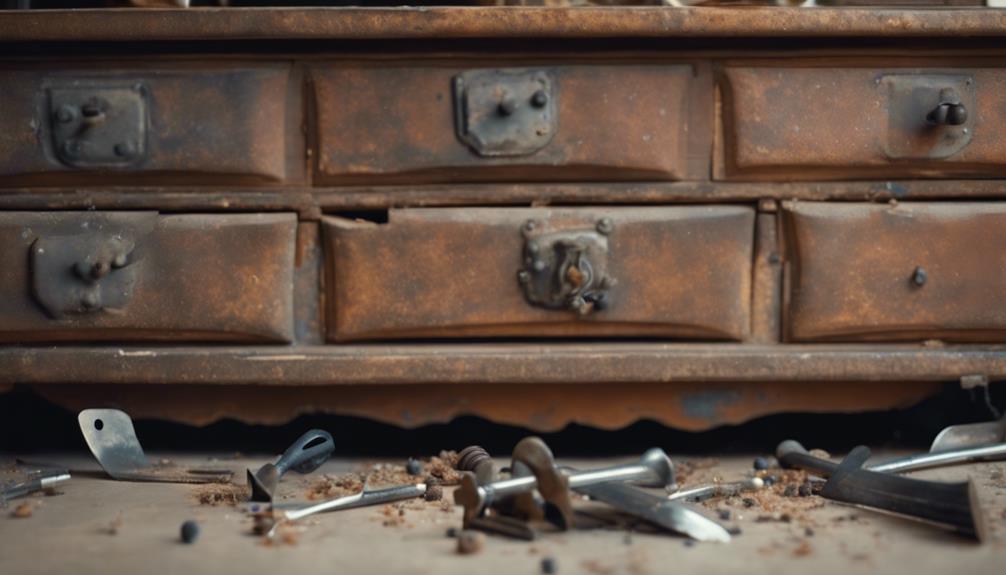
When embarking on the process of repurposing your dresser, it's crucial to remove the old hardware and sand down the surface to create a clean slate for your new design.
You'll need to tackle three key tasks: removing old hardware, cleaning metal surfaces, and sanding down rough edges.
Removing Old Hardware
Remove every piece of old hardware from the dresser, carefully detaching handles and knobs from the drawers and doors using a screwdriver or drill. Set the removed hardware aside, keeping it in a safe place for later use or replacement with new hardware. This step is vital in preparing your dresser for its new look. Be gentle when removing the hardware, as you don't want to damage the surrounding surfaces.
With the hardware removed, it's time to smooth out the surfaces where the handles and knobs were attached. Sanding is essential in creating a smooth finish, ensuring a polished look for your repurposed dresser. Use a fine-grit sandpaper to gently sand the areas, removing any residue or rough spots. This step will help prepare the surfaces for painting or staining, giving your dresser a fresh, new appearance.
Cleaning Metal Surfaces
With the hardware removed and surfaces sanded, turn your attention to the metal components, where a thorough cleaning is necessary to guarantee a strong bond between the metal and any new finishes you'll apply. You've already taken the first step by removing the hardware, and now it's time to focus on the metal surfaces themselves. Use sandpaper to gently smooth out any rough patches or imperfections, establishing a smooth surface for your new finishes.
| Step | Action | Purpose |
|---|---|---|
| 1 | Remove hardware | Prevent interference with new finishes |
| 2 | Sand metal surfaces | Smooth out rough patches and imperfections |
| 3 | Wipe down surfaces | Remove dust and debris |
| 4 | Inspect and repeat | Ensure a smooth, clean surface for new finishes |
Sanding Down Rough Edges
By stripping away the old hardware, you're left with a blank canvas, ready to be smoothed out and refined. Now it's time to focus on sanding down rough edges and imperfections on the dresser surface. To do this, grab a medium-grit sandpaper and get to work. Remember to sand in the direction of the grain to guarantee a smoother finish.
As you sand, pay attention to corners and detailed areas that may require extra attention. These areas can be tricky to navigate, but taking your time will yield a better result. Once you've sanded down the entire surface, use a damp cloth to wipe away any dust or debris. This step is essential in preparing the dresser for its new look.

HOMBIX Extendable Dining Table, Transformer Folding Console Table for 10-12 People, Space Saving Dining Room Table for Apartments & Homes, Walnut
Features 5 removable extension leaves (35.4" x 19.7" each), allowing the table to expand from a compact 20.1"...
As an affiliate, we earn on qualifying purchases.
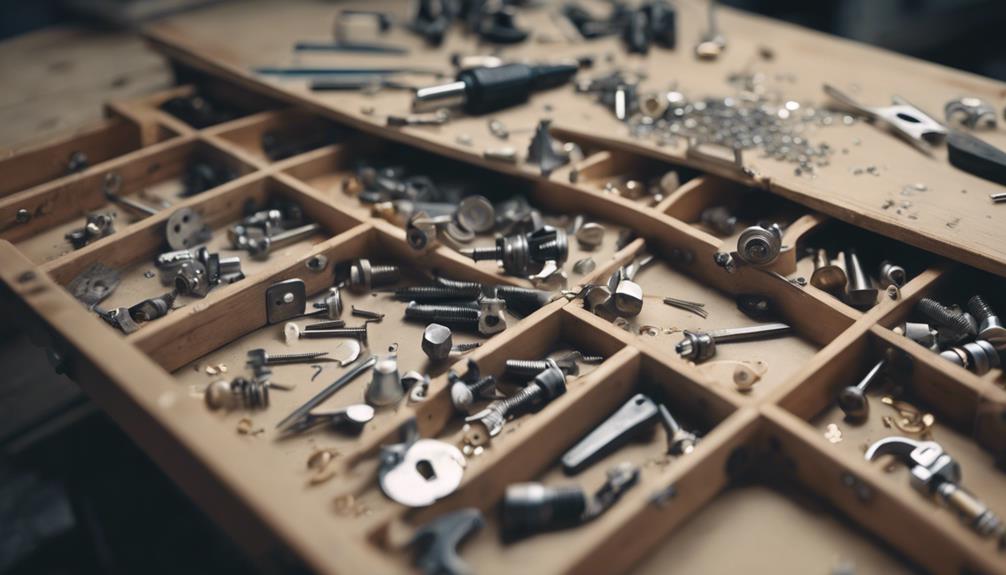
Disassemble and Prepare
Take apart your dresser's components, like drawers and shelves, to access all surfaces and make refurbishing easier. This step is important in making sure you don't miss any spots during the repurposing process.
As you disassemble, remove all hardware such as handles, knobs, and hinges from the dresser. Set them aside for later use.
Now, it's time to prepare the surfaces for painting or finishing. Here are the essential steps to follow:
- Sand down the surfaces to remove any existing paint, varnish, or imperfections.
- Clean the dresser thoroughly to ensure the paint adheres properly and the final result is smooth.
- Prepare the surfaces with primer for a professional look.
- Remove any dust or debris from the sanding process to guarantee a smooth finish.
Apply Paint and Primer
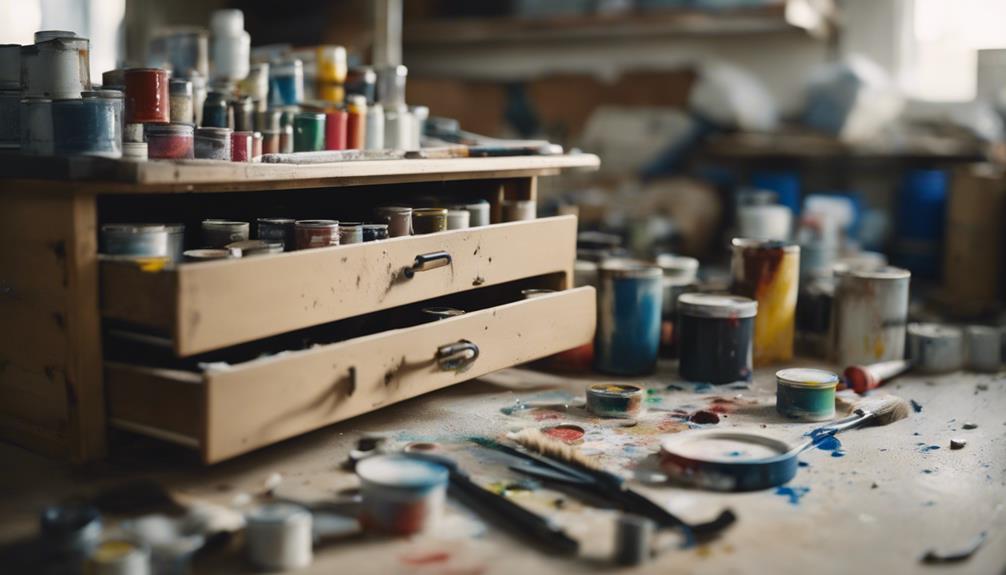
Now that you've prepared your dresser's surface, it's time to apply paint and primer.
You'll want to start by prepping the surface to guarantee a smooth finish, and then move on to applying paint with some valuable tips to keep in mind.
Prep the Surface
You'll need to strip away the dresser's existing finish by sanding the surface to create a smooth canvas for painting. This essential step guarantees a strong bond between the old surface and the new paint. As you repurpose your dresser, remember that a well-prepared surface is vital to a beautiful, long-lasting finish.
To prep the surface, follow these necessary steps:
- Sand the dresser: Remove any existing paint or finish to create a smooth base for painting.
- Apply a coat of primer: Help the paint adhere better to the dresser and provide a uniform surface for painting.
- Choose the right paint: Select a high-quality paint suitable for the dresser material (wood, metal, etc.) and desired finish (matte, glossy, etc.).
- Apply paint evenly: Use a paintbrush or paint sprayer to apply multiple coats of paint, allowing each coat to dry completely before applying the next.
Paint Application Tips
With your dresser surface prepped and ready, apply a coat of primer to create a smooth, even base for painting. This important step guarantees a professional-looking finish and helps your new paint job adhere to the dresser material.
When applying primer, use thin, even coats to prevent drips and unevenness. Sand the dresser surface lightly beforehand to enhance paint adhesion.
Once you've applied the primer, it's time to add your chosen paint color. Choose a high-quality paint suitable for your dresser material, and apply it using a paintbrush, roller, or sprayer. Ensure full coverage by working in sections, and allow each coat to dry completely before adding additional coats. This patience will pay off in a beautiful, even finish.
Add New Hardware and Trim
To give your repurposed dresser a fresh new look, start by selecting hardware that complements its style and color. This is an essential step in transforming an old chest into a unique piece of furniture that reflects your personal style. As you explore DIY ideas, keep in mind that updating hardware and trim can make a significant difference in the overall aesthetic.
When choosing new hardware, consider the following:
- Durability: Select hardware that can withstand everyday use.
- Style: Make sure the hardware complements the dresser's style and color.
- Functionality: Choose hardware that's functional and easy to use.
- Customization: Add decorative trim pieces to cover imperfections and add a custom touch.
Attach Decorative Elements
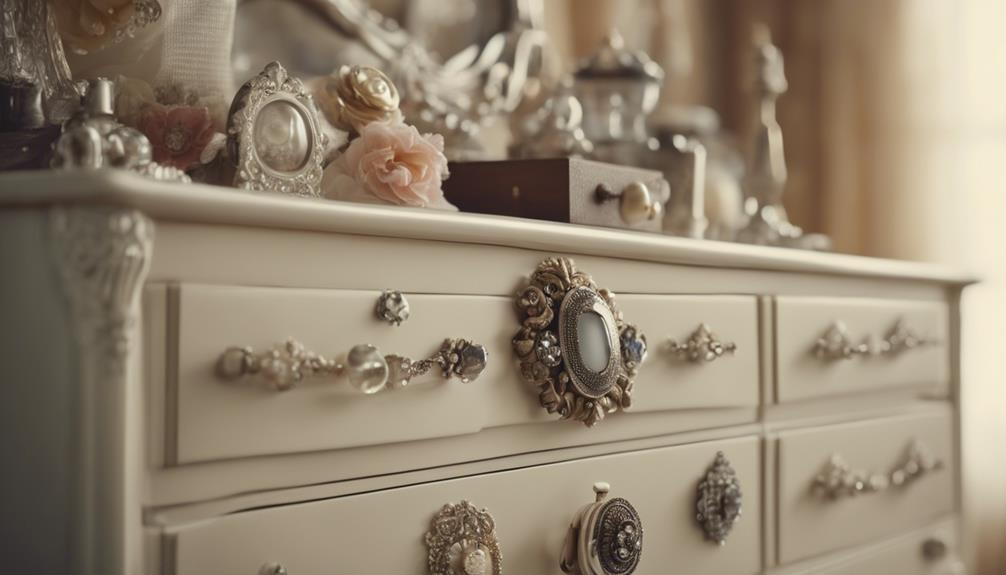
Now that your repurposed dresser has new hardware, it's time to add some personality with decorative elements that complement its style and the room's theme. You can consider adding trim, molding, or appliques to enhance the look of your dresser. When choosing decorative elements, make sure they align with the style and theme of the room where the dresser will be placed.
Here are some popular decorative elements you can consider:
| Decorative Element | Description | Purpose |
|---|---|---|
| Trim | Narrow strips of wood or other materials | Adds a decorative border or accent |
| Molding | Ornamental strips of wood or other materials | Adds depth and visual interest |
| Appliques | Decorative designs or patterns | Adds a touch of elegance or whimsy |
Remember to attach decorative elements securely using wood glue, nails, or screws for durability and longevity. Use a level to guarantee they're attached straight and evenly for a professional finish. You can also paint or stain the decorative elements to match or contrast with the dresser, adding visual interest and tying the look together.
Add Finishing Touches
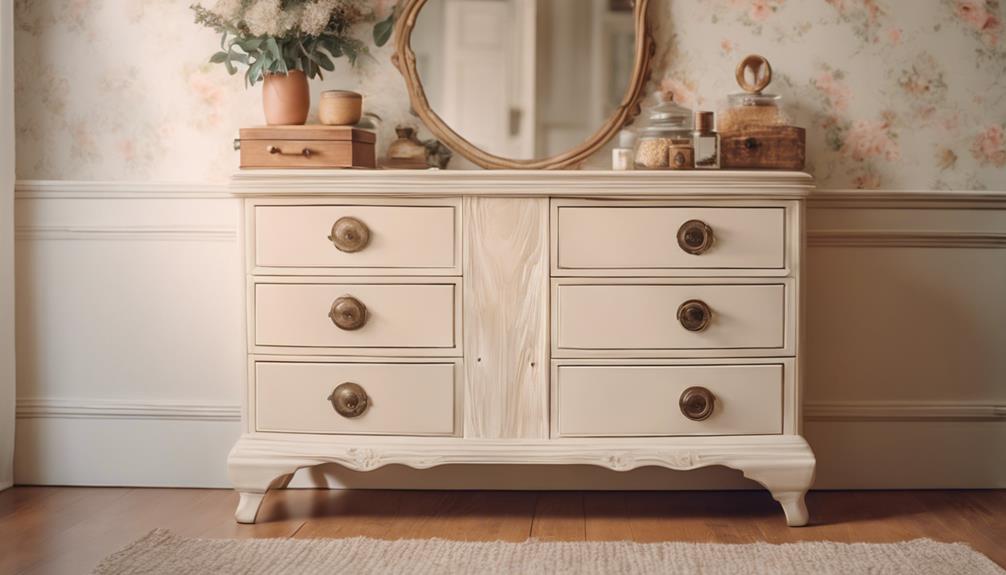
You're ready to put the final flourishes on your repurposed dresser, and it's time to focus on adding those extra details that will make it truly special. This is where you can get creative and add the finishing touches that will elevate your old furniture into a one-of-a-kind piece.
Here are some ideas to contemplate:
- Add decorative knobs or handles to give your dresser a personalized touch.
- Apply a coat of sealant or varnish to protect the newly painted surface and add a glossy finish.
- Use stencils or decals to add a design element or personalized message to your repurposed dresser.
- Ponder adding a cushion or padding to the top of the dresser if you've repurposed it into a bench or seating area.
Inspect and Refine
Before diving into the creative process, take a closer look at your dresser's overall condition to identify any flaws or areas that need attention. Inspect the dresser thoroughly, checking for damage, broken parts, or structural issues that may impact your repurposing plans. Take note of any quirks or unique features that can be incorporated into your design. Consider the style, size, and functionality of the dresser to plan your project efficiently and effectively.
Once you've assessed the dresser's condition, it's time to refine it. Sanding down existing paint or finish is crucial to create a smooth surface for painting or refinishing. This step will guarantee a professional-looking finish and help your new design shine.
Be sure to address any structural issues, such as loose joints or weakened shelves, to ensure your repurposed dresser is sturdy and functional. By taking the time to inspect and refine your dresser, you'll set yourself up for success and create a beautiful, one-of-a-kind piece that reflects your personal style.
Finalize and Enjoy
With your repurposed dresser complete, take a moment to finalize every detail, ensuring a polished finish and maximum functionality. Double-check that all hardware is securely attached, and the dresser is fully assembled. Now, take a step back and admire your handiwork, appreciating the transformation and creativity that went into repurposing the dresser.
Here are a few final touches to contemplate:
- Add decorative elements: Incorporate any decorative elements, such as knobs or handles, to give your dresser a personalized touch.
- Organize storage space: Arrange the storage space to optimize its functionality, making it easy to access your belongings.
- Enjoy the functionality: Appreciate the functionality and aesthetic appeal of your repurposed dresser in its new role or space.
- Share your accomplishment: Share your accomplishment with others, inspiring them to contemplate repurposing furniture for their own DIY projects.
Frequently Asked Questions
How Can I Repurpose an Old Dresser?
You're wondering how to repurpose an old dresser?
Well, the possibilities are endless! You can transform it into a bench, shelf, or entertainment center, adding functionality and style to any room.
Get creative and think beyond traditional furniture uses – it could become a planter, pet station, or even outdoor furniture.
By repurposing, you'll not only give new life to an old piece but also save money and reduce waste.
How to Renovate a Dresser?
Renovating a dresser is like giving an old friend a makeover – it requires some TLC and elbow grease!
To get started, strip the dresser of its hardware and sand it down to remove the existing finish. Clean and prime the surfaces, and if needed, disassemble the piece for easier renovation.
Then, apply multiple coats of paint, allowing each coat to dry before adding the next.
How Do You Upgrade a Boring Dresser?
You're looking to upgrade a boring dresser, and you're wondering where to start. Begin by swapping out the hardware for modern or unique handles to give it a fresh look.
Then, consider painting it with a bold color or trendy finish, like chalk paint, to completely transform its appearance.
You can also add decorative trim or molding for a customized look, or get creative with wallpaper, contact paper, or stencils to add patterns and designs.
What to Put in a Dresser Besides Clothes?
You might be surprised to know that the average American spends around 30 minutes daily searching for misplaced items.
To maximize your time, consider repurposing your dresser to store items beyond clothes. For instance, you can store linens, towels, and bedding, keeping them organized and easily accessible.
You can also utilize it to store office supplies, craft materials, or even seasonal items like hats and gloves, keeping them within reach and freeing up space in your home.
Conclusion
With your repurposed dresser finally complete, you can't help but feel a sense of pride and accomplishment, much like a master chef presenting their magnum opus.
Your once-forgotten piece of furniture has been transformed into a unique, functional work of art, ready to take center stage in your home.
As you step back to admire your handiwork, remember that repurposing isn't just about giving old things new life, but also about giving yourself a sense of creative fulfillment.