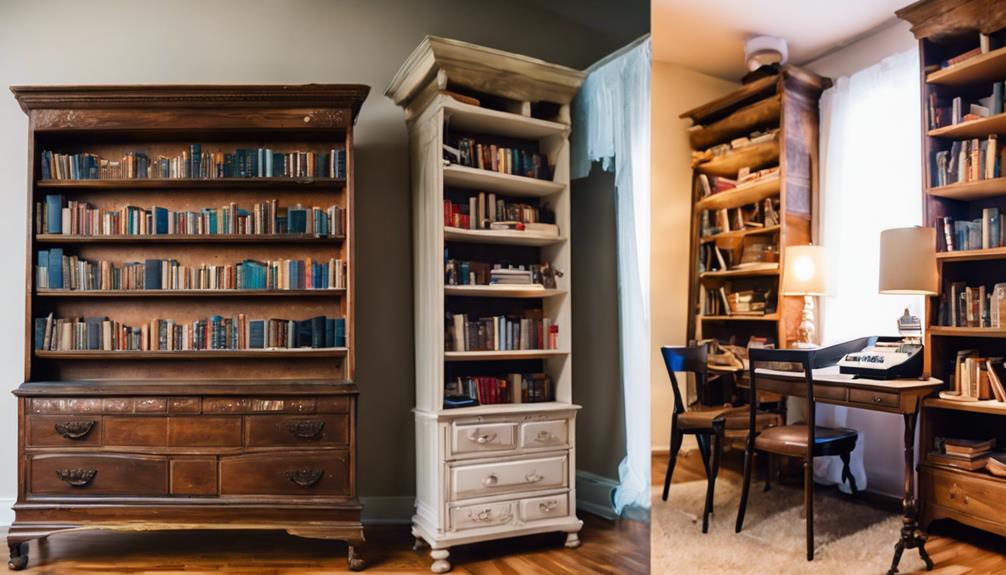
You'll start by finding a sturdy dresser with ample storage space and smooth-gliding drawers, carefully selecting a piece that will provide a solid foundation for your bookshelf conversion. Next, remove hardware, fill holes, and sand the dresser for a smooth finish. Disassemble drawers for efficient sanding and painting, then reassemble and attach them together using metal plates. Add sturdy legs for stability and extra storage, and decide on shelf spacing to create a cohesive look. Finally, secure the bookshelf to the wall and reinforce it for safety – and you'll have a one-of-a-kind bookshelf with a unique past. But that's just the beginning…
Key Takeaways
• Ensure a sturdy construction by attaching sturdy legs to the dresser for stability and extra storage.
• Master sanding techniques to achieve a smooth surface before painting the dresser and drawers.
• Disassemble drawers for efficient sanding and labeling before painting to create a unique look.
• Assemble drawers together using metal plates to form shelves, maintaining a cohesive look with balanced spacing.
• Secure the bookshelf to the wall using suitable wall anchors and screws that anchor into studs for stability.
Find the Perfect Dresser
When scouring thrift stores, estate sales, or online marketplaces, look for a dresser with sturdy construction and ample storage space that can be repurposed into a functional bookshelf. You'll want to take into account the dimensions of the dresser to make sure it fits the intended space for the bookshelf transformation. Take note of any damage or missing parts that may impact the dresser's suitability for conversion. Additionally, evaluate the style and design of the dresser to determine if it aligns with the desired look of the bookshelf.
A dresser with drawers is an excellent find, as they can be easily converted into shelves for efficient repurposing. Look for drawers that are sturdy and well-built, with smooth gliding mechanisms. Take into consideration the size and number of drawers, ensuring they can accommodate the items you plan to store on your future bookshelf.
Remove Hardware and Fill Holes
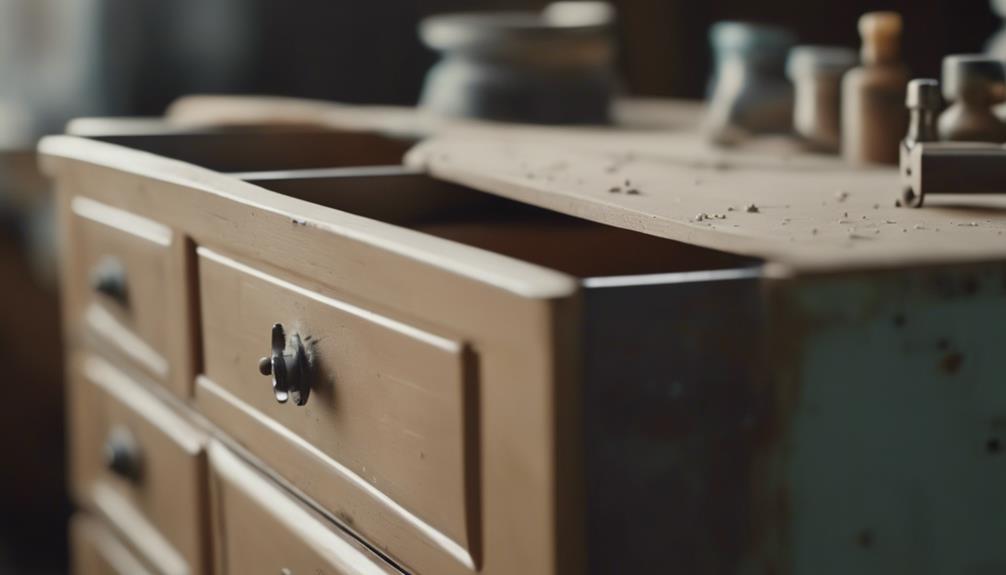
You'll need to strip the dresser of its hardware, including knobs, handles, and drawer slides, to start the transformation process. This might seem like a tedious task, but it's important to remove all the existing hardware to create a clean slate for your bookshelf.
Once you've removed the hardware, you'll be left with holes and gaps where the screws and bolts used to be. To fill these holes, use a wood filler that matches the color of your dresser as closely as possible. Let the filler dry, then sand it down to a smooth finish.
Next, sand the entire dresser to remove any existing finish or paint, ensuring a rough surface for the new paint to adhere to. This step is vital in preparing the dresser for its fresh new look.
Don't forget to wipe down the dresser with a tack cloth to remove any dust or debris from sanding before moving on to the painting process. By following these steps, you'll be well on your way to turning that old dresser into a beautiful bookshelf.
Sand and Prepare Drawers
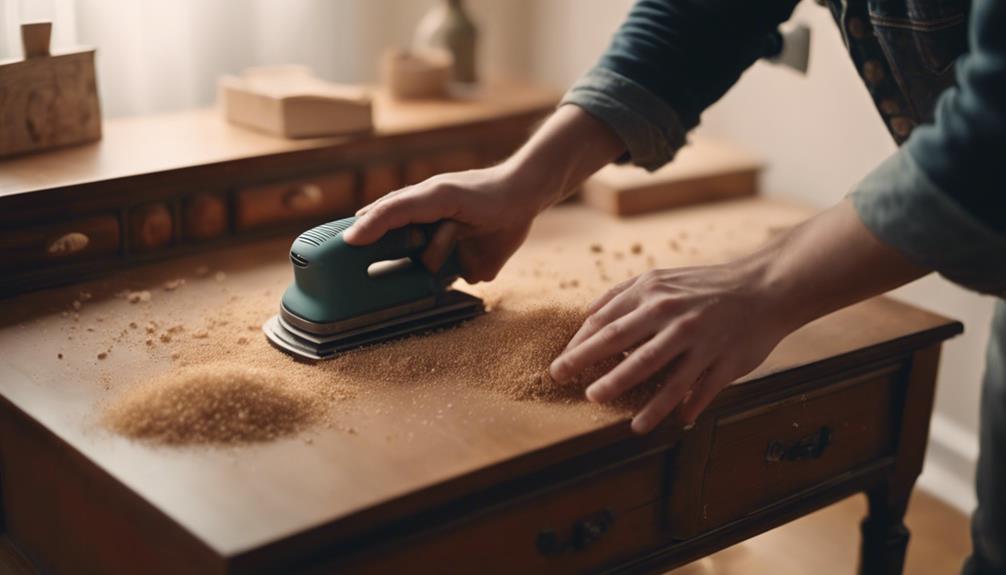
As you move forward with transforming your dresser into a bookshelf, it's crucial to focus on sanding and preparing the drawers. You'll need to master various sanding techniques to guarantee a smooth surface, which we'll explain in detail, and consider disassembling the drawers to make the process more efficient.
Additionally, you'll learn how to smoothen out imperfections and create a consistent finish, resulting in a professional-looking final product.
Sanding Techniques Explained
With your Ryobi orbital sander and 80 grit sandpaper at the ready, start by removing the hardware from each drawer to prevent scratching the surfaces during the sanding process. This vital step guarantees that your sanding efforts yield a smooth, even finish.
Next, focus on the drawer fronts, where you'll apply gentle, consistent pressure to remove any imperfections or rough spots. As you sand, work in small, circular motions, gradually moving from one area to the next. Be sure to sand each drawer individually, taking your time to achieve a flawless surface.
Remember, proper sanding techniques are key to a professional-looking finish. By dedicating the time and effort to sanding, you'll create a clean, even surface that's perfect for painting and assembling your bookshelf.
With each drawer expertly sanded, you'll be one step closer to transforming your old dresser into a beautiful, functional bookshelf.
Drawer Disassembly Tips
Disassemble the dresser by removing the drawers and taking out the slides. Set aside the hardware, including knobs and handles, to prevent damage or loss.
As you begin the drawer disassembly process, label each drawer to keep track of their original positions for reassembly. Remove any remaining hardware, such as screws or brackets, to guarantee a smooth switch.
Next, sand down the drawers to remove any existing finish or imperfections, creating a smooth surface for your new bookshelf. If you notice any holes or cracks, fill them with wood filler to ensure a seamless appearance.
Clean the drawers thoroughly to remove any dust or debris before painting or repurposing.
Smoothening Out Imperfections
Sanding your drawers with 80-grit sandpaper is the first step in smoothening out imperfections, allowing you to remove old finishes and create a smooth surface for your future bookshelf.
Before you start sanding, make sure to remove any hardware and give your drawers a thorough cleaning to guarantee a smooth process.
An orbital sander can be a huge timesaver when it comes to efficiently sanding the surfaces of your drawers. As you sand, keep an eye out for any holes or blemishes that need attention.
Don't worry, these imperfections can be easily filled with wood filler, leaving your drawers looking like new. Once you've filled any holes, let the wood filler dry completely before sanding it down to a smooth finish.
Remember, properly preparing your drawers is essential for a successful transformation into a bookshelf, so take your time and don't rush through this important step.
With a little patience and elbow grease, you'll be left with beautifully sanded drawers that are ready for their new life as bookshelves.
Paint Each Drawer Uniquely
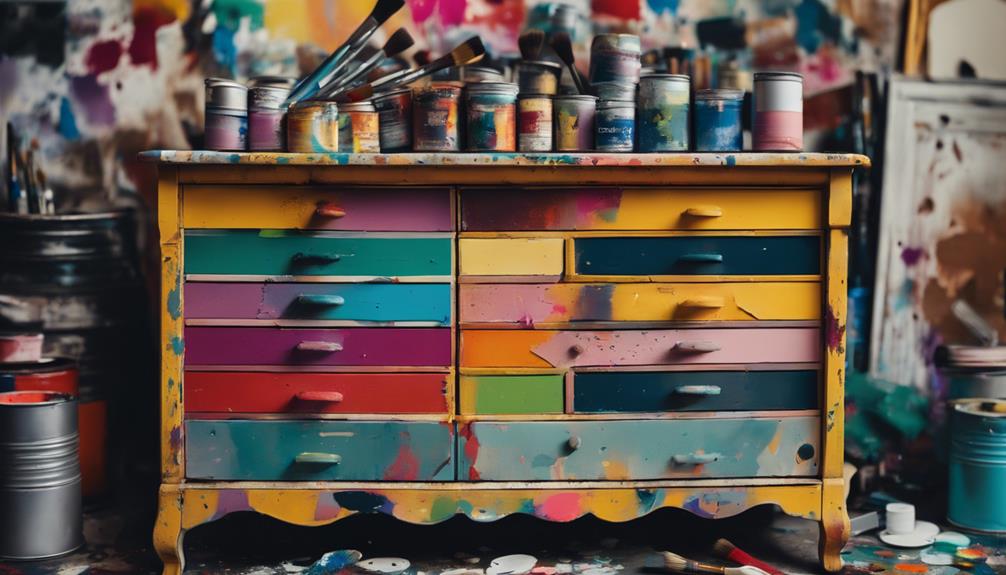
As you get ready to paint each drawer uniquely, you'll want to contemplate the overall aesthetic you're aiming for. You can choose a color scheme that complements the room's decor, play with patterns to add visual interest, or experiment with texture contrasts to create a one-of-a-kind look.
In the following sections, we'll explore these points in more detail, providing you with the inspiration and guidance you need to bring your design vision to life.
Color Scheme Options
You can express your creativity by painting each dresser drawer a unique color, enabling you to infuse your personality into the bookshelf's design. This approach allows you to think outside the box and create a one-of-a-kind piece of furniture that reflects your style. With Fusion Mineral Paint offering a wide range of colors, you can choose a custom color scheme that complements your home decor.
Here are a few ideas to get you started:
- Monochromatic scheme: Choose different shades of the same color to create a cohesive look.
- Complementary colors: Select colors that are opposite each other on the color wheel to add visual interest.
- Analogous colors: Pick colors that are next to each other on the color wheel to create a harmonious palette.
Pattern Play Ideas
By painting each drawer with a unique pattern or design, you can create a one-of-a-kind bookshelf that showcases your personality and adds a touch of whimsy to any room. This approach allows you to think outside the box and get creative with your design. You can choose patterns that complement the wood of the dresser or contrast with it to create a bold look.
Here are some pattern play ideas to get you started:
| Drawer 1 | Drawer 2 | Drawer 3 |
|---|---|---|
| Striped | Polka dots | Chevrons |
| Floral | Geometric | Ombre |
| Herringbone | Chevron | Houndstooth |
Texture Contrast Tips
Paint each drawer individually to create a unique and textured look that adds depth and visual interest to your bookshelf. By doing so, you'll achieve a one-of-a-kind piece that showcases your creativity.
Using a custom paint mix for each drawer will add an extra layer of visual interest and contrast, making your bookshelf truly stand out.
Here are some tips to keep in mind:
- Consider using Fusion Mineral Paint for a durable and high-quality finish that will make your bookshelf look amazing.
- Emphasize the charm of the bookshelf by incorporating varying textures and colors on each drawer, which will make it turned out great.
- Don't be afraid to experiment with different colors and textures to create a cohesive yet varied appearance that adds character to your bookshelf.
Attach Legs for Stability
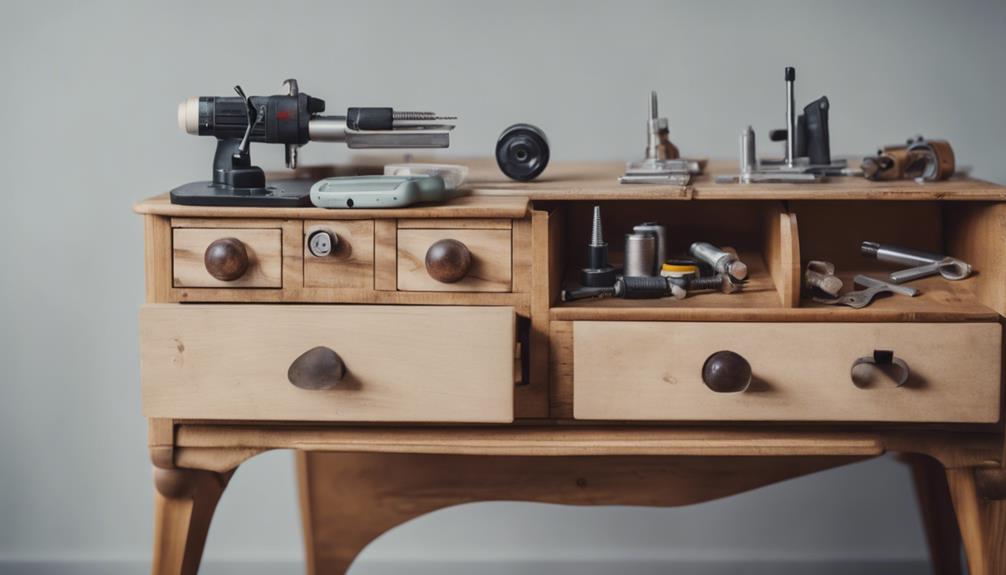
Secure the dresser to the floor with sturdy legs, which will prevent it from tipping over and give you extra storage space underneath. As you're turning your dresser into a bookshelf, this step is essential for stability and functionality.
You can find metal plates at a hardware store that can securely attach legs to the bottom of the dresser. Before attaching the legs, make sure to paint or finish them to match the overall aesthetic of your bookshelf. When attaching the legs, use wood glue to reinforce the bond, and consider adding screws for extra security.
A dresser turned bookshelf with sturdy legs won't only provide a stable surface for your books but also enhance the visual appeal of the piece. By attaching legs, you're creating a functional and stylish storage solution that's perfect for any room. With the legs securely in place, you can focus on the next step in transforming your dresser into a beautiful bookshelf.
Assemble Drawers Into Shelves
With your dresser now stabilized on its new legs, it's time to repurpose the drawers as shelves, and the first step is to remove the hardware from each drawer and fill in the holes. This will give you a clean surface to work with. You're transforming an old dresser into a unique bookshelf, after all!
To assemble the drawers into shelves, follow these steps:
Remove the hardware from each drawer and fill in the holes, then sand the surface for a smooth finish.
Paint each drawer individually with your desired color or finish, adding a personal touch to your new bookshelf.
Attach the drawers together securely, using metal plates for added stability, and arrange them in your desired order.
Add Space Between Shelves
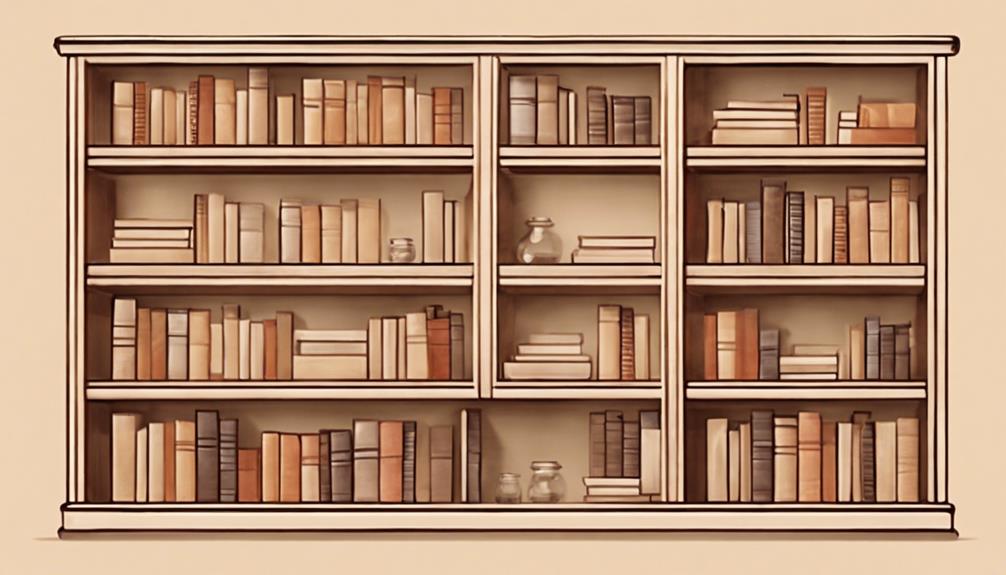
Set the tone for your unique bookshelf by deciding on the perfect spacing between shelves, which can make or break the overall look and functionality of your project.
Now that you've assembled the drawers into shelves, it's time to add space between them. You can achieve this by incorporating drawer lips as shelf dividers, which not only add visual interest but also provide a natural separation between each shelf.
The beauty of using drawer lips lies in their adjustability – you can control the distance between shelves by adjusting the size and shape of the lips. This clever hack eliminates the need for additional hardware or supports between the shelves, maintaining the bookshelf's functionality while enhancing its aesthetic appeal.
By using drawer lips, you'll create a one-of-a-kind bookshelf that's both stylish and functional.
As you add space between shelves, remember to take into account the overall flow and balance of your bookshelf, ensuring that each shelf has enough room to breathe while maintaining a cohesive look.
Secure Bookshelf to Wall

As you secure your bookshelf to the wall, you'll want to contemplate the type of wall anchor options available to guarantee maximum stability.
To prevent tipping, it's essential that you position the bookshelf flush against the wall and use screws that anchor into studs for maximum support.
Wall Anchor Options
You'll need to choose the right type of wall anchor to secure your bookshelf to the wall, and there are several options to take into account. When it comes to transforming a dresser into a bookshelf, especially one made of stained wood, wall anchors are crucial for preventing tipping accidents. You'll want to select an anchor that can support the weight of your bookshelf, taking into consideration the material and design of your wall.
Here are some common types of wall anchors to ponder:
- Plastic expansion anchors: These are inexpensive and easy to install, but may not provide the same level of support as other options.
- Toggle bolts: These anchors are more heavy-duty and can provide extra holding power, making them a good choice for heavier bookshelves.
- Screw-in anchors: These anchors are easy to install and can provide a high level of support, making them a popular choice for many DIY projects.
Remember to follow the manufacturer's instructions for weight capacity and installation to make sure your wall anchors provide the support your bookshelf needs. By choosing the right wall anchor, you can enjoy your new bookshelf with confidence.
Prevention of Tipping
With your wall anchors in place, it's time to secure your bookshelf to the wall, guaranteeing it won't topple over and cause damage or injury.
You're taking an essential step in the prevention of tipping, which is necessary for the safety of your new bookshelf.
To secure the bookshelf, use the wall anchors and screws to attach it firmly to the wall. It's important to drill into studs to provide a strong anchor point, creating a rock-solid piece of furniture.
By taking these precautions, you'll ensure the safety of your bookshelf in any environment. This step is critical, as it prevents the bookshelf from tipping over, which can lead to damage or even injury.
Add Reinforcement for Safety
To guarantee your newly repurposed dresser-bookshelf doesn't topple over, you must add reinforcement for safety, an important step that's often overlooked but can prevent devastating accidents. Securing your dresser-bookshelf to the wall is essential to prevent tip-overs, which can be deadly.
By doing so, you'll achieve a sturdy and reliable piece of furniture that will serve you well.
Here are some essential reinforcement tips to keep in mind:
- Drill into wall studs to ensure stability and a solid anchor point for your dresser-bookshelf.
- Use solid wood for reinforcement, providing added security and preventing the dresser from shifting or toppling.
- Achieve a flush placement against the wall, ensuring your dresser-bookshelf doesn't lean or wobble, making it rock solid.
Final Touches and Enjoy

Now that your dresser-bookshelf is securely anchored to the wall, it's time to add the finishing touches that will make it shine. With the hard work behind you, it's time to focus on the finer details that will bring your creation to life.
| Task | Description | Tips |
|---|---|---|
| Apply Finish | Seal and add shine with a protective finish like polycrylic | Choose a clear coat to maintain the original wood tone |
| Add Decorative Elements | Enhance the look with trim, molding, or hardware | Select a style that complements your space |
| Arrange Shelves | Personalize with books, decor, and storage baskets | Balance heavy items with lighter ones |
| Stand Back and Admire | Appreciate your transformed dresser bookshelf | Take pride in your handiwork! |
As you put the final touches on your project, remember to step back and admire your handiwork. Your dresser-bookshelf looks great, and with a protective finish, it's ready to withstand the test of time. Take pride in knowing you've given new life to an old piece of furniture, and enjoy the functional bookshelf that now serves a new purpose in your space.
Frequently Asked Questions
Can You Turn a Dresser Into a Bookshelf?
You're wondering if it's possible to turn a dresser into a bookshelf. The answer is yes, you can! By repurposing the drawers as shelves, removing the drawers, adding shelving supports, and giving it a fresh coat of paint, you can create a unique and functional bookshelf.
This DIY project offers a cost-effective way to breathe new life into old furniture, allowing you to customize it to fit your space and style.
How to Make Shelves Out of Dresser Drawers?
You're wondering how to make shelves out of dresser drawers? Start by preparing the drawers by removing hardware, filling holes, and sanding for a smooth surface.
Then, paint each drawer individually to give it a personalized look.
Next, attach salvaged legs to the bottom of the drawers for stability.
How to Repurpose Dresser Drawers?
You're about to unleash the potential of your old dresser, transforming it into a unique bookshelf. Think of it as giving new life to a retired athlete, where each drawer is a medal waiting to be polished and displayed.
To repurpose dresser drawers, you'll need to remove hardware, fill holes, and sand them smooth. Then, get creative with custom paint colors and attach salvaged legs for a one-of-a-kind look.
How to Make a Dresser Look Nicer?
You're wondering how to make a dresser look nicer?
Start by sanding down the surfaces to remove imperfections and provide a smooth base for painting.
Replace worn-out knobs with new ones to instantly improve the dresser's appearance.
Add decorative trim or molding to the edges for a more finished look.
Conclusion
As you step back to admire your handiwork, the transformed dresser-turned-bookshelf stands tall, its unique personality shining through.
The once-forgotten furniture now holds stories of its own, its drawers now shelves, bursting with tales of adventure, wisdom, and imagination.
Like a phoenix rising from the ashes, your creativity has breathed new life into a discarded relic, crafting a functional work of art that will inspire and delight for years to come.
