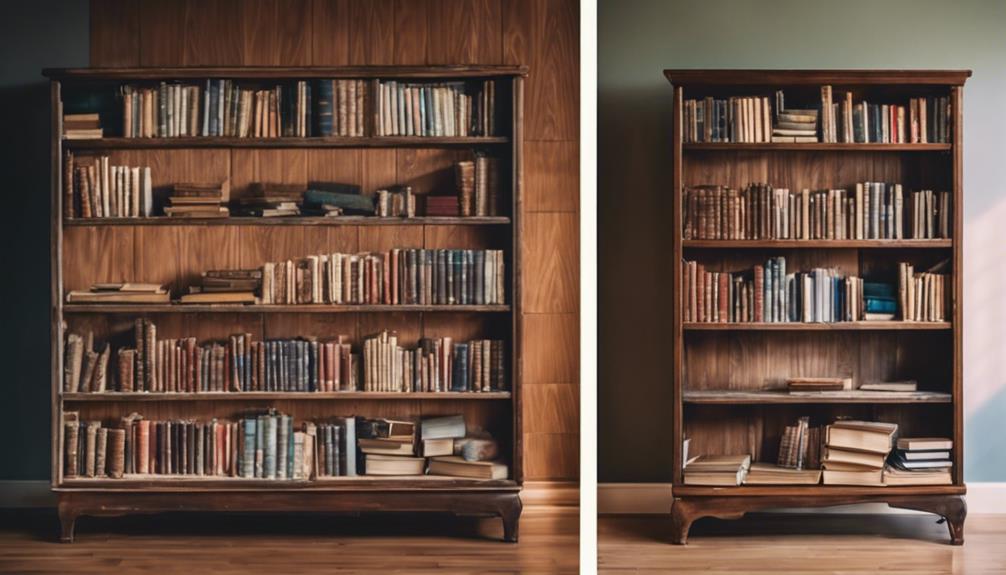
You can upcycle an old dresser into a functional bookshelf in three simple steps. First, prepare the dresser frame by removing the top drawer supports, detaching the front, and evaluating its foundation for adjustments. Next, add shelves and supports by measuring and marking shelf locations, cutting shelves to fit, and securing them in place. Finally, refinish and decorate the bookshelf by sanding, refinishing, and adding decorative elements like paint, trim, or hardware. By following these steps, you'll transform an old dresser into a one-of-a-kind bookshelf that not only reduces waste but also showcases your creativity – and there's more to explore in this process.

Get furniture and decor delivered free — and shop member deals
- Fast, free delivery on millions of items
- Access to Prime Big Deal Days deals on October 6–7
- Prime Video, Amazon Music and more included
Key Takeaways
• Remove the top drawer supports and detach the front of the dresser to assess its foundation and prepare for transformation.
• Measure and mark shelf locations inside the dresser, then cut shelves to fit and install shelf supports or cleats along the sides.
• Secure shelves in place with screws or brackets, ensuring they are level and properly spaced for optimal book storage and display.
• Refinish the dresser to eliminate imperfections, and add decorative hardware or knobs to enhance its aesthetic appeal.
• Add decorative elements, such as baskets or bins, to personalize the shelves and create a unique bookshelf that showcases your creativity.
adjustable shelf supports for dresser conversion
As an affiliate, we earn on qualifying purchases.
As an affiliate, we earn on qualifying purchases.
Prepare the Dresser Frame
Remove the top drawer supports and detach the front of the dresser to expose the frame, giving you a clean slate to work with. This initial step is important in preparing the dresser for its transformation into a bookshelf. You'll be working with a blank canvas, so to speak, allowing you to visualize and bring your design to life.
As you detach the drawers, take note of the frame's structure and any areas that may need attention. This is your opportunity to assess the dresser's foundation and make any necessary adjustments before moving forward. Remember to set aside the removed parts, as you may need them later in the transformation process.
With the frame exposed, you can now begin shaping and cutting new pieces to fit your design. This is where your creativity can shine, so don't be afraid to get creative and think outside the box – or in this case, the dresser.
Add Shelves and Supports
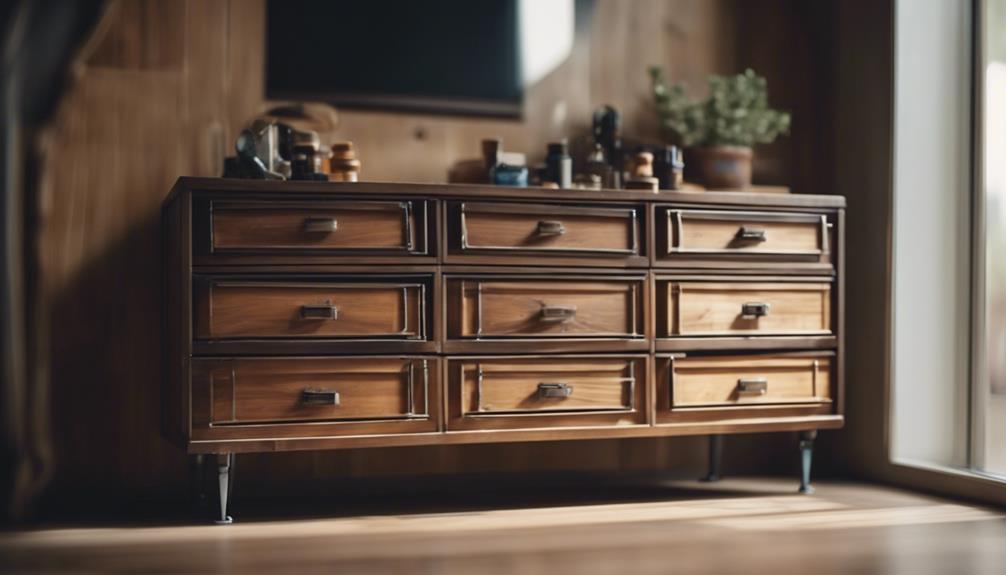
With your dresser frame exposed, you're ready to add the shelves and supports that will bring your bookshelf vision to life. Measure and mark where you want to add shelves inside the dresser, taking into account the space you need for your books or storage items. Next, use a saw to cut shelves to fit the dimensions of the dresser. Don't forget to install shelf supports or cleats along the sides of the dresser for the shelves to rest on.
Here's a breakdown of the shelf installation process:
| Step | Task | Tools Needed |
|---|---|---|
| 1 | Measure and mark shelf locations | Measuring tape, pencil |
| 2 | Cut shelves to fit dresser dimensions | Saw |
| 3 | Install shelf supports | Drill, screws |
| 4 | Secure shelves in place | Drill, screws, brackets |
Once you've installed the shelves, make sure they're level and properly spaced for your books or storage items. Anchor the shelves in place with screws or brackets for stability. With your shelves and supports in place, you're one step closer to transforming your dresser into a functional bookshelf.
Refinish and Decorate
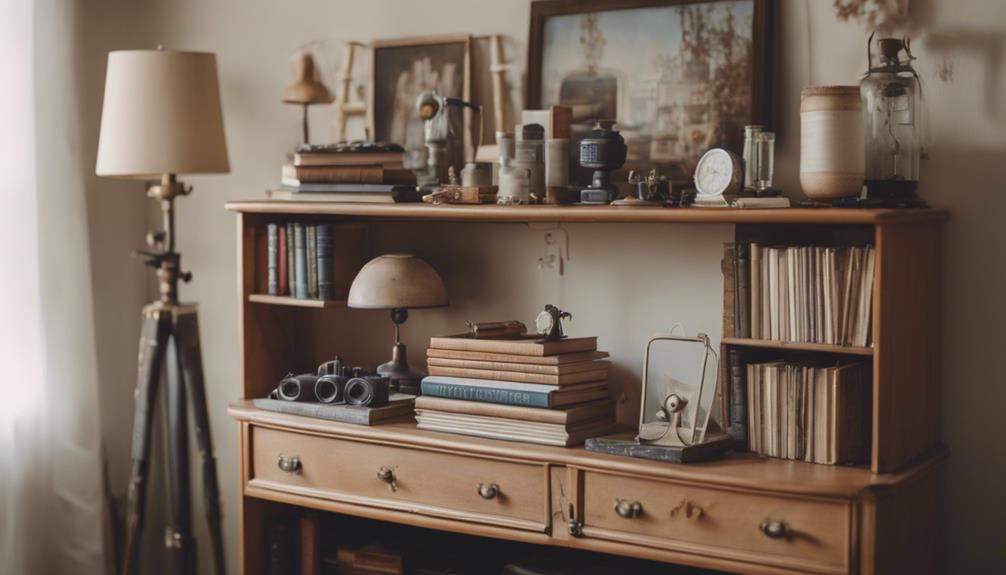
Now that your shelves are in place, you're ready to give your bookshelf a fresh new look by sanding and refinishing the dresser to eliminate any imperfections. This is where the magic happens, and your dresser turned bookshelf starts to take shape.
Refinish and decorate your repurposed dresser to match your desired aesthetic. You can use paint, trim, or other embellishments to give it a unique touch. Consider adding decorative hardware or knobs to enhance the overall look of the bookshelf. Don't be afraid to experiment with different color schemes, finishes, and styles to create a one-of-a-kind piece.
To add a personal touch, use accessories like baskets, bins, or decorative items to organize and personalize the shelves. With a little creativity, your dresser turned bookshelf will be a stunning addition to any room.
Frequently Asked Questions
Can You Turn a Dresser Into a Bookshelf?
You're wondering if it's possible to turn a dresser into a bookshelf. The answer is yes, you can! By repurposing the drawers into shelves, you can create a functional and stylish bookshelf.
This DIY project is a great way to upcycle old furniture, maximize storage space, and reduce waste. With some creativity and elbow grease, you can transform an old dresser into a unique and functional bookshelf that suits your needs.
How to Make Shelves Out of Dresser Drawers?
As you start on this DIY journey, picture transforming a worn-out dresser into a vibrant bookshelf, breathing new life into a forgotten piece of furniture.
To make shelves out of dresser drawers, begin by removing all hardware and filling any holes with wood putty. Then, thoroughly sand the drawer and measure the insides to determine the shelf width.
This important step guarantees a seamless fit for your new shelves.
How Do You Convert a Plain Dresser?
When you want to convert a plain dresser, you're likely looking to breathe new life into a piece of furniture that's no longer serving its original purpose.
To get started, remove the hardware and drawers to create a blank canvas. From there, you can repurpose the dresser frame by adding new shelves, painting or refinishing the surface, and incorporating decorative elements to match your desired aesthetic.
How to Turn a Dresser Into a Toy Box?
You're looking to turn a dresser into a toy box, a fantastic way to repurpose old furniture and create a functional storage solution for kids' toys.
Start by removing the drawers and hardware to create a spacious interior for toy storage.
Consider adding shelves or dividers to organize different types of toys, and repaint or refinish the dresser to match the room's decor.
Conclusion
Now, your once-cluttered dresser has transformed into a bookshelf that's the epitome of organizational elegance, a true phoenix from the ashes.
You've given new life to an old piece, and the result is a functional work of art that's as unique as it's useful.
As you step back to admire your handiwork, remember that upcycling isn't just about reducing waste, but about tapping into your creativity and turning trash into treasure.
Halloween Picks
halloween
As an affiliate, we earn on qualifying purchases.