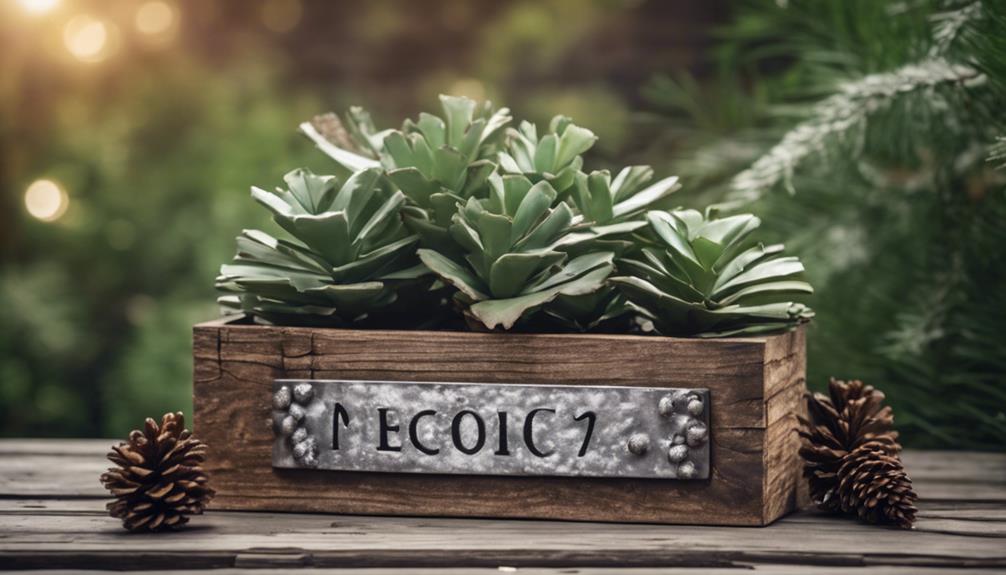
We're creating a rustic address planter to add a touch of charm to our outdoor decor, and we're breaking it down into 7 essential steps. First, we'll prepare our materials and tools, gathering wood, address numbers, and more. Next, we'll sand and distress the wood to give it a rustic look. Then, we'll assemble the planter box base, attach the sides, and stain and seal the wood for a polished finish. After that, we'll attach the house numbers securely and mount the planter to the wall. With these steps, we can create a beautiful planter that adds a personal touch to our home's exterior, and by following these steps, we'll get all the details to make it happen.
Key Takeaways
• Prepare materials and tools, including wood, glue, nails, and sandpaper, to ensure efficiency and quality.
• Sand and distress the wood to achieve a rustic, aged look, using progressive grits and a sanding block.
• Assemble the planter box with precise measurements, using wood glue and a nail gun, and adding drainage holes for healthy plant growth.
• Stain and seal the wood with an outdoor-friendly sealant, choosing a color that complements the rustic charm and ensures visibility of metal numbers.
• Attach house numbers securely and strategically, using spacers and a durable adhesive, to ensure easy identification and visibility.
Prepare Your Materials and Tools
We'll begin by gathering all the necessary materials and tools, making sure we've everything we need within arm's reach to create our rustic address planter. Our materials list includes wood, address numbers, wood glue, nails, wood filler, sandpaper, primer, and outdoor paint.
We'll also need tools like a saw, nail gun, drill, measuring tape, paintbrushes, and a tack cloth for a smooth finish. Having all these essentials within reach will save us time and frustration as we work on our project.
When planning our rustic address planter, we'll consider the dimensions of our planter box and house numbers for proper placement and visibility. We want our house number to be clear and easy to read, so we'll choose a size and font that fits our planter's design.
With our materials and tools ready, we can move on to the next step, confident that we've everything we need to create a beautiful and functional rustic address planter.
Sand and Distress the Wood
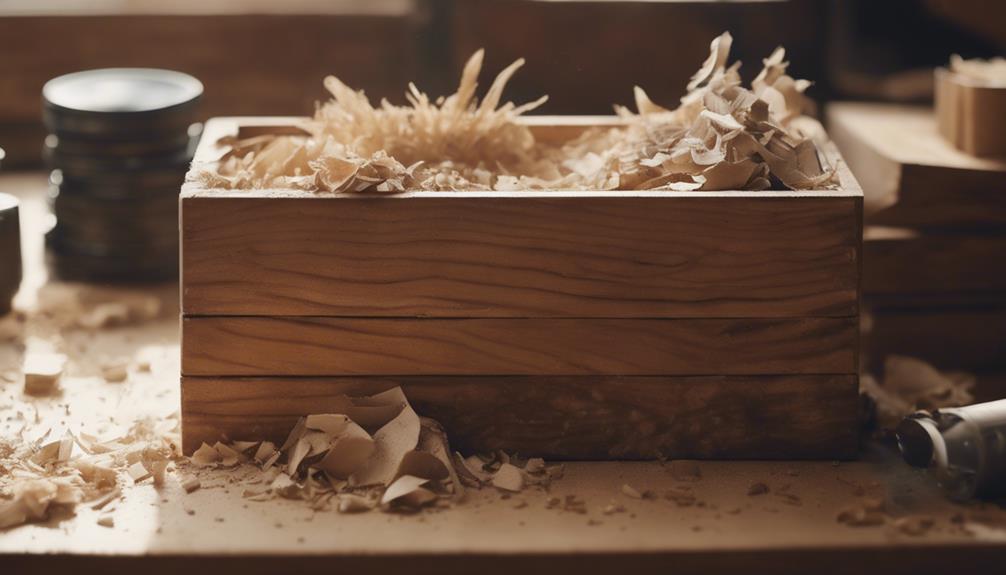
With our materials and tools ready, let's get our hands dirty and start sanding the wood to create a smooth surface for painting or staining, and then distress it to give our rustic address planter an authentically aged look.
Sanding the wood helps to create a smooth surface, which is essential for painting or staining. We'll use sandpaper with different grits to achieve a more authentic distressed appearance. To add a rustic touch, we'll focus on distressing the edges and corners, mimicking natural wear and tear.
Here's a quick rundown of our sanding and distressing process:
- Start with coarse-grit sandpaper (about 80-100) to smooth out the wood surface.
- Gradually move to finer grits (120-150) for a smoother finish.
- Use a sanding block to help keep the sandpaper flat and prevent uneven scratches.
- Distress the wood by focusing on edges and corners, using a combination of sandpaper and a hammer to create a worn, aged look.
Assemble the Planter Box Base
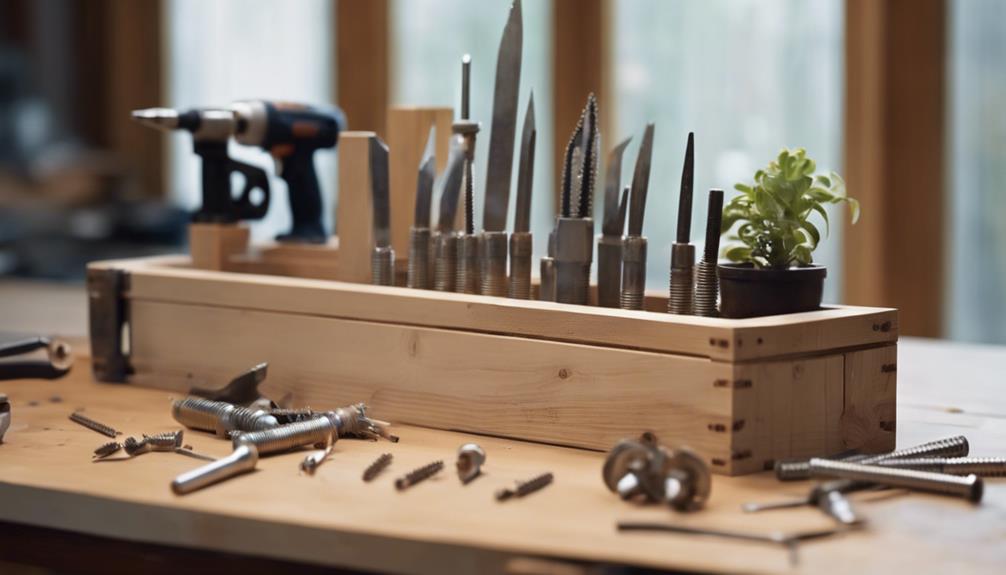
To create the base of our rustic address planter, we measure and cut the wood pieces to precise dimensions, guaranteeing a sturdy structure that can support the weight of the planter and its contents. We use wood glue and a nail gun to securely attach the pieces together, forming a solid foundation for the planter. This guarantees that our planter box base is stable and can hold the weight of the soil, plants, and any decorative elements we'll add later.
Next, we fill any gaps or imperfections with wood filler and sand the base to create a smooth surface for painting or staining. We also consider adding drainage holes to the bottom of the planter box to promote healthy plant growth and prevent waterlogging.
Attach the Planter Box Sides
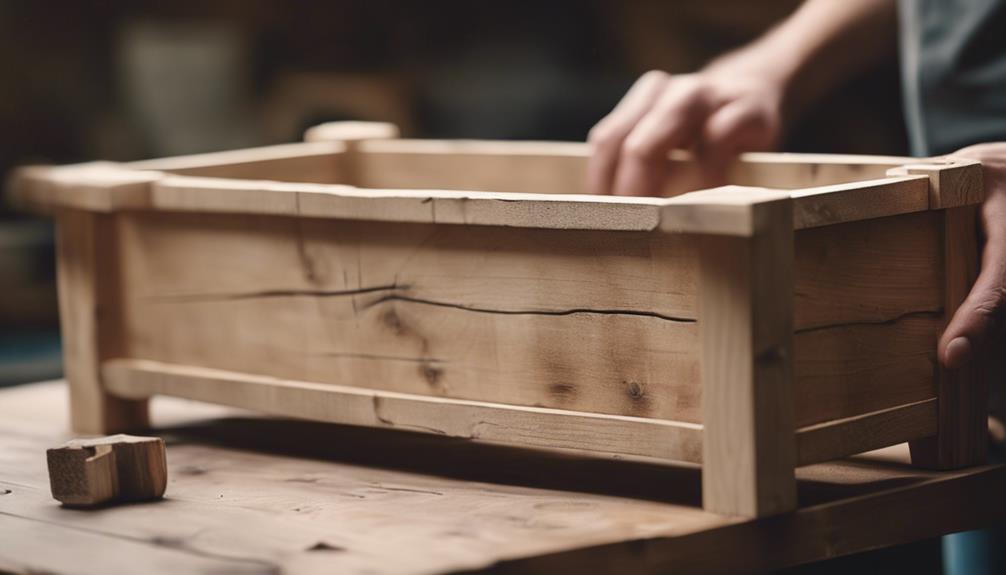
We attach the sides of the planter box to the back piece, making sure they're evenly spaced and flush for a cohesive look. This step requires precision and attention to detail to guarantee our planter box looks rustic and charming. We use wood glue and a nail gun to secure the sides, ensuring they're properly aligned and stable.
Here are some key considerations to keep in mind:
- Measure twice, nail once: Double-check your measurements to make certain the sides are evenly spaced and flush with the back piece.
- Use the right tools: A nail gun is essential for securing the sides quickly and efficiently.
- Reinforce the corners: Consider adding extra nails or screws to the corners for added strength and stability.
- Check and recheck: Verify the alignment and stability of the sides before moving on to the next step.
Stain and Seal the Wood
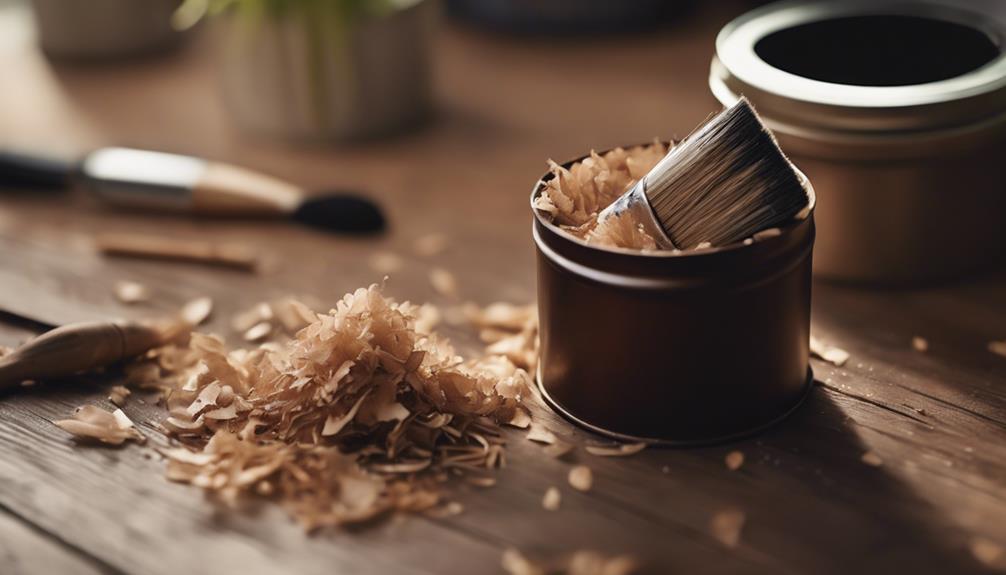
Now that our planter box is assembled, it's time to add some personality to the wood.
We'll explore our wood preparation tips to guarantee a smooth staining process, then discuss our wood staining options to find the perfect hue for our outdoor decor.
Wood Preparation Tips
As we prepare our wooden address planter for the outdoors, we sand the wood to create a smooth surface, removing any imperfections that might impact the stain's adhesion. We also fill any holes or cracks with wood filler to guarantee a flawless finish.
Here are some essential wood preparation tips to keep in mind:
- Sand with the grain:
Always sand in the direction of the wood grain to avoid scratches and marks.
- Remove dust and debris:
Wipe away any dust or debris from sanding to maintain a clean surface for staining.
- Fill holes and cracks:
Use a wood filler to mend any imperfections, letting it dry before sanding.
- Use a tack cloth:
Wipe down the wood with a tack cloth to eliminate any remaining dust or debris before applying stain.
Wood Staining Options
With our wood surface prepared, let's immerse ourselves in the world of wood staining options, where a touch of color can transform our rustic address planter into a stunning outdoor decor piece. We'll explore the various wood stain colors that can enhance the rustic charm of our planter.
| Wood Stain Color | Description |
|---|---|
| Natural | Accentuates the wood's natural beauty |
| Weathered Wood | Adds a distressed, aged look |
| Walnut | Rich, dark brown hue |
| Cedar | Warm, earthy tone |
| Grey | Soft, weathered appearance |
When choosing a wood stain color, consider the overall aesthetic you want to achieve. For instance, a natural stain will showcase the wood's natural beauty, while a weathered wood stain will give it a distressed, aged look. Remember, the wood stain color you choose will also impact the visibility of your metal numbers – for dark-colored numbers, consider using white paint or primer to make sure they stand out. By selecting the right wood stain color, we can create a cohesive look that ties our entire design together.
Sealing for Durability
We've selected our wood stain color, and now it's time to seal our rustic address planter to guarantee it withstands the elements and remains a beautiful outdoor decor piece for years to come.
Sealing our planter box is important to protect the wood from weathering and ensure its longevity. We'll apply a topcoat or sealant specifically designed for outdoor use to add an extra layer of defense against moisture and UV rays. This will help maintain the wood's natural beauty and prevent it from fading or cracking.
Here are some key points to keep in mind when sealing our planter:
- Choose the right sealant: Select a sealant designed for outdoor use to ensure durability in various weather conditions.
- Apply evenly: Make sure to apply the sealant evenly to avoid uneven color or texture.
- Follow instructions: Follow the manufacturer's instructions for application and drying times.
- Reapply regularly: Regularly reapply sealant to maintain the wood's appearance and prolong its lifespan.
Attach the House Numbers Securely
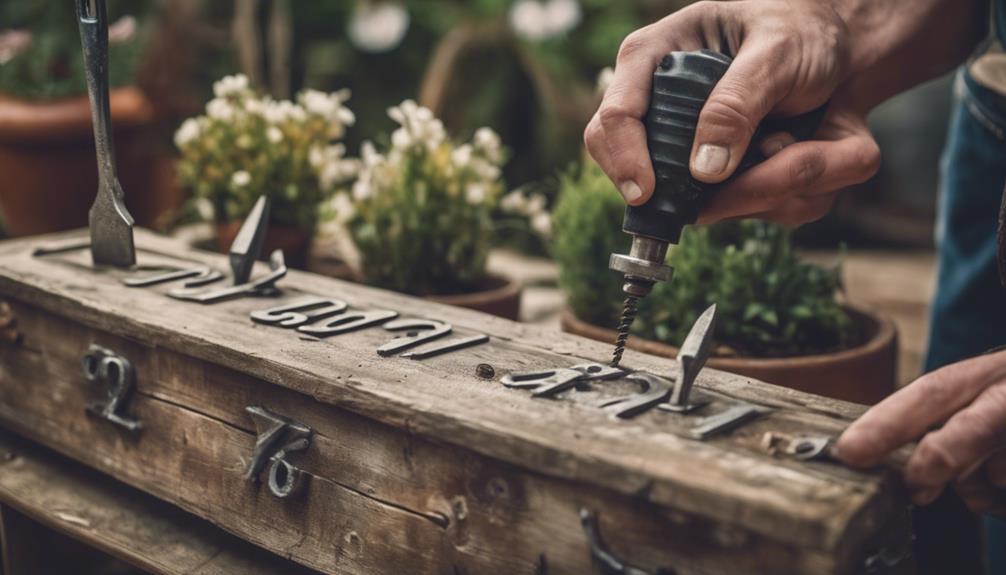
As we attach the house numbers to our planter box, we'll focus on three key points to guarantee a successful installation.
First, we'll prioritize secure number placement, making sure they're firmly attached and won't come loose over time.
Next, we'll consider ensuring visibility matters, selecting a spot that's easily readable from the street,
and finally, we'll discuss sturdy adhesive application methods to keep our numbers in place.
Secure Number Placement
We take precise care in attaching our house numbers, ensuring they're securely fastened to the planter box for clear visibility from the street. After all, the right house numbers can make a huge difference in identifying our home. To achieve this, we follow a few important steps.
Here's how we secure our house numbers:
- Use spacers: We make sure the numbers are mounted evenly and securely to avoid any unevenness.
- Pre-drill holes: We avoid splitting the wood by pre-drilling holes before attaching the numbers.
- Use provided hardware: We utilize the provided hardware to attach the numbers to the planter box securely.
- Check alignment: We double-check the alignment and placement of the numbers before finalizing their attachment.
Ensuring Visibility Matters
By attaching our house numbers securely and strategically, we guarantee that our home is easily identifiable, even from a distance. We want to make sure our house stands out, especially at night when visibility can be limited.
To achieve this, we'll choose high-contrast numbers that pop against the planter's background. Before attaching the numbers, let it dry completely to make certain a strong bond. We'll also pre-drill holes to avoid splitting the wood, making sure everything is secure and level.
Proper lighting is important, so we'll consider adding some subtle illumination to highlight our house numbers. This way, they'll be visible from the street, even in the dark.
By taking these precautions, we can rest assured that our home is easily locatable, making it easier for guests, delivery personnel, and emergency services to find us.
With our numbers securely in place, we can enjoy the fruits of our labor, knowing our DIY rustic address planter is both functional and visually appealing.
Sturdy Adhesive Application
With our planter box ready, it's time to securely attach our house numbers using a strong and durable adhesive designed for outdoor use, ensuring they can withstand the elements. This is an essential step, as we want our DIY rustic address planter to be durable and long-lasting, even in harsh weather conditions.
After all, we want to show off our handiwork on social media, don't we?
Here's what we need to do to attach our house numbers securely:
- Clean and dry the surface: Make sure the area where you'll attach the house numbers is free of dirt, dust, and moisture for maximum adhesion.
- Follow the manufacturer's instructions: Read and follow the instructions on the adhesive packaging for proper application and drying time.
- Apply the adhesive: Use the recommended amount of adhesive and apply it according to the instructions.
- Press firmly and secure: Press the house numbers firmly onto the planter box, ensuring a strong bond.
Mount the Planter to the Wall
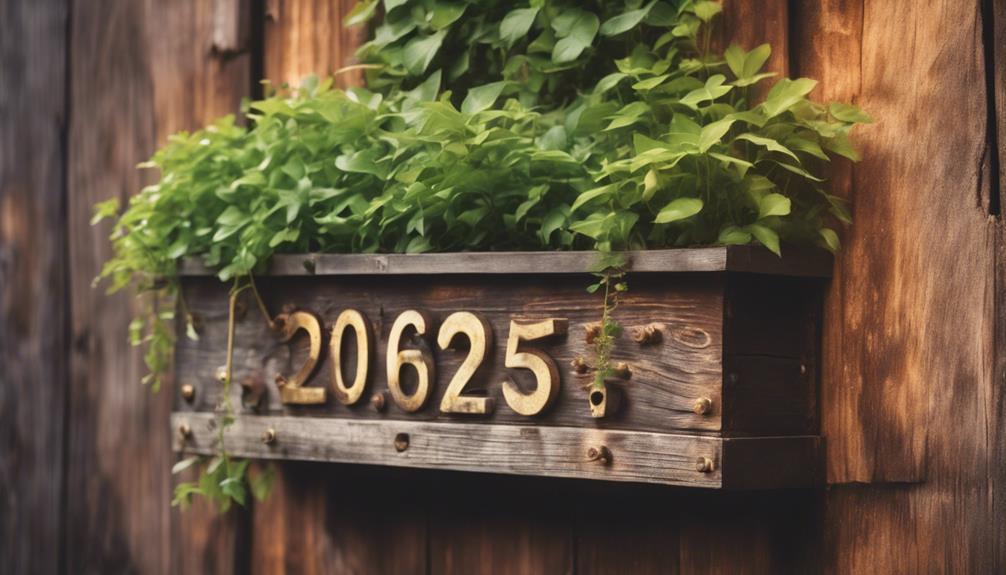
We'll position the planter on the wall, making sure it's level and securely attached. To achieve this, we'll use a level to verify the planter is straight, and consider using anchors or screws to firmly attach it to the wall. It's crucial to mount the planter at a comfortable height for easy access and maintenance.
| Mounting Considerations | Tips |
|---|---|
| Weight Capacity | Check the wall's weight capacity to support the planter with soil and plants |
| Height | Mount the planter at a convenient height for easy access and maintenance |
| Anchors | Use anchors or screws to securely fasten the planter to the wall |
| Regular Inspection | Regularly check the planter's mounting to ensure it remains secure and stable |
Frequently Asked Questions
How to Build an Address Post?
We're building an address post!
To get started, we measure and cut wood pieces to create the planter box.
Next, we securely attach house numbers using provided hardware, taking care to pre-drill holes to avoid damage.
Then, we hang the post on brick or wood using suitable hardware.
Conclusion
We've successfully crafted our own rustic address planter! According to the National Association of Landscape Professionals, 77% of homeowners believe that outdoor living spaces are essential to their overall quality of life.
With our DIY planter, we've not only added a touch of rustic charm to our exterior, but also created a functional piece that showcases our home's personality.
Now, go ahead and show off your handiwork to the neighborhood!
