
Exploring vibrant local hot spots can elevate hobbyists' passion and skills. Crafty Cafe offers cozy ambiance, craft supplies, and enjoyable Open Mic Nights. Join budget-friendly art classes at the Community Center for community connections and health benefits. Attend engaging gardening workshops at the Local Nursery for plant care expertise and therapeutic benefits. Improve photography skills at Meetups in the Park with networking opportunities. Lastly, participate in fitness classes at the Recreational Center led by certified instructors for physical health. Discover these spots and enhance your hobby experiences in a supportive environment.
Key Takeaways
- Crafty Cafe With Open Mic Nights for cozy crafting ambiance and live entertainment.
- Community Center Art Classes for budget-friendly art lessons and community building.
- Gardening Workshop at Local Nursery for hands-on plant care and networking opportunities.
- Photography Meetups in the Park for skill improvement and networking with fellow photographers.
- Fitness Classes at Recreational Center for diverse fitness options led by certified instructors.
craft supplies kit for beginners
As an affiliate, we earn on qualifying purchases.
As an affiliate, we earn on qualifying purchases.
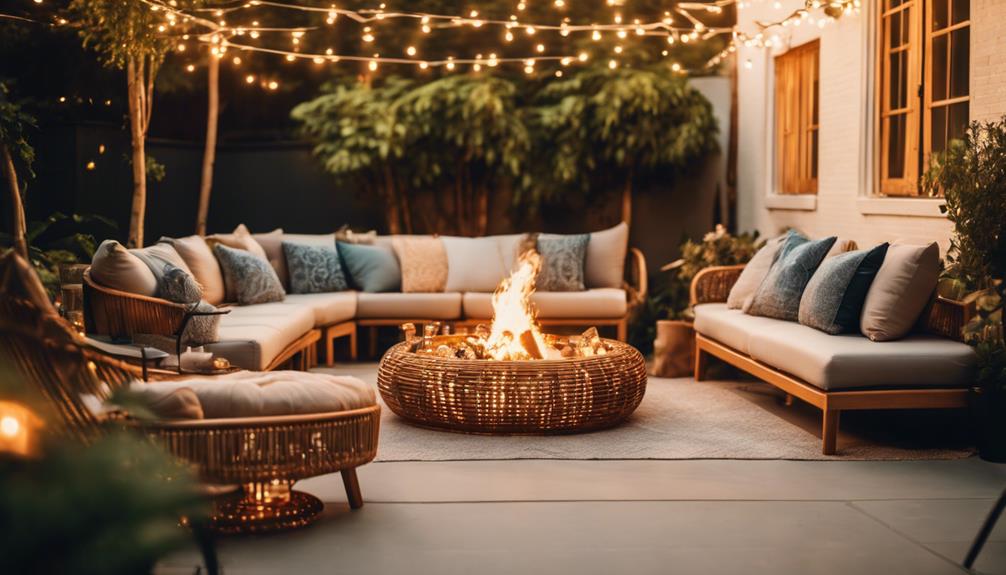
Crafty Cafe With Open Mic Nights
We love heading over to Crafty Cafe for their vibrant Open Mic Nights. The cafe provides a cozy ambiance where hobby enthusiasts gather to socialize, showcase their talents, and engage with the supportive community.
Crafty Cafe offers a variety of craft supplies and tools, making it a haven for individuals looking to explore different hobbies and projects. Additionally, the cafe hosts workshops and classes for beginners seeking to learn new crafting techniques and skills.
At Crafty Cafe, patrons can enjoy live music and poetry during the Open Mic Nights, which not only foster creativity but also showcase local talent. The atmosphere is perfect for mingling with like-minded individuals, making it an ideal spot for socializing and networking within the hobby community.
Whether you're a seasoned crafter or just starting out, Crafty Cafe's Open Mic Nights provide a welcoming space for all to come together and celebrate the joy of creativity.
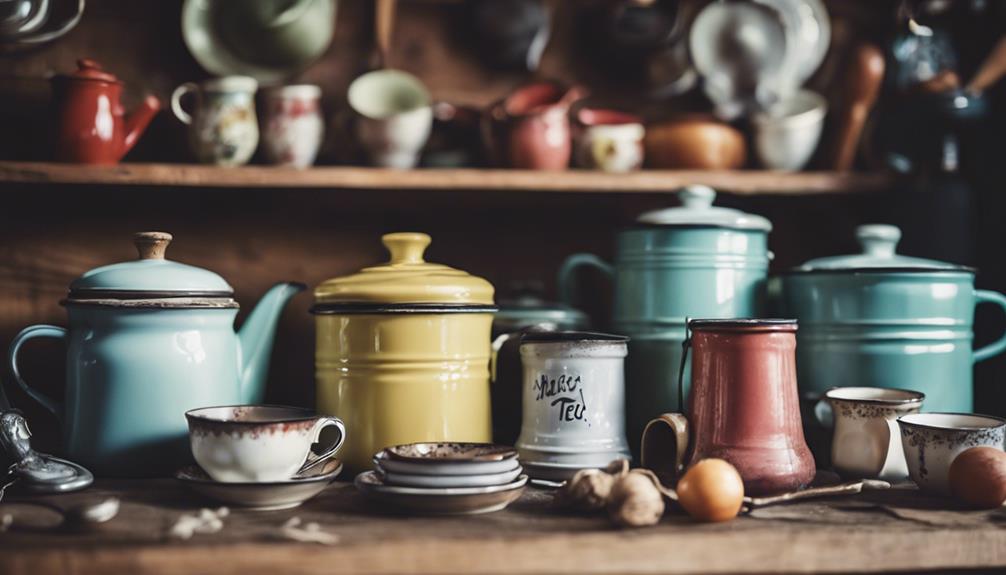
Community Center Art Classes

Exploring different mediums like painting, drawing, and ceramics, community center art classes offer hobby enthusiasts affordable opportunities to develop their skills and connect with fellow artists.
Here are four reasons why joining these classes can be beneficial for individuals looking to spend time learning a new hobby that gives back to the local community and offers health benefits:
- Skill Development: Community center art classes cater to all skill levels, providing a platform for individuals to enhance their artistic abilities under the guidance of experienced instructors.
- Community Connection: By joining these classes, hobbyists can meet like-minded individuals, fostering a sense of community and camaraderie around their shared passion for art.
- Affordability: These classes are usually budget-friendly, making them accessible to a wide range of people interested in pursuing art as a hobby.
- Health and Wellness: Engaging in art has been linked to various health benefits, such as stress reduction, improved cognitive function, and enhanced overall well-being.
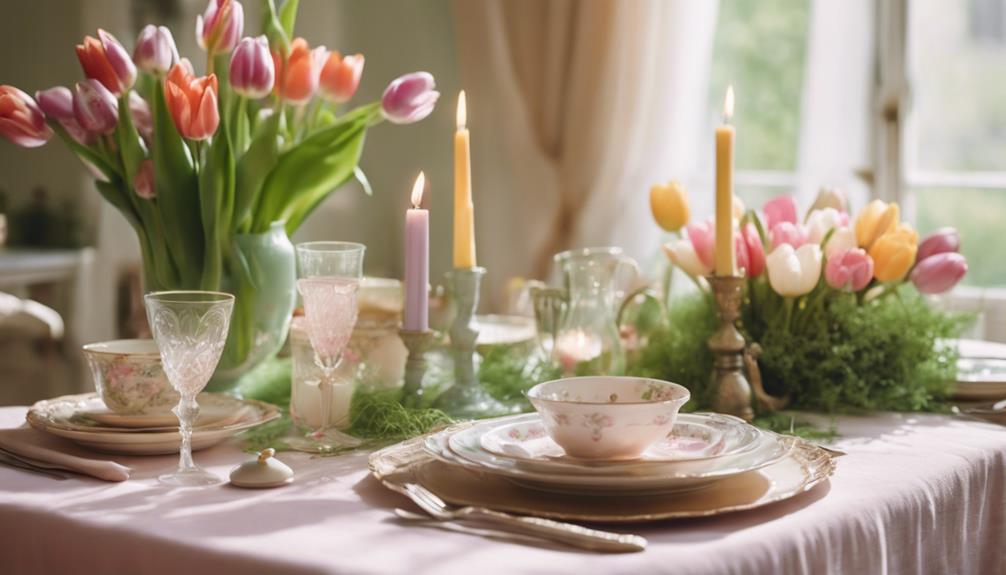
Gardening Workshop at Local Nursery
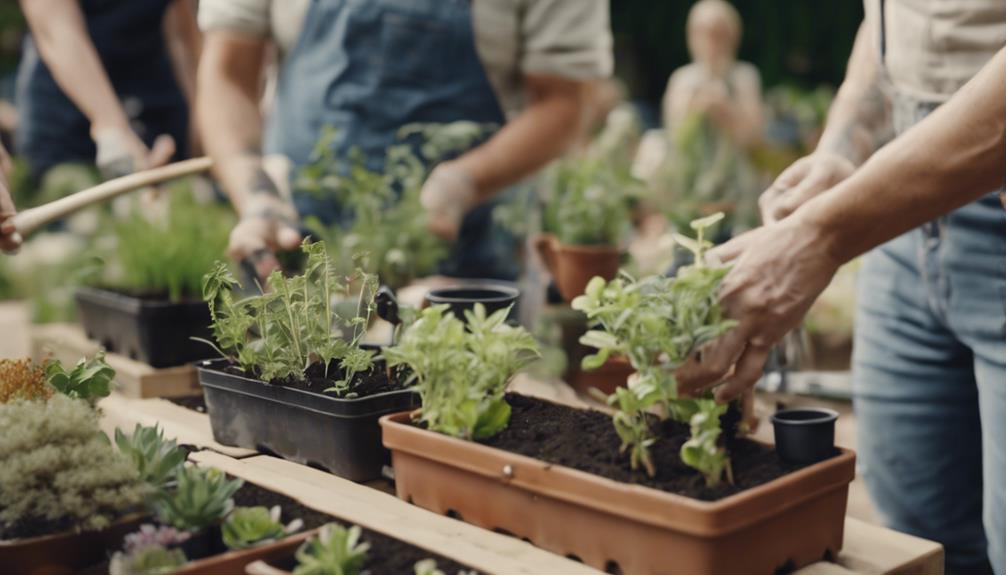
Local nurseries host engaging gardening workshops where hobby enthusiasts can explore gardening techniques, learn valuable skills in plant care, soil preparation, and seasonal gardening.
These workshops offer hands-on experience in propagating plants, designing gardens, and ensuring garden health. Participants receive expert guidance on selecting suitable plants for different environments and addressing common gardening challenges.
Networking opportunities abound, allowing gardening enthusiasts to exchange ideas and enhance their skills through shared experiences.
By participating in a gardening workshop at a local nursery, hobbyists can find inspiration to create their own green spaces and enjoy the therapeutic benefits of gardening.
Whether you're a beginner looking to start a small garden or a seasoned gardener wanting to refine your techniques, these workshops cater to a diverse range of gardening enthusiasts.
Embrace the opportunity to explore the world of plant care and cultivation alongside like-minded individuals at your nearest local nursery.
Photography Meetups in the Park

Photography enthusiasts can enhance their skills and connect with others by attending engaging photography meetups in the park. Here are some key reasons why park meetups are a must for hobbyists:
- Practice Photography Skills: These meetups offer a great opportunity to improve photography skills in natural light settings, enhancing the quality of your images.
- Meet Like-Minded Individuals: Connect with others who share a passion for photography, creating a supportive community of fellow enthusiasts.
- Networking Connections: Building relationships during these meetups can lead to valuable networking opportunities, opening doors for collaborations and shared experiences.
- Exchange Tips and Techniques: Participants can exchange valuable tips, tricks, and techniques with other photographers, fostering a learning environment that accelerates skill development.
Joining a photography meetup in the park not only allows you to capture stunning images of nature and wildlife but also provides a platform to grow and learn alongside other passionate individuals.
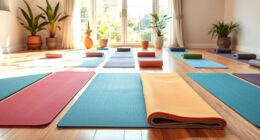
Fitness Classes at Recreational Center
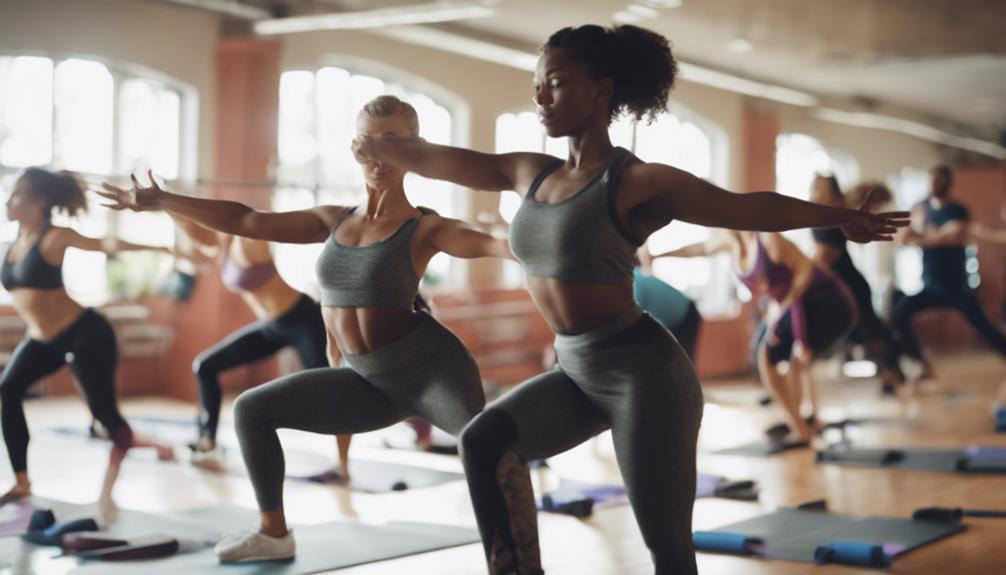
A variety of fitness classes, including yoga, Zumba, and strength training, are available at recreational centers to cater to individuals of all fitness levels. These classes, led by certified instructors, offer a great way to improve physical health and overall well-being. With flexible schedules, recreational centers make it easy to fit these classes into your routine. Check out the table below for some popular fitness classes you might find at your local recreational center:
| Fitness Class | Description |
|---|---|
| Yoga | Focuses on flexibility, strength, and relaxation through various poses and breathing techniques. |
| Zumba | Combines dance and aerobic movements for a fun and energetic workout set to lively music. |
| Strength Training | Involves resistance exercises to build muscle, increase strength, and improve overall fitness. |
Whether you're a beginner looking to start your fitness journey or an experienced enthusiast seeking to challenge yourself, recreational center fitness classes have something for everyone.
Frequently Asked Questions
What Is Houston, Texas Best Known For?
Houston, Texas is best known for its rich tapestry of cultures, home to NASA and the Houston Space Center, vibrant culinary scene, and diverse cuisine options. It is also renowned for its restaurants, boasting the largest medical center globally with high-quality healthcare facilities and services. Additionally, Houston hosts the best Livestock Show and Rodeo.
These attractions offer a unique blend of history, entertainment, and tradition, making Houston a must-visit city for enthusiasts seeking a diverse and enriching experience.
How Do You Spend a Day in Downtown Houston?
We start off a day in downtown Houston by exploring Discovery Green for outdoor fun.
Next stop is The Heritage Society to soak in local history.
Then, we immerse ourselves in the Museum District for a cultural feast.
A visit to Hermann Park is a must for nature lovers.
Finally, we top it off with shopping at GreenStreet.
That's how we make the most of a day in downtown Houston!
What to Do in Houston for the First Time?
When visiting Houston for the first time, we recommend exploring iconic landmarks like NASA and the Houston Space Center.
Indulge in the diverse culinary scene and check out the Museum District and Hermann Park.
Shopping enthusiasts can head to The Galleria, one of the country's largest shopping centers.
Don't miss the vibrant Livestock Show and Rodeo for a taste of Houston's culture.
These activities offer a well-rounded introduction to the city.
How Far Apart Are Houston and Dallas?
Houston and Dallas are approximately 239 miles apart when traveling by car. The driving distance between these two cities is around 4 hours, depending on traffic and route.
Interstate 45 connects Houston and Dallas, serving as a common route for travel between the two major cities in Texas.
Both cities boast a vibrant hobby enthusiast community, offering unique attractions and events to cater to various interests.
Conclusion
To sum up, these local hot spots are perfect for hobby enthusiasts looking to grow their skills and meet like-minded individuals.
So, make sure to check them out and see what new passions you can discover. Who knows, you might just find yourself becoming a regular at the crafty cafe, mastering the art of gardening, or snapping stunning photos in the park.
The possibilities are endless, so why not give it a try?