Transform your living room into a stunning brick haven by following these step-by-step instructions. First, prepare the room by clearing furniture, covering floors, and cleaning walls for a strong bond with bricks. Next, choose your brick materials, considering type, color scheme, and options like thin bricks or brick veneer. Then, install the foundation row, building a level and plumb base course, and construct the brick wall structure, working methodically for a successful build. After that, add mortar and grout, and explore design ideas, cutting and shaping bricks as needed. As you proceed, you'll uncover more nuances and expert tips to help you achieve a polished, sophisticated finish.
Key Takeaways
• Clear the room, clean walls, and check for uneven areas to ensure a well-prepared surface for brick installation.
• Choose the right brick materials, considering type, color scheme, and ambiance, and explore thin brick or brick veneer options.
• Install the foundation row with level and consistent spacing, using a rubber mallet for a snug fit, and build a level and plumb base course.
• Add mortar and grout, mixing to a toothpaste-like consistency, and fill spaces with a grout bag, working in small sections for precision.
• Finish with a thorough inspection, checking for gaps and uneven areas, and make necessary adjustments for a polished finish.
Preparing the Room for Brick Installation
Before you begin installing bricks in your living room, clear the room of furniture and cover your floors with protective materials to prevent damage during the installation process. This important step guarantees that your new brick wall doesn't get damaged, and you avoid costly repairs.
Next, take the time to clean your walls, removing any dirt, dust, or debris that may impact the adhesion of the bricks. A clean surface is vital for a strong bond between the bricks and the wall.
Use a level to check for any uneven areas or imperfections that may impact the installation of the bricks. This will help you identify any potential issues beforehand and make necessary adjustments.
By taking these preparatory steps, you'll be well on your way to creating a stunning brick wall that will elevate the aesthetic of your living room.
With a well-prepared surface, you'll be ready to start building your brick wall, transforming your living space into a cozy and inviting area.
Choosing the Right Brick Materials
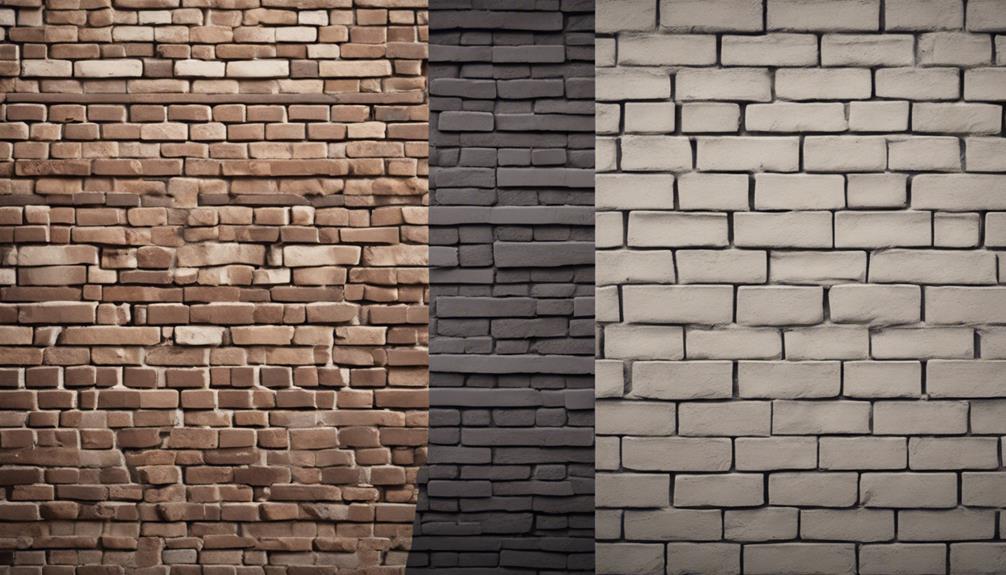
When selecting the right brick materials for your living room, you'll need to contemplate the type of brick that fits your design aesthetic and the color scheme that complements your space.
You'll have to choose between different brick type options, such as thin brick or brick veneer, which offer a rustic look without the weight of full-size bricks.
As you explore brick color schemes, keep in mind that the right hue can elevate the ambiance of your living room, so take your time to select the perfect shade.
Brick Type Options
You have several brick type options to think about when designing your living room, and selecting the right material is essential for achieving the desired aesthetic and durability.
One popular option is brick veneer, a thin, lightweight alternative to full-size bricks. Brick veneer offers a range of colors, textures, and sizes, making it easy to find a style that suits your design preferences.
At approximately 1/2 to 3/4 inch thick, brick veneer is easy to install on various surfaces, including drywall or cement board. This versatile material provides a classic, rustic charm to your living room while offering flexibility in design and application.
With brick veneer, you can achieve a unique, one-of-a-kind look without the hefty weight and expense of full-size bricks. By choosing the right brick material, you'll be able to create a beautiful, long-lasting living room that meets your needs and exceeds your expectations.
Brick Color Schemes
Selecting the right brick color scheme is essential in setting the tone and ambiance of your living room, as different hues can evoke distinct emotions and moods. When deciding on a color scheme, consider the atmosphere you want to create inside your living room.
For a cozy and inviting feel, warm red or brown brick tones can create a comfortable ambiance. On the other hand, light or white brick materials can make your living space feel modern and airy. If you want to add some visual interest, choose multi-colored bricks to create a dynamic focal point in the room.
Alternatively, dark or charcoal bricks can create a sophisticated and dramatic accent wall inside your living room. Don't be afraid to mix and match different brick colors to add texture and depth to your design.
Laying the Foundation Row

As you begin laying the foundation row, you'll want to focus on two important aspects: starting the row and laying the bricks. It's crucial to get these steps right, as they'll set the tone for the rest of your brick living room project.
Starting the Row
With your wall prepared, begin by applying construction adhesive to the back of the first brick, pressing it firmly onto the wall to establish the foundation row. This initial brick sets the tone for the entire project, so make sure to get it right.
To guarantee a level and straight foundation row, follow these essential steps:
- Confirm the first brick is level: Use a spirit level to maintain straightness and accuracy in the layout.
- Maintain consistent spacing: Use a brick spacer to achieve a professional finish with consistent gaps between bricks.
- Press bricks firmly into adhesive: Continue adding bricks one by one, pressing them firmly into the adhesive and adjusting as needed to keep the row level.
- Double-check alignment and level: Verify the alignment and level of each brick in the foundation row before moving on to subsequent rows for a seamless look.
Laying the Bricks
You're ready to lay the bricks in the foundation row, applying a generous amount of adhesive to the back of the first brick and using a level to make sure it's straight before tapping it into place with a rubber mallet.
As you continue adding bricks, remember to stagger them in a pattern along the bottom row, guaranteeing a sturdy foundation for your brick living room. It's crucial to apply a generous amount of adhesive to each brick, making adjustments as needed to maintain a straight and level foundation row. Don't be afraid to tap each brick gently into place with a rubber mallet to ensure a snug fit.
As you work, regularly check your progress with a level to secure a perfectly straight row. Once you've completed the foundation row, allow the adhesive to dry completely before moving on to the next row of bricks. By following these steps, you'll create a solid foundation for your brick living room that will last for years to come.
Building the Brick Wall Structure

Start by constructing a level and plumb base course, the foundation of your brick wall structure, to guarantee a sturdy and even living room wall. This is an important step, as it sets the tone for the rest of your brick installation process.
To make sure of a successful build, keep the following tips in mind:
- Plan ahead: Plan the brick layout carefully to create a visually appealing and structurally sound living room wall.
- Prepare the site: Confirm the wall is completely dry before starting the brick installation process in the living room.
- Use the right tools: Utilize a notched margin trowel for scraping excess adhesive and maintaining a clean application.
- Take your time: Building the brick wall structure can be a time-consuming process, so be patient and work methodically.
Adding Mortar and Grout

Now that your brick wall structure is built, apply mortar between the bricks to create a strong bond and a seamless finish. To guarantee a professional-looking result, mix the mortar to a toothpaste-like consistency, making it easy to apply between the bricks. Use a grout bag to fill in the spaces between the bricks with mortar, working in small sections to maintain precision and neatness.
Mortar and Grout Application Tips
| Tips | Description |
|---|---|
| Mix Consistency | Mix mortar to a toothpaste-like consistency for easy application |
| Grout Bag | Use a grout bag to fill in spaces between bricks with mortar |
| Work in Sections | Work in small sections to maintain precision and neatness |
When applying mortar, make sure it's evenly distributed to create a seamless look on the brick wall. Choose a grout color that complements the brick for a cohesive and stylish finish. By following these tips, you'll achieve a beautifully crafted brick wall that adds warmth and character to your living room.
Creating Patterns and Designs
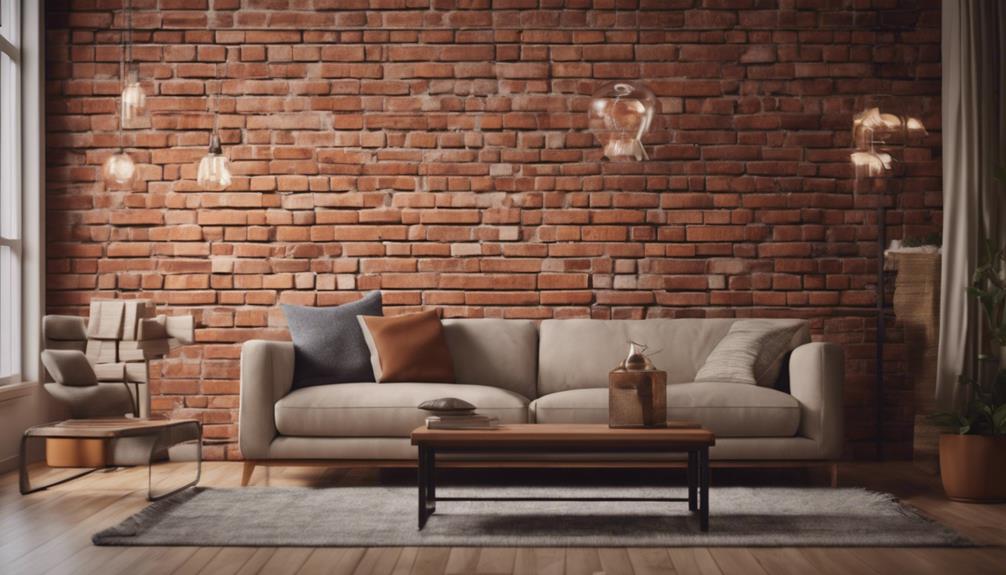
As you move on to the creative phase of your brick living room project, experimenting with different patterns and designs will add a unique touch to your space. You can explore various brick patterns, such as running bond, herringbone, or basket weave, to create visual interest.
To take it up a notch, consider incorporating contrasting brick colors or textures to create unique designs and focal points on your brick wall.
Here are some ideas to get you started:
- Explore online tools: Utilize online tools or consult with a designer to plan and visualize different brick patterns and designs before starting your project.
- Visit Home Depot: Head to Home Depot or a similar store to explore the various brick options and get inspiration for your design.
- Get creative with brick slips: Consider using brick slips or thin brick veneer to achieve intricate patterns and designs with less weight and space requirements.
- Add decorative elements: Explore adding decorative elements like arches, insets, or niches using bricks to enhance the overall aesthetic of your living room.
Cutting and Shaping Brick

With your design and pattern in mind, it's time to bring your brick living room to life by cutting and shaping the bricks that will form the foundation of your unique space. To guarantee you have enough bricks, calculate the required cuts beforehand to avoid running short. When it comes to cutting and shaping, use a wet saw for precise cuts and a brick chisel and hammer for specific sizes. Create a cut-by-numbers system to efficiently cut and shape bricks for your living room wall.
| Tool | Purpose |
|---|---|
| Wet Saw | Precise cuts |
| Brick Chisel and Hammer | Cutting to specific sizes |
| Safety Gear (Gloves, Eye Protection) | Protecting yourself while cutting |
Remember to practice safety measures when cutting bricks, such as wearing gloves and eye protection. By following these steps, you'll be well on your way to creating a stunning brick living room that showcases your personal style and adds a unique touch to your home decor. With the right tools and techniques, you'll be able to bring your design to life and enjoy the warm, cozy atmosphere of a brick living room.
Finishing Touches and Inspections
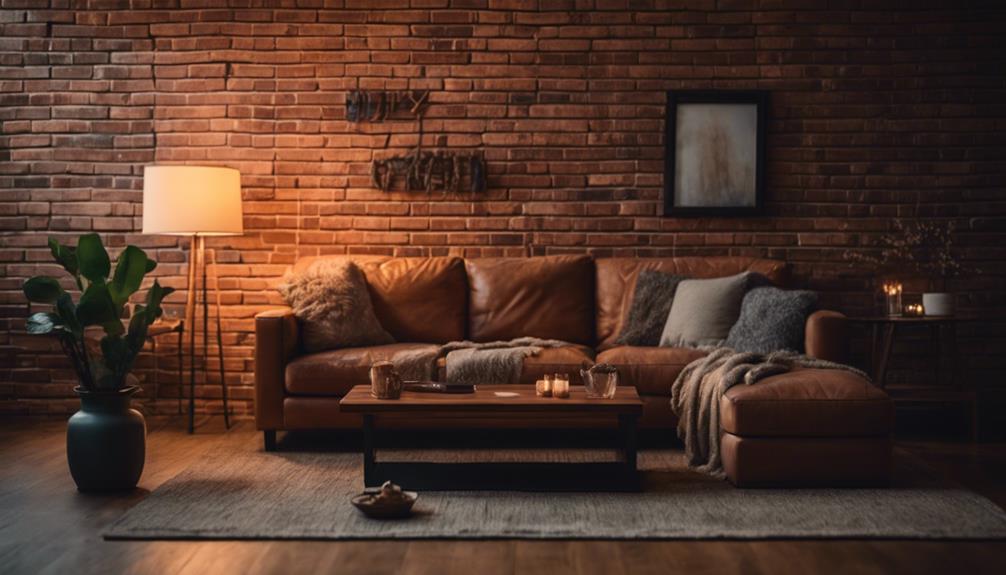
Finishing touches are essential to elevating your brick living room from good to great, so take a step back to inspect your handiwork and make any necessary adjustments. Now that you've completed the brick installation, it's time to focus on the finer details.
Here are some essential checks to perform:
- Inspect for gaps and uneven areas: Check the brick wall for any gaps or uneven areas that may require additional mortar or adjustments for a polished finish.
- Check alignment and pattern: Use a level to make sure that the bricks are aligned correctly and maintain a consistent pattern throughout the wall.
- Clean excess mortar: Check for any excess mortar on the surface of the bricks and remove it before it hardens to maintain a neat appearance.
- Final inspection: Step back and evaluate the overall look of the brick wall to make sure that it complements the room's design and meets your aesthetic preferences.
Frequently Asked Questions
How to Build a Brick Wall Step by Step?
You're about to start building a brick wall, and you're wondering how to do it step by step.
First, prepare the wall by ensuring it's clean, dry, and structurally sound.
Next, apply construction adhesive to the back of the bricks for a quicker installation process.
Choose a brick pattern, such as running bond, and start laying bricks from one end of the wall.
How Do You Set Out and Build Brickwork?
When setting out and building brickwork, you'll want to start by mapping out the layout with a chalk line, ensuring accuracy and precision.
Next, use a spirit level to guarantee evenness and alignment.
Then, apply mortar to the back of each brick, pressing it firmly into place, and fill gaps with a trowel, creating a strong bond.
Don't forget to regularly check for level and alignment to maintain a straight and uniform brick wall.
How to Lay the First Course of Bricks?
When you're ready to lay the first course of bricks, start by applying construction adhesive to the back of the first brick for secure adhesion to the wall.
Use a level to guarantee the course is straight and even.
Begin laying bricks from one corner, working outwards to maintain a consistent pattern, leaving a small gap between each for mortar application.
Press each brick firmly in place, adjusting as needed for a seamless first course.
What Are the Disadvantages of Exposed Brick Walls?
When considering incorporating exposed brick walls into your design, it's crucial to acknowledge the potential drawbacks, like a rough patch on an otherwise smooth road.
You'll need to contend with energy inefficiency, labor-intensive maintenance, and the requirement for periodic sealing to prevent water damage.
Additionally, the rough texture makes cleaning and dusting more challenging, and you may need to deal with efflorescence, a white powdery substance caused by salt deposits.
Conclusion
As you step back to admire your brick living room, you've not only built a wall, but a tribute to your perseverance and craftsmanship.
Like a master builder, you've laid the foundation, brick by brick, and watched your vision take shape.
Now, as you gaze upon the finished product, remember that every carefully placed brick represents a lesson learned, a challenge overcome, and a dream realized – a true masterpiece of DIY ingenuity.
