
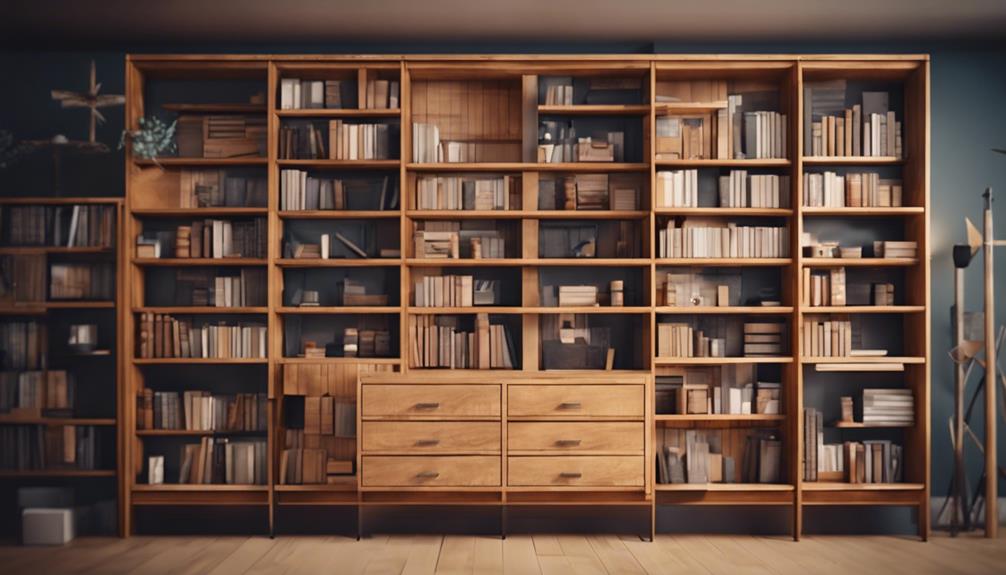
Transforming a bookshelf into a dresser requires thorough evaluation and execution. Start by analyzing your bookshelf's potential, considering its structure, material, and condition. Disassemble and clean the shelves, sanding surfaces to smooth out imperfections. Then, refine your design, choosing paint or stain that complements your desired style. Add drawers and shelves, configuring the layout to optimize storage and accessibility. Incorporate decorative hardware and accessories, and finish with unique touches. By following these steps, you'll create a functional, stylish dresser from a humble bookshelf. As you continue, you'll discover the nuances of refinishing, hardware selection, and troubleshooting to achieve a professional-looking result.
Key Takeaways
• Assess the bookshelf's structure, material, and condition to determine its potential for transformation into a functional dresser.
• Disassemble the shelves, clean and refinish the surfaces, and make any necessary repairs to create a solid foundation.
• Customize the storage solutions by adjusting shelf depths and adding drawers or baskets to optimize space and accessibility.
• Choose a finish that complements the dresser's style, and apply it smoothly to achieve a professional look.
• Add decorative hardware, accessories, and finishing touches to personalize the dresser and enhance its aesthetic appeal.
Assessing Your Bookshelf's Potential
As you stand in front of your bookshelf, take a close look at its dimensions and structure to confirm whether it has the potential to be transformed into a functional dresser. Consider the number of shelves and their adjustability, as these can be converted into drawers later on.
Evaluate the material and condition of the bookshelf to assess its feasibility for repurposing. Look for features like solid wood construction, smooth surfaces, and sturdy shelves, which are essential for a successful transformation. If your bookshelf checks these boxes, you're off to a great start.
With some TLC, you can refinish the surface using an Orbital sander to achieve a smooth, even finish. By transforming a bookshelf, you can create a one-of-a-kind dresser that reflects your personal style.
Before you begin, confirm the bookshelf's size and design align with your dresser needs and style preferences. With careful planning and execution, you can turn an ordinary bookshelf into an extraordinary dresser that's both functional and beautiful.
Disassembling and Cleaning
Now that you've confirmed your bookshelf has potential, it's time to break it down, literally, by disassembling the shelves and removing any unnecessary parts to pave the way for its transformation into a unique dresser.
You'll want to carefully disassemble the bookshelf, removing shelves and any parts that won't be needed for the dresser. This will give you a clean slate to work with and allow you to inspect the bookshelf for any damages or repairs needed before proceeding.
Take this opportunity to thoroughly clean the bookshelf, removing dust, debris, and any existing finishes to start fresh. As you clean, consider using grit sandpaper to smooth out any rough surfaces, which will help create a solid base for painting or staining later on. This attention to detail will help you achieve a touch of elegance in your final product.
Sanding and Smoothening Surfaces
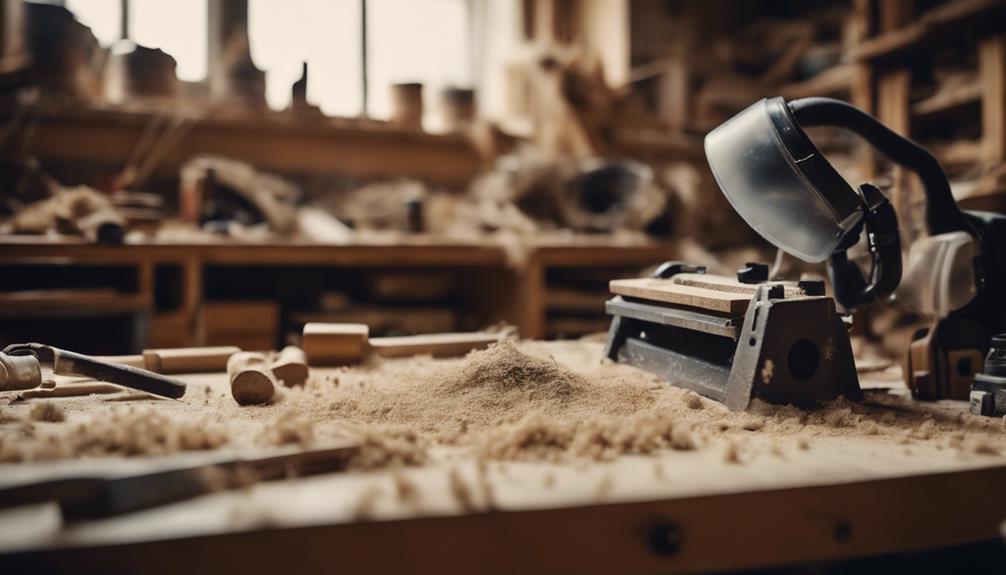
Now that you've disassembled and cleaned your bookshelf, it's time to focus on sanding and smoothening its surfaces.
You'll need to remove the old finish, sand the surfaces smooth, and eventually apply a new finish to achieve a polished look.
Removing Old Finish
To remove the old finish from your bookshelf, you'll need to break out the orbital sander and 80 grit sandpaper. This combo is perfect for stripping away the old finish and revealing the wood beneath. As you sand, make sure to work in the direction of the wood grain to prevent scratches and guarantee a smooth surface.
Take your time, and thoroughly sand every area, removing any rough patches or imperfections as you go. Don't be afraid to apply some elbow grease – the more you sand, the smoother your surface will be.
Once you've finished sanding, wipe down the bookshelf with a clean cloth to remove any dust and debris. This step is essential in preparing the surface for the next stages of the transformation process.
Sanding Surfaces Smooth
With your bookshelf stripped of its old finish, you're ready to tackle the important step of sanding surfaces smooth, an essential process that sets the stage for a flawless, professional-looking finish. This critical step involves using tools like an orbital sander with 80 grit sandpaper to remove imperfections, rough surfaces, and old finishes.
Your goal is to create a smooth and even surface, ensuring better adhesion of paint or stain for a professional-looking finish. Sanding carefully and evenly is key to avoiding uneven patches or blemishes in the final painted or stained surface. Remember, proper sanding techniques contribute significantly to the overall quality and durability of your finished dresser-bookshelf transformation.
Take your time, and don't be afraid to repeat the sanding process until you achieve a silky-smooth surface. By doing so, you'll be rewarded with a stunning, high-quality finish that will make your DIY project stand out.
Applying New Finish
You'll apply a new finish to your bookshelf, transforming it into a stunning dresser, by carefully selecting and applying a paint or stain that complements the transformed piece's style and décor. To guarantee a professional-looking finish, it is vital to prepare the surfaces by sanding and smoothing them. Sanding is important to remove old finishes, imperfections, and rough surfaces from the bookshelf before applying a new finish.
Here's a summary of the sanding process:
| Step | Action | Purpose |
|---|---|---|
| 1 | Sand with 80 grit sandpaper | Remove old finishes and imperfections |
| 2 | Sand in the direction of the wood grain | Avoid damaging the surface |
| 3 | Use an orbital sander | Smooth out surfaces efficiently |
| 4 | Sand to create a clean surface | Ensure the new finish adheres properly |
Painting and Staining Options

By considering the style and theme of your room, you can choose the perfect painting and staining options to transform your bookshelf into a unique and functional dresser.
For a distressed look, consider using chalk paint, or opt for a glossy paint for a modern finish. If you want to incorporate a natural wood element, stain the top of the dresser for a beautiful contrast.
To safeguard your stained surfaces, apply a clear coat of water-based polyurethane. Don't be afraid to experiment with different paint colors or staining techniques to match your decor.
Research and follow proper techniques for painting or staining to achieve the desired results. This will guarantee a professional-looking finish that complements your room's style.
With a little creativity and patience, you can create a one-of-a-kind dresser that reflects your personal taste. By choosing the right painting and staining options, you'll be one step closer to transforming your bookshelf into a functional piece of art.
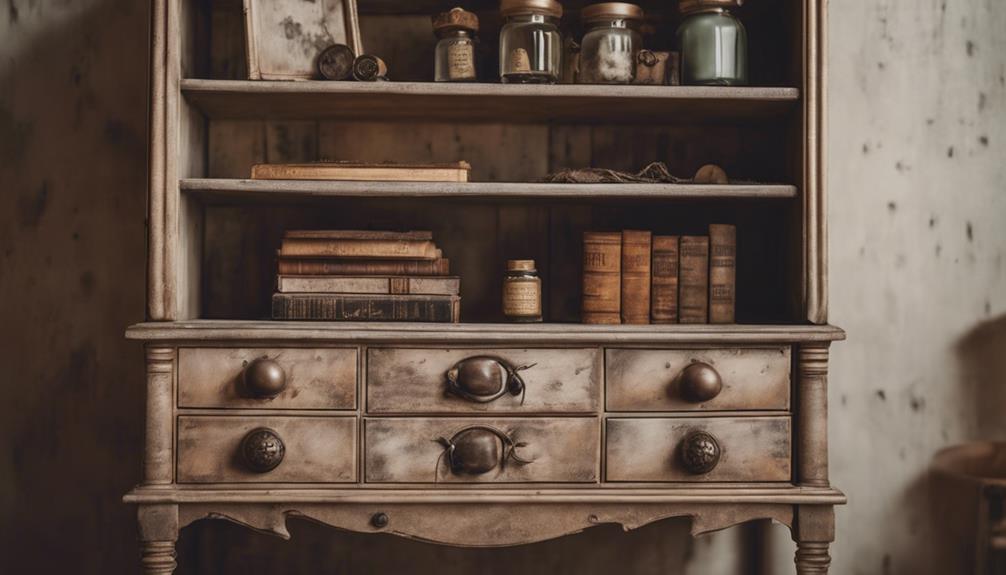
Adding Drawers and Shelves

As you begin adding drawers and shelves to your bookshelf-turned-dresser, you'll want to focus on two important aspects: installing drawers that glide smoothly and converting shelves to maximize storage.
To achieve a seamless transformation, it's vital to follow some critical tips for drawer installation and explore creative ideas for shelf conversion.
Drawer Installation Tips
When adding drawers to your bookshelf, precise measurements are crucial to guarantee a seamless fit and functionality. You'll want to make sure that your drawers slide in and out smoothly, so take the time to double-check your measurements before cutting and installing the drawer slides.
To create notches for the slides, use a jigsaw to carefully cut out the necessary spaces. This will allow your drawers to open and close effortlessly.
If you're looking to customize your storage solutions, consider adjusting the shelf depths by removing the front facings of the drawers. This will give you more flexibility regarding storage and organization.
Additionally, don't forget to install cleats for shelf support to enhance stability and weight-bearing capacity.
Finally, trim the front facings to fit your new shelf configuration, creating a cohesive and polished look for your transformed bookshelf.
Shelf Conversion Ideas
You can breathe new life into your bookshelf by converting its shelves into functional storage spaces that serve multiple purposes.
One approach is to install drawer slides, effectively transforming shelves into drawers that glide in and out smoothly.
Alternatively, you can opt for removable baskets or bins, which provide a versatile storage solution that can be easily rearranged as needed.
For a more polished look, consider using tension rods and curtains to conceal shelves, creating a dresser-like appearance.
If you prefer easy access to your belongings, incorporate slide-out shelves that allow you to retrieve items without having to dig through the entire shelf.
To complete the transformation, don't forget to add decorative elements, such as wallpaper, paint, or unique handles, to give your bookshelf a personalized touch.
Configuring the Dresser's Layout
Having made the decision to repurpose your bookshelf into a dresser, optimizing the layout is essential to maximize storage capacity and accessibility. You'll want to think carefully about how you'll use the space to make sure everything fits comfortably and is easy to access.
To achieve this, consider the following layout options:
- Replace shelves with baskets or drawers to create functional storage space in the dresser.
- Use tension rods and curtains to conceal and decorate the dresser's compartments for a stylish look.
- Install slide-out shelves to maximize storage capacity and accessibility in the dresser-bookshelf.
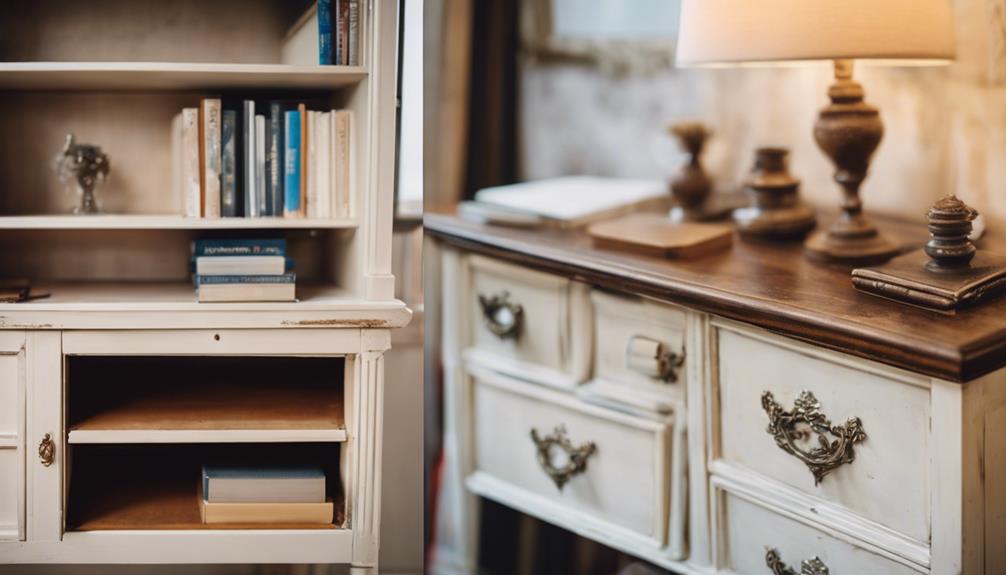
Adding Hardware and Accessories
With your layout optimized, it's time to focus on adding the finishing touches with hardware and accessories that not only enhance the dresser's functionality but also reflect your personal style.
Now, you can get creative and add decorative handles or knobs to your drawers for a personalized touch. Consider opting for soft-close drawer slides for smooth and quiet operation.
If you want to conceal shelves and create a cohesive look, use fabric panels or curtains. You can also experiment with different hardware finishes to complement the overall style of your dresser.
Moreover, incorporate labels or tags on your drawers for easy organization and identification. By adding these hardware and accessories, you'll not only enhance the functionality of your dresser but also make it a unique reflection of your personal taste.
Final Touches and Decorating

Now that your dresser-bookshelf is fully functional, it's time to add the final flourishes that'll make it a true showstopper.
You've worked hard to create a unique piece of furniture, and these finishing touches will take it to the next level.
To give your dresser-bookshelf a personalized look, consider the following:
- Add a pop of color:
Use wallpaper or contact paper to line the back of the shelves for a bold, eye-catching effect.
- Get creative with lighting:
Install LED lighting strips inside the shelves for a modern and functional flair.
- Add decorative details:
Use decorative knobs or handles on the drawers, and arrange baskets or bins on the shelves for stylish storage solutions.
Troubleshooting Common Issues
As you put your new dresser-bookshelf to use, you'll likely encounter some common issues that require troubleshooting.
One of the most frustrating problems is when drawers start sticking. Don't panic – it's usually a simple fix. Check if the tracks are misaligned or if debris is causing friction. A quick clean or adjustment should resolve the issue.
If your shelves are sagging, it may be due to inadequate support. Strengthen them with additional support brackets or thicker material to guarantee stability.
Wobbly or unstable drawers can be annoying, but ensuring proper alignment and secure fittings should rectify the problem.
If your drawers aren't closing properly, it's likely due to faulty slides or tracks. Adjust them for a smoother operation.
Frequently Asked Questions
How to Use a Bookshelf for Clothes?
When you want to use a bookshelf for clothes, start by thinking creatively about storage. You'll need to maximize space and organize items efficiently.
Consider using tension rods and curtains to create a makeshift closet, or replace shelves with baskets or fabric drawers for folded clothes. Add hooks or drawer dividers for extra organization, and think about mobility with wheels or casters.
How to Turn a Bookcase Into a Wardrobe?
You're likely not alone in wanting to repurpose a bookcase into a wardrobe. Did you know that 75% of Americans have unused furniture at home?
To turn a bookcase into a wardrobe, start by measuring the space and deciding on the type of storage you need. Consider adding tension rods and curtains for concealed storage, and customize with decorative baskets or paint for a personalized touch.
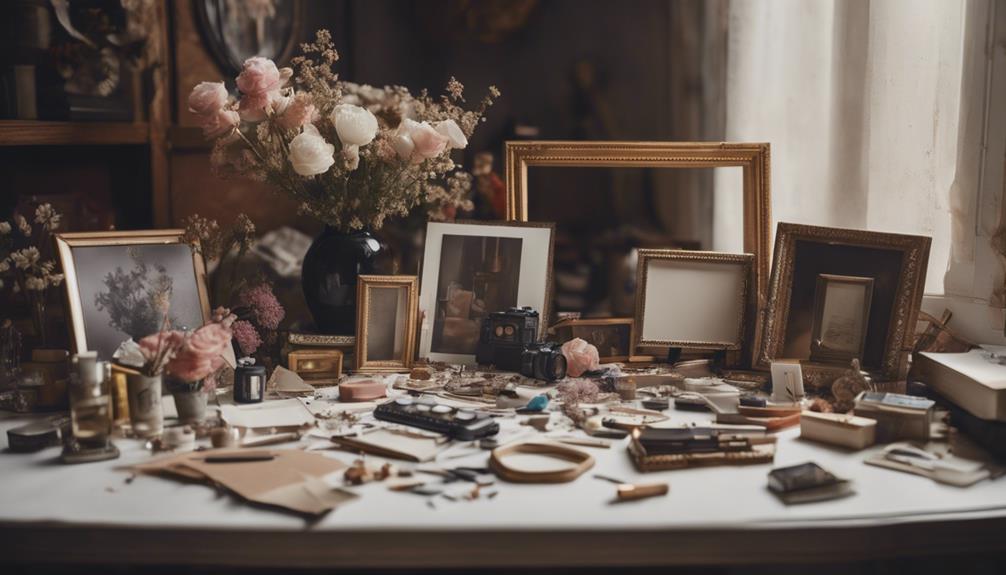
How Do You Style a Bookshelf in a Bedroom?
As you style a bookshelf in your bedroom, consider incorporating personal touches like:
- Photo frames
- Plants
- Decorative pieces
to make it truly yours. Balance these items with:
- Baskets
- Bins
- Boxes
to maintain a sense of organization.
Don't forget to mix horizontal and vertical stacking to create visual interest and maximize storage space.
How to Dress a Bookcase?
When you dress a bookcase, you're not just decorating – you're enhancing its functionality and aesthetic appeal.
You're adding decorative elements like baskets, curtains, or drawers to conceal clutter, create hidden storage, and maximize space.
Conclusion
As you gaze upon your transformed bookshelf-turned-dresser, you're reminded of Pygmalion's metamorphosis: a humble block of marble transformed into a breathtaking work of art.
Your handiwork is no less remarkable, as you've breathed new life into a discarded piece, imbuing it with function and flair.
With each carefully considered detail, you've crafted a masterpiece that's equal parts form and function, a validation to the power of creativity and perseverance.