
To create the perfect party garden, start by setting the scene with warm outdoor lighting, cozy seating areas, and a designated beverage station. Next, incorporate entertainment features like outdoor cooking stations, sound systems, and games. Don't forget to prioritize comfort with shaded areas, plush furniture, and heating lamps. To make your party truly unforgettable, incorporate edible flowers, decorative elements, and strategic lighting to guide guests. With these essentials in place, you'll be well on your way to crafting an unforgettable outdoor gathering – and there's still more to explore to take your party to the next level.
Key Takeaways
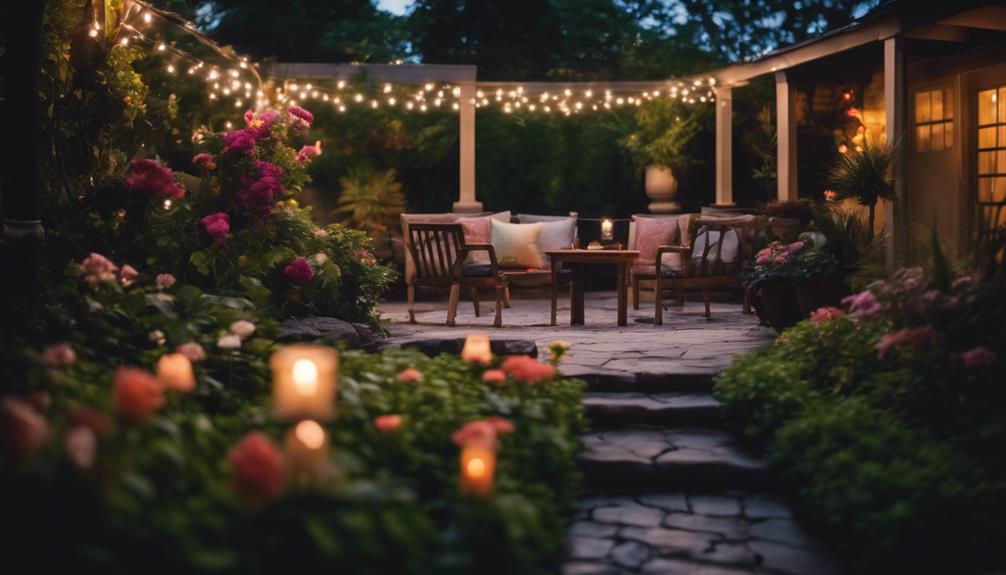
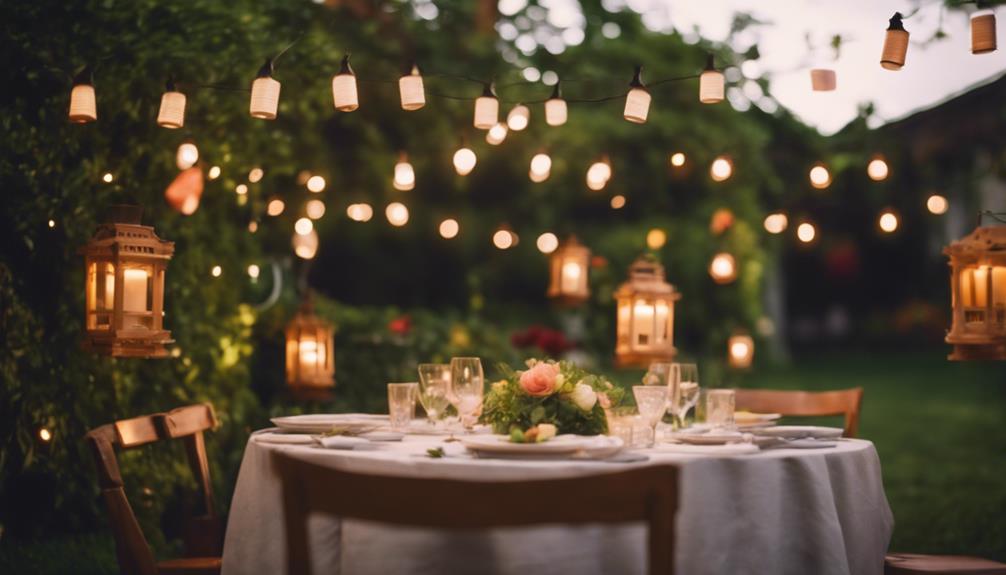
• Create a warm ambiance with outdoor lighting, string lights, and lanterns to set the tone for a magical night.
• Divide the outdoor space into distinct zones for dining, lounging, and entertainment to ensure a smooth flow of activities.
• Incorporate shaded areas, cozy blankets, and heating lamps to ensure guest comfort throughout the party.
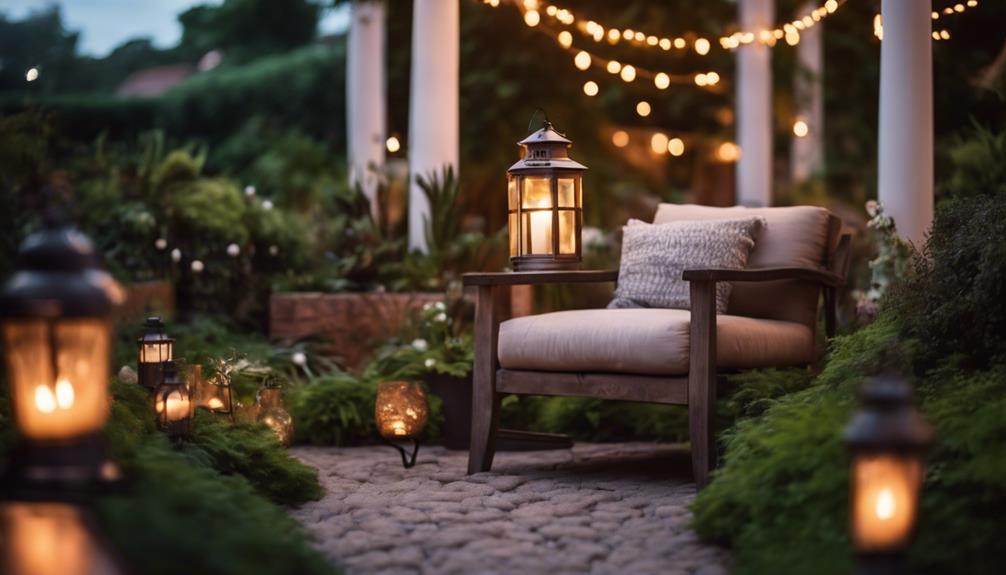
• Use pathways, luminaries, and strategic lighting to guide guests and create visual interest in the garden.
• Add fresh flowers, scented candles, and outdoor artwork to elevate the party decor and create a unique atmosphere.
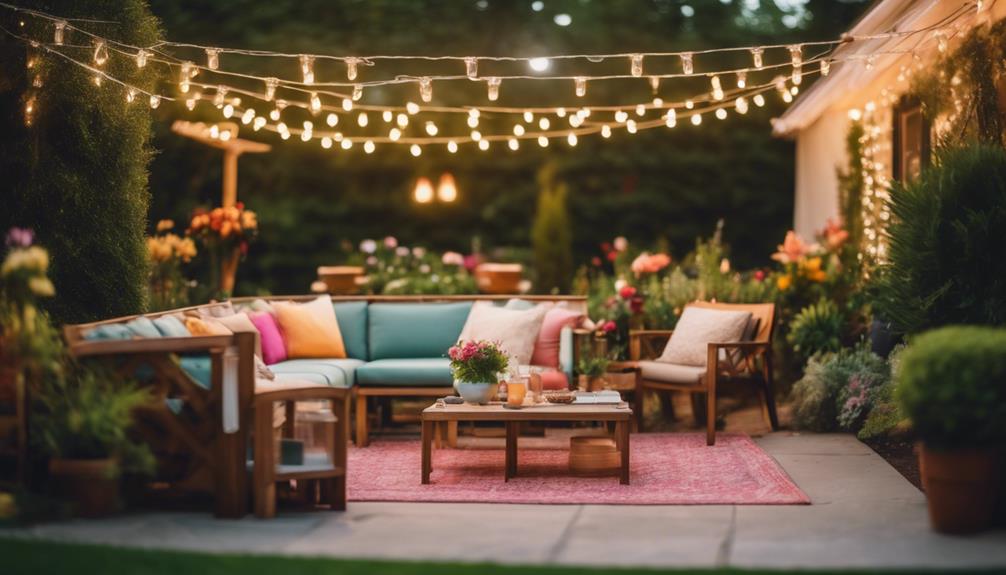
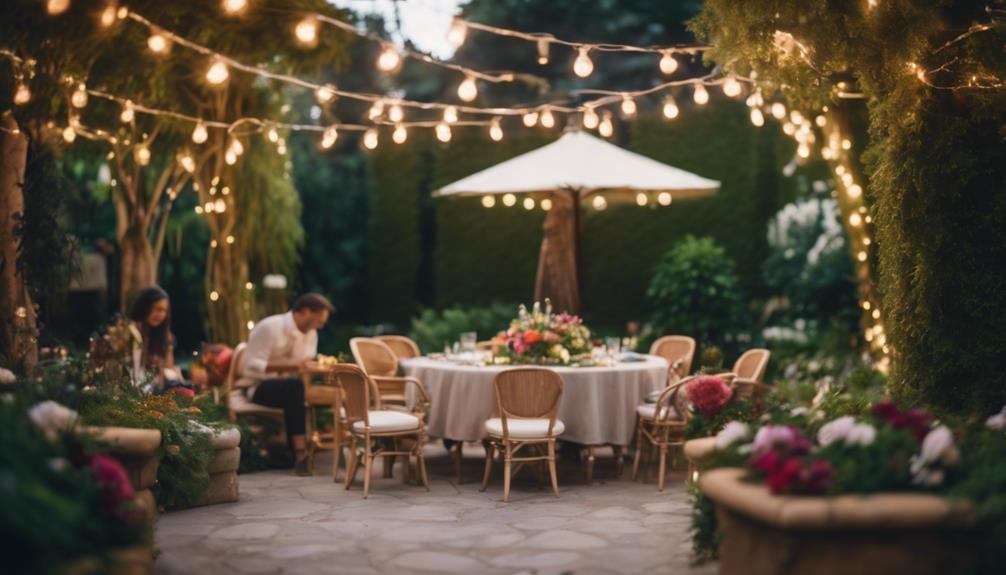
outdoor string lights for garden
As an affiliate, we earn on qualifying purchases.
As an affiliate, we earn on qualifying purchases.
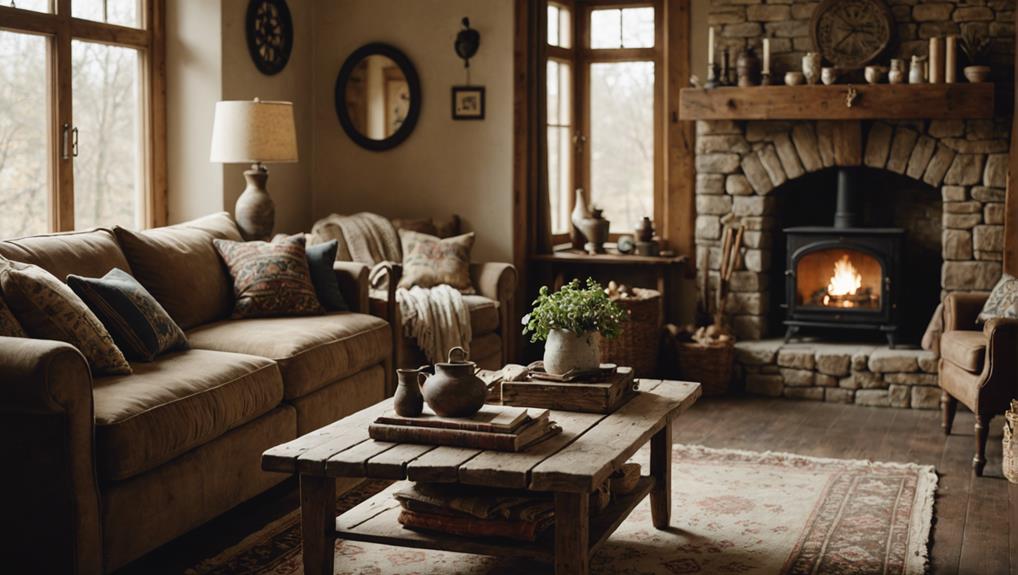
Setting the Scene
To create an enchanting party garden, start by setting the tone with outdoor lighting that casts a warm glow, making your guests feel like they're walking into a whimsical wonderland. You can achieve this by hanging string lights or lanterns around the garden, creating a magical ambiance that sets the mood for a memorable night.
Next, consider the comfort of your guests by setting up seating areas and shaded areas, providing a cozy retreat from the sun or heat. A designated beverage station is also a great idea, allowing guests to grab a drink and mingle with ease. This thoughtful touch will make your party garden feel like a luxurious retreat.
Essential Elements for Entertainment
With entertainment in mind, you'll want to incorporate outdoor cooking stations, BBQ areas, and entertainment features like sound systems and games to elevate the party experience and keep your guests engaged. This will create a lively atmosphere that encourages socializing and fun.
Outdoor Games:
Set up designated areas for outdoor games, such as cornhole or giant Jenga, to keep guests entertained.
Floor Cushions:
Add floor cushions around the garden to create cozy seating areas perfect for lounging and socializing.
Heating Lamps:
Install heating lamps to extend the party into the evening, keeping guests warm and comfortable.
Additionally, consider incorporating a designated bar area with interactive setups for guests to craft custom drinks, adding a fun and engaging element to the party.
A beautifully set Dining Table surrounded by potted plants will also create a stunning focal point in your party garden.
Comfort and Ambiance Essentials
By thoughtfully incorporating shaded areas, you'll create a comfortable retreat for your guests to escape the sun or relax in style.
As you design your outdoor space, remember that comfort and ambiance are key to making your guests feel special. To accomplish this, consider providing proper lighting, heating lamps, and cozy blankets to guarantee a warm and inviting atmosphere.
Music can also play a significant role in setting the tone for your garden party. By incorporating seating options, such as plush sofas and chairs, you'll create a cozy ambiance that encourages socializing and relaxation.
If you're planning a daytime gathering, consider setting up outdoor games or board games to keep guests entertained. As the sun sets, illuminate pathways with luminaries and strategically placed lighting sources to add a magical touch to the space.
Garden Party Layout Strategies
As you envision your ideal garden party, cleverly dividing your outdoor space into distinct zones for dining, lounging, and entertainment will help create a seamless flow of activity and conversation. By doing so, you'll create a sense of intimacy and make it easy for guests to move around and socialize.
Consider incorporating edible flowers or other decorative elements to add a pop of color and whimsy to each zone.
To guide guests between areas, use pathways and strategic lighting to create a sense of flow. Anchor different areas with natural focal points like trees or water features to create visual interest.
Don't forget to include ample seating options, such as benches, chairs, and outdoor sofas, to provide comfort and convenience for your guests. Make sure to leave enough space between seating areas to allow for easy movement and socializing during the party.
Final Touches for Perfection
To put the finishing touches on your garden party, incorporate a few carefully chosen decorative elements that will elevate the ambiance and create a lasting impression on your guests. Adding fresh flowers and greenery to the tables and around the garden can enhance the party atmosphere. Consider incorporating scented candles or diffusers to create a pleasant fragrance in the outdoor space.
| Decorative Element | Purpose | Tips |
|---|---|---|
| Fresh Flowers | Enhance party atmosphere | Choose seasonal blooms for Spring and summer parties |
| Scented Candles/Diffusers | Create pleasant fragrance | Select calming scents to promote relaxation |
| Colorful Tablecloths | Elevate party decor | Match with napkins and place settings for a cohesive look |
| Outdoor Artwork | Add personal touch | Hang on fences or walls to create a unique setting |
| Outdoor Rugs/Cushions | Create cozy seating area | Choose weather-resistant materials for durability |
Make sure to incorporate lawn games and other activities that take advantage of the beauty of nature in your Perfect Garden. By incorporating these elements, you'll create a memorable and inviting space that your guests will cherish.
Frequently Asked Questions
How to Create a Garden Party?
When creating a garden party, you'll want to start by selecting a suitable outdoor space that can accommodate your guests comfortably.
Consider the overall aesthetic you want to achieve, from lighting and table settings to seasonal flowers and decor.
Next, plan your menu, choosing seasonal and local produce to impress your guests.
What Does Garden Party Theme Mean?
Just like a painter envisions a masterpiece, you envision a perfect garden party. But, what's the fundamental concept that sets the tone for your celebration? That's where the garden party theme comes in.
Fundamentally, it's an overarching idea that guides your decisions on decorations, food, and activities. Think of it as the thread that weaves together the entire event. It could be a seasonal inspiration, a color scheme, or even a personal preference – the possibilities are endless!
How to Throw a Fun Garden Party?
You're excited to throw a fun garden party, and you're wondering where to start.
First, decide on a theme and color scheme that fits the season.
Next, set up designated areas for drinks and food, and provide ample seating in cozy conversation areas.
Add some entertainment like lawn games, and don't forget to incorporate seasonal blooms and repurposed decor items to create a festive atmosphere.
With these elements in place, you'll be well on your way to hosting an unforgettable garden party.
What Food Do You Serve at a Garden Party?
When planning the menu for your outdoor gathering, you'll want to serve light and invigorating dishes that complement the warm weather. Consider offering fruit skewers, caprese salad, and cucumber sandwiches to keep your guests satisfied.
You can also provide a variety of finger foods, such as mini quiches, bruschetta, and cheese platters, alongside grilled items like kabobs and sliders.
Conclusion
As you stand back to admire your handiwork, you'll feel like the master chef of outdoor entertaining, having whipped up a party garden that's the perfect recipe for a memorable bash.
The scene is set, the essentials are in place, and the ambiance is electric. You've struck the right chord, and your guests will be singing your praises long after the party's over.
Your garden party is the whole shebang, the cat's pajamas, the bee's knees – and it's sure to be the talk of the town for seasons to come.