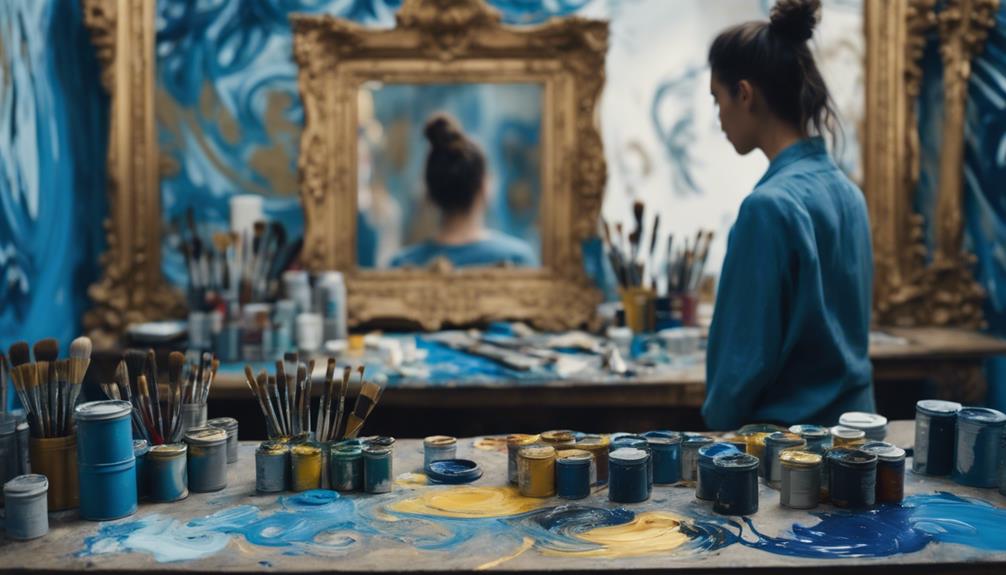
You're ready to give your mirror a personalized touch without breaking the bank. Start by preparing the surface with a damp microfiber cloth and sketching your design with a water-soluble pencil. Prime with white gesso and let it dry for 24 hours. Choose between enamel and acrylic paint for durability or vibrancy, and apply a sealant for long-lasting results. Masking supplies and spray primer will give you a professional finish. From there, you'll learn how to remove old paint and grime, prime and paint the frame, and add a protective finish. The best part? You're just getting started.
Key Takeaways
• Clean the mirror thoroughly with a damp microfiber cloth before starting your DIY project.
• Use a water-soluble pencil to sketch your design, and prime with white gesso for better paint adhesion.
• Apply a light coat of primer, let it dry, and then paint with enamel or acrylic paint for durability and vibrancy.
• Mask off mirror edges with painter's tape, applying moderate pressure, and inspect for wrinkles or creases before painting.
• Remove masking tape gently at a 45-degree angle, and clean up residue with a damp cloth or rubbing alcohol.

Nicpro 18 Colors Stained Glass Paint Set, 1oz / 30ml Waterproof Acrylic Enamel & Ceramic Glass Painting Kit for Arts on Transparent Wine Glasses Jars Windows with 6 Brushes & 1 Palette, Opaque Finish
- Complete 18-Color Set: Includes 1 oz bottles of vibrant colors
- Bonus Painting Tools: 6 brushes and 1 palette included
- Smooth, Glossy Finish: Dries to a permanent, streak-free gloss
As an affiliate, we earn on qualifying purchases.
As an affiliate, we earn on qualifying purchases.
Preparing the Mirror Surface
Before you start painting, clean the mirror thoroughly using a damp microfiber cloth to remove dust and grime, guaranteeing a smooth surface for your design. This step is essential in preventing any imperfections from affecting your paint job.
Next, use a water-soluble pencil to sketch your design onto the mirror surface. This will give you a clear guide for when you start painting.
Now, it's time to prime your mirror. Apply a coat of white gesso to the mirrored areas, allowing it to dry for 24 hours. This will provide a smooth surface for painting and ensure the best paint adhesion.
If you want to add an extra layer of vibrancy to your design, consider using a white acrylic base coat before applying your colors. This will help your paint pop and guarantee better coverage.
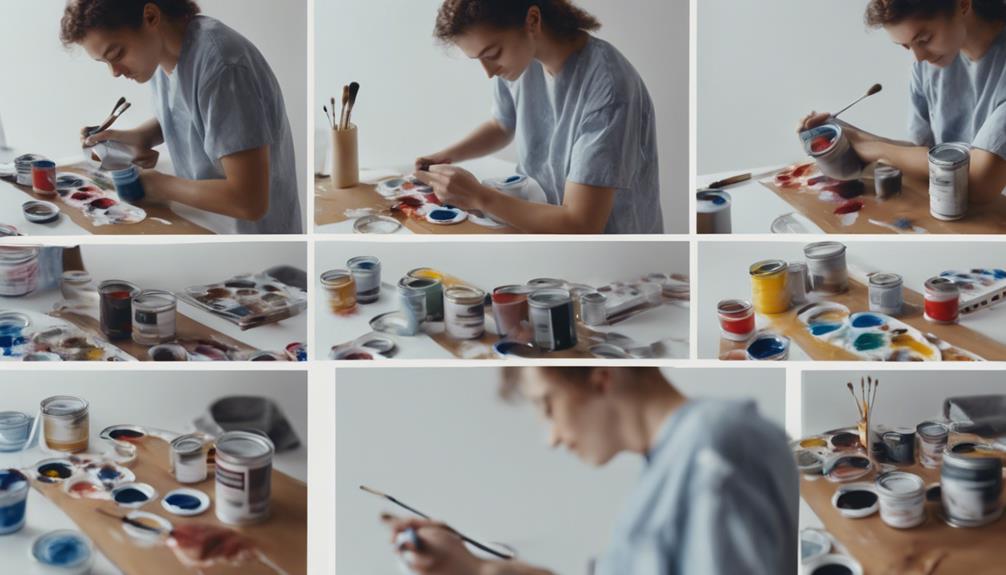
Essential Supplies and Tools
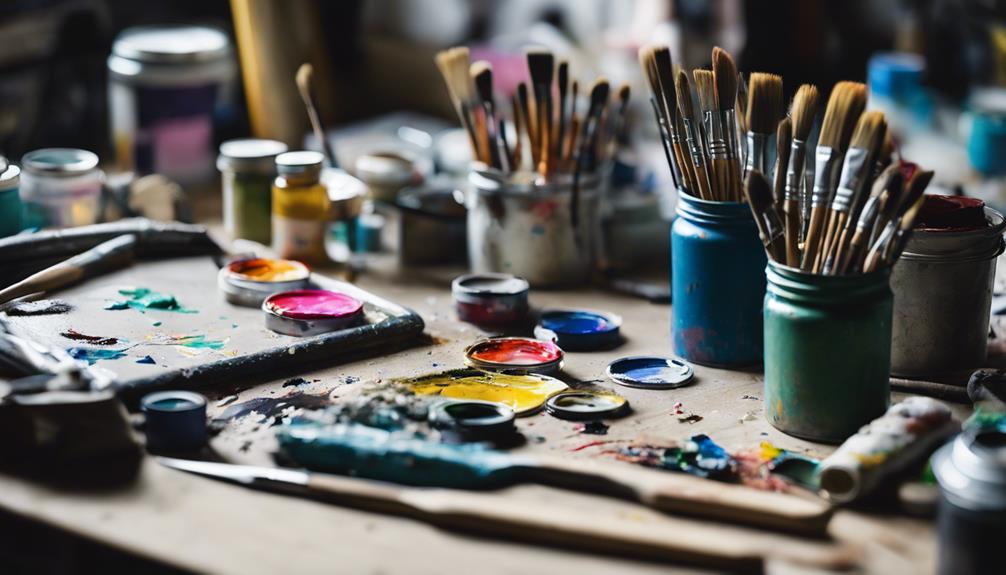
To guarantee a professional-looking finish, you'll need the right supplies and tools, including masking supplies, spray primer, and Valspar Silver Spray paint. When it comes to painting on mirrors, it's important to use the correct primer to prevent peeling. White gesso is a great option, as it provides a strong bond between the paint and the mirror.
For the paint itself, you can choose between Enamel and acrylic paint. Enamel paint is more durable and resistant to scratches, while acrylic paint offers a bolder, more vibrant look. Regardless of which paint you choose, make sure to apply a sealant after painting to protect the mirror and ensure long-lasting results.
With the right supplies and tools, you'll be well on your way to creating a beautifully painted mirror that will add a touch of elegance to any room. Remember, proper preparation and painting techniques are important for achieving a professional-looking finish.
Removing Old Paint and Grime
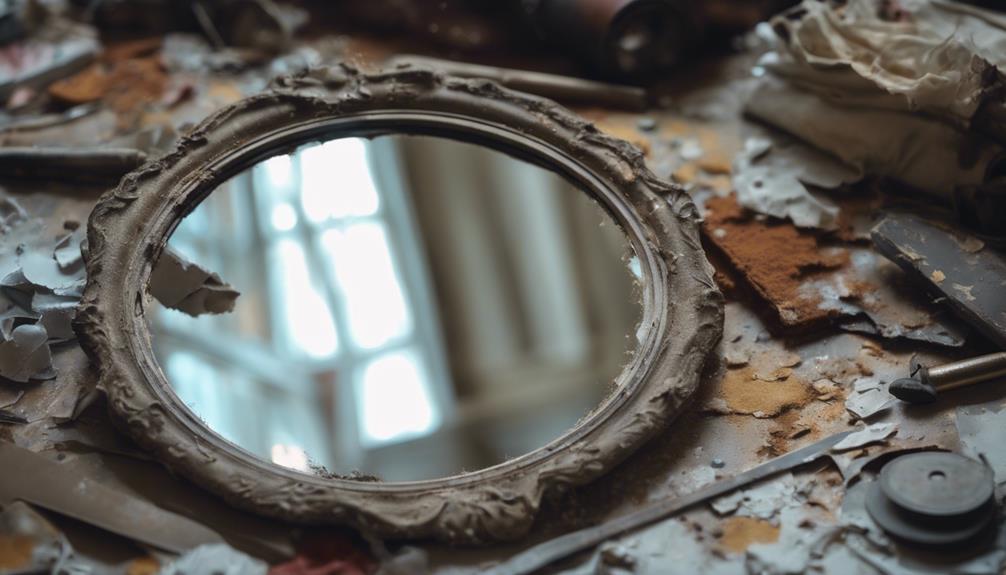
Now that you've gathered your essential supplies and tools, it's time to tackle the task of removing old paint and grime from your mirror frame. This vital step will guarantee a smooth, even surface for your new paint job.
You can use a paint stripper or sandpaper to remove old paint and grime from the mirror frame. If you choose to use a paint stripper, be sure to follow the manufacturer's instructions and take necessary safety precautions. If you opt for sandpaper, start with a coarse grit and work your way up to a finer grit for a smoother finish.
After stripping or sanding, wipe down the frame with a damp cloth to remove any remaining residue. Make sure the frame is completely dry before moving forward. Sand any rough spots on the frame to create a smooth surface for the new paint to adhere to.
Priming the Mirror Frame
With your mirror frame stripped and sanded, you're ready to apply a light coat of primer to guarantee a smooth, even finish. This critical step ensures that your paint adheres well and prevents oils from bleeding through, which can cause chipping or unevenness. For best results, choose a high-quality primer like Colourtrend Prime 2, specifically designed for this purpose.
| Primer Benefits | Why It Matters | Tips |
|---|---|---|
| Prevents bleeding | Ensures a smooth finish | Apply a light coat |
| Enhances paint adhesion | Reduces chipping | Choose a quality primer |
| Provides a uniform base | Improves color coverage | Allow primer to dry completely |
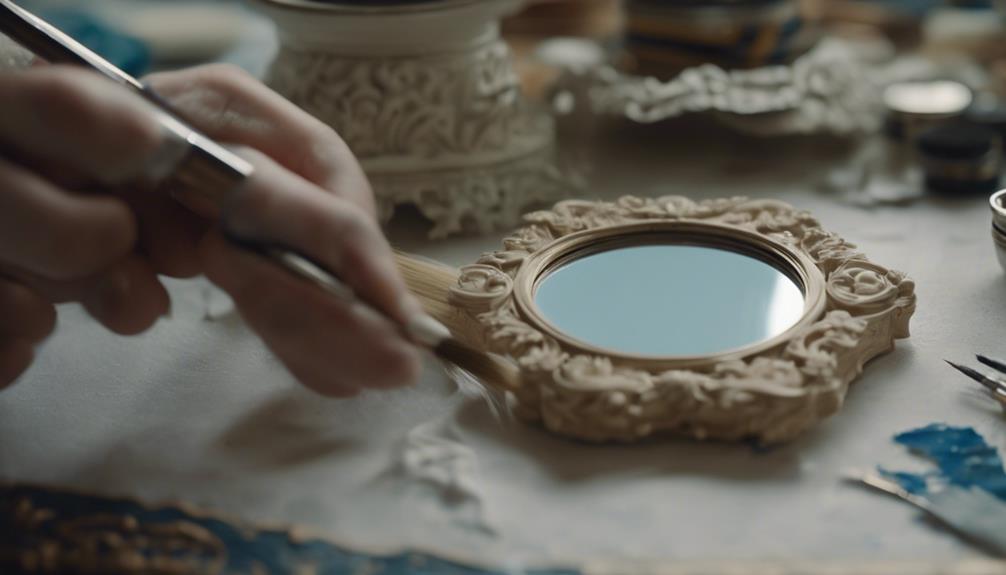
Painting the Mirror Frame
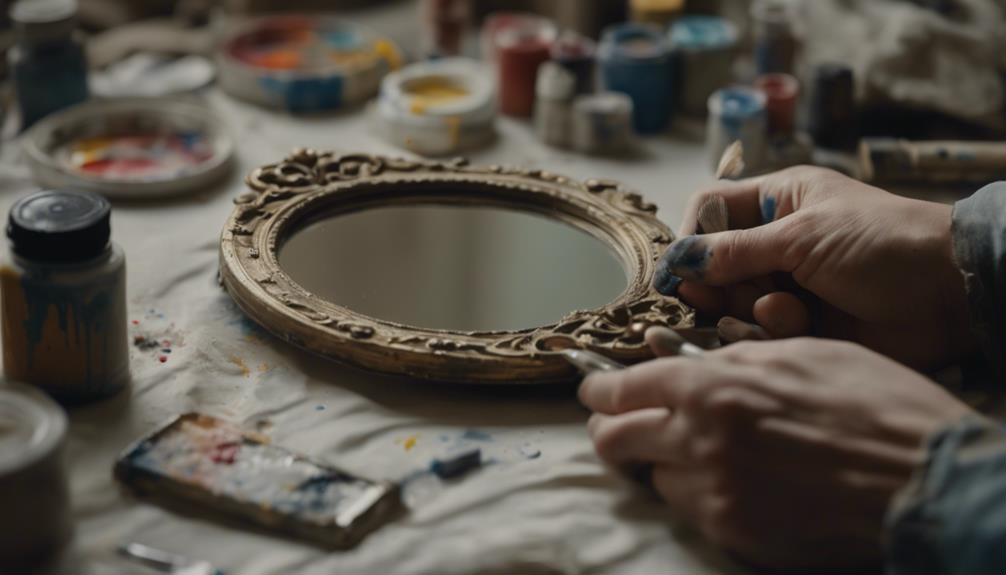
You're ready to add color and personality to your mirror frame by applying a fresh coat of paint. Before you start, make sure the surface is clean and lightly sanded to guarantee better paint adhesion.
Use painter's tape to mask off areas you don't want to paint, guaranteeing a crisp, clean finish. Now, it's time to spray paint your mirror frame. Apply light coats, allowing each one to dry completely before adding the next. This will prevent drips and unevenness, resulting in a smooth, professional paint finish.
Remember, patience is key – multiple thin coats are better than one thick, gloopy one. As you work, keep in mind that you're not just giving your mirror a makeover, you're also protecting the frame with a durable paint job. Consider adding a protective finish or sealant to really make your hard work last.
With these tips, you'll be enjoying your beautifully painted mirror frame in no time.
Masking the Mirror Edges
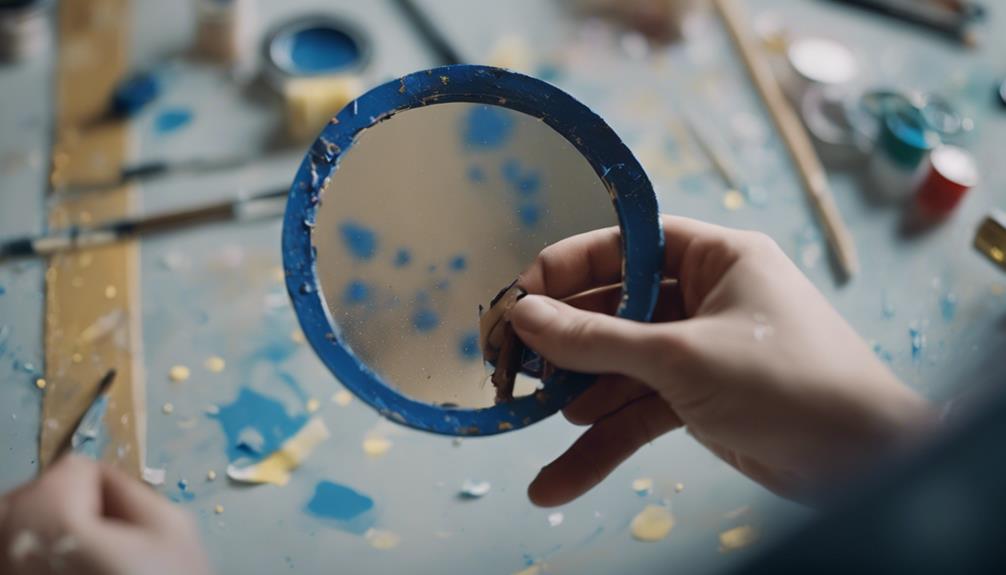
Now that you've prepared your mirror frame for painting, it's time to focus on protecting the edges of the mirror itself.
You'll want to use painter's tape to carefully mask off these areas, ensuring a crisp, clean paint line and preventing any unwanted paint seepage onto the glass.
Edge Protection Methods
To prevent paint from seeping onto the mirror's surface, carefully apply painter's tape along the edges, making sure a secure bond to create a clean, precise border. This important step in the DIY mirror painting process helps protect the mirror surface and prevent paint from peeling off over time.
When using painters tape, keep in mind the following key considerations:
- Apply moderate pressure to make sure the tape adheres securely, avoiding air pockets or bubbles that can compromise the seal.
- Avoid using excessive pressure, which can damage the mirror edges or cause the tape to lift off.
- Inspect the tape for any wrinkles or creases, smoothing them out to create a clean, even surface.
Tape Application Tips
Applying painter's tape with precision guarantees a crisp, clean edge around the mirror frame. When masking the mirror for painting, it's crucial to use painter's tape to create clean edges.
To make sure of a smooth paint line, apply the tape along the edges of the mirror frame, ensuring it's firmly pressed down to prevent paint seepage. As you apply the tape, remove any air bubbles or creases that may form, as these can create imperfections in the paint job.
Double-check the tape placement before starting to paint to avoid any mistakes. A well-executed tape application will result in a professional-looking finish. By taking the time to meticulously apply the tape, you'll be rewarded with a beautifully painted mirror that showcases your attention to detail.
Removing Masking Tape
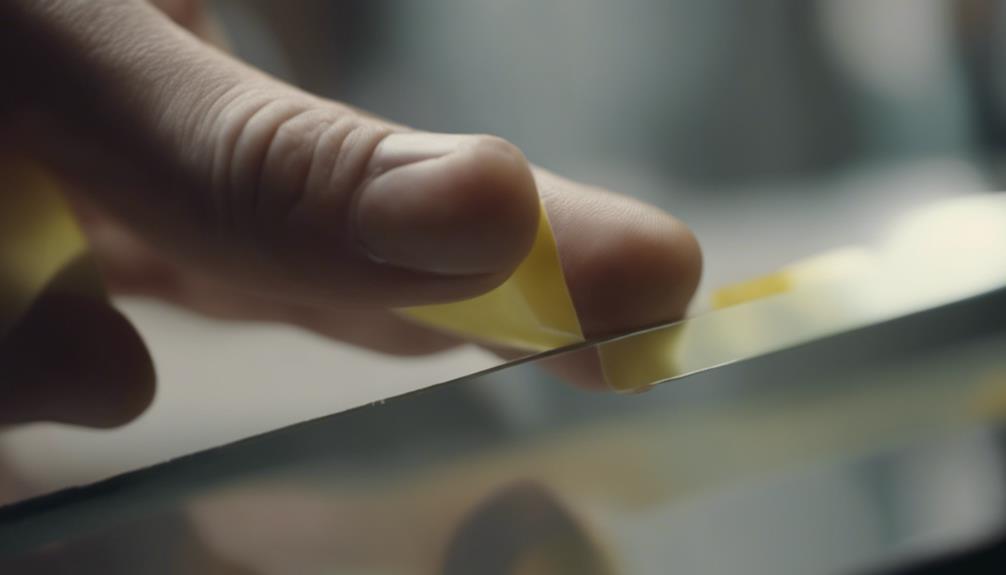
With precision, you'll carefully remove the masking tape to reveal crisp, paint-free edges. Removing the tape is an essential step in achieving a professional-looking finish.
To do it right, gently peel off the masking tape at a 45-degree angle to prevent paint from lifting. If some paint does lift, don't panic – just use a craft knife to score along the edge of the tape for clean removal.
Here are some additional tips to keep in mind:
- Remove the tape while the paint is still slightly tacky for sharp lines.
- Avoid leaving the tape on for too long to prevent it from bonding with the paint.
- Clean up any residue left by the tape with a damp cloth or rubbing alcohol.
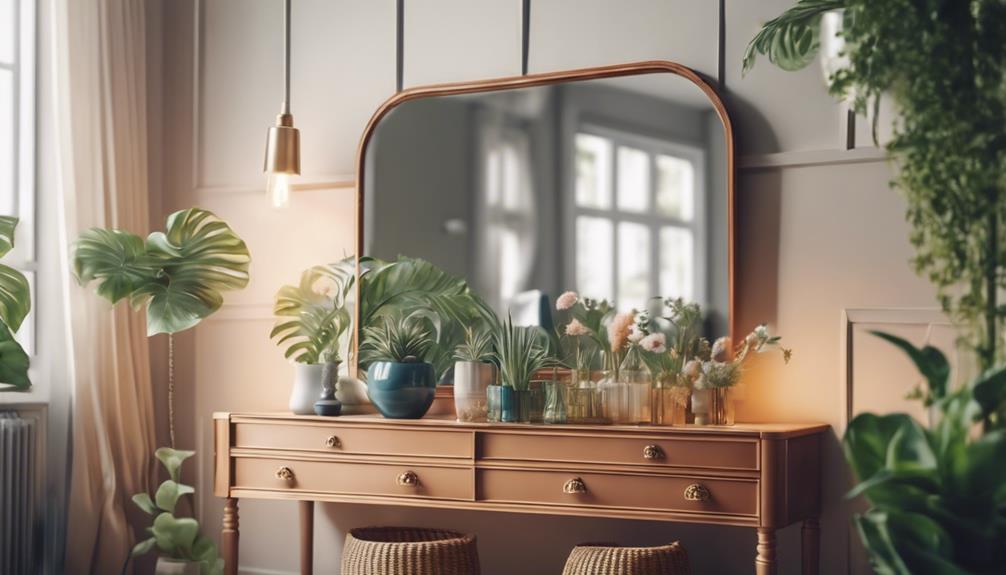
Finishing Touches and Styling

Now that your mirror is painted and ready, it's time to hang it in a spot that showcases its unique style and adds visual interest to the room.
You've invested time and effort into creating a one-of-a-kind painting mirror, so make sure it takes center stage. Secure it on the chosen wall, and style it with complementary decor such as candles, vases, or picture frames that complement its frame and overall aesthetic.
When arranging items around the mirror, consider its reflection and aim for visual balance. Don't forget to use the mirror to amplify natural light in the room, creating a sense of spaciousness.
Experiment with different angles and heights to find the perfect placement for your painted mirror. By doing so, you'll create a stunning focal point that draws the eye and elevates the entire space.
Hanging and Displaying
You've carefully crafted your one-of-a-kind painted mirror, and it's time to showcase it in a way that maximizes its visual impact. Hanging and displaying your masterpiece is an art in itself, and with a few tips and tricks, you can create a stunning display that draws the eye.
When it comes to hanging your painted mirror, remember to use heavy-duty picture hanging hardware that can support the weight of the mirror. This will guarantee that your mirror hangs securely and doesn't come crashing down.
Here are a few more tips to keep in mind:
- Hang your mirror in a well-lit area to enhance its visual impact.
- Experiment with different hanging orientations, such as vertical or horizontal, for a unique look.
- Consider incorporating your painted mirror into a gallery wall for a stylish and cohesive display.
Frequently Asked Questions
What Kind of Paint Will Stick to a Mirror?
When it comes to painting a mirror, you're likely wondering what kind of paint will stick to the surface. You'll be happy to know that acrylic paint is an excellent choice, as it adheres well to glass surfaces.
Additionally, enamel paint is another option that provides a smooth finish.
If you want vibrant colors, consider specialty glass paints like Deco Art.
Do I Need to Prime a Mirror Before Painting?
As you prepare to paint your mirror, you're likely wondering: do I need to prime it first?
The answer is a resounding yes! Priming is crucial to guarantee the paint adheres properly and lasts longer. Without primer, the paint may peel or chip off the mirror frame, ruining your design.
By applying a suitable primer, like white gesso or specialized mirror primer, you'll create a smooth surface for painting and prevent future headaches.
How to Seal Paint on a Mirror?
Now that you've painted your mirror, it's time to seal the deal – literally! To protect your handiwork from wear and tear, you'll need to apply a clear varnish or sealant specifically designed for painted surfaces.
Use thin, even coats, allowing each layer to dry completely before adding the next. This guarantees proper coverage and a durable finish.
Can I Use Acrylic Paint on a Mirror?
You're wondering if you can use acrylic paint on a mirror, and the answer is a resounding yes! In fact, acrylic paint is a great choice due to its quick-drying properties, making it ideal for mirror painting.
Just remember to apply thin coats for better adhesion and coverage, and consider using a white acrylic base to enhance color vibrancy.
Conclusion
As you step back to admire your handiwork, the newly painted mirror frame seems to magically transform the entire space. It's as if the room's energy has shifted, and the once-bland mirror now radiates a fresh, personalized charm.
Coincidence or not, your DIY skills have breathed new life into a forgotten piece, and you can't help but feel a sense of pride and accomplishment. With your creativity and resourcefulness, you've turned an ordinary mirror into an extraordinary focal point that reflects your unique style.