To sew curtains with French pleats, start by selecting a sturdy fabric that drapes well and measure your window carefully, adding extra for hems and pleats. Mark the pleat placements with chalk, pin them securely, and sew along the folded lines to create crisp pleats. Finish the edges neatly, attach a header tape, and hang your curtain on a sturdy rod. For detailed steps and tips, continue exploring the process to achieve perfect, professional-looking French pleats.
Key Takeaways
- Measure window dimensions accurately, adding extra fabric for pleats and hems.
- Mark pleat positions evenly with chalk or fabric markers before pinning.
- Sew pleats securely along pinning lines, reinforcing at the start and end.
- Finish edges with bias tape, serging, or pinking shears to prevent fraying.
- Hang curtains on sturdy rods, adjusting pleats for even, polished appearance.

Curtain Pleat Tape, 11 Yards Pleater Curtains Tape with 50 Pcs Stainless Steel Pleater Hooks with 4 Prongs, Pinch Pleat Curtain Drapes Tape for Handmade DIY Pleated Curtain
PACKAGE CONTENTS: 11 yards (10 meters) of white curtain pleating tape and 30 pieces of stainless steel 4-prong…
As an affiliate, we earn on qualifying purchases.
As an affiliate, we earn on qualifying purchases.
Gathering Materials and Measuring for French Pleats

Before you begin sewing French pleats, it is vital to gather all the necessary materials and accurately measure your window. Start with fabric selection; choose a fabric that drapes well and complements your decor. Consider weight, texture, and color when making your choice. Proper measuring tips are essential: measure the width and height of your window, adding extra for hems and pleats. Use a tape measure and keep it flat against the wall to ensure accuracy. Don’t forget to account for the desired fullness of your curtains—typically, fabric should be 1.5 to 2 times the window width. Understanding asset division laws can help you anticipate potential asset transfers during divorce proceedings. Gathering the right materials and precise measurements will make sewing French pleats much easier and result in a polished, professional look.
Curtain Pleat Tape, 11 Yards Pleater Curtains Tape with 50 Pcs Stainless Steel Pleater Hooks with 4 Prongs, Pinch Pleat Curtain Drapes Tape for Handmade DIY Pleated Curtain
PACKAGE CONTENTS: 11 yards (10 meters) of white curtain pleating tape and 30 pieces of stainless steel 4-prong…
As an affiliate, we earn on qualifying purchases.
As an affiliate, we earn on qualifying purchases.
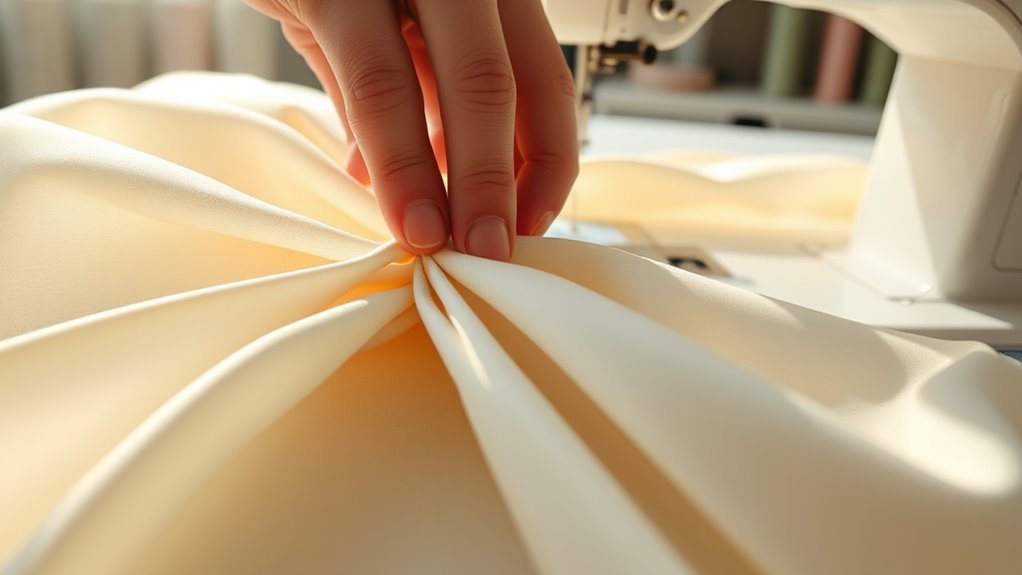
Preparing Your Fabric for Sewing
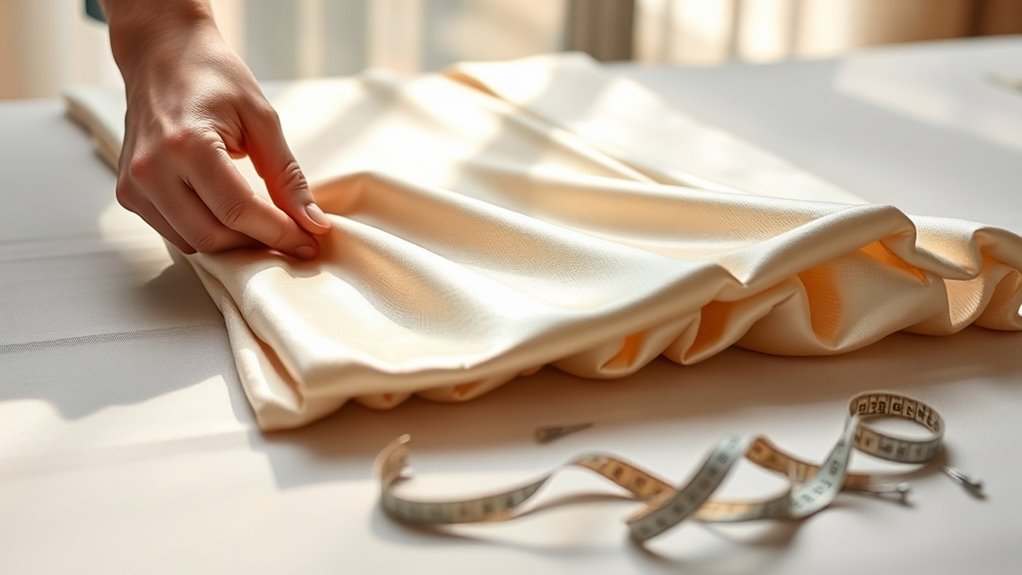
Have you prepared your fabric properly for sewing your French pleats? The first step is choosing the right fabric; opt for sturdy, medium-weight materials like silk, linen, or polyester blends that hold pleats well. Before sewing, wash and iron the fabric to prevent shrinking and ensure smoothness. Next, consider your seam allowances—typically 1/2 inch for curtains—so you can accurately cut and sew without compromising the pleats’ structure. Mark your fabric carefully, using chalk or fabric markers, to guide the pleat placement. Make sure to double-check your measurements and fabric edges. Proper preparation guarantees your pleats will sit evenly and look professional, creating a polished finish for your curtains. Additionally, understanding the benefits of proper fabric care can help you maintain the appearance and longevity of your finished curtains.

IFELS Heavy Duty Curtain Rods for Windows 66 to 120 Inch,1 Inch Adjustable Black Curtain Rod with Easy Installation and Modern Design,Decorative Long Drapery Rods with Metal Finials (A1,Black,30-120")
Heavy Duty Curtain Rods: IFELS Black curtain rod is constructed from 100% heavy duty metal. Our long curtain…
As an affiliate, we earn on qualifying purchases.
As an affiliate, we earn on qualifying purchases.
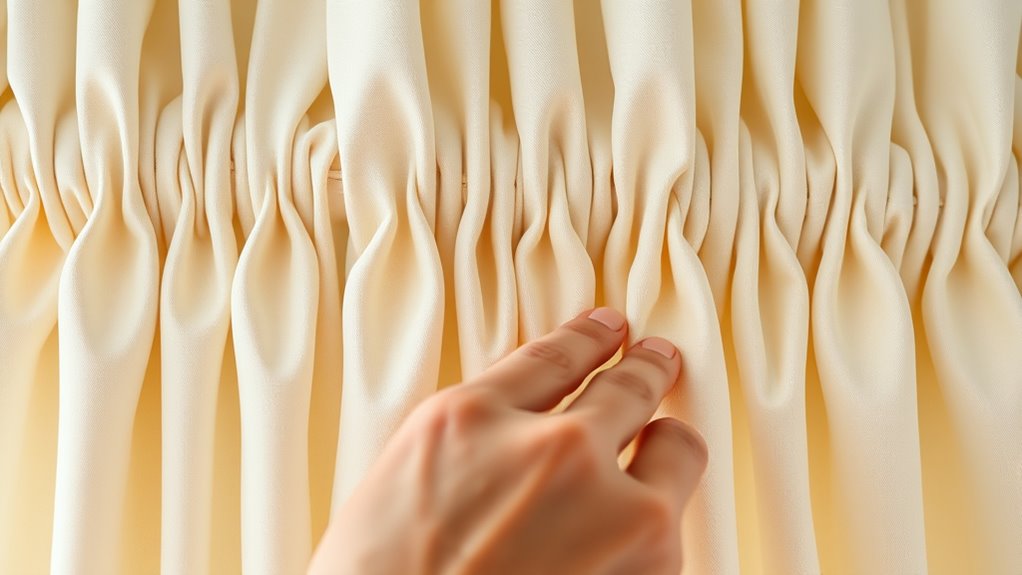
Marking and Pinning the Pleats
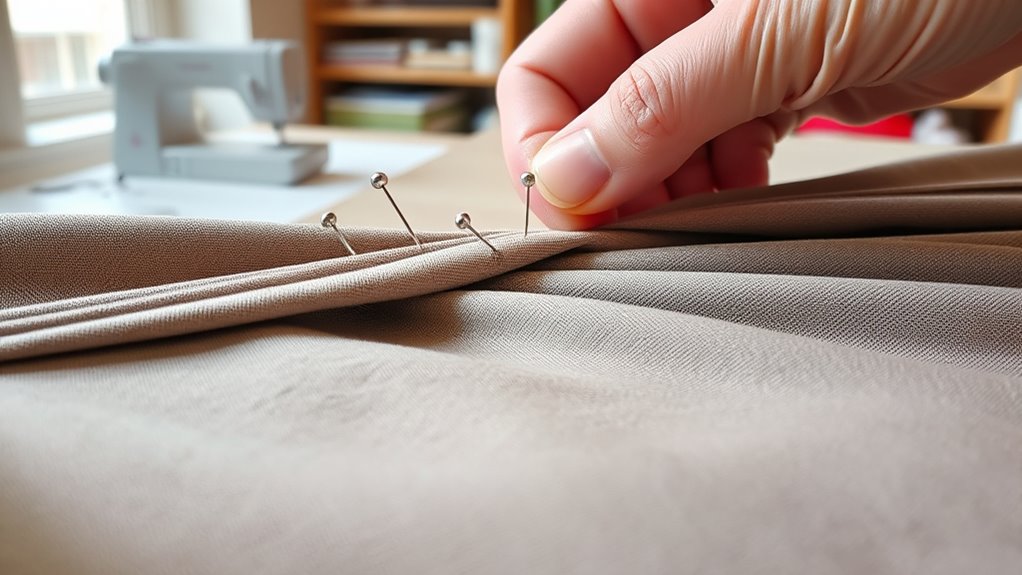
Once you’ve prepared your fabric, the next step is to accurately mark and pin the pleats to make sure they fold neatly and stay in place during sewing. Consistent pleat spacing is key to achieving a polished look. Use tailor’s chalk or fabric marker to mark the pleat positions, ensuring even intervals. Keep an eye on fabric tension; too tight or loose fabric can distort pleats. Pin each pleat securely at the top and along the fold to maintain their shape. To visualize, here’s a simple guide:
| Pleat Spacing | Pinning Technique | Fabric Tension |
|---|---|---|
| Even intervals | Pin at the top | Slightly taut |
| Use chalk lines | Pin along fold | Avoid slack |
| Measure carefully | Secure with clips | Keep consistent |
| Check alignment | Pin at edges | Maintain even tension |
| Adjust as needed | Reinforce pins | Prevent shifting |
Additionally, taking the time to properly press the pleats before sewing can help set the folds and ensure a smooth finish.
fabric marking chalk for sewing
As an affiliate, we earn on qualifying purchases.
As an affiliate, we earn on qualifying purchases.
Sewing the Pleats in Place
With your pleats securely pinned in place, it’s time to sew them to hold their shape. Begin by carefully sewing along the pleat pinning lines, ensuring the fabric folding stays consistent. Use a straight stitch, sewing close to the fold to keep the pleats crisp and neat. Take your time to follow the natural fold lines, maintaining even tension and stitch length. If needed, reinforce the pleats with backstitches at the start and end for durability. Keep the fabric taut but not stretched to prevent puckering. Once you’ve sewn all the pleats in place, gently remove the pins. This step ensures your pleats stay sharply defined and ready for the next stage of your curtain project.
Constructing the Curtain Header and Top Hem
Are you ready to create a sturdy and polished top for your curtain? Constructing the header and top hem sets the foundation for your curtain style and showcases your fabric pattern. Start by measuring and folding the fabric, ensuring the header accommodates your curtain style, whether it’s a formal or casual look. Use a sturdy header tape if needed, and sew it securely along the top edge. A well-constructed header prevents sagging and wrinkling, giving your curtains a professional finish. Additionally, paying attention to fabric durability will help ensure your curtains last and maintain their appearance over time.
Here’s a quick overview:
| Step | Key Consideration |
|---|---|
| Choosing the header fabric | Match curtain style and durability |
| Folding and pressing | Keep fabric pattern aligned |
| Sewing the top hem | Reinforce for strength |
This ensures your French pleats hang perfectly, enhancing any fabric pattern or curtain style.
Creating the Pleat Folds and Attaching the Header Tape

Start by carefully folding your pleats to make certain they are even and well-pressed. Secure each fold with stitches to hold them in place, making the process easier. Then, attach the header tape across the top, aligning it properly with your pleats for a clean finish. For a professional look, ensure the fabric decorating markers used to mark the pleats are washable and safe for fabric.
Folding the Pleats Precisely
Have you ever wondered how to guarantee your pleats are perfectly even and sharp? It all starts with careful fabric selection and accurate pleat calculation. Choose a fabric that holds shape well, like a medium-weight cotton or silk, to ensure crisp pleats. Before folding, measure and mark the pleat positions precisely, based on your curtain width and header tape length. Use a ruler or tailor’s chalk to create guidelines, making sure each pleat fold aligns perfectly. When folding, keep each pleat’s edges sharp and aligned by pinning lightly or pressing with an iron. Consistency is key; double-check measurements as you go. This disciplined approach makes certain your pleats are uniform, professional-looking, and ready for the next steps. Additionally, understanding proper fabric choice can greatly influence the overall appearance and durability of your pleats.
Securing With Stitching
To secure your pleats, begin by stitching along the folded edges to hold their shape firmly in place. Use precise stitching techniques to guarantee the pleats stay crisp and maintain fabric durability over time. Proper stitches prevent slipping or loosening, especially with heavier fabrics. Additionally, applying a strong adhesive or fabric glue can provide extra reinforcement for the pleats, ensuring they stay in position during use.
Attaching the Header Tape
After securing the pleats with stitching, it’s time to create the pleat folds and attach the header tape. Your fabric selection plays a key role here, as different curtain styles may require specific header tapes for the best finish. For classic French pleats, choose a sturdy, complementary tape that supports the structured folds. Fold the pleats neatly, ensuring each is even and sharp. Pin the header tape along the top edge, aligning it with your pleat folds. Secure the tape with straight stitches, making sure it’s firmly attached. This step not only reinforces the pleats but also provides a clean, professional look that suits various curtain styles. Proper attachment of the header tape ensures your French pleats stay crisp and elegant.
Finishing the Edges and Hemming the Curtain
Finishing the edges and hemming the curtain are essential steps to give your project a polished look and guarantee durability. Proper edge finishing prevents fraying and ensures the fabric stays intact over time. For a clean finish, consider options like bias tape, serging, or pinking shears. When hemming, use hem stitching to secure the bottom edge neatly and evenly, creating a smooth drape. Additionally, choosing the appropriate self-watering plant pots for your plants can help maintain optimal moisture levels and improve the overall appearance of your windowsill or plant display. These techniques give your French pleated curtains a professional, durable finish.
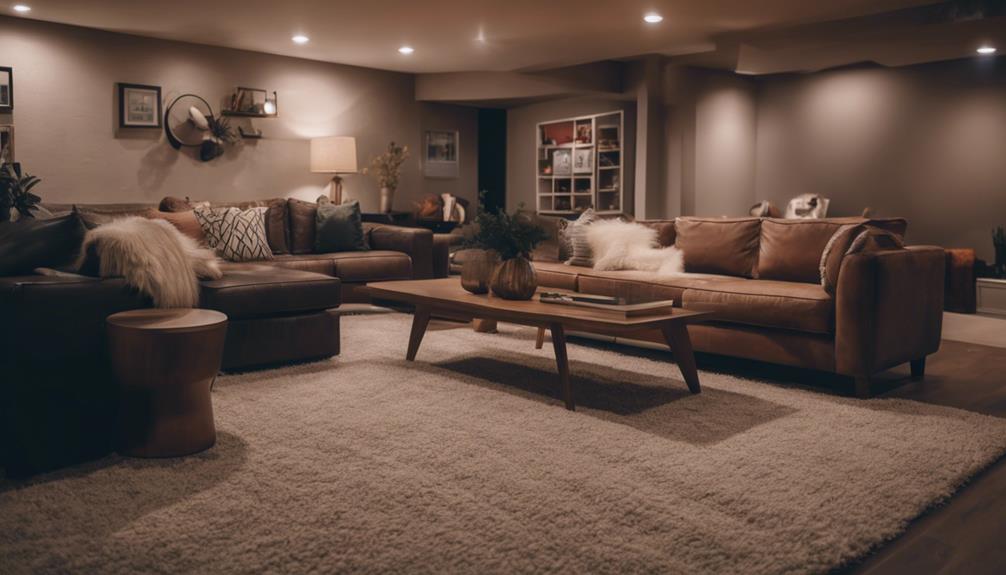
Hanging and Adjusting Your French Pleated Curtains
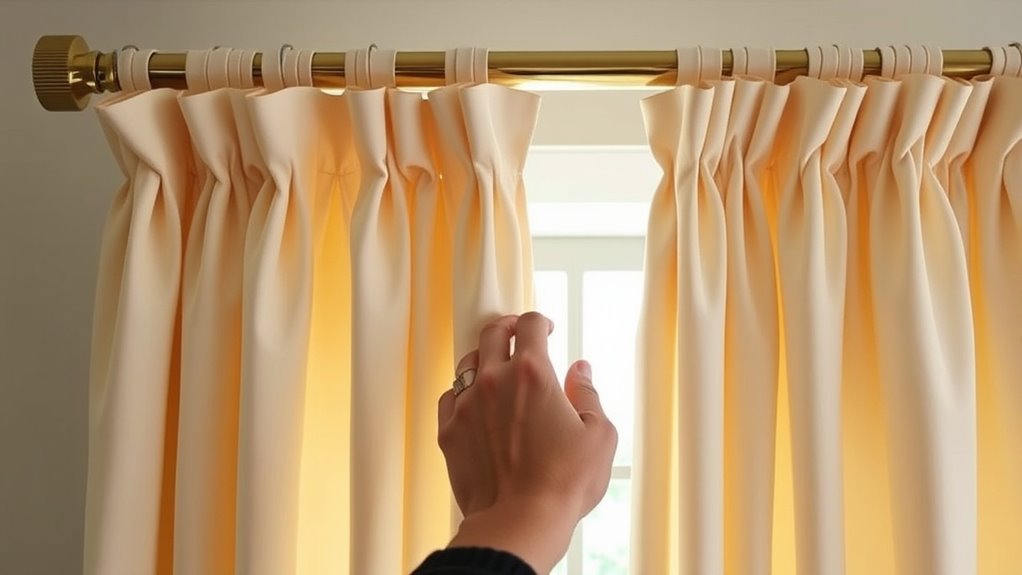
Once your curtains are ready, it’s time to hang them properly. You’ll want to focus on correct techniques, adjusting pleat spacing for a neat look, and securing their position so they stay in place. With these steps, your French pleated curtains will hang beautifully and function perfectly. Remember to use appropriate hardware and ensure that the correct installation methods are followed for optimal results.
Proper Hanging Techniques
To guarantee your French pleated curtains hang beautifully and evenly, you need to master proper hanging techniques. Start by selecting the right fabric, as fabric selection influences how your curtains fall and complement your chosen curtain styles. Use a sturdy, well-installed rod that can support the weight of your fabric. When hanging, ensure the hooks or rings are evenly spaced to promote uniform pleats.
Consider these steps:
- Choose a rod that fits your curtain style and supports the fabric weight.
- Install the rod at the correct height for balanced appearance.
- Distribute hooks or rings evenly to maintain consistent pleat spacing.
Following these techniques ensures your French pleated curtains look professional and elegant, enhancing your space’s overall aesthetic.
Adjusting Pleat Spacing
Adjusting the pleat spacing guarantees your curtains hang evenly and look polished. To fine-tune fabric pleats, gently shift the pleats along the curtain rod until they distribute evenly. This helps create a consistent look and prevents bunching. Use the table below to guide your adjustments:
| Pleat Position | Adjustment Method | Result |
|---|---|---|
| Too close | Space pleats further apart | Even, balanced pleats |
| Too far apart | Bring pleats closer together | Tighter, uniform fabric pleats |
| Uneven spacing | Shift pleats for symmetry | Smooth, professional finish |
Carefully observe the fabric pleats and tweak their spacing as needed. This ensures your French pleated curtains hang beautifully and maintain a refined appearance.
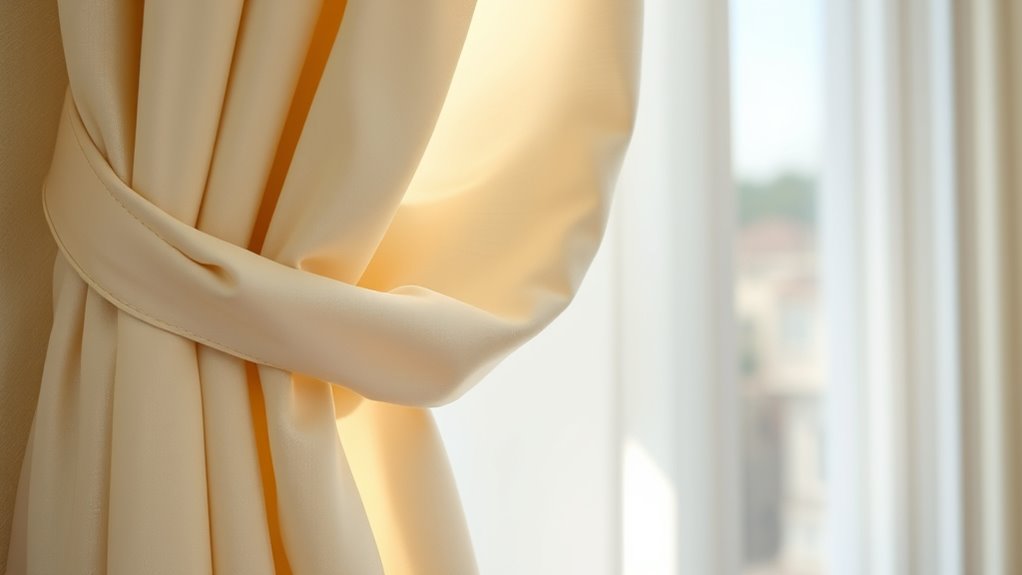
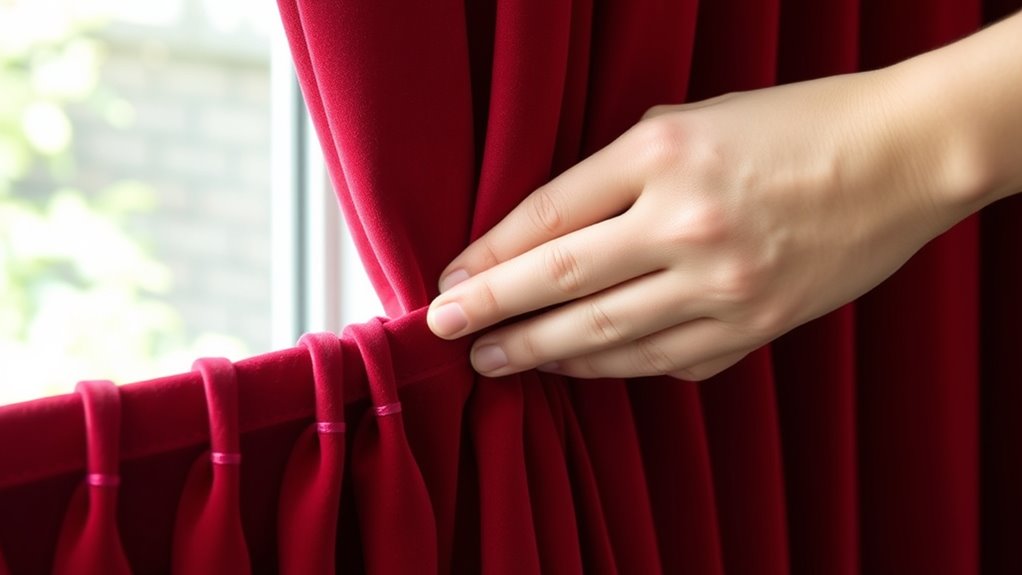
Securing Curtain Position
Securing the proper position of your French pleated curtains guarantees they hang evenly and look polished. Start by choosing the right curtain rod, ensuring it’s sturdy enough to support the weight and wide enough to showcase the pleats. Once hung, adjust the placement to achieve uniform pleat spacing across the rod. Use curtain tiebacks to hold the curtains open and maintain a neat appearance, especially if you want to let in light or frame your view. To refine the look, consider these steps:
- Verify the curtain rod is level and securely mounted.
- Adjust the pleats evenly along the rod for a consistent appearance.
- Use curtain tiebacks to control the drape and secure the curtains in position.
- Incorporate open shelving or decorative accents to enhance the overall aesthetic and complement the farmhouse style of your bathroom.
These steps help your French pleated curtains look tailored and elegant.
Frequently Asked Questions
How Can I Customize French Pleats for Different Curtain Styles?
You can customize French pleats by adjusting the pleat depth and placement to suit your curtain style. For a more formal look, make deeper pleats and evenly space them for a structured appearance. If you prefer a casual vibe, opt for shallower pleats with varied placement. Experimenting with these elements allows you to tailor your curtains, creating a unique aesthetic that complements your space perfectly.
What Fabric Types Work Best for French Pleated Curtains?
Think of your curtains as the canvas of your room’s story. For French pleats, you’ll want fabrics like linen, velvet, or heavyweight cotton — they hold their shape like a sturdy frame. These fabrics offer excellent durability, ensuring your pleats stay crisp over time. Plus, choose colors that harmonize with your decor, turning your window treatment into a seamless extension of your style.
How Do I Maintain or Clean Curtains With French Pleats?
To keep your curtains with French pleats looking their best, you should regularly dust or vacuum them using a soft brush attachment. For deeper cleaning, follow the fabric’s care instructions—most can be gently hand washed or steamed to remove wrinkles without damaging the pleats. Avoid harsh chemicals, and always check for colorfastness first. Proper fabric maintenance and gentle cleaning techniques will keep your curtains looking fresh and elegant.
Can I Add Decorative Elements to Enhance the Pleats?
Imagine your curtains as a canvas waiting to be transformed. Yes, you can add embellishment options like decorative stitching or appliqués to make your pleats stand out. These touches bring personality and charm, turning simple curtains into a statement piece. Carefully choose your decorative elements to complement the fabric and style, and sew with precision. Your French pleats will become a mesmerizing focal point, reflecting your unique taste and creativity.
What Are Common Mistakes to Avoid When Sewing French Pleats?
You should avoid misaligned pleats, which can ruin the elegant look, by carefully checking pleat alignment during sewing. Also, choose fabric wisely; lightweight or slippery fabrics can be tricky, causing uneven pleats. Don’t forget to press pleats as you sew, ensuring they stay crisp. Rushing through measurements or ignoring fabric properties leads to mistakes, so take your time and double-check everything for a polished, professional finish.
Conclusion
Now, as you hang your beautifully crafted French pleated curtains, imagine them dancing gently with every breeze, transforming your space into a picture-perfect scene. With patience and care, you’ve created a stunning focal point that’s both elegant and functional. Remember, each pleat is a small masterpiece—your personal touch turning simple fabric into a work of art. So step back, admire your work, and enjoy the timeless beauty you’ve brought to life.