
Before installing tile or wood flooring, assess and prepare your existing subfloor by checking for damage or uneven areas. Clean thoroughly, remove debris, and make certain the surface is dry and level. Repair any cracks or weak spots, add reinforcement if needed, and install a vapor barrier in humid areas. Use a leveling compound to achieve a smooth surface, then secure and support the subfloor with underlayment. Keep these steps in mind to guarantee a durable foundation that lasts—more tips follow.
Key Takeaways
- Ensure the subfloor is structurally sound, dry, and free of cracks, rot, or water damage before installation.
- Verify the subfloor’s levelness and address high or low spots using leveling compounds or sanding.
- Clean and thoroughly remove debris, dust, and moisture to create a clean, dry surface for tile or wood.
- Install a vapor barrier in high-moisture areas to prevent moisture damage to tile or wood flooring.
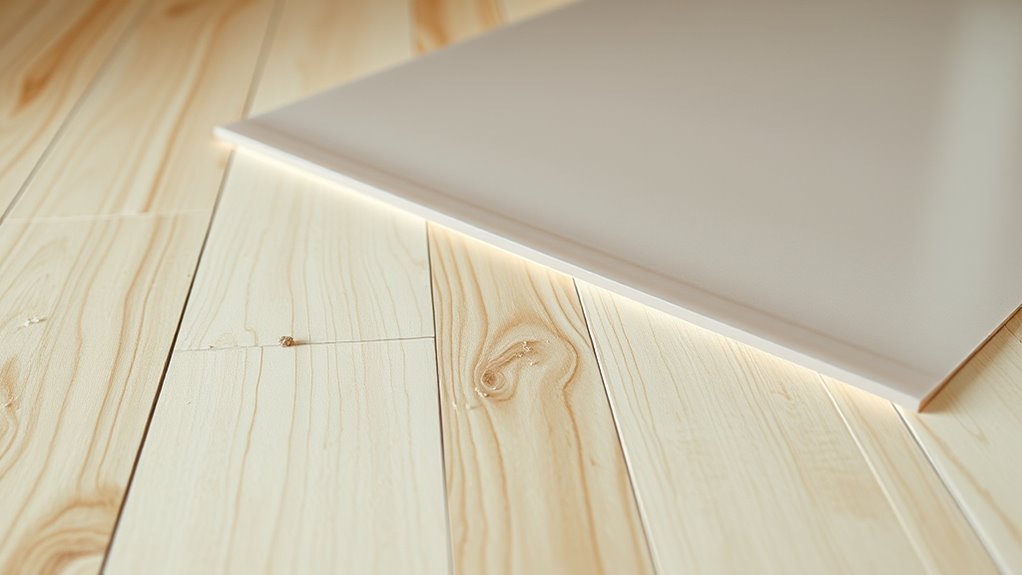
- Use appropriate underlayment to add support, improve soundproofing, and create a smooth surface for the new flooring.

DAP Flexible Floor Patch and Leveler, Light Gray, 32 Oz (7079859184)
Use to fill and level surfaces prior to the installation of carpeting, vinyl floor tile, floor sheeting and…
As an affiliate, we earn on qualifying purchases.
As an affiliate, we earn on qualifying purchases.
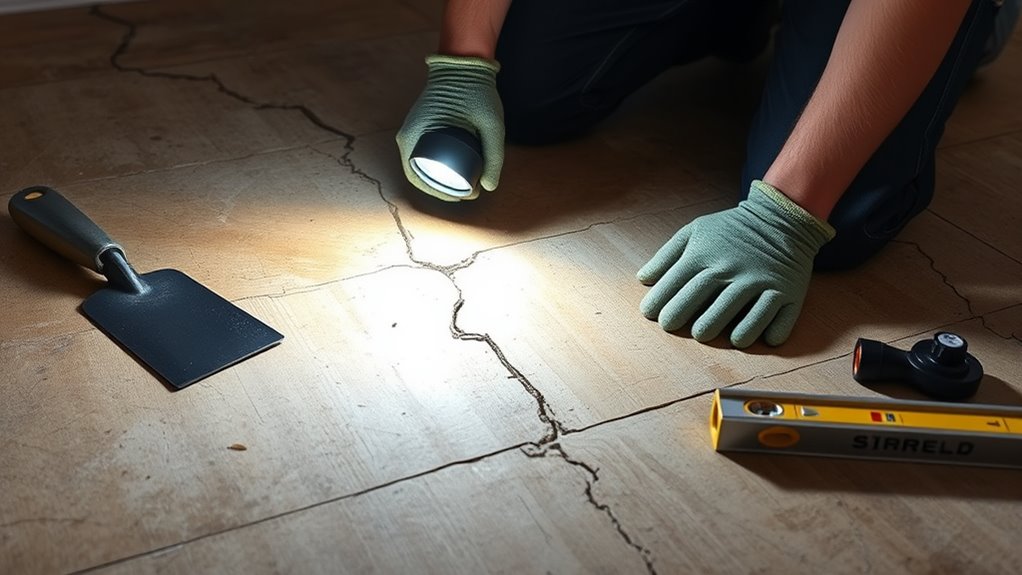
Assessing Your Existing Subfloor
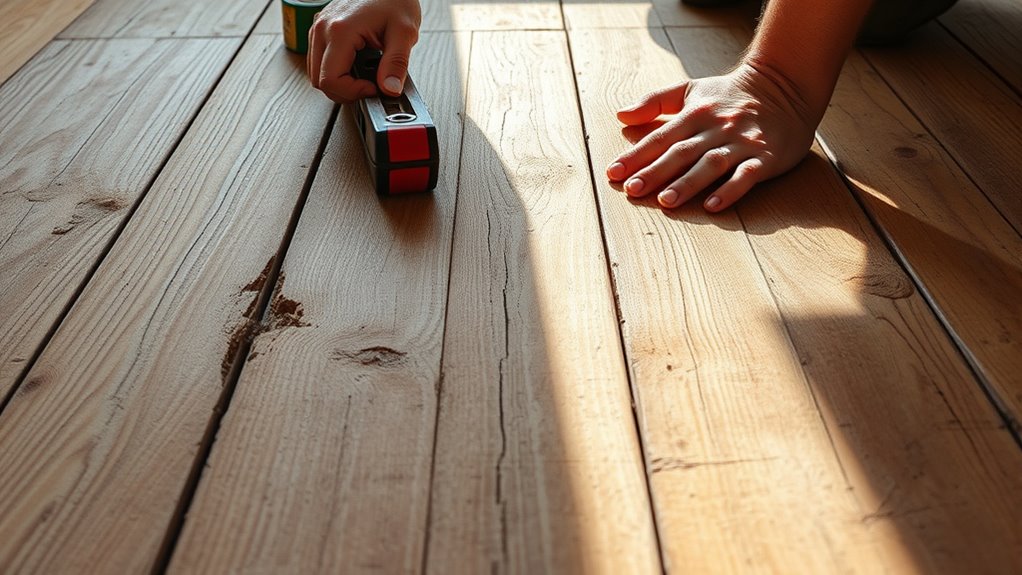
Before installing a new floor, it is vital to evaluate your existing subfloor thoroughly. Start by checking the subfloor material—whether it’s plywood, OSB, or concrete—to make sure it’s suitable for your new flooring type. Next, assess the subfloor thickness; a thicker subfloor typically provides more stability and support. Use a tape measure to verify the thickness and look for any uneven or weak spots that might require reinforcement. Inspect for signs of damage like water stains, cracks, or rot, which could compromise the new installation. Confirming the subfloor material is in good condition and meets the necessary thickness requirements helps create a solid foundation. Proper assessment prevents future problems and guarantees a smooth, durable finish for your new flooring project. Detecting passive voice can also help improve clarity and readability during the evaluation process.

ROBERTS 70-116 Moisture Barricade 6 mil Polyethylene Film for Vinyl, Laminate SPC, Engineered Wood Floors – 300 sq. ft. Roll, Black
For use as a vapor barrier when installing Vinyl, laminate, SPC and engineered wood flooring
As an affiliate, we earn on qualifying purchases.
As an affiliate, we earn on qualifying purchases.
Cleaning and Clearing the Area
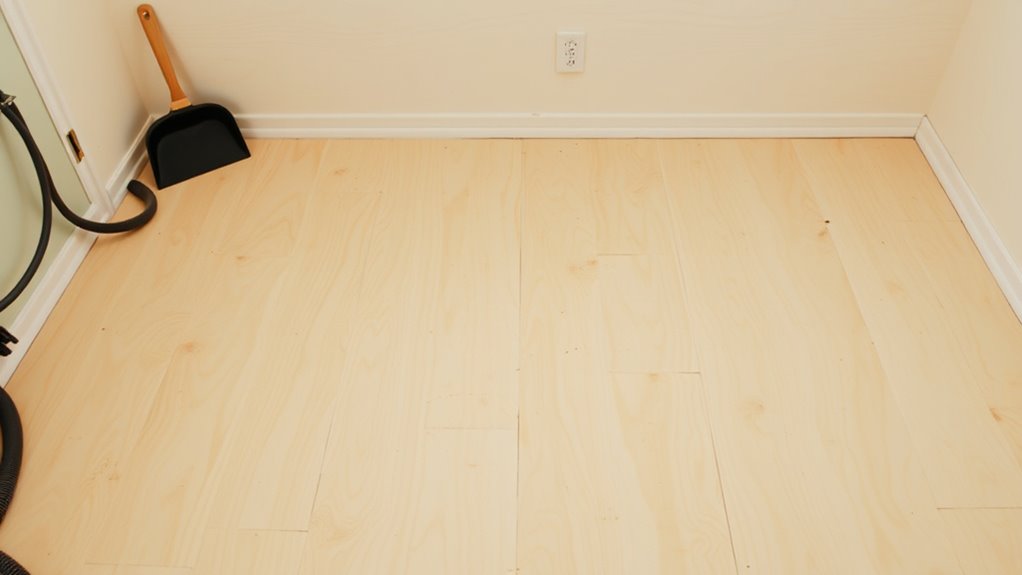
Start by removing any debris and dust from the surface to guarantee a clean workspace. Then, sweep thoroughly and carefully to pick up any remaining particles. Finally, make sure the surface is completely dry before moving on to the next step. Ensuring the surface is free of dust and debris supports proper adhesion, which is essential for a durable tile or wood installation.
Remove Debris and Dust
Have you ever realized how essential a clean subfloor is for a successful installation? Dust removal and debris clearing are essential steps before laying down tiles or wood. Take a moment to thoroughly remove all dust, dirt, and loose debris, ensuring nothing compromises adhesion or stability. Use a vacuum or a broom to sweep away dust particles and debris from corners and uneven surfaces. Small particles left behind can cause uneven spots or weaken the bond, leading to future problems. Pay special attention to cracks and crevices where debris can hide. Once you’ve cleared the debris and dust, double-check the surface for any remaining particles. A clean, debris-free subfloor sets the foundation for a smooth, durable, and professional-looking finish. Effective cleaning techniques utilize tools like vacuums and brushes to ensure thorough debris removal.
Sweep Thoroughly and Carefully
Why is it so important to sweep thoroughly and carefully? Detailed sweeping ensures all dust, dirt, and debris are removed, creating a clean, flat surface for your flooring. Proper dust removal prevents particles from causing uneven spots or future issues with adhesion. To achieve this, focus on these key points:
- Use a high-quality broom for effective dust removal
- Sweep in multiple directions to catch hidden debris
- Pay special attention to corners and edges
- Remove all loose debris before proceeding
- Additionally, thorough sweeping can help identify any underlying issues with the subfloor, such as uneven areas or damage, which should be addressed before laying your tile or wood. subfloor preparation ensures a solid foundation for your flooring project.
This careful cleaning guarantees no specks are left behind that could compromise your tile or wood installation. Taking the time for thorough sweeping minimizes future problems and ensures a strong, durable finish. Remember, a clean subfloor is the foundation for a successful flooring project.
Ensure Surface Is Dry
After sweeping thoroughly, it’s crucial to verify the subfloor is completely dry before proceeding. Moisture content can compromise the adhesion of tile or wood, leading to future issues. Use drying techniques such as air movers or dehumidifiers to eliminate excess moisture. Check the moisture level with a moisture meter to ensure it’s within acceptable limits for your specific flooring. If the surface feels damp or shows signs of moisture, continue drying until it’s dry to the touch and the moisture content is appropriate. Pay special attention to corners and hidden areas, as these tend to retain moisture. Properly drying the surface ensures a stable, secure foundation, preventing future problems like warping, mold, or adhesive failure.

FLOORLOT GoldMax Premium Floor Underlayment – 200 sqft Roll – 3mm Thick – with Moisture Barrier
ROLL SIZE – 200 sq. ft.
As an affiliate, we earn on qualifying purchases.
As an affiliate, we earn on qualifying purchases.
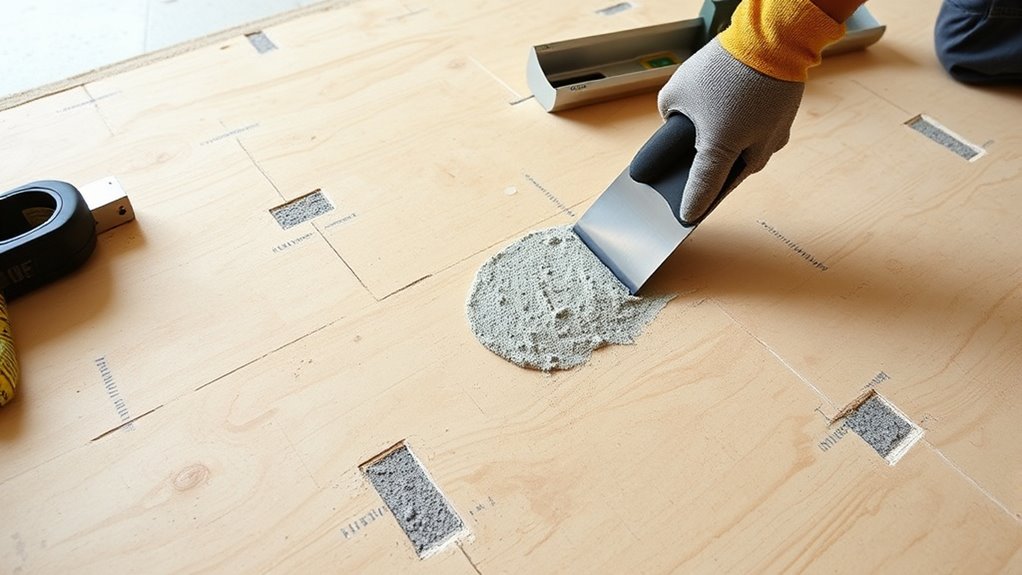
Repairing Damaged Sections
When you discover damaged sections in your subfloor, addressing them promptly is crucial to guarantee a stable and level surface. Damaged subfloor material can compromise your project’s integrity, so you need effective repair techniques. First, identify the extent of the damage—whether it’s rot, cracks, or holes. Then, remove the compromised section carefully. Use suitable materials like plywood or patching boards for repairs. Secure the patch firmly, ensuring it’s flush with the surrounding surface. For larger areas, you might need to reinforce the repair with additional framing. Keep in mind, proper repair techniques prevent future issues and maintain surface flatness. Additionally, understanding how to repair damaged sections can help ensure your subfloor remains safe and durable over time.

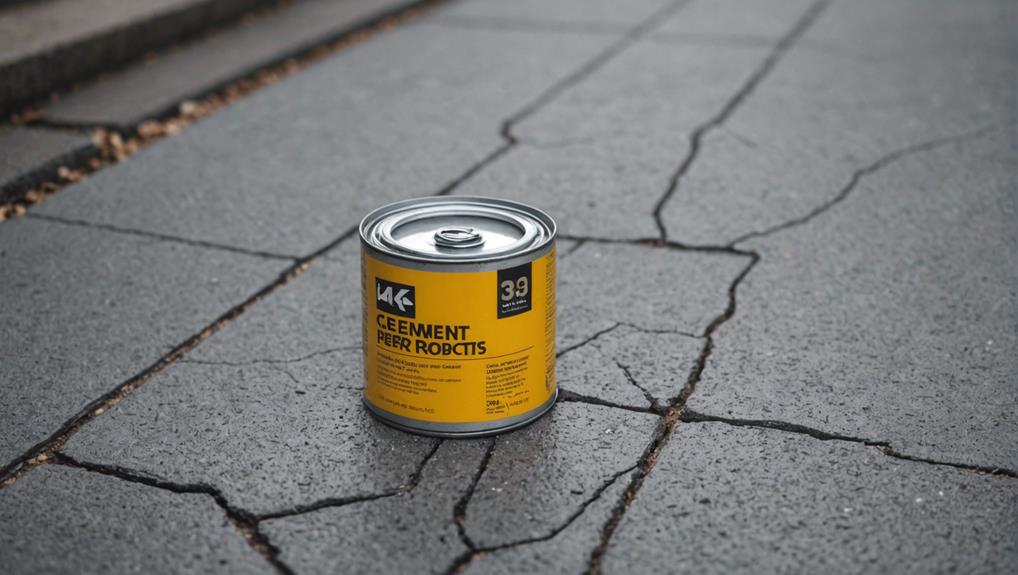
Red Devil 0645 Concrete Repair Patch, Cement Crack Filler, 5.5 Oz Squeeze Tube, Pre-Mixed, Pack of 1, Gray, Made in USA
REPAIRS CRACKS AND BREAKS IN CONCRETE: Premixed formula makes repairs easy
As an affiliate, we earn on qualifying purchases.
As an affiliate, we earn on qualifying purchases.
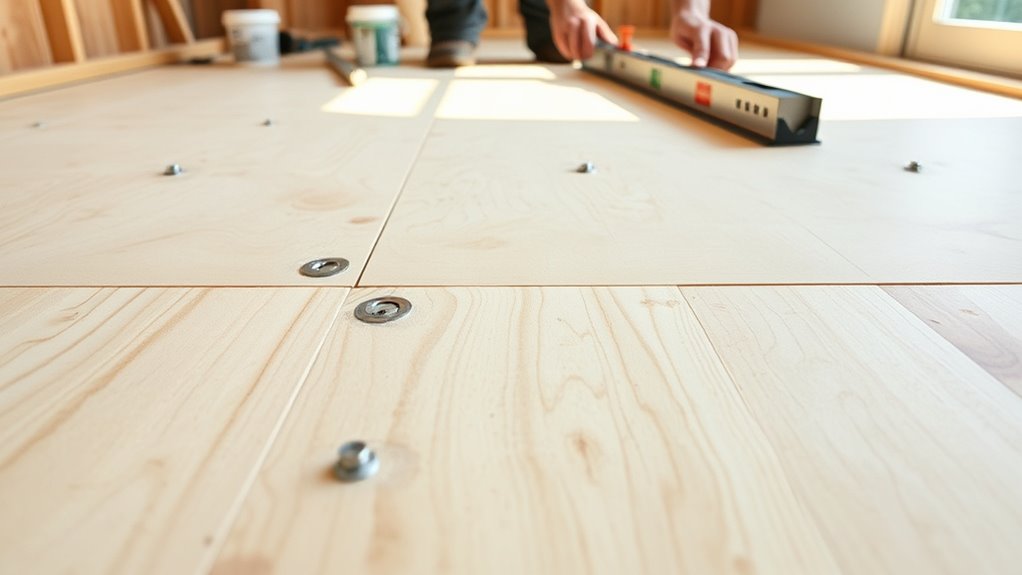
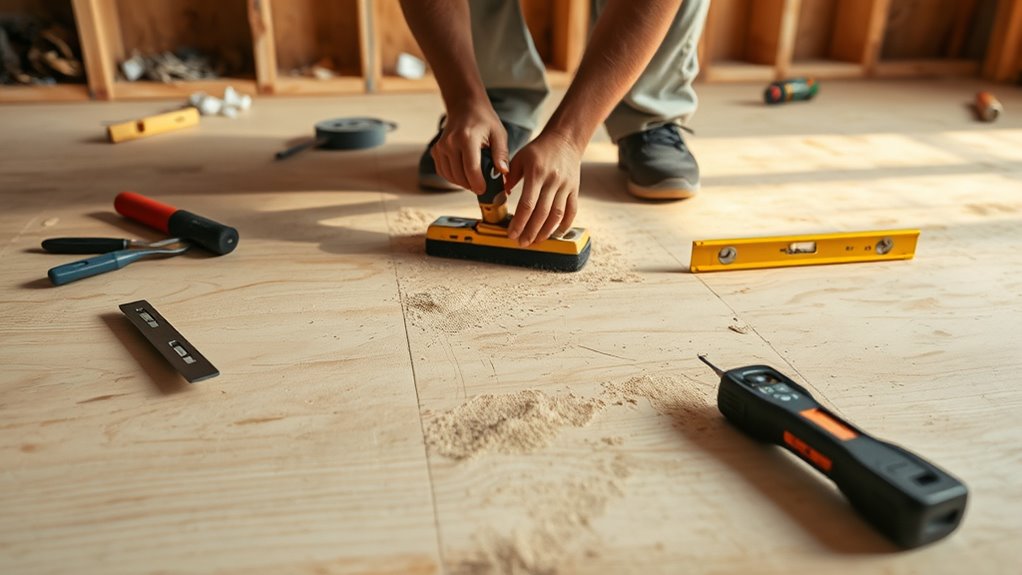
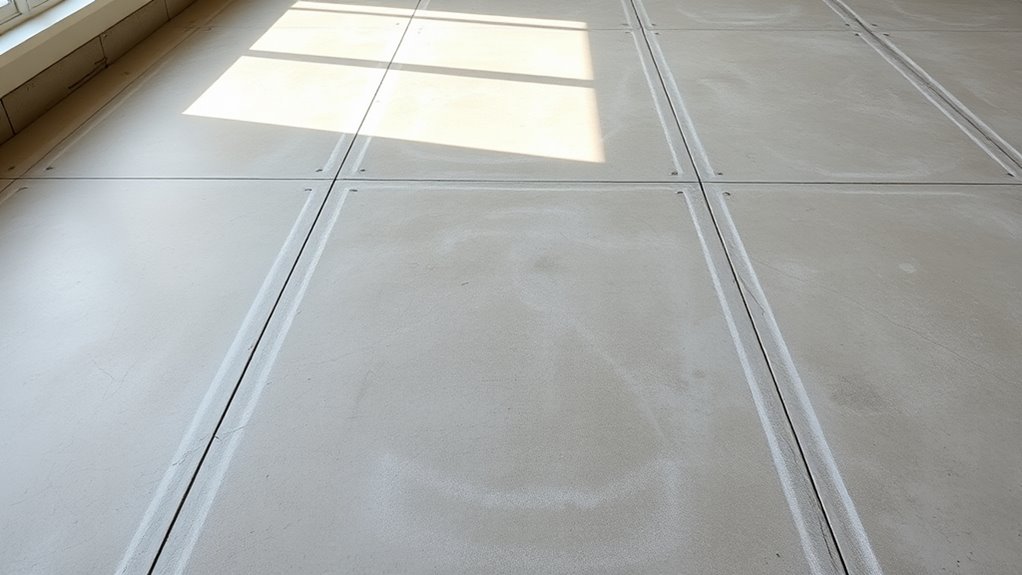
Ensuring Levelness and Flatness
To guarantee your subfloor is level and flat, start by checking for high and low spots using a straightedge or a level. Make sure to identify uneven areas accurately before making any adjustments. Using leveling tools correctly will help you achieve a smooth, stable surface for your flooring installation. Incorporating data-driven strategies can further improve your assessment accuracy and ensure long-term durability.
Checking for High and Low Spots
Ensuring your subfloor is level and flat is a crucial step before installing any flooring material. To do this, you need to check for high and low spots that could cause problems later. Start by measuring high spots with a straightedge or level to identify areas where the subfloor is too thick. Next, detect low spots where the surface dips or dips significantly below the surrounding areas. Use a long level or straightedge across different sections to get an accurate picture of the surface. Keep these key points in mind:
- Measure high spots for unevenness
- Detect low spots that may cause dips
- Use straightedges for thorough checks
- Mark problem areas clearly for correction
- Remember that subfloor flatness impacts the longevity and appearance of your flooring.
Addressing these issues ensures a smooth, stable foundation for your new flooring.
Using Leveling Tools Effectively
Using leveling tools effectively is key to achieving a truly flat and even subfloor. Start by selecting the right measuring tools, such as a long spirit level or laser level, to identify uneven areas. Use these tools to measure high spots and low spots, ensuring you understand the extent of unevenness. When applying leveling techniques, work systematically from one corner to the next, checking each section as you go. Don’t rely on guesswork; instead, frequently re-measure to confirm progress. For minor irregularities, self-leveling compounds can help, but only if you accurately assess the surface first. Proper use of measuring tools combined with consistent leveling techniques guarantees your subfloor will be flat, providing a stable foundation for tile or wood flooring. Additionally, understanding floor surface assessment can further enhance your leveling process and ensure optimal results.
Installing a Vapor Barrier or Moisture Barrier
Installing a vapor barrier or moisture barrier is a crucial step in subfloor preparation, especially in areas prone to high humidity or moisture. You should perform moisture testing to identify any excess moisture before installation. Choosing the right vapor barrier types depends on your environment and the flooring material. Proper installation helps prevent mold, wood rot, and future flooring issues. Keep these points in mind:
Installing the right vapor barrier prevents moisture problems and future flooring issues.
- Select a vapor barrier designed for high-moisture areas
- Guarantee the barrier overlaps and seals tightly at seams
- Use appropriate tape or adhesive for secure sealing
- Check moisture levels regularly to confirm effectiveness
- Understanding moisture control measures can further enhance your flooring’s longevity.
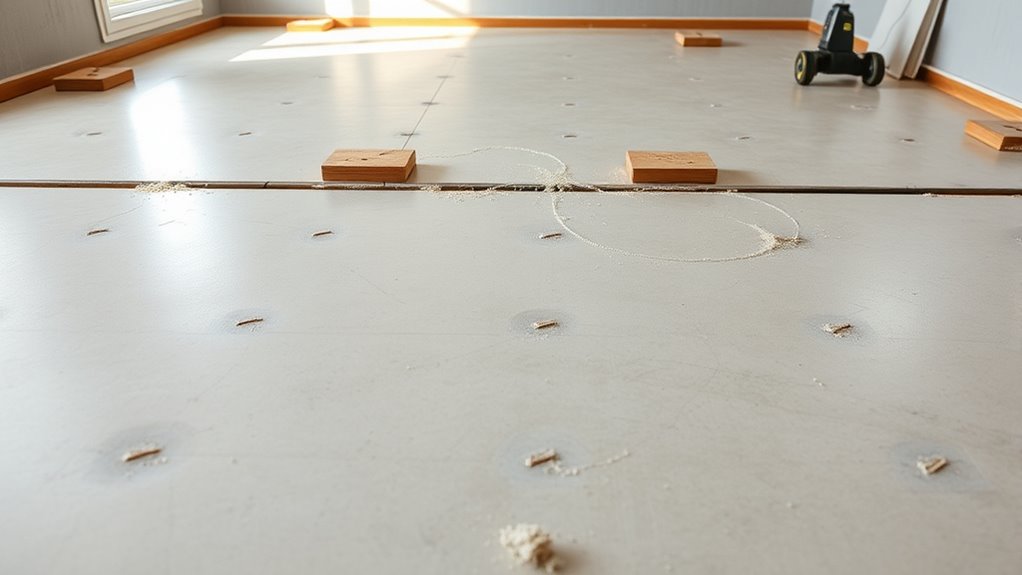
Applying a Leveling Compound

After securing your vapor barrier and making sure it’s properly sealed, the next step is to address uneven or imperfect subfloor surfaces. Applying a leveling compound helps create a smooth, stable base for your tile or wood. To improve adhesion, clean the surface thoroughly and follow the manufacturer’s instructions for mixing and application. Spread the compound evenly using a trowel, working in small sections if needed. Keep in mind that the drying time varies depending on the product and thickness applied, so avoid walking on or installing flooring until it’s fully cured. Proper application guarantees a solid foundation, reduces future cracking, and improves overall durability. Taking your time during this step pays off in the long run for a flawless finish. Recognizing soulmate angel numbers can also inspire patience and positive energy during your renovation process.
Securing Loose or Unstable Areas
Have you identified any loose or unstable areas on your subfloor? Addressing these is vital before installing tile or wood. Loose boards and unstable patches can cause shifting, cracking, or failure over time. To secure these areas, start by removing any loose boards and reattaching them with proper screws or nails. For unstable patches, cut out the damaged section and replace it with new plywood, ensuring it’s firmly secured. Consider adding a layer of adhesive between the subfloor and the new material to prevent future movement. Keep these tips in mind:
Secure loose boards and replace damaged sections to ensure a solid, stable subfloor.
- Tighten all loose boards with appropriate fasteners
- Replace rotted or damaged sections promptly
- Use construction adhesive for added stability
- Confirm the entire surface is solid and level before proceeding
Securing these areas ensures a stable, durable base for your flooring project.
Installing Underlayment for Additional Support
Once you’ve secured and reinforced any loose or unstable areas on your subfloor, adding an underlayment provides extra support and a smoother surface for your finished flooring. Choosing the right underlayment depends on your needs—whether it’s soundproofing materials for noise reduction or aesthetic underlayment to improve appearance. For example, rigid foam underlayment offers support and soundproofing, while cork provides natural sound insulation. Here’s a quick comparison:
| Material | Benefit | Ideal Use |
|---|---|---|
| Soundproofing foam | Reduces noise | Apartments, basements |
| Aesthetic underlayment | Enhances look, smooths surface | Living rooms, bedrooms |
| Cork | Natural sound insulation | Quiet, eco-friendly spaces |
Select based on your priorities to guarantee a solid, quiet, and attractive foundation.
Final Inspection Before Flooring Installation
Before you proceed with installing your flooring, it’s essential to perform a thorough final inspection of your prepared subfloor. Check for any imperfections that could affect subfloor aesthetics or compromise durability. Ensure the surface is clean, dry, and free of debris. Verify that the subfloor material types are compatible with your planned flooring, whether plywood, concrete, or OSB. Look for the following:
Perform a final inspection to ensure your subfloor is smooth, clean, and properly prepared for flooring installation.
- Smooth, even surface without high or low spots
- No cracks, creaks, or loose areas
- Properly sealed and moisture-free surface
- Confirmed alignment with manufacturer’s specifications
This inspection helps identify issues before installation, saving time and preventing costly repairs later. Address any concerns now to guarantee a flawless foundation for your tile or wood flooring.
Frequently Asked Questions
What Tools Are Essential for Subfloor Preparation?
You need vital tools like a level, tape measure, and pry bar to prepare the subfloor. Start with a floor joist inspection using a flashlight and mirror to spot damage or weak spots. Moisture testing tools, such as a moisture meter, are essential to guarantee the subfloor is dry enough for tile or wood. These tools help you create a stable, moisture-free foundation for your flooring project.
How Do I Choose the Right Underlayment Material?
Imagine you’re installing tile in a basement prone to moisture; you’d choose a waterproof underlayment with high durability, like a cement board. When selecting underlayment, consider its durability and ability to act as a moisture barrier. For areas exposed to moisture, opt for materials like cement board or foam, which resist water damage. Your choice guarantees a stable, long-lasting surface suitable for tile or wood flooring.
How Long Should I Wait After Applying Leveling Compound?
You should wait at least 24 hours after applying leveling compound before walking on it or installing flooring. The drying time depends on the product used, so check the manufacturer’s instructions. Usually, a curing period of 24 to 48 hours guarantees the compound is fully dry and stable. Rushing this process can cause uneven surfaces or bonding issues, so patience guarantees a solid, level base for your tile or wood flooring.
What Common Mistakes Should I Avoid During Subfloor Prep?
You should avoid rushing the process, especially guaranteeing your subfloor is dry and stable. Don’t ignore floor moisture levels, as excess moisture can cause issues later. Check that your subfloor is securely fastened and free of debris or uneven spots, which compromise stability. Skipping proper cleaning or not leveling the surface can lead to tiles cracking or wood warping. Taking your time and addressing these common mistakes ensures a durable, long-lasting floor.
How Do Climate Conditions Affect Subfloor Preparation?
Climate impact substantially influences subfloor prep, especially with moisture control. In humid areas, you need to make certain proper sealing and ventilation to prevent mold and warping. Conversely, in dry climates, focus on moisture barriers to avoid cracking. Temperature fluctuations can cause expansion or contraction, so select materials that accommodate these changes. Adjust your prep to match your climate, making certain a stable, durable foundation for tile or wood flooring.
Conclusion
By guaranteeing, cleaning, repairing, leveling, sealing, securing, supporting, and inspecting, you ensure a solid foundation for your tile or wood flooring. Each step builds on the last, creating a seamless, durable surface. When you prepare your subfloor thoroughly, you prevent future problems, enhance longevity, and enjoy beautiful results. Stay diligent, stay attentive, and you’ll transform your space with confidence and craftsmanship that lasts. Your perfect floor starts with your careful preparation.