
To avoid ruining designs, you must set your heat press with accurate temperature and timing. Too high or low heat causes poor adhesion or scorching, while incorrect press duration leads to peeling or cracking. Regular calibration and testing guarantee consistent results. Rely on manufacturer guidelines and adjust based on fabric type. Mastering these basics prevents costly mistakes and ensures professional, durable prints—continue to discover how to fine-tune your heat press for perfect results.
Key Takeaways
- Setting incorrect temperature or time can cause poor adhesion, scorching, or melting of the design.
- Ignoring fabric-specific temperature and timing requirements leads to design failures and reduced durability.
- Using inconsistent heat or timing results in uneven transfers and compromised product quality.
- Failing to calibrate and test equipment regularly increases the risk of temperature and timing errors.
- Relying on guesswork instead of manufacturer guidelines causes design ruins and inconsistent results.

Elegaperma 2pcs T Shirt Measure Ruler Guide for Heat Press,Rotating Calibration Tool for V-Neck & Round Neck T-Shirt Alignment,Transparent PVC T Shirt Sewing Ruler Alignment Tool to Center Designs
Universal Tshirt Ruler: Elegaperma's t shirt ruler guide for heat press adapts to various shirt sizes, ensuring perfect…
As an affiliate, we earn on qualifying purchases.
As an affiliate, we earn on qualifying purchases.
How to Set Up Your Heat Press for Best Results
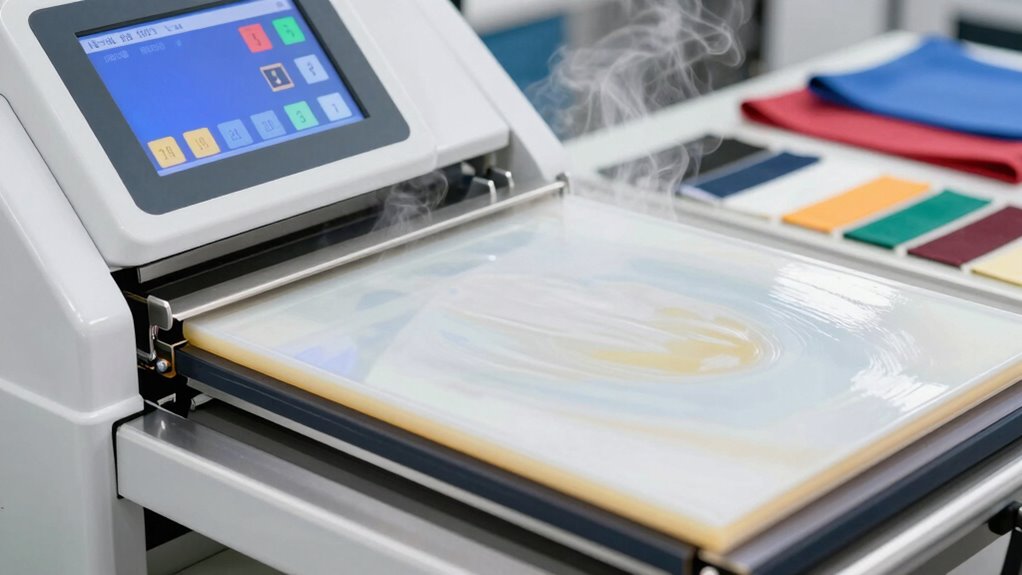
To achieve the best results with your heat press, proper setup is essential from the start. Begin by adjusting the pressing pressure to ensure even contact without over-compressing, which can damage the transfer or fabric. Check your transfer techniques, making sure the transfer sheet is aligned correctly and secured firmly. Consistent pressing pressure helps produce vibrant, durable designs. Before pressing, double-check the platen for cleanliness and proper heat distribution. Use a test print if needed to fine-tune pressure, ensuring the transfer adheres smoothly without smudging or incomplete coverage. Proper setup minimizes errors and guarantees your designs come out crisp and professional. Regularly inspecting your heat press for accurate temperature calibration ensures consistent results and prevents costly mistakes. Additionally, understanding heat transfer fundamentals can help you troubleshoot common issues and improve your overall process. Maintaining consistent pressure levels during each press is crucial for achieving uniform results and avoiding design imperfections. Recognizing signs of ear wax odor or other unexpected smells can also alert you to potential issues with your equipment or environment that may affect your results. Incorporating proper maintenance practices can extend the lifespan of your heat press and maintain optimal performance.

1400W Power Press Heat Press 15"x15", K-Type Temperature Controller Box with Time & Temperature LED Controller, K-Type Sublimation Transfer Machine for T-Shirt, Hat, Plate, Cup, Mug
K Type Upgrade Chip: The "K" type upgraded version of the control box circuit board and chip, with…
As an affiliate, we earn on qualifying purchases.
As an affiliate, we earn on qualifying purchases.
How Temperature Affects Your Heat Press Results (and Common Mistakes)

Temperature plays a crucial role in determining the quality and durability of your heat transfer. Proper temperature control ensures your design adheres smoothly without scorching or peeling. Using the right temperature depends on material compatibility; different fabrics and transfers require specific heat settings. For instance, cotton often needs higher heat, while polyester prefers lower temperatures. A common mistake is setting the heat too high, which can cause scorching or damage, or too low, resulting in poor adhesion. Always follow the manufacturer’s recommended temperature guidelines for your materials. Adjusting the temperature accurately helps prevent common issues like incomplete transfers or ruined designs. Maintaining a consistent temperature control throughout the process is essential for professional-looking results and maximizing the longevity of your heat transfer. Additionally, understanding the contrast ratio of your heat press can help optimize transfer quality, especially for detailed or vibrant designs. Ensuring proper timing is equally important, as too much or too little heat exposure can compromise the transfer’s durability and appearance. Paying attention to temperature calibration can further enhance transfer success and prevent costly mistakes.

VEVOR Heat Press 16×24, 1700W Power Heat Press Machine, Fast Heating, High Pressure Heat Press Machine for T-Shirt, Digital Industrial Sublimation Printer for Heat Transfer Vinyl, Easy to Use, Black
16 x 24inch Heat Press: The larger heating pad, 16 x 24 in / 40.6 x 61 cm,…
As an affiliate, we earn on qualifying purchases.
As an affiliate, we earn on qualifying purchases.
Why Pressing Time Matters and How to Get It Right
Pressing time is a critical factor that directly influences the durability and appearance of your heat transfer. If you don’t get the pressing duration right, your design may peel or crack prematurely. Consistent timing ensures each press delivers the same quality, which is essential for professional results. Too short a pressing time can leave adhesives insufficiently activated, while too long can damage the material or cause bleeding. To get it right, use a timer and stick to the manufacturer’s recommended duration. Practice makes perfect—keep track of your pressing times and adjust as needed based on results. Maintaining timing consistency helps you develop a reliable process, ensuring your designs look great and last longer. Precision in pressing time ultimately protects your investment and elevates your craft. timing consistency is an essential element of successful heat pressing, helping you achieve professional-looking results every time. Additionally, understanding how heat transfer functions can help you fine-tune your process for optimal results. Recognizing the importance of proper temperature control is also vital, as it affects how well the design adheres and endures over time. Being aware of pressing pressure can also improve your outcomes by ensuring even contact across the design.
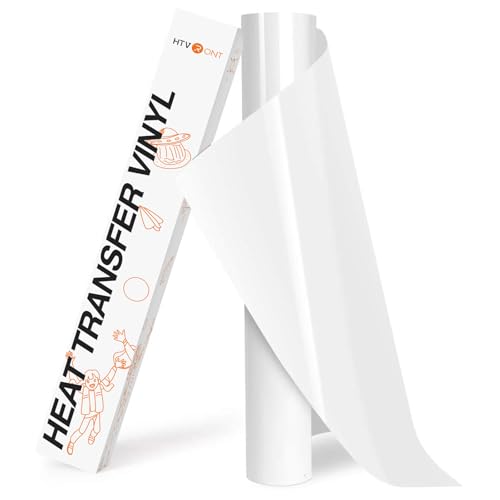
HTVRONT HTV Roll Heat Transfer Vinyl – 12" x 8ft White HTV Vinyl for Shirts, Iron on Vinyl for All Cutting Machine – Easy to Cut & Weed for Heat Transfer Design (White)
【EASY TO CUT WEED TRANSFER】Our premium quality heat transfer vinyl will save time which you may waste on…
As an affiliate, we earn on qualifying purchases.
As an affiliate, we earn on qualifying purchases.
How to Test and Confirm Your Heat Settings for Perfect Adhesion

Before applying your full design, it’s essential to test and confirm your heat settings to guarantee perfect adhesion. Start with temperature verification by using a reliable infrared thermometer or heat press test strip to ensure your machine reaches the desired temperature. This step helps identify any discrepancies due to uneven heat distribution or press calibration issues. To guarantee accuracy, calibrate your heat press regularly, especially if you notice inconsistent results or have used the machine frequently. Proper press calibration aligns the actual temperature with the setting, reducing the risk of under- or over-heating your materials. Performing these checks allows you to fine-tune your heat settings, giving you confidence that your designs will adhere properly and last through washes. Additionally, understanding the space-heating basics can help you select the right temperature and time for different materials and projects, especially when considering connected technology features that monitor and adjust heat in real-time. Regular maintenance and heat distribution checks can further improve your results and extend the lifespan of your heat press equipment. A thorough understanding of support breakfast concepts can also assist in selecting optimal settings for various fabric types, ensuring consistent and durable designs. Moreover, implementing vetted wave and wind techniques can help optimize heat flow and prevent hot or cold spots during pressing.
Troubleshooting Common Heat Press Failures and Fixes
Even after setting and testing your heat press, issues can still arise during the actual application. One common problem is fabric compatibility; some fabrics don’t respond well to high heat or pressure, causing poor adhesion or scorching. To fix this, always check the manufacturer’s recommended settings for your fabric type. If designs aren’t adhering properly, try adjusting the pressure—too little pressure can lead to incomplete transfers, while too much can damage the fabric. Make sure your pressure adjustment is firm but not excessive. Also, ensure the fabric is clean and free of wrinkles before pressing. Regularly inspecting and fine-tuning your heat press settings can prevent failures and give you consistent, professional results. Additionally, understanding the proper fabric selection can significantly improve your heat transfer outcomes and reduce failure rates. Being aware of fabric properties and heat tolerances can help you choose the right materials for each project, leading to better longevity and appearance of your designs. Familiarity with advanced heat press technology can also enhance precision and consistency in your work.
Frequently Asked Questions
How Does Humidity Impact Heat Transfer Quality?
Humidity can substantially impact heat transfer quality by causing moisture interference, which leads to uneven transfers or poor adhesion. When humidity levels are high, excess moisture can interfere with the heat press process, resulting in dull or cracked designs. To prevent this, you need humidity control in your workspace. Keep the environment dry and consistent, and store materials properly to assure your heat transfers stay vibrant and durable.
Can Different Fabrics Require Different Heat Press Settings?
Imagine you’re pressing on a cotton shirt and a polyester blend; you’ll need different heat press settings for each. Different fabrics require specific temperature and time adjustments to guarantee proper fabric compatibility and avoid damage. For example, delicate fabrics like silk need lower temperatures, while thicker materials like canvas need higher ones. Always check fabric care labels and make setting adjustments accordingly to achieve the best, long-lasting results.
What Are Signs of Over-Pressing or Under-Pressing?
You’ll notice over-pressing if your design feels stiff or cracks after pressing, indicating excessive pressing pressure or heat. Under-pressing often results in a faded or incomplete transfer. Keep an eye on uneven heat distribution, which can cause inconsistent adhesion or peeling. To avoid these issues, adjust your pressing pressure appropriately, ensure even heat distribution, and always follow recommended settings for your fabric to achieve a perfect, durable transfer.
How Often Should I Recalibrate My Heat Press?
You should calibrate your heat press regularly, ideally every three to six months, to guarantee pressing consistency and prevent uneven results. Frequent use, environmental changes, or noticing inconsistencies in your designs signal it’s time for recalibration. By maintaining a routine schedule for calibration, you keep your heat press operating accurately, avoid over-pressing or under-pressing, and ensure every project meets quality standards. Consistency in calibration creates perfect, durable designs every time.
Does Ambient Temperature Affect Heat Press Results?
Ambient temperature can affect your heat press results by impacting temperature consistency and press duration. If your workspace is too cold or hot, it may cause uneven heat transfer or fluctuating temperatures, leading to ruined designs. To maintain perfect results, keep your environment stable and avoid drastic temperature changes. Regularly check your machine’s calibration to guarantee consistent heat, especially if the ambient conditions vary markedly.
Conclusion
Now that you know the basics, you’re ready to master your heat press and avoid common pitfalls. Remember, perfecting your temperature and time takes patience—it’s all about trial and error. Don’t be afraid to experiment until you find what works best for your designs. Keep a close eye on your settings, and you’ll turn every project into a success story. With a little practice, you’ll be cooking with gas in no time!