To organize your yarn stash effectively, start by sorting your yarn by fiber type and weight, then arrange colors from light to dark or across the rainbow. Use clear storage containers and label everything for easy identification. Maximize space with vertical shelves or hanging racks, and consider creating a filing system for mini skeins and leftovers. Regularly declutter to keep your stash manageable. Keep exploring for more tips to make your crafting space even more efficient.
Key Takeaways
- Sort yarn by fiber type, weight, and color spectrum for easy access and project planning.
- Use clear storage containers and labels to keep your stash organized and visible.
- Maximize space with vertical storage, wall shelves, and hanging racks for efficient use of space.
- Protect yarn from damage by storing in sealed containers and inspecting regularly for wear or pests.
- Declutter periodically by donating unused yarn to maintain a manageable and inspiring stash.
As an affiliate, we earn on qualifying purchases.
Sort Your Yarn by Type and Weight

Sorting your yarn by type and weight is the first step to creating an organized stash. Begin by gathering all your yarn and spreading it out where you can see everything clearly. Separate the yarn into categories based on fiber type—such as wool, acrylic, or cotton—and then further divide each group by weight, like lace, fingering, worsted, or bulky. This makes it easier to find the right yarn quickly when you’re ready to start a project. Label each group if needed, so you remember the specifics later. Incorporating a systematic approach to your yarn storage can enhance overall efficiency and enjoyment of your crafting process. Additionally, understanding the different yarn weights helps in choosing the perfect yarn for various projects, and familiarizing yourself with fiber types can also improve your selections. Recognizing how emotional alignment influences your creative flow can help you stay motivated and inspired throughout your projects. Being aware of yarn safety and storage practices ensures your stash remains in good condition over time.
Use Clear Storage Containers

Using clear storage containers makes it easy to see what’s inside without opening each one, saving you time and effort. They also provide quick access to your yarn, so you can grab what you need easily. Plus, they protect your yarn from dust, moisture, and pests, keeping your stash in great condition. Incorporating vertical storage solutions can further optimize your space and keep everything organized. Additionally, using ergonomic organization strategies can help maintain a tidy and stress-free crafting environment. Regularly reviewing your stash and inventory management can prevent overbuying and ensure you utilize your yarn effectively. Being aware of common pregnancy symptoms can also help you plan your crafting activities around times of increased comfort and energy. Considering dog names can make your pet feel more personalized and loved if you’re organizing your space with furry friends in mind.
Visibility and Access
Have you ever struggled to find the yarn you need quickly? Using clear storage containers makes a big difference. They let you see your yarn at a glance, saving you time and frustration. To improve visibility and access, consider these tips:
- Use transparent bins or boxes so you can identify colors and textures instantly.
- Label each container with the yarn type or color for quick reference.
- Organize by color, weight, or project to streamline your selection process.
- Keep frequently used yarns at the front or on open shelving for easy reach.
- Regularly monitor your yarn stash to assess what you have and prevent clutter from accumulating. Incorporating self-watering plant pots into your storage space can help maintain a clean and organized environment by keeping moisture levels consistent and reducing messes around your crafting area. Additionally, proper lighting conditions can improve visibility and help you see true yarn colors, preventing color fading over time.
- Understanding your color accuracy helps ensure your yarn colors remain true and vibrant over time. Additionally, proper organization can help you discover unused yarn that you might have forgotten about, inspiring new projects and reducing waste.
With these strategies, you’ll never have to dig through piles to find what you need. Clear containers combined with organized labels help you stay efficient and inspired while working on your projects.
Protects From Damage
Clear storage containers do more than just organize your yarn; they also shield it from damage. By keeping your yarn in sealed, sturdy containers, you protect it from dust, dirt, and moisture that can weaken fibers over time. They prevent pests like moths and insects from reaching your stash, which is essential for preservation. Using clear containers allows you to quickly see what’s inside without opening multiple boxes, reducing handling that could cause fraying or tangling. Additionally, these containers keep your yarn safe from accidental spills or crushing. Properly stored yarn stays in good condition longer, ensuring it remains soft and vibrant for your projects. Furthermore, electric bikes are sometimes used to transport yarn, especially for those with mobility issues or for eco-friendly delivery options. Ultimately, clear storage containers help maintain the quality of your yarn while keeping your stash visually appealing and damage-free. To maximize preservation, consider storing your yarn in an environment with controlled humidity and temperature, as recommended for fiber storage.
Organize by Color Spectrum

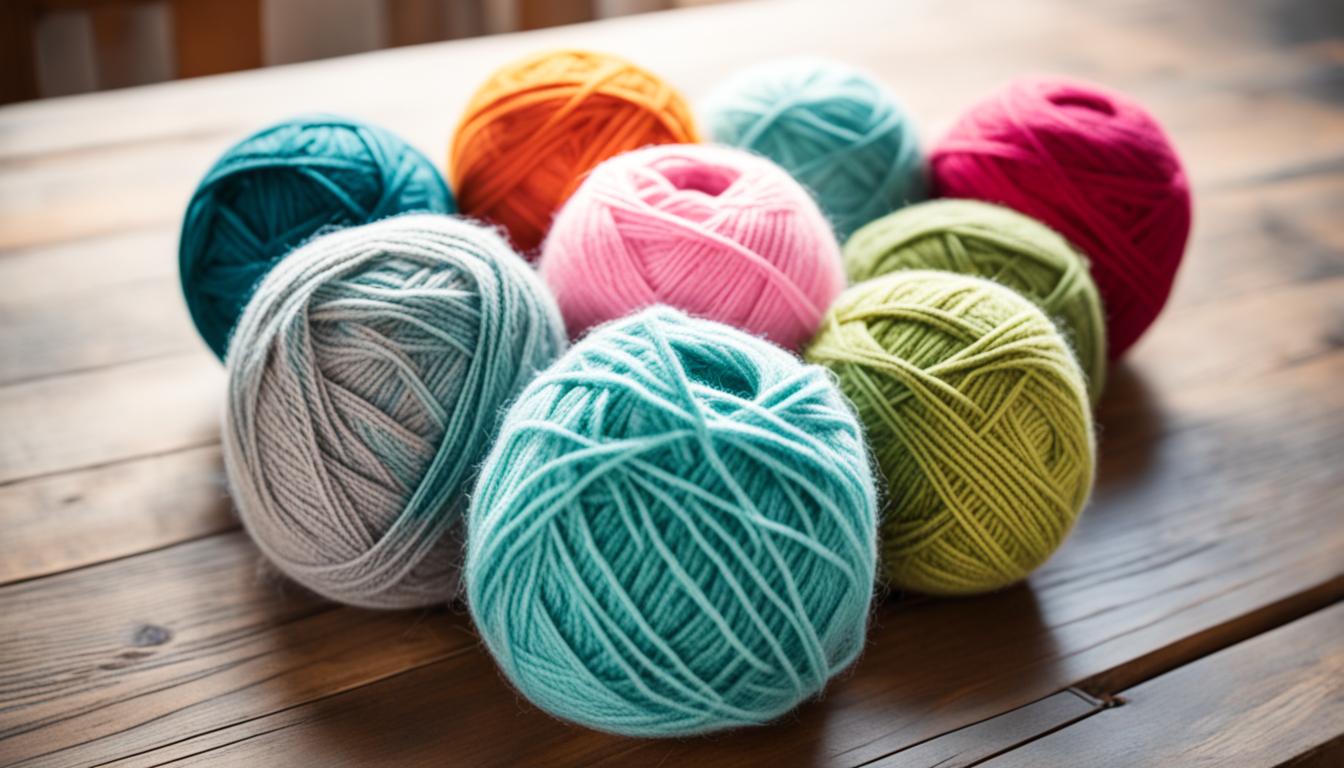
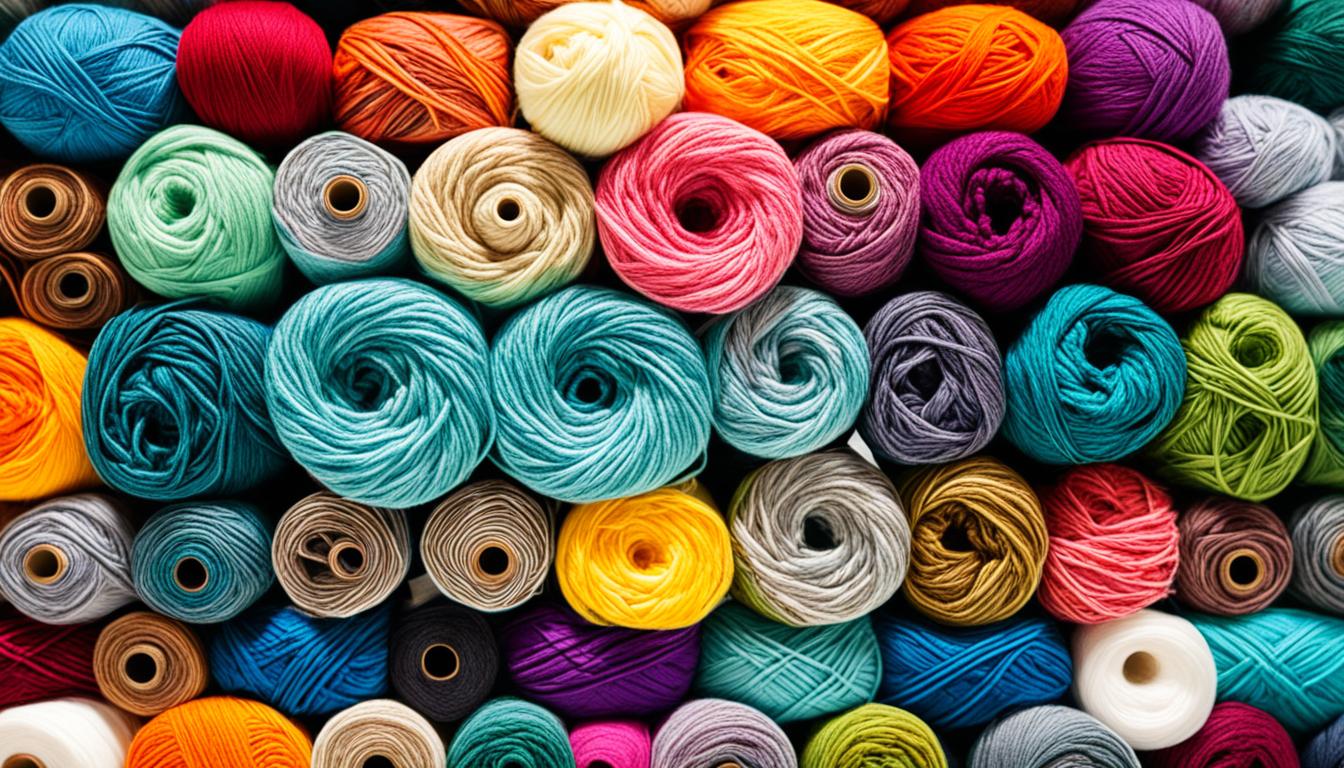
Organizing your yarn stash by color spectrum creates a visually appealing and intuitive system that makes finding the right shade quick and easy. When colors are arranged from light to dark or across the rainbow, you’ll spend less time searching and more time creating. This method also helps you identify color gaps and plan projects more efficiently. To get started: 1. Sort yarn by major color groups—reds, blues, greens, etc. 2. Within each group, arrange shades from light to dark. 3. Keep complementary colors nearby for color blending. 4. Use clear containers or open shelving to display color gradients visibly. This approach not only simplifies selection but also inspires new color combinations for your projects. With your yarn organized by spectrum, you’ll enjoy a more inspiring and efficient crafting space. Color organization can also enhance your overall crafting experience by making it easier to visualize color palettes for future projects.
Label Your Yarns and Containers

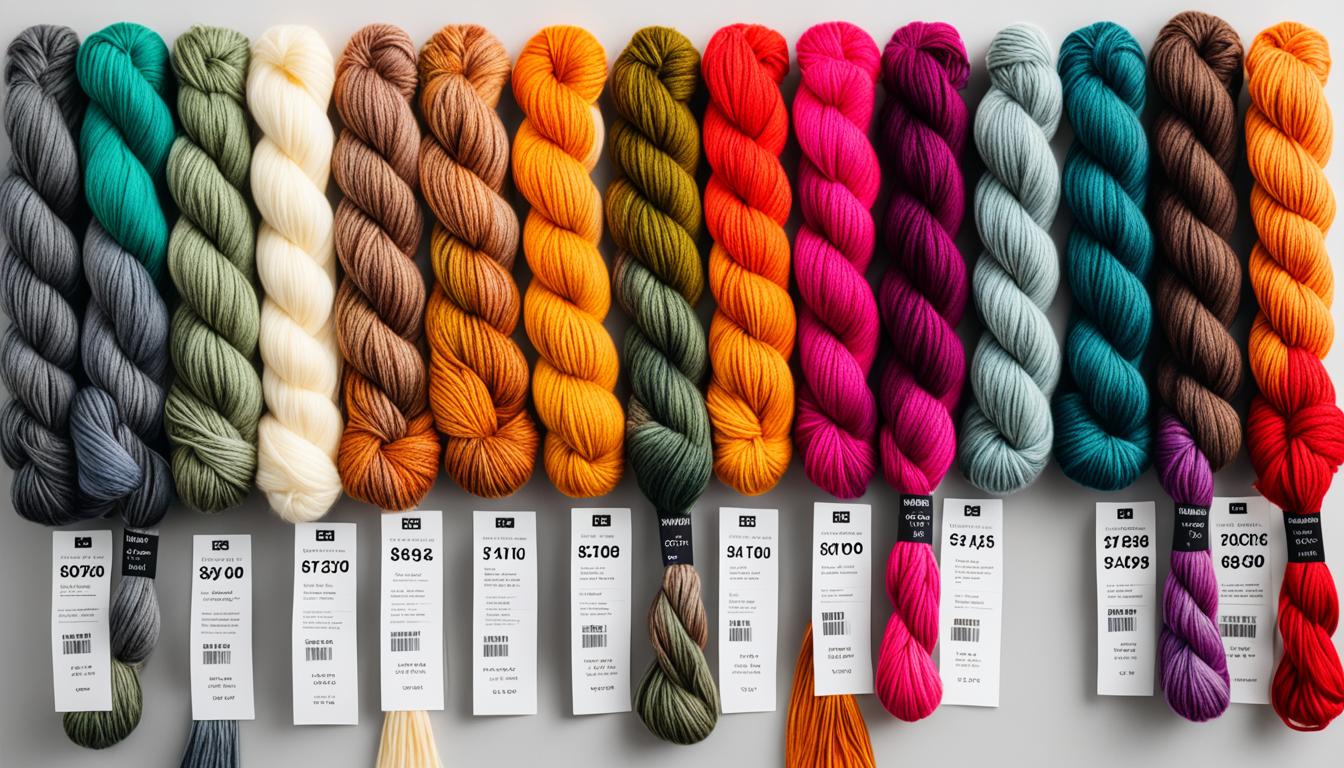
Labeling your yarns and containers is a crucial step that keeps your stash organized and easy to navigate. Clear labels help you quickly identify fiber types, colors, and quantities without rummaging through boxes or shelves. Use durable labels or masking tape with a permanent marker for longevity. For containers, label each with details like contents, brand, or project status. Consider color-coded labels to match your color spectrum organization, making it even easier to find what you need. Be specific and consistent in your labeling system to avoid confusion later. Proper labels save time during projects and prevent unnecessary repurchases of the same yarn. Taking a few minutes to label now streamlines your entire stash, making future projects smoother and more enjoyable.
Maximize Vertical and Wall Space

To make the most of your space, consider adding wall shelves to keep your yarn accessible and organized. Hanging racks are a great way to utilize vertical areas without cluttering your surfaces. These solutions help free up space and keep your stash within easy reach.
Use Wall Shelves
Wall shelves are a smart way to free up floor space and keep your yarn stash easily accessible. They allow you to display your yarn in an organized manner while maximizing vertical space. You can install shelves at different heights to create a visually appealing storage solution. Keep your most-used yarns at eye level for quick access. Consider using baskets or bins on the shelves to hold smaller skeins or accessories. Label each shelf or container to quickly identify colors or types of yarn. To make the most of your wall shelves, you might also:
- Use adjustable shelves to customize height.
- Incorporate decorative baskets for a stylish look.
- Group yarn by color or weight for easy selection.
- Leave space for future additions or new yarns.
Install Hanging Racks
Installing hanging racks offers an efficient way to expand your yarn storage vertically without cluttering your space. Hang them on empty walls or behind doors to maximize unused areas. Use sturdy hooks or rods to support multiple yarn skeins or balls, keeping them visible and accessible. You can organize yarn by color, weight, or project, making it easy to find what you need quickly. Adjustable racks allow flexibility as your collection grows. Consider installing multiple racks at different heights to optimize space. Clear, labeled containers or baskets can also hang from the racks for smaller items like accessories or tools. This setup keeps your yarn tidy, frees up shelf space, and provides a sleek, organized look in your craft area.
Implement a Filing System for Mini Skeins and Leftovers

Creating a dedicated filing system for mini skeins and leftovers can considerably reduce clutter and make your yarn easier to access. By organizing these small quantities, you save time searching and prevent leftovers from getting lost. Start by choosing clear containers or labeled drawers to keep everything visible. Next, sort mini skeins by color, weight, or project type for quick retrieval. Implement a labeling system to identify contents at a glance. Finally, create a designated space in your stash area to keep these organized files tidy and accessible. This method streamlines your workflow and ensures nothing goes to waste.
- Use transparent containers or labeled drawers
- Sort by color, weight, or project
- Label each container clearly
- Keep everything in a dedicated, easy-to-reach spot
Regularly Declutter and Donate Unused Yarn

Regularly decluttering your yarn stash helps prevent overwhelm and keeps your space organized. Set aside time every few months to evaluate your yarn collection. If you notice skeins you haven’t touched in a while or projects you no longer plan to complete, consider donating them. Sort your yarn into keep, donate, and discard piles. Be honest about what you genuinely need and use. Donating unused yarn benefits others and clears space for new projects. Look for local charities, community centers, or knitting groups that accept yarn donations. Keep your stash manageable by regularly removing what no longer serves your creative goals. Not only does this make your workspace more inviting, but it also helps you stay focused on current projects without unnecessary clutter.
Create a Portable Yarn Organizer for Projects on the Go

When you need to take your knitting or crochet projects on the go, having a well-organized portable yarn organizer can make all the difference. It keeps your supplies neat, accessible, and prevents tangles. To create an effective organizer, consider these essentials:
- Compact Bag or Case: Choose a lightweight, durable bag with multiple compartments.
- Zippered Pouches: Use small pouches for different yarn colors or types.
- Tool Slots: Include designated spots for scissors, hooks, and needles.
- Transparent Sections: Incorporate clear pockets for easy identification of yarn and patterns.
With these elements, your portable organizer stays tidy and functional, making on-the-go crafting effortless. Keep it lightweight and tailored to your project needs for maximum convenience.
Maintain Your System With Routine Checks

Once your portable yarn organizer is set up, keeping it in good shape requires routine checks. Regularly inspect for tangled or damaged yarn, ensuring everything stays neat and accessible. This habit prevents clutter from building up and helps you identify supplies you may need to replenish or replace. Designate a specific day each month to review your stash, reorganize as necessary, and discard any unusable yarn. To visualize your maintenance plan, consider this simple approach:
| Task | Frequency | Purpose |
|---|---|---|
| Check for tangles | Monthly | Keep yarn easy to use |
| Reorganize supplies | Quarterly | Maintain system efficiency |
| Remove unusable yarn | Annually | Free up space |
Routine checks keep your system functional and enjoyable.
Frequently Asked Questions
How Often Should I Reorganize My Yarn Stash?
You should reorganize your yarn stash every few months or whenever it starts to feel cluttered. Regularly checking helps you keep track of what you have and prevents purchasing duplicates. If you notice your stash getting messy or unmanageable, it’s a good idea to tidy up. Staying on top of organization makes choosing yarn easier and keeps your space neat, so you can enjoy your crafting without frustration.
What’S the Best Way to Store Specialty or Rare Yarns?
Specialty or rare yarns are treasures in your stash, so treat them like precious gems. Store them in airtight containers or individual zip-lock bags to keep dust and pests away. Keep them in a cool, dark place, away from sunlight that can fade their vibrant hues. Consider using labeled, clear containers so you can see their beauty at a glance, preserving their rarity and ensuring they’re ready when inspiration strikes.
How Can I Prevent My Yarn From Fading or Deteriorating?
To prevent your yarn from fading or deteriorating, you should store it in a cool, dark place away from direct sunlight, which can cause colors to fade. Keep your yarn in breathable containers like cotton bags or bins, avoiding plastic that traps moisture. Handle your yarn gently to prevent snags or damage, and wash it only when necessary with gentle, fiber-appropriate detergents to maintain its quality over time.
What Are Eco-Friendly Options for Yarn Storage?
You want to choose eco-friendly options for yarn storage, so consider using reusable, biodegradable containers like wooden or bamboo baskets instead of plastic bins. You can also store yarn in breathable cotton or linen sacks, which prevent moisture buildup and are sustainable. Repurposing old fabric or cardboard boxes is another eco-conscious choice. These options help protect your yarn naturally while reducing plastic waste, aligning with your eco-friendly values.
How Do I Organize Yarn for Multiple Ongoing Projects?
When organizing yarn for multiple ongoing projects, you should first sort your yarn by project or color. Use clear storage bins or labeled zip-lock bags to keep each project’s yarn separate. Keep frequently used yarns within easy reach, perhaps in a designated tray or basket. Regularly review your stash, removing unused yarn to maintain organization. This approach helps you find what you need quickly and keeps your workspace tidy.
Conclusion
By sorting your yarn, labeling your containers, and decluttering regularly, you create a space that’s functional and inspiring. Organize by type and color, maximize your storage options, and keep your supplies portable for projects on the go. With a routine check, maintain your system and enjoy a tidy stash that sparks creativity. When everything has its place, you’ll find joy in your yarn journey and make crafting more fun each day.