
For maximum impact, place acoustic panels on walls where sound reflects, especially behind speakers, on large surfaces, and at reflection points. Mount panels at or slightly above ear level for best absorption. Focus on corners for bass trapping and ceilings to reduce upward reflections. Use adjustable mounts for precise positioning, and tailor placement based on your room’s size and shape. Keep panels unobstructed to control echoes effectively; learning more can help you perfect your setup.
Key Takeaways
- Install panels at reflection points on walls, ceiling, and behind speakers to absorb sound and reduce echo.
- Place panels at or slightly above ear level for optimal sound absorption and clarity.
- Target corners with bass traps to control low-frequency buildup and improve overall acoustics.
- Use adjustable mounts to fine-tune panel positioning based on room acoustics and listening preferences.
- Avoid obstructions near panels to ensure maximum sound absorption and diffusion.

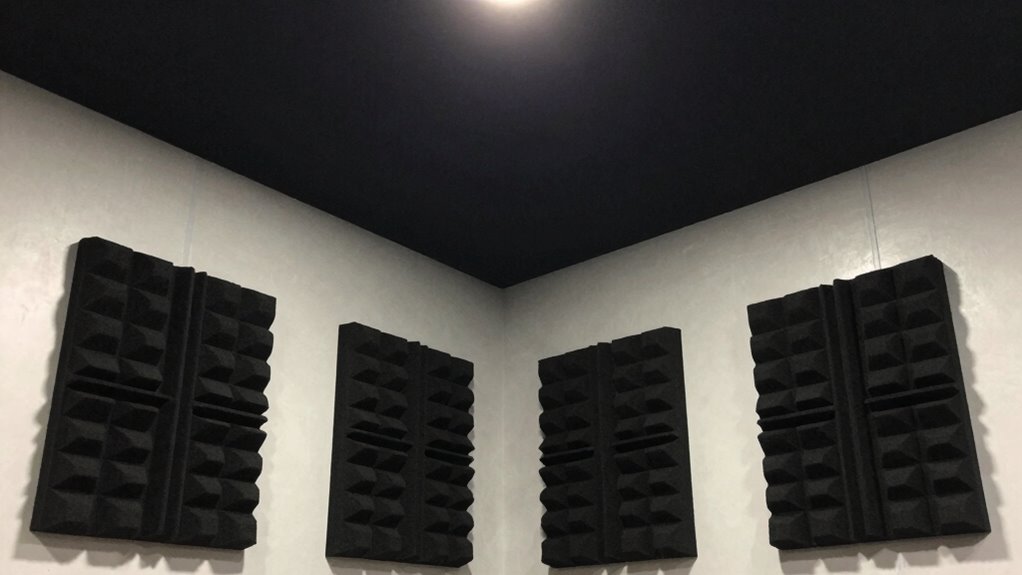
Focusound 52 Pack Acoustic Foam Panels 1" x 12" x 12" Sound Proof Foam Panles Soundproofing Noise Cancelling Wedge Panels for Home Office Recoding Studio with 300PCS Double-Side Adhesive
Soundproofing – Acoustic foam panels triangular grooves structure for better noise absorption, helps to reduce and absorb unwanted…
As an affiliate, we earn on qualifying purchases.
As an affiliate, we earn on qualifying purchases.
How to Identify the Best Spots for Acoustic Panels in Your Room
To get the most out of your acoustic panels, you need to place them in the spots where they can effectively absorb sound reflections. Look for areas where sound bounces off walls, ceilings, and hard surfaces—these are prime locations for installation. When considering decorative options, choose panels that complement your room’s style so they blend seamlessly into your decor. Focus on installation techniques that secure panels at ear level or slightly above, as these are most effective at reducing echo. Avoid placing panels directly opposite each other or in corners unless specifically designed for that purpose. By thoughtfully identifying these spots, you ensure ideal sound absorption while maintaining aesthetic appeal, making your room both functional and stylish. Understanding sound reflection and its impact helps you optimize panel placement for better acoustics. Additionally, considering room layout can help you target areas where sound tends to gather or reflect most, further enhancing your acoustic treatment. Paying attention to sound absorption properties of different panels can also improve overall effectiveness in your space. Proper placement of acoustic panels can also help minimize unwanted noise and improve the overall sound quality of your environment.
bass trap acoustic panels
As an affiliate, we earn on qualifying purchases.
As an affiliate, we earn on qualifying purchases.
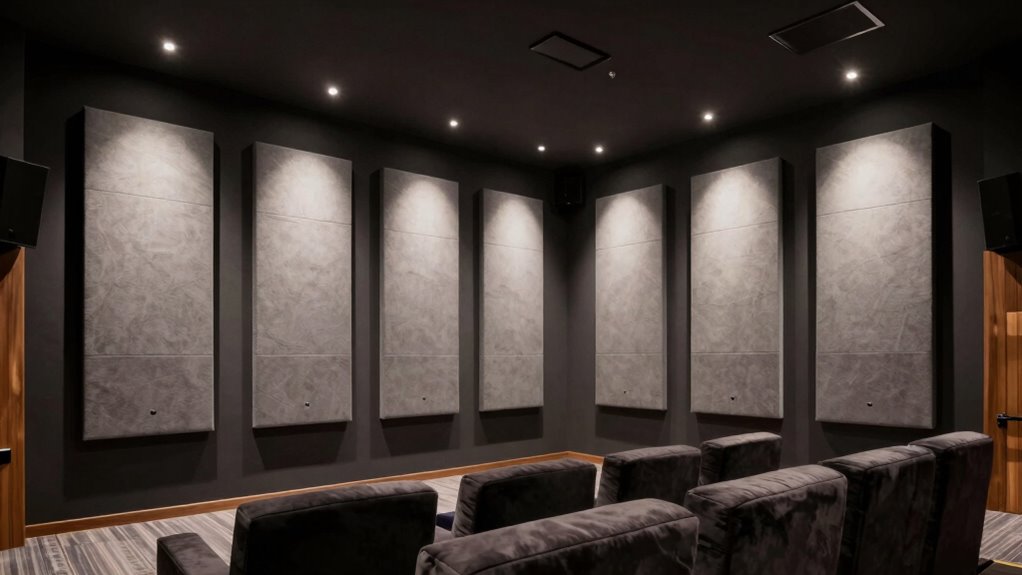
The Top Areas to Place Panels for Reducing Echo and Reflection
Your living room can benefit greatly from placing acoustic panels on walls where sound bounces most. In a home studio, focusing on reflection points helps improve sound clarity and quality. By targeting these key areas, you’ll effectively reduce echo and create a more controlled acoustic environment. Additionally, considering the acoustic properties of your space ensures optimal placement for the best sound absorption. Understanding the sound absorption coefficients of different materials can guide you toward the most effective panel choices and placements. Knowing how room dimensions influence sound reflection is also essential for achieving a balanced acoustic setup. Evaluating room acoustics helps tailor the placement strategy to your specific space for maximum effectiveness, especially when aligning with the sound absorption characteristics of your panels.
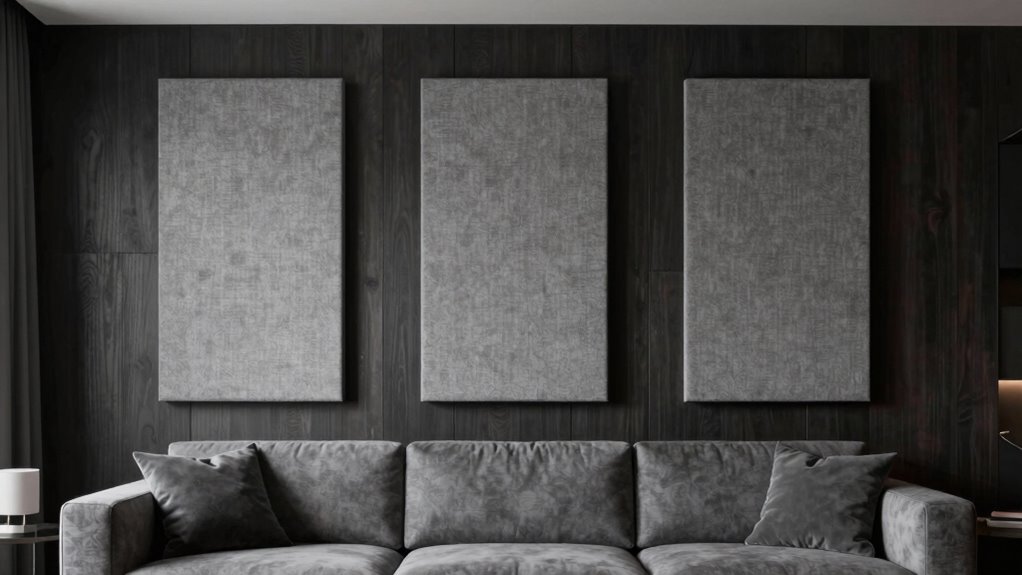
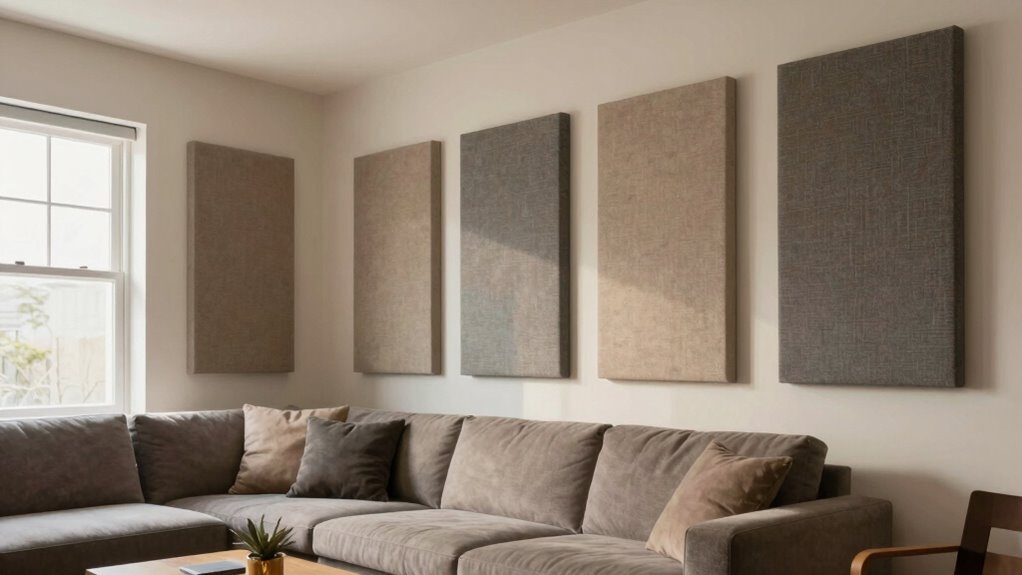
Living Room Echo Control
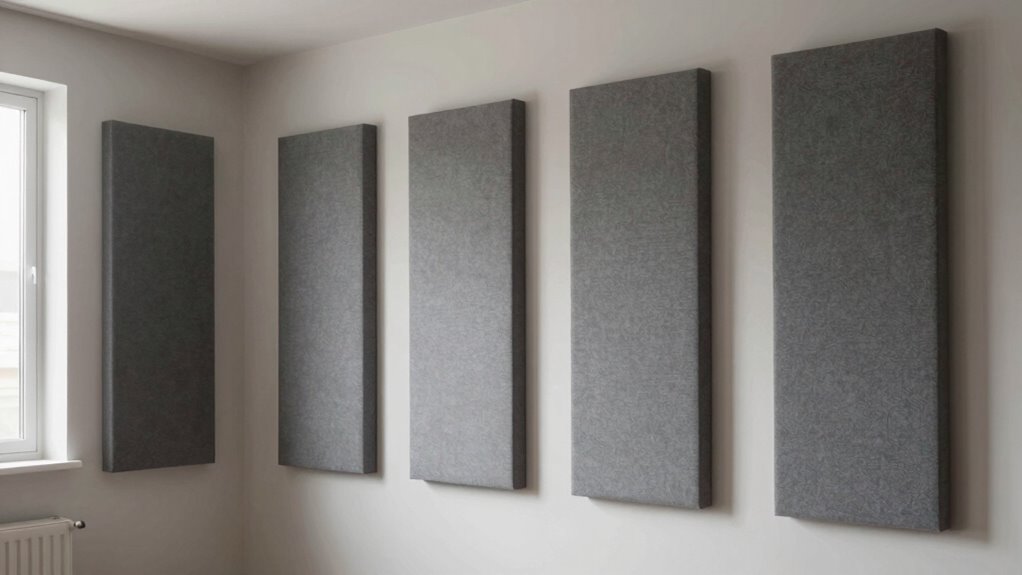
In a living room, the most effective way to reduce echo and improve sound clarity is by strategically placing acoustic panels on key reflective surfaces. Focus on areas where sound bounces most, such as walls behind speakers, large windows, and the ceiling. To enhance both function and style, consider decorative options that blend with your decor. When choosing panel materials, opt for absorptive options like fabric-covered panels or foam that absorb sound effectively. Additionally, integrating smart home automation can help control sound environments dynamically based on activity or time of day. Proper placement can significantly improve sound quality, making your listening experience more immersive and enjoyable. For optimal results, it’s also helpful to understand the acoustic properties of your space and how different surfaces influence sound reflection. Understanding how room acoustics affect sound behavior can guide you in selecting the most effective placement for your panels. Here are the top placement areas:
- Behind the main seating area to absorb reflections.
- On side walls where sound waves bounce.
- Near the ceiling to minimize upward reflections.
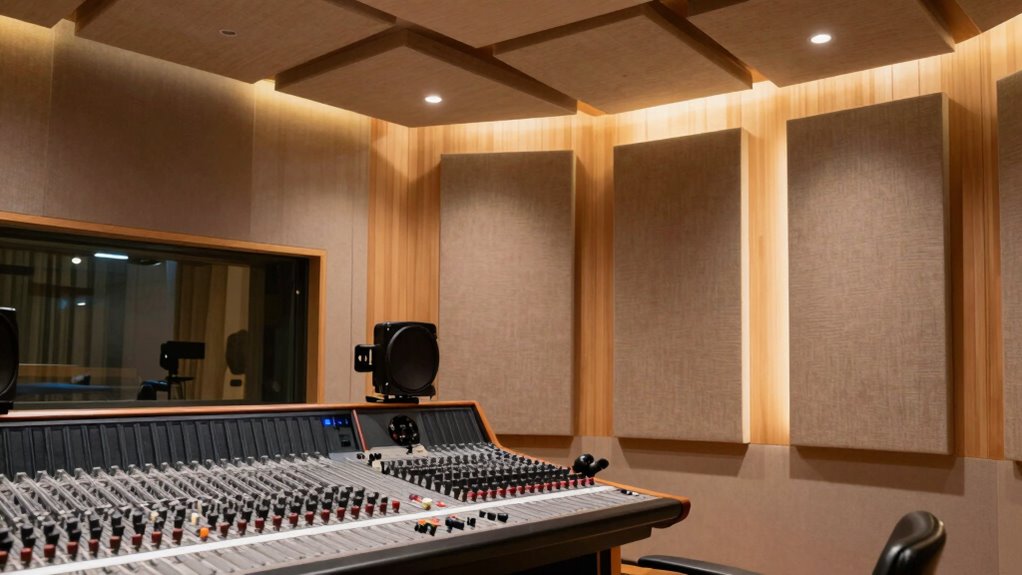
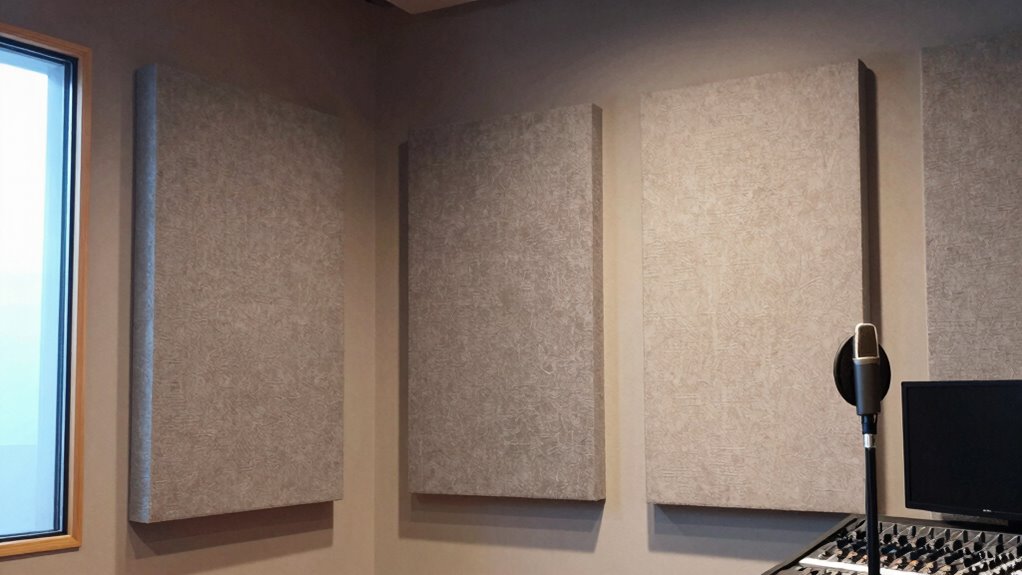
Home Studio Soundproofing
Where should you start when soundproofing your home studio to minimize echo and unwanted reflections? Focus on key areas that reduce sound bouncing and background noise. Place acoustic panels on walls where sound waves reflect most, especially behind and beside your recording space. For vibration isolation, add pads or mounts to equipment and floors to prevent vibrations from transferring. Consider installing bass traps in corners to absorb low frequencies. Use panels strategically at reflection points, such as the ceiling and side walls, to improve clarity. Here’s a quick guide:
| Area | Purpose | Placement Tips |
|---|---|---|
| Front wall | Reduce early reflections | Behind monitors |
| Side walls | Minimize lateral echoes | At reflection points |
| Ceiling | Absorb overhead reflections | Above recording area |
| Corners | Control bass buildup | Bass traps |
adjustable mounting acoustic panels
As an affiliate, we earn on qualifying purchases.
As an affiliate, we earn on qualifying purchases.
Where to Mount Acoustic Panels for Maximum Sound Diffusion
To achieve the best sound diffusion, you should carefully consider where to mount your acoustic panels. Proper placement enhances sound quality and creates a visually appealing space with decorative accents. Focus on these key areas:
- Walls behind speakers – Place panels here to control sound reflections and diffuse sound waves effectively, especially if you choose acoustic panel styles that complement your decor. Using room acoustics principles can help guide your placement for optimal results.
- Ceilings – Mount panels overhead to break up sound waves bouncing downward, improving overall diffusion.
- Side walls at the mid-height – Position panels at ear level or slightly above to scatter sound uniformly without making the room feel cluttered. Incorporating sound diffusion techniques can further optimize acoustic performance in your space.

54 Pack Sound Proof Foam Panels |12"×12"×1" Quick-Recovery Soundproof Wall Panels | High Density Sound Dampening Panels for Home Studio |With Adhesive Stickers 270PCS
Superior Acoustic Treatment: These sound-absorbing foam panels effectively dampen echoes and reverberations for enhanced audio clarity and quality
As an affiliate, we earn on qualifying purchases.
As an affiliate, we earn on qualifying purchases.
How to Position Panels at Ear Level for Better Sound Quality
To get the best sound quality, make sure your panels are at ear level when you’re seated. Use adjustable mounts to fine-tune their position easily, and keep the area around the panels clear of obstructions. This setup helps optimize sound clarity and reduces unwanted echoes. Additionally, understanding the acoustic properties of your space can guide better panel placement for optimal sound absorption. Proper ventilation considerations can also prevent moisture buildup and maintain acoustic performance over time. Being aware of privacy policies and cookie management preferences can ensure a seamless browsing experience while researching acoustics. Furthermore, considering the layout of your room can significantly influence how sound waves interact with your panels and improve overall sound quality. Incorporating sound reflection principles can further enhance the effectiveness of your acoustic treatment.
Maintain Ear Level Alignment
Ensuring your acoustic panels are at ear level is essential for ideal sound quality. When panels are properly aligned, they maximize sound absorption and improve clarity. To achieve this, consider these steps:
- Measure your ear height and position panels accordingly, ensuring they’re neither too high nor too low. You can also refer to soundproofing standards to determine optimal placement heights.
- Keep panels at the same level on all walls to maintain consistent sound absorption.
- Choose panels with appealing aesthetics that blend seamlessly into your space, so they don’t detract from the room’s look.
- Incorporate Free Floating panels that can be easily adjusted to match ear level for optimal performance, and paying attention to room acoustics can further enhance sound quality.
Use Adjustable Mounts
Have you considered using adjustable mounts to precisely position your acoustic panels at ear level? These mounts offer panel flexibility, allowing you to fine-tune their height and angle for ideal sound absorption. With adjustable mounts, you can easily shift panels to the perfect spot as your room setup or listening preferences change. This adaptability ensures that sound waves are effectively absorbed where they matter most, improving clarity and reducing echoes. The ability to make quick adjustments also helps you find the perfect panel placement without hassle. By prioritizing panel flexibility through adjustable mounts, you maximize their impact on your space’s acoustics. This simple upgrade makes a significant difference in achieving the best listening environment possible. Understanding acoustics can help you make more informed decisions about panel placement and room optimization.
Avoid Obstructions Near Panels
Positioning your panels at ear level is crucial for effective sound absorption, but it’s equally important to keep the area around them clear of obstructions. Obstructions placement can block sound waves and reduce panel visibility, diminishing their effectiveness. To ensure maximum impact, consider these tips:
- Keep furniture and decor away from panels to prevent interference with sound absorption.
- Avoid placing objects directly in front of or behind the panels, which can hinder their panel visibility.
- Maintain a clear space around the panels to allow sound waves to reflect and absorb properly.
- Proper panel placement also involves understanding sound wave behavior, so be mindful of how objects in the room can alter sound reflection and absorption.
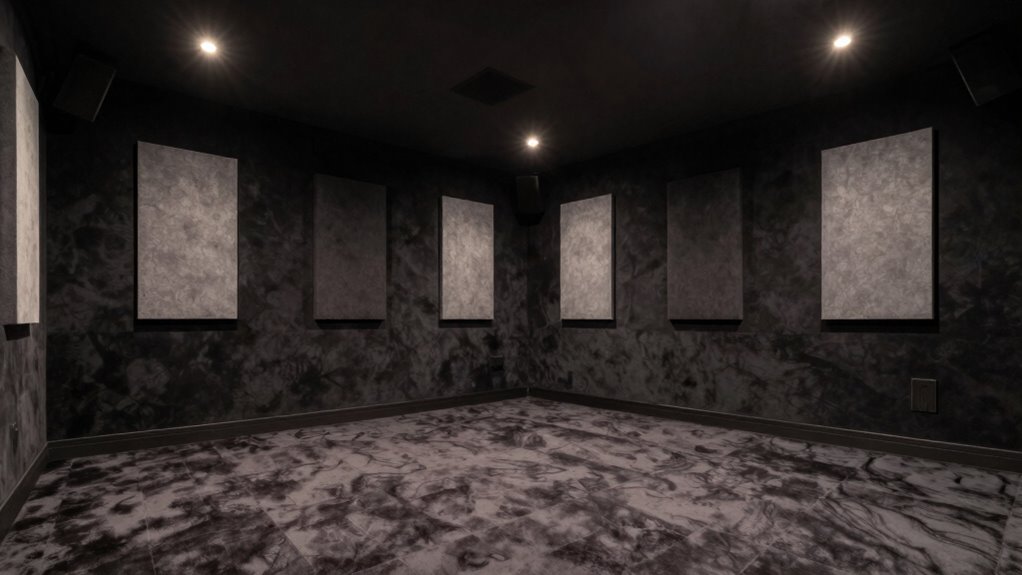
Why Corners and Ceilings Are Key Spots for Bass Traps and Echo Control
Corners and ceilings are critical areas to target for bass traps and echo control because sound waves naturally accumulate there, causing low-frequency buildup and prolonged reverberation. Corner placement is especially effective for bass traps since low frequencies tend to concentrate in these junctions, making them ideal spots to absorb excess energy. Ceiling installation also plays a vital role, as sound reflects upward and can bounce around, creating echo and muddiness. By strategically placing bass traps in the corners and installing panels along the ceiling, you reduce reverberation and improve clarity. These locations help control problematic sound behavior at its source, making your room sound clearer and more balanced. Focusing on corners and ceilings maximizes your acoustic treatment’s impact in creating an ideal listening environment.
How Room Size and Shape Influence Panel Placement
The size and shape of your room play a essential role in determining the most effective placement for acoustic panels. Larger rooms with high ceilings may require more panels, while smaller spaces need fewer but strategically placed ones. When considering room dimensions, focus on these key points:
- Panel orientation should face primary sound sources or reflection points to maximize absorption.
- For irregular shapes, target unique reflection points created by angled walls or corners.
- In rectangular rooms, place panels along the long walls at ear level to reduce echo and improve clarity.
Understanding how room size impacts sound behavior helps you position panels where they’ll have the greatest impact, ensuring your space sounds balanced and inviting.
Common Mistakes to Avoid When Installing Acoustic Panels
Even with a good understanding of your room’s size and shape, mistakes during installation can undermine your efforts to improve acoustics. One common error is neglecting panel aesthetics, which can lead to panels that clash with your decor or look out of place. Always plan panel placement carefully to maintain visual harmony. Another mistake is rushing the process without using proper installation tools, which can cause panels to be misaligned or fall off the wall. Make certain you have the right tools, like a level, measuring tape, and appropriate fasteners. Avoid ignoring surface conditions; installing panels on uneven or dirty walls reduces their effectiveness. Careful planning and using the correct tools help you achieve both ideal sound absorption and a polished look.
Frequently Asked Questions
How Do I Choose the Right Type of Acoustic Panel for My Space?
You should choose the right acoustic panel by considering different material options like foam, fabric-wrapped, or wood. Think about installation considerations, such as wall space and ease of mounting. If you need sound absorption in a home theater, foam panels work well, while fabric-wrapped panels suit offices for reducing echo. Match the panel type to your space’s acoustic needs and setup requirements for the best results.
Can Acoustic Panels Be Installed on Outdoor Walls?
Yes, you can install acoustic panels on outdoor walls, but you need weatherproof materials designed for outdoor use. Choose panels specifically made for outdoor installation, which resist moisture, UV rays, and temperature changes. Proper outdoor acoustic panels guarantee durability and maintain sound absorption qualities. Secure them firmly to withstand weather conditions, and consider adding a protective coating or cover for extra longevity and performance.
How Often Should I Replace or Upgrade My Acoustic Panels?
You should replace or upgrade your acoustic panels every 5 to 10 years, depending on their condition and performance. Regular maintenance, like cleaning and inspecting for damage, is essential to keep them effective. Consider your maintenance schedule and cost considerations; if panels become worn or less effective, investing in new ones will improve acoustics. Staying proactive guarantees your space remains sound-optimized without unexpected expenses.
Are There Aesthetic Options for Blending Panels Into Decor?
Think of acoustic panels as chameleons blending seamlessly into your decor. You can choose decorative finishes or opt for color customization to match your style perfectly. Many panels come in wood grains, fabric wraps, or vibrant hues, helping them become a beautiful part of your space rather than an afterthought. With these aesthetic options, you won’t just improve sound quality—you’ll elevate your room’s design effortlessly.
What Are the Signs That My Acoustic Treatment Isn’t Effective?
If you notice persistent echo problems or ongoing noise disturbances despite having acoustic panels, your treatment might not be effective. You’ll recognize this if sound reflections still bounce around, making the space feel muffled or overly loud. Additionally, if conversations or music still disturb others nearby, it indicates inadequate absorption. Reassess your panel placement, quantity, or quality to improve sound control and achieve a more balanced acoustical environment.
Conclusion
By balancing best spots with smart spacing, you’ll banish bothersome echoes and bolster sound quality. Proper placement, precise positioning, and proactive planning prevent pitfalls and perfect your space. Remember, strategic spots and savvy shapes shape sensational sound. So, stay specific, listen closely, and set your scene for stunning sound. With a little effort, you’ll enhance acoustics, eradicate echoes, and enjoy an excellent auditory environment — all through thoughtful, targeted panel placement.