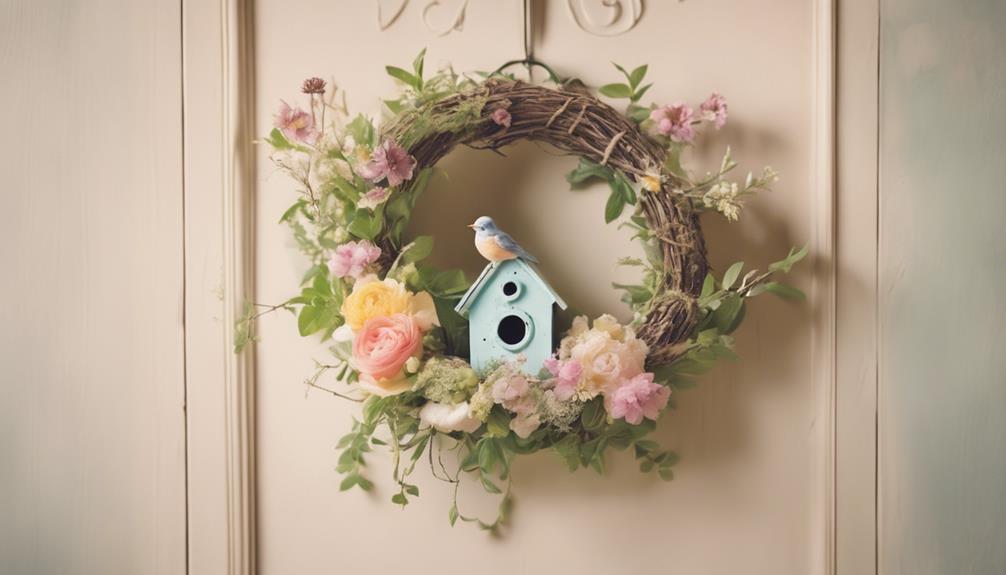

We're excited to create a charming springtime wreath with a birdhouse DIY project. To get started, we gather essential materials like wooden birdhouses, a metal wheel, fern, boxwood, and flowers for decoration. Next, we prepare the birdhouses for assembly by sanding and drilling holes for attachment to the wreath structure. We'll then build the wreath structure using burlap mesh, ribbon, and silk sunflower stems. As we add decorative elements like bird accents and a ribbon bow, our springtime wreath begins to take shape. Now that we've got the basics covered, we can dive deeper into the details to bring our creative vision to life.
Key Takeaways
• Gather essential materials, including birdhouses, metal wheel, and decorative elements, to bring your creative vision to life.
• Prepare birdhouses by sanding, drilling, and applying sealant for outdoor durability before attaching them to the wreath structure.
• Build the wreath structure by attaching burlap mesh and ribbon, then adding decorative elements like silk sunflowers and bird accents.
• Add birdhouses to the wreath using hot glue and floral wire, positioning them creatively to enhance the springtime theme.
• Finish the wreath by adding a decorative bow, fluffing out reindeer moss, and securely displaying it in a spot with maximum visual impact.
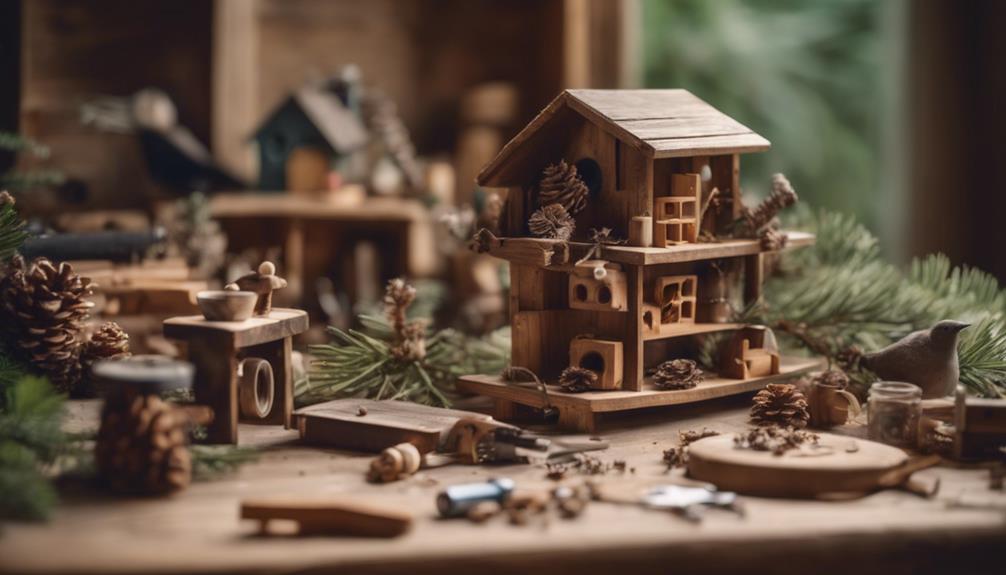
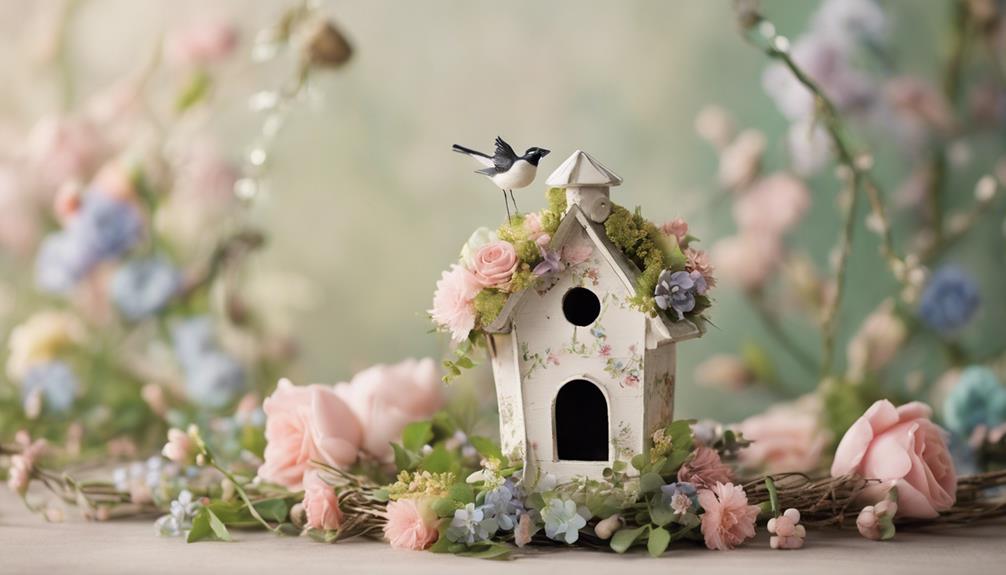
wooden birdhouse for outdoor decoration
As an affiliate, we earn on qualifying purchases.
As an affiliate, we earn on qualifying purchases.
Gathering Essential Materials
We'll need a variety of materials to bring our springtime wreath with a birdhouse to life, including wooden birdhouses, a metal wheel, zip ties, and some natural elements like fern and boxwood. These DIY spring essentials will help us create a beautiful and unique wreath that's perfect for the season.
For our wreath, we'll also need some flowers for decoration, reindeer moss to add a pop of green, and sealant to make sure our project can withstand the outdoor elements. Having all these materials on hand will make the assembly process much smoother.
We're excited to get started on our DIY spring project, and with these materials, we'll be well on our way to creating a stunning springtime wreath with a birdhouse. By gathering all the necessary materials upfront, we'll save time and frustration in the long run.
With our materials in hand, we can focus on bringing our creative vision to life and enjoying the fruits of our labor.
Preparing Birdhouses for Assembly
As we prepare our birdhouses for assembly, sanding down any rough edges is essential to guarantee a smooth and secure attachment to the metal wheel. This secures our birdhouse wreath craft project turns out beautifully and withstands the outdoor elements. Next, we'll drill holes in the birdhouses for easier attachment to the wreath structure. This step is important to avoid any weak points in our design.
| Step | Description |
|---|---|
| 1 | Sand down rough edges on birdhouses |
| 2 | Drill holes for attachment to wreath structure |
| 3 | Apply sealant for outdoor durability |
After preparing our birdhouses, we'll apply a coat of sealant to ensure they can withstand the outdoor elements. This is a necessary step in creating a birdhouse wreath that will last throughout the spring season. Finally, we'll use zip ties to securely fasten the birdhouses to the metal wheel, adding a touch of natural charm with reindeer moss on the roofs. With our birdhouses ready, we're one step closer to completing our beautiful springtime birdhouse wreath.
Building the Wreath Structure
Let's start building our wreath structure by attaching the burlap mesh to the wreath frame, securing the ends inside the sprigs for stability. This provides a solid base for our floral wreath.
Next, we'll layer the ribbon over the mesh, weaving it around the wreath using the sprigs for support and adding a pop of color to our design.
We'll then snip silk sunflower stems to desired lengths and nestle them into the mesh, securing them with hot glue for decoration. This adds a lovely textural element to our wreath.
Now it's time to incorporate our bird houses into the design. We'll attach the floral bird accents, like a birdhouse, using hot glue and additional support with floral wire if needed. This is where our wreath starts to take shape and our springtime theme comes alive.
With our wreath structure in place, we're ready to move on to the next step – adding decorative elements to really make our wreath shine.
Adding Decorative Elements
Now that our wreath structure is in place, it's time to add the decorative elements that will bring our springtime theme to life. We'll start by adding some silk sunflowers and floral bird accents to give our wreath a pop of color and whimsy.
| Decorative Element | Description |
|---|---|
| Silk Sunflowers | Add a touch of springtime charm |
| Floral Bird Accents | Bring a playful touch to the wreath |
| Lime Green Ribbon | Add a pop of color and vibrancy |
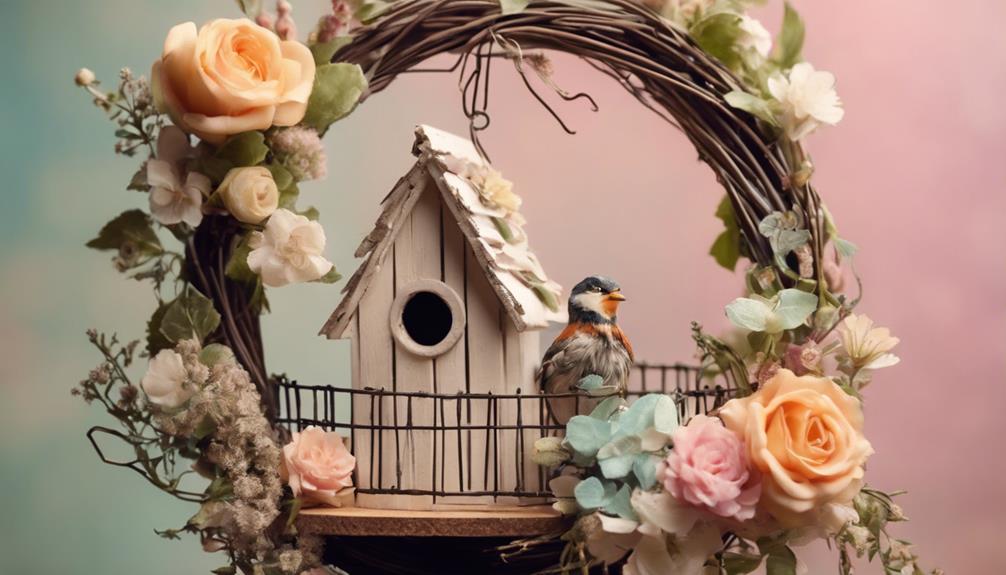
| Birdhouse | A charming centerpiece for our wreath |
We'll secure the birdhouse with ample hot glue and additional floral wire to make sure it stays in place. Then, we'll position the birds creatively on the wreath, attaching them firmly with wire for an extra charming touch. Finally, we'll craft a bow from the ribbon and attach it to the wreath, providing a beautiful finishing touch to the design. With these decorative elements, our spring wreath is shaping up to be a stunning addition to our front door, perfect for welcoming the new season.
Finishing Touches and Display
We're excited to put the final flourishes on our springtime wreath, and with a few simple steps, we'll be ready to showcase our creation.
To add a touch of elegance, we'll tie a decorative bow around the top of the wreath, securing it with a floral wire. This won't only add a pop of color but also hide any visible stems or wires.
Next, we'll fluff out the reindeer moss to make sure it's evenly distributed and our birdhouse is nicely nestled within.
Now it's time to display our masterpiece! We'll choose a spot with maximum visual impact, ideally at eye level, and attach the wreath securely to a door, wall, or mantel using a sturdy wreath hanger or hook. This will guarantee our wreath remains stable and secure.
With these final touches, our springtime wreath is now ready to brighten up any room, welcoming the new season with a touch of whimsy and charm.
Frequently Asked Questions
How Do You Make a Live Spring Wreath?
To make a live spring wreath, the first step is to select fresh flowers and greenery that complement each other in color and texture.
We then choose a floral foam or moss base to keep the flowers hydrated.
Next, we arrange the flowers and foliage in a visually appealing way, securing them to the base with floral wire or pins.
How Do You Make a Mesh Spring Wreath?
'When life gives you lemons, make lemonade' – and when it comes to making a mesh spring wreath, we start with a sturdy wire frame.
We wrap burlap mesh around it, securing it with floral sprigs.
Next, we weave ribbon through the mesh, adding texture and color.
After that, we add silk flowers, foliage, and other embellishments, finishing with a decorative bow.
With these simple steps, we've created a beautiful mesh spring wreath to welcome the new season!
Conclusion
We've created a charming springtime wreath with a birdhouse DIY that's perfect for welcoming the new season.
To illustrate, consider Sarah's front door, which now boasts a beautiful wreath featuring a tiny birdhouse adorned with fresh flowers and greenery.
With just a few simple materials and some creative assembly, Sarah's DIY project has become the envy of her neighborhood.
Our simple springtime wreath with a birdhouse DIY is a great way to add a personal touch to your home's exterior.