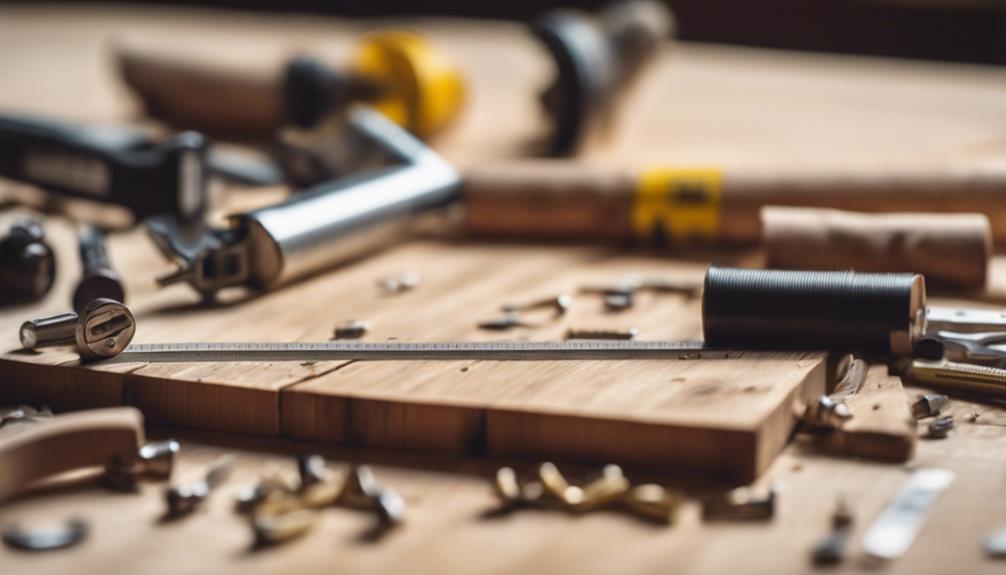

We're taking the DIY route to elevate our workspaces and homes with custom-made table risers. To get started, we'll gather essential supplies like wood planks, screws, and a drill. Next, we'll plan our design, considering height, dimensions, and style. We'll then cut out the wood pieces, sand them smoothly, and assemble the legs. Adding a design element, like fabric or trim, is optional. After applying a finish to the wood, we'll attach hanging brackets and assemble our riser. By following these 10 essential steps, we'll create a unique and functional table riser that reflects our personal style. Now, let's get building and discover the possibilities.
Key Takeaways
• Consider the height and dimensions of your table riser to ensure it fits your needs and space constraints.
• Choose the right materials, such as wood or metal, and prepare them according to your design and plan.
• Sand your wood carefully to achieve a smooth surface for painting or staining, and to prevent splintering.
• Assemble the legs securely using wood glue and pilot holes to prevent splitting, and experiment with different leg designs.
• Apply a finish to the wood, such as stain, paint, wax, or polyurethane, to protect it and enhance its appearance.
As an affiliate, we earn on qualifying purchases.
Gather Essential Supplies
We regularly begin our DIY projects by gathering all the necessary supplies, and making table risers is no exception.
When it comes to creating a sturdy and visually appealing table riser, having the right materials is essential. For our DIY table riser project, we'll need wood planks as the base, screws to assemble the pieces, a drill to drive those screws, and stain or paint to add a touch of personality. Brushes will come in handy for applying the stain or paint, and we won't forget the hanging plant brackets with hardware to securely attach the legs to the wood plank.
These essential supplies will help us build a table riser that's both functional and aesthetically pleasing. The type of wood stain or paint we choose will greatly impact the final look of our table riser, so we'll want to choose wisely.
With our drill and screwdriver, we'll be able to assemble the table riser securely, ensuring it can hold the weight of our decorative items. By gathering all these essential supplies, we'll be well on our way to creating a beautiful and sturdy table riser that complements our DIY style.
Plan Your Table Riser Design

As we plan our table riser design, we need to take into account our design requirements and riser functionality needs. We'll think about the purpose of our table riser and how it'll be used, as well as the items we plan to display on it.
Design Requirements
When planning our table riser design, we need to take into account the height and dimensions that will best fit our needs. This means considering the space where the riser will sit, as well as the items that will be placed on it.
We should also think about the style and shape of our riser – will it be square, round, or rectangular?
Our design requirements also involve deciding on the materials we'll use. Will we opt for a traditional wood or metal, or get creative with repurposed items for a unique look?
Additionally, we might want to incorporate decorative elements, such as handles, feet, or stenciled designs, to give our riser some personality.
Ultimately, our design requirements should secure stability and functionality based on the riser's intended use. By taking these factors into consideration, we can create a table riser that not only looks great but also serves its purpose effectively.
Riser Functionality Needs
How will our table riser be used, and what functionalities do we need it to serve? This is an important question to address before we begin designing and building our table riser. We need to contemplate the purpose of our table riser and how it will fit into our decor.
| Functionality | Purpose | Design Considerations |
|---|---|---|
| Displaying items | Showcase decorative items | Height, size, and weight capacity |
| Serving food | Hold serving dishes and utensils | Stability, durability, and easy cleaning |
| Workspace | Provide a comfortable working surface | Ergonomic height, surface material, and storage |
| Decorative element | Add aesthetic appeal to a room | Style, material, and color coordination |
| Storage | Store items beneath the riser | Drawer or shelf design, and accessibility |
When we plan our table riser's design, we need to think about the functionality we want it to serve. Will we use it to display items, serve food, or provide a workspace? By taking these factors into account, we can create a table riser that meets our needs and complements our decor.
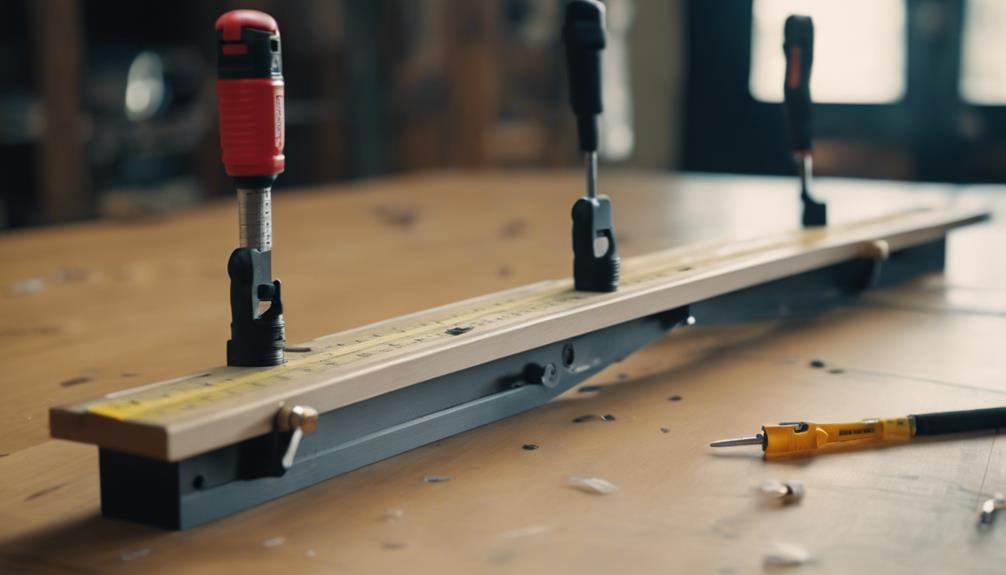
Cut Out the Wood Pieces
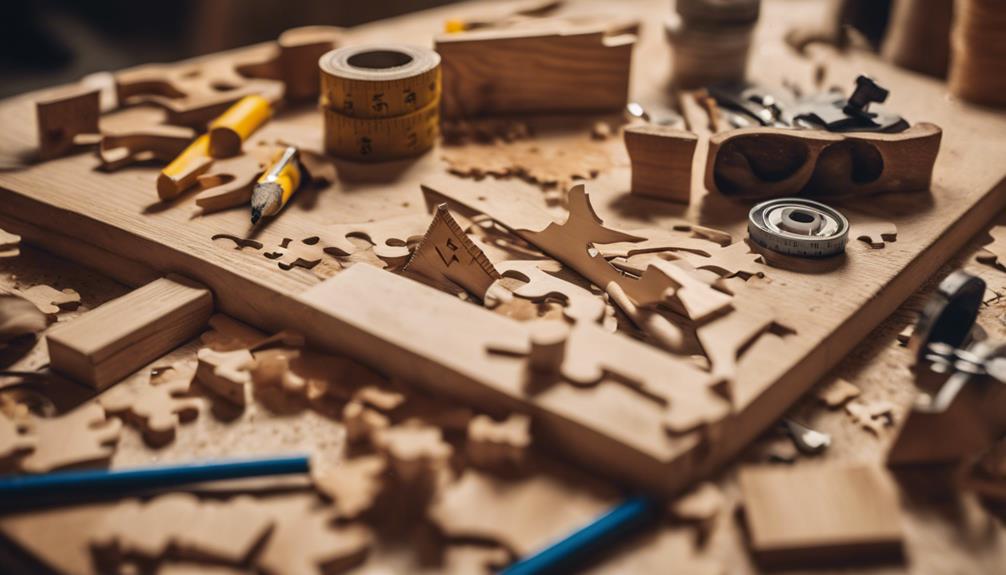
We'll start by using a jig saw to carefully cut out the wood pieces for our table risers, guaranteeing precise measurements and straight cuts for a professional finish. This step is vital in our DIY table riser project, as it lays the foundation for the entire structure.
We'll opt for thicker wood to make certain our risers are sturdy and can hold the desired weight. As we cut out the wood pieces, we'll make sure to follow our precise measurements to prevent any errors. It's important to take our time and work methodically to achieve straight cuts and avoid any splintering.
We'll also sand the edges of the wood pieces to give them a smooth and polished look. By cutting out the wood pieces accurately, we'll be able to assemble our table risers with confidence, knowing that they'll be sturdy and functional. With our wood pieces cut out, we're one step closer to completing our DIY table riser project.
Sand the Wood Smoothly
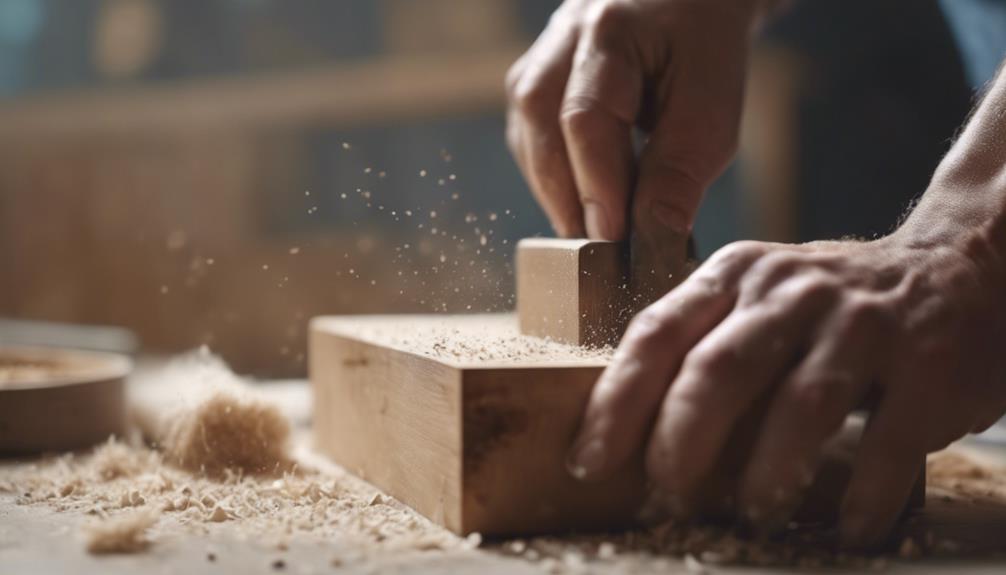
With our wood pieces cut out, we move on to sanding them smoothly, an important step in preparing the surface for painting or staining.
We'll use different grit sandpapers, starting with rougher grits like 80 or 120, and finishing with a finer grit like 220 for a polished look. It's vital to sand along the grain of the wood to avoid scratches and guarantee a consistent finish.
We take our time sanding to achieve a professional-looking result and avoid any rough or uneven areas on the wood surface. By doing so, we make sure that the stain or paint adheres well to the wood and enhances the overall appearance of the table risers.
Using the right sandpaper and technique, we can create a smooth surface that's perfect for painting or staining. Remember, proper sanding is key to a beautiful finish, so don't rush through this step.
With patience and attention to detail, we'll be rewarded with a stunning table riser that's both functional and visually appealing.
Assemble the Table Riser Legs
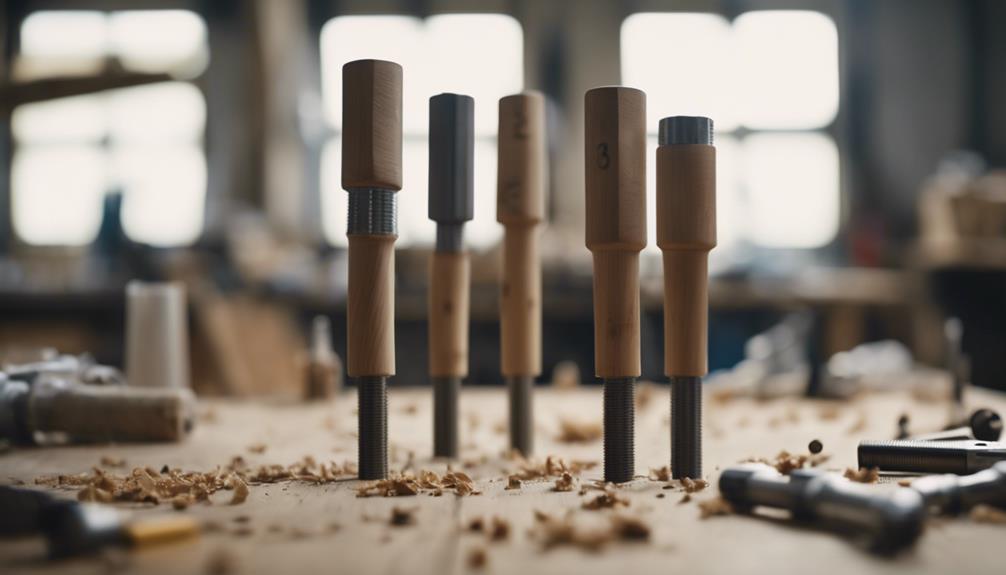
We carefully attach the legs to the table riser base, guaranteeing a sturdy foundation that can support the weight of our desired surface. We use wood glue to secure the legs, making sure they're evenly spaced and aligned for a professional look.
Before attaching the legs, we drill pilot holes to prevent the wood from splitting. We consider the height and placement of the legs to make certain the table riser is level and sturdy.
We experiment with different leg designs and materials to create a unique and personalized table riser. To attach the legs, we use nails or screws, depending on the type of wood and design we're working with.
We double-check that the legs are securely attached, ensuring our table riser is stable and can hold the weight we intend it to. By taking our time and following these steps, we can create a sturdy and functional table riser that meets our needs.
Attach the Legs to the Top

Now that our table riser base is complete, it's time to attach the legs to the top, securing them with wood glue or screws for stability. This step is essential in making sure our DIY table risers are sturdy and can support the weight of the items we'll be placing on them.
To attach the legs, we'll need to make sure they're centered and evenly spaced. We can use a level to check that the legs are aligned correctly before securing them to the top. Consider pre-drilling pilot holes to prevent splitting the wood when attaching the legs. This will help avoid any damage to our table riser.
Here's a summary of the key points to keep in mind:
| Step | Action | Importance |
|---|---|---|
| 1 | Center and space legs evenly | Critical for stability |
| 2 | Use a level to check alignment | Ensures legs are properly positioned |
| 3 | Pre-drill pilot holes | Prevents wood splitting |
| 4 | Secure legs with wood glue or screws | Provides stability and support |
Once we've attached the legs, we can test the stability of our table riser by gently rocking it to ensure the legs are securely attached. With our legs securely in place, our DIY table risers are taking shape!
Add a Design Element (Optional)
Now that we've attached the legs to the top, let's talk about adding a design element to give our table risers some extra flair.
We can elevate our design with fabric, add a pattern to catch the eye, or embellish with trim to create a unique look.
Elevate With Fabric
By incorporating fabric into our table riser design, we can add a unique touch that seamlessly blends with our existing decor. Fabric can elevate our table risers, transforming them into a stunning design element that complements our interior style.
We can choose fabrics with patterns, textures, or colors that match our decor, ensuring a cohesive look. Additionally, fabric can be easily attached to the sides or top of our table risers, allowing us to customize the look to our liking.
For practicality, we should opt for durable and easy-to-clean fabrics that can withstand daily use. The best part? Fabric-wrapped table risers can be easily updated or changed to match different seasons or occasions, giving us the flexibility to adapt our decor as needed.
Add a Pattern
We can take our table risers to the next level by adding a unique pattern, which can be a subtle yet impactful way to introduce an extra design element that resonates with our personal style. This is an optional step, but it can make a significant difference in the overall look and feel of our DIY project.
Here are some tips to keep in mind when adding a pattern to our table risers:
- Use chalk paint for a matte finish and easy application.
- Incorporate intricate patterns or shapes to create a unique design element.
- Utilize painter's tape to create clean lines and edges when painting a pattern.
- Experiment with different designs and patterns to personalize our table risers to match our decor style.
Embellish With Trim
We take our table risers to the next level by adding trim, which offers endless possibilities for creating intricate patterns, decorative edges, or unique shapes that reflect our personal style.
As we make table risers, we can experiment with different trim styles and designs to create a custom look. Wood molding, beading, or carved trim can add a touch of sophistication and elegance to our table risers. To attach the trim, we can use wood glue, finishing nails, or a pin nailer for secure placement.
By adding trim, we can enhance the overall design and aesthetic appeal of our table risers. We can create intricate patterns, add decorative edges, or create unique shapes that reflect our personal taste. With endless possibilities, we can let our creativity shine and make our table risers truly one-of-a-kind.
Apply a Finish to the Wood
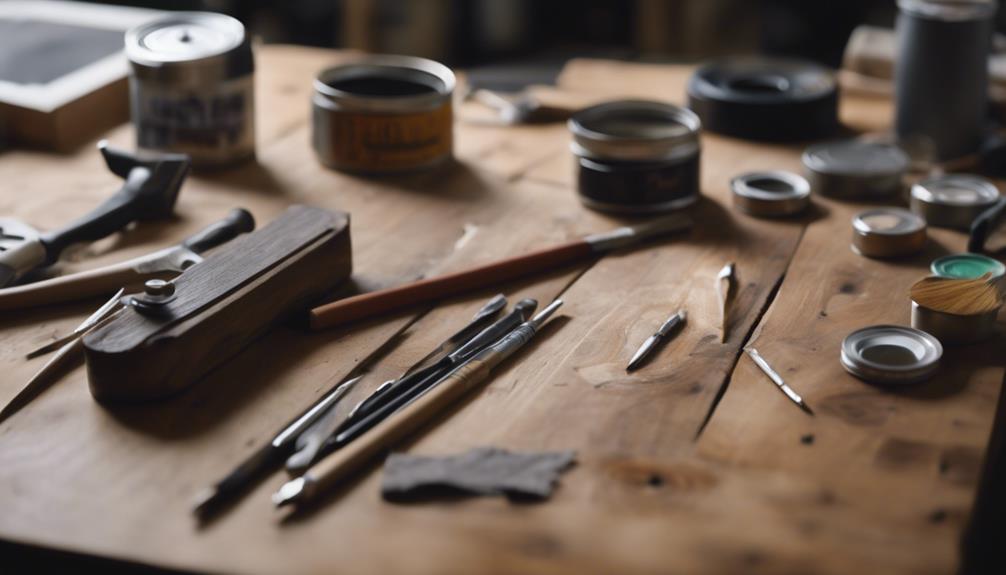
As we move forward with our table riser project, applying a finish to the wood is the next essential step, allowing us to protect the wood and bring out its natural beauty.
We're excited to explore the various options available to enhance the appearance of our Risers Out Of Scrap.
When it comes to choosing a finish, we've several alternatives to explore:
- Stain: We can use a gel stain to bring out the natural grain of the wood, adding a rich, warm tone to our table riser.
- Paint: If we want to add a pop of color or create a bold statement, paint is a great option.
- Wax: For a smooth, polished look, a wax finish can add a touch of sophistication to our table riser.
- Polyurethane: This clear coat provides a protective barrier against scratches and spills, while maintaining the natural beauty of the wood.
Attach the Hanging Brackets
Now that we've applied a finish to our wood top, it's time to attach the hanging brackets that will hold our table riser in place.
We'll need to take into account a few key factors when doing so, including where to place the brackets for best stability and how to secure them properly to the wood.
Bracket Placement Options
Typically, we attach hanging brackets to the corners or edges of the wood plank for added stability. This provides a solid foundation for our DIY project, guaranteeing our table riser remains sturdy and secure.
When it comes to bracket placement, we've a few options to ponder.
- We can space the brackets evenly along the length of the plank for balanced support.
- We can attach them to the corners for added stability.
- We can also place them along the edges, depending on the design and size of our riser.
- Alternatively, we can experiment with a combination of these options to achieve the desired level of support.
In our DIY projects, making a riser using hanging brackets is a great way to add flexibility and customization to our workspace. By choosing the right bracket placement option, we can ensure our table riser is both functional and durable.
Bracket Installation Tips
We'll start by attaching the hanging brackets to our wood plank, using the provided hardware for a seamless installation process. When it comes to DIY Home projects, attention to detail is important, and bracket installation tips can make all the difference.
To guarantee stability and balance, we'll make sure our brackets are evenly spaced along the wood plank. Before screwing them in, we'll drill pilot holes to prevent splitting the wood. If our wood board is on the thinner side, we'll opt for shorter screws to prevent poking through the other side.
As we attach the brackets, we'll wipe away any excess stain or paint to maintain a clean finish. By following these simple tips, we'll achieve a sturdy and level table riser that complements our DIY Home decor.
Securely Attaching Brackets
With our wood plank prepared, we attach four hanging plant brackets to the base, ensuring they're evenly spaced for optimal stability and balance. This step is essential in creating a sturdy DIY Farmhouse Table that can hold our scrap wood risers securely.
When securely attaching brackets, we keep the following tips in mind:
- Drill pilot holes before screwing in the brackets to prevent splitting the wood.
- Use four hanging plant brackets with hardware for added stability.
- Consider using shorter screws if the wood board depth is a concern.
- The hanging brackets provide a solid foundation for the table risers.
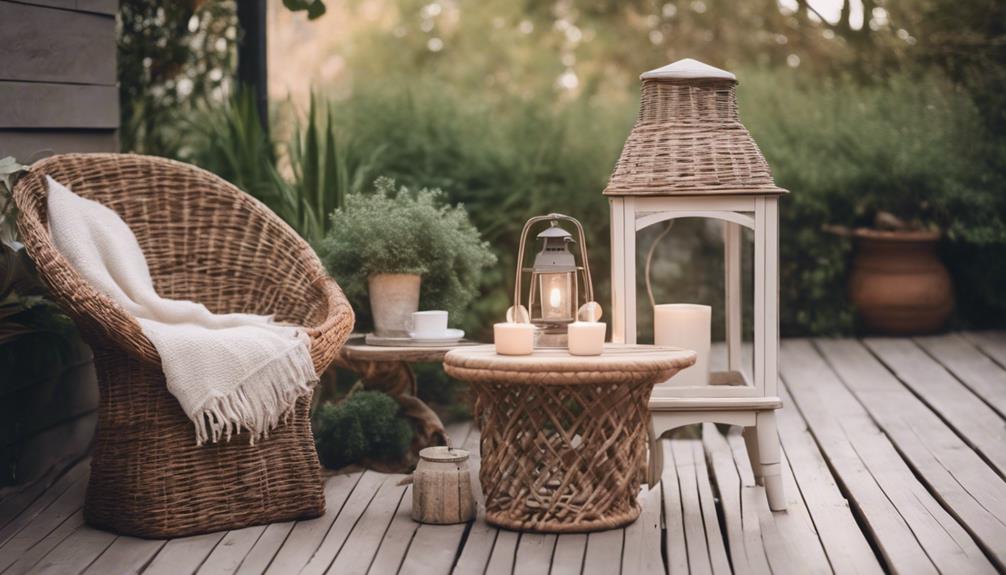
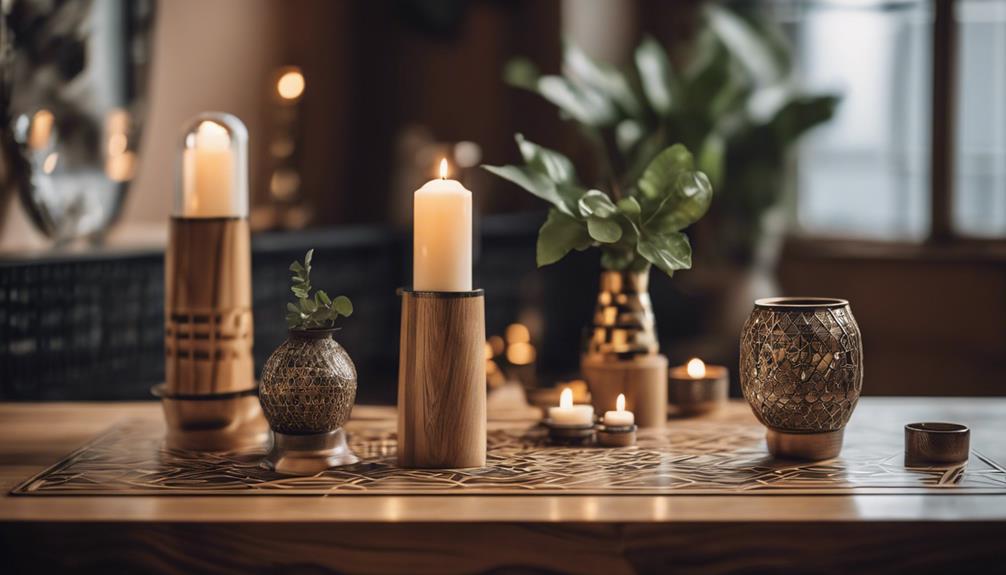
Assemble and Style Your Riser

Let's get started by attaching the feet to the base of our table riser using wood glue and decorative wood candle cups. This will give our riser a sturdy foundation and a touch of elegance.
Once the feet are securely attached, we can move on to staining our table riser with a gel stain to achieve the desired color and finish. We can experiment with different finishes and wood types to personalize our table riser and make it fit in with our home decor.
For a rustic look, we can try pairing our riser with a DIY chalkboard table top or a repurposed farmhouse table. To add an extra layer of protection and smoothness, we can apply a clear wax to our stained table riser.
As we assemble and style our riser, let's not forget to share our creations and explore various design variations for inspiration. By doing so, we'll be able to showcase our unique style and find new ideas to incorporate into our home decor.
Frequently Asked Questions
How to Make Table Risers?
We're making our own table risers, and we're excited to share how!
First, we choose the right wood thickness for the desired height.
Then, we cut out intricate designs using a jigsaw.
After that, we sand the edges for a smooth finish.
Next, we attach the legs securely with wood glue or screws.
How to Make Your Own Risers?
As we begin on this DIY journey, we envision our homes transformed, with elevated surfaces and stylish flair.
To make our own risers, we'll commence by selecting the perfect wood planks, whether it's poplar or pine.
Then, we'll craft our legs, using materials like wood candle cups or repurposed treasures.
A dash of creativity and some TLC will bring our unique table risers to life, ready to elevate our decor and our spirits.
What Can I Use for Table Risers?
We're looking for materials to create our table risers. We've got plenty of options! We can use wood planks, wooden blocks, or even repurpose old picture frames or salvaged parts.
Why not get creative and try using bed posts, antique doors, or vintage books? If we're feeling adventurous, we can experiment with unconventional materials like ketchup lids, tuna cans, or large craft beads.
The possibilities are endless!
What Is a Table Riser?
We envision a beautifully arranged display, with items elevated to catch the eye. But what's behind this visually appealing setup? A table riser, of course!
Simply put, a table riser is a platform designed to elevate items for better visibility or display purposes. It can be made from various materials, such as wood or metal, and comes in different sizes and designs to suit different needs and preferences.
Conclusion
With our table riser built, we can now elevate our space like a master chef adds the final seasoning to a dish – it's the perfect blend of form and function!
By following these 10 steps, we've transformed a simple idea into a functional piece of furniture.
Our DIY table riser is now ready to showcase our decorative pieces, creating a fresh and stylish atmosphere.