We're about to create a welcoming haven for our feathered friends by making a bird's nest in 10 easy steps. We'll start by gathering materials like privet branches, feathers, and moss. Next, we'll prepare the branches and shape the nest's base structure. Then, we'll add layers of twigs and sticks to create the nest's walls. We'll shape the nest into form, adding a cozy bed of feathers and decorative elements. Finally, we'll find the perfect spot to install the nest, adding final touches before placing it in its new home. And that's just the beginning of our DIY bird's nest adventure.
Key Takeaways
• Gather sturdy stems for the nest's foundation and flexible stems for shaping, collecting materials like privet branches, feathers, moss, and dried grass.
• Create a sturdy bowl-like structure using 4-5 privet lengths, securing them with plasticine or clay, and adding soft materials for lining and decoration.
• Build up the nest's walls with twigs, layering them in a circular pattern, ensuring they interlock for stability, and creating a gradual slope for the nest's shape.
• Weave and interlock stems to shape the nest, adding smaller loops inside the main structure, and ensuring the nest is well-formed, sturdy, and secure.
• Line the nest with soft materials like moss, dried grass, and feathers, creating a cozy and inviting environment, and installing the nest in a safe and sheltered spot.

Hummingbird Nesters Bird Nesting Material Holder for Wild Birds Humming Bird House Materials Gifts for Bird Watching Nature Lovers Refillable Outdoor Bird Station (3 Balls Safe Nesting Starter Kit)
- Ideal Gift for Birdwatchers: Perfect for bird lovers and outdoor enthusiasts
- Handmade Natural Material: Made of rattan with twine for hanging
- Water-Resistant and Fast-Drying: Cotton-filled nesting holders with open design
As an affiliate, we earn on qualifying purchases.
As an affiliate, we earn on qualifying purchases.
Gather Materials for the Nest
Let's collect the perfect materials to build a cozy bird's nest, starting with long, flexible plant stems like privet branches that will form the main structure of our nest. We'll need these sturdy stems to create a solid foundation for our feathered friends.
Next, we'll gather soft materials like feathers, dried grass, and moss to line and decorate the nest. These will provide a comfortable and inviting space for the birds to lay their eggs.
If we're feeling extra creative, we can even customize our nest with unique materials to make it stand out on social media – who knows, our DIY project might just go viral! Just remember to keep our email address handy in case we need to share our masterpiece with fellow bird enthusiasts.
With our materials in hand, we're ready to start building our bird's nest. Stay tuned for the next steps, and get ready to attract some fine-feathered friends to our backyard!
Prepare the Privet and Branches

As we move forward with preparing the privet and branches, we'll need to gather the right materials and get them ready for shaping.
We'll focus on selecting the perfect privet branches that are long, flexible, and sturdy enough to form the nest's structure.
Gathering Materials
We'll start by collecting 4-5 lengths of privet or other long, flexible plant stems that will form the main structure of our nest. We want to make sure these branches are pliable and easy to bend into a circular shape for the nest.
Here's what we'll need to gather:
- 4-5 lengths of privet: These will form the main structure of our nest.
- Feathers: We'll use these to line and decorate the nest.
- Moss: This will add an extra layer of comfort and coziness to the nest.
- Dried grass or other materials: We'll use these to add extra texture and decoration to the nest.
As we gather these materials, we'll bear in mind the shape and size of the nest we want to create. We'll also consider using plasticine or clay to secure the branches and add stability to the nest if needed.
With our materials in hand, we're ready to start preparing the privet and branches for our bird's nest.
Privet Preparation Tips
Now that we've gathered our materials, we'll start preparing the privet branches by gently cleaning any dirt or debris from their surfaces. This guarantees a clean slate for our bird's nest structure.
We'll select 4-5 lengths of privet branches that are long and flexible, making them easy to bend and shape. When twisting the branches into a circle, we'll use caution to avoid breakage. Our goal is to create a sturdy main structure by securely twisting the branches together, providing a natural and durable base for the bird nest.
As we twist the branches, we'll make sure they're firmly attached to form a solid structure. This will establish the foundation for our bird's cozy home. We'll take our time, carefully shaping the branches into a circular shape, making sure they're evenly spaced and securely attached.
Create the Nest Base Structure

As we move forward with creating our bird's nest, we'll start by forming the base structure using flexible privet branches.
We'll twist these branches into a circular shape, securing them to each other to create a sturdy bowl-like structure.
This foundation will serve as the base for our nesting materials, providing a stable and durable home for our feathered friends.
Nest Base Materials
Forming the nest base structure is an important step in building a birds nest, and we're going to start by gathering 4-5 lengths of flexible plant stems like privet. These stems will form the foundation of our nest, providing a sturdy base for our nesting materials.
Here are some key considerations for creating a strong nest base:
- Flexible plant stems: We need stems that can be twisted and shaped into a circular form.
- Circular shape: Twisting the stems into a circular shape provides a sturdy and secure base for the nest.
- Sturdy base: The base structure should resemble a bowl, providing a safe and comfortable space for nesting materials.
- Reinforcement: Consider reinforcing the nest base with additional twists or tying to prevent it from coming apart.
Nest Shape Formation
We'll start creating the nest base structure by twisting the privet lengths into loops, securing them together to form the foundation of our bird's home. Make sure to handle the stems gently, as they can be fragile and prone to snapping.
We'll use four to five lengths of privet to create the main structure, twisting and shaping them to form a sturdy base. Once we've our loops, we'll secure them together, making sure they're tightly connected to support the weight of the nesting materials.
As we shape the nest structure, we'll aim to create a bowl-like shape, providing a cozy and secure space for the bird's eggs and chicks. Be cautious not to bend the stems too forcefully, as they can break easily.
Add Layers of Twigs and Sticks
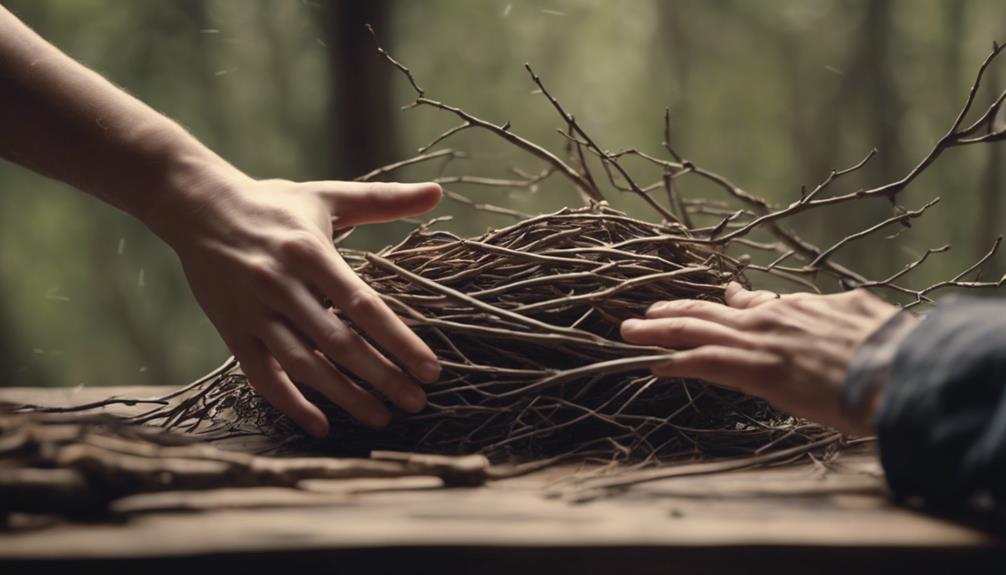
Let's build the foundation of our nest by layering twigs and sticks in a circular pattern, making sure they interlock to provide a sturdy base.
We love to see our nest start taking shape, and this step is an essential one. We've managed to find some great materials, and now it's time to put them to use.
Here's how we can add layers of twigs and sticks:
- Start with a base layer of sturdy twigs, making sure they interlock to provide a stable foundation.
- Add smaller twigs and sticks on top of the base layer, building up the walls of the nest.
- Create a gradual slope with the twigs to form the desired shape of the nest.
- Use a variety of twig sizes to add texture and strength to the nest structure.
Shape the Nest Into Form

Now that we've added layers of twigs and sticks, it's time to shape our nest into form.
We'll start by forming the base, which will provide a solid foundation for our nest.
Next, we'll work on shaping the nest, making sure it's sturdy and secure for our feathered friends.
Forming the Base
Hello and welcome to the exciting process of creating a bird's nest! To create the foundation of our nest, we gather long, flexible plant stems like privet, which will form the circular base of our bird's home. These stems will provide a sturdy structure for our nest, and we'll shape them into a loop to secure them together.
Here are the essential steps to form the base of our nest:
- Gather flexible stems: Collect long, flexible plant stems like privet to create the circular base of our nest.
- Secure the stems: Twist the stems together into a loop shape to form a sturdy base.
- Add layers: Add additional lengths of stems to create layers and build up the nest structure.
- Shape the bowl: Weave and interlock the stems to shape the nest into a bowl-like form.
Nest Shape Emerges
As we weave and interlock the stems, the nest begins to take shape, transforming from a loose collection of plant material into a sturdy, rounded structure. We use long, flexible plant stems like privet to create the main shape of the nest, twisting them into circular loops and securing them in place to form the basic structure.
Next, we gradually build up the nest shape by adding smaller loops inside the main structure. We guarantee the nest is sturdy and well-formed to provide a safe and comfortable space for birds. It's crucial to get the shape just right, as it will affect the overall stability of the nest.
As we work, we can start to envision the cozy home we're creating for our feathered friends. We'll add natural materials like feathers, dried grass, and moss to line and decorate the nest, making it a warm and inviting space.
For now, our focus is on shaping the nest into a sturdy, rounded form that will provide a solid foundation for our creation.
Finalizing the Structure
We carefully shape the nest structure, pressing and molding the materials together to create a sturdy and secure home for our feathered friends. As we work, we guarantee the nest walls are sturdy and secure to provide a stable home for eggs and chicks. We pay attention to the depth and width of the nest, creating a cozy and protective space for birds.
Here are some key considerations as we finalize the nest structure:
- Gentle shaping: We gently shape the nest structure to avoid damaging the materials.
- Sturdy walls: We guarantee the nest walls are sturdy and secure to provide a stable home for eggs and chicks.
- Cozy space: We create a cozy and protective space for birds, paying attention to the depth and width of the nest.
- Smooth edges: We use our hands to smooth out any rough edges or uneven areas in the nest structure.
Add a Lining of Soft Materials

By aiming and endeavoring to select the right soft materials, we can create a cozy and inviting lining that'll make our bird nest a comfortable haven for its future occupants.
We're not just looking for any soft material, though – we want ones that'll provide the perfect blend of comfort and protection. Moss and dried grass are great options, as they'll cushion and protect the eggs inside the nest. We can also add feathers to the mix, which will provide extra warmth and insulation.
Remember, birds are meticulous when it comes to selecting and arranging their lining materials, so we should prioritize doing the same. A well-crafted lining can make all the difference in attracting birds to choose our nest for breeding and raising their young.
Let's take our time to carefully select and arrange the soft materials, ensuring our nest is a cozy and inviting space for its future inhabitants. With a little patience and attention to detail, we can create a beautiful and functional lining that'll make our bird nest a perfect home.
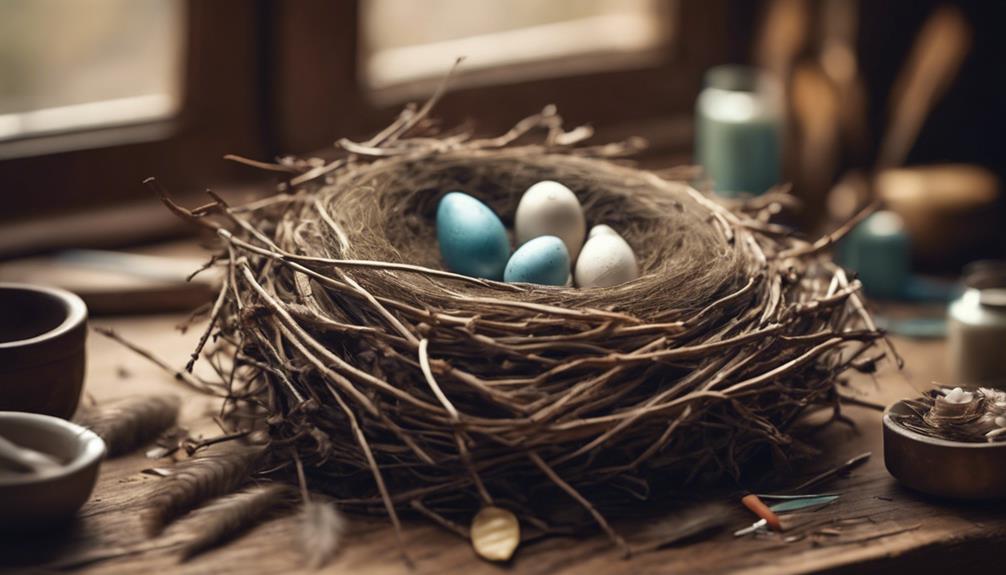
Add a Cozy Bed of Feathers
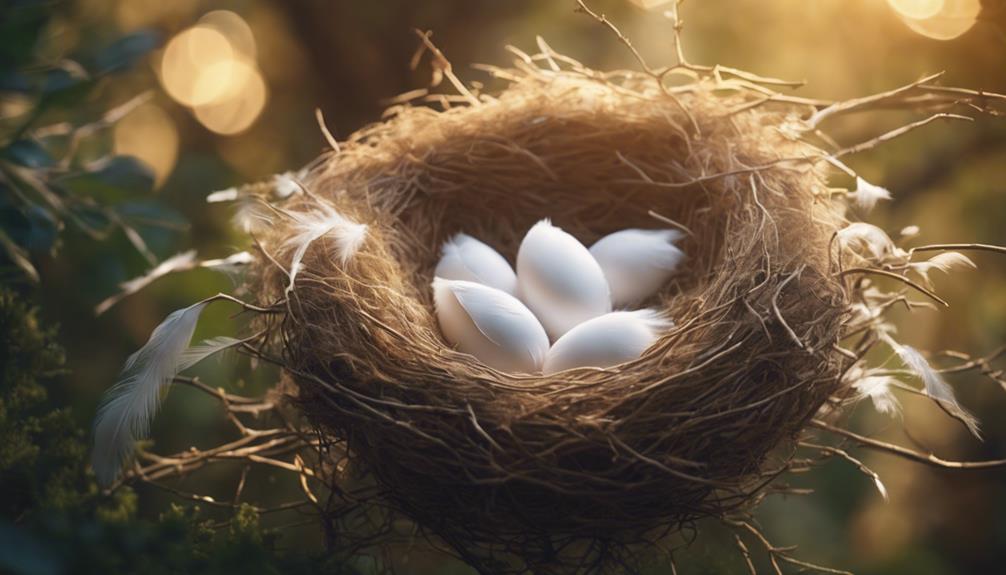
Now that our nest has a comfortable lining, let's add a cozy bed of feathers to create a warm and inviting space for our feathered friends. Feathers are an essential element in a natural bird's nest, providing insulation, softness, and temperature regulation. By incorporating feathers into our DIY nest, we can replicate this vital feature and attract birds to our garden.
Here are some key benefits of adding feathers to our nest:
- Insulation and softness: Feathers trap air and provide a comfortable environment for eggs and hatchlings.
- Temperature regulation: Feathers help maintain a stable temperature inside the nest, keeping eggs and chicks warm and cozy.
- Decoration and functionality: Birds use different sizes and colors of feathers to decorate and functionalize their nests.
- Cushioning and protection: Soft down feathers create a cushioned bed for eggs, protecting them from damage and maintaining a stable environment.
Add Decorative Elements Outside
Let's move on to the exterior of our nest, where a few carefully chosen decorative elements can make all the difference in attracting our feathered friends.
We can add some colorful ribbons, strings, or yarn to catch their attention. Shiny objects like aluminum foil or metallic decorations can also be placed near the nest to reflect light and spark curiosity. However, we need to bear in mind the materials we use, avoiding anything sharp or harmful like plastic bags or sharp metal objects.
A gentle sound can also intrigue birds, so we can add small bells or wind chimes near the nest. It's crucial to take into account the weather conditions when adding these decorative elements, ensuring they're secure and won't harm our avian visitors.
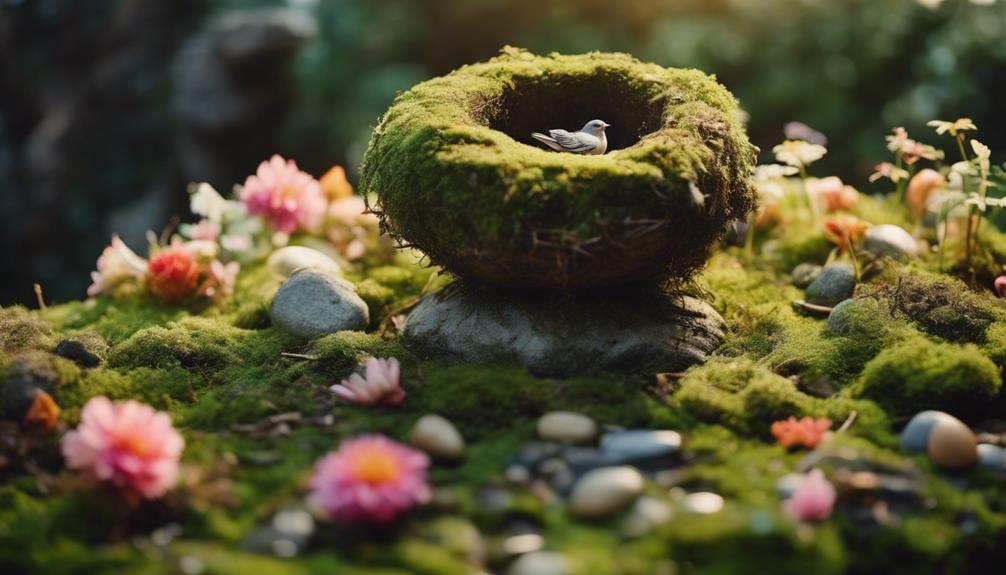
Find the Perfect Spot to Install

With our decorative elements in place, we're ready to focus on finding the perfect spot to install our bird's nest, taking into account factors that will guarantee the safety and comfort of our feathered friends.
When selecting the ideal location, we need to keep in mind a few important factors. Here are some key aspects to bear in mind:
- Shelter from the elements: Avoid direct sunlight and strong winds that could disturb the nesting birds.
- Minimal human disturbance: Steer clear of high-traffic areas to minimize disruptions to the nesting process.
- Predator protection: Ensure the nest is at a safe height to prevent predators from accessing it easily.
- Access to water: If possible, choose a spot near a natural water source to provide easy access to hydration for the nesting birds.
Add Final Touches and Install
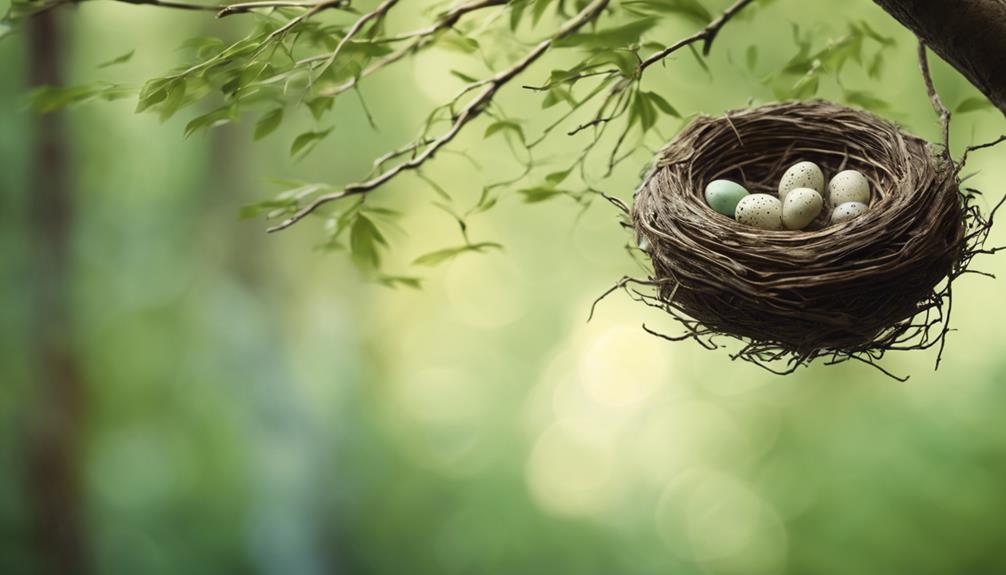
We carefully position the finished bird nest in a secure location, preferably in a tree or shrub, away from predators. We make sure it's well camouflaged and blends in with its surroundings to safeguard it from potential threats.
To make the nest more appealing to birds, we consider adding final decorative touches like feathers, twigs, or leaves. Once installed, we monitor the nest regularly to observe bird activity and potentially witness birds using it for nesting.
We're excited to see the nest being used and contributing to the local ecosystem by providing a safe space for birds to raise their young. It's rewarding to think that we're helping to support the local bird population.
As we observe the nest, we take note of any changes or signs of bird activity, making adjustments as needed to guarantee the nest remains a safe haven. With our DIY bird nest installed, we can't wait to see the birds move in and make it their home.
Frequently Asked Questions
How to Make a Simple Bird Nest?
We're excited to show you how to make a simple bird nest!
To start, we gather flexible plant stems like privet to form the main structure. We shape the nest by twisting the stems into a loop, building layers for a sturdy design.
Then, we line it with moss, dried grass, and feathers to create a cozy environment. If needed, we add plasticine or clay to reinforce the structure.
How to Make a Bird Nest in Kindergarten?
We're transported back to the medieval era, where knights and castles reign, but today, we're not battling dragons – we're building bird nests in kindergarten!
To make a bird nest in kindergarten, we start by gathering natural materials like twigs, leaves, and feathers. We arrange them in a circular shape, then glue them together. Next, we add some colorful touches with paint or crayons.
How to Make a Bird's Nest From Twigs?
We're excited to share how to make a bird's nest from twigs!
We start by gathering flexible twigs, ideally from privet stems, and twisting them together to form a sturdy circular base.
We then add layers of moss, dried grass, and feathers to line and decorate the inside of the nest.
If needed, we use plasticine or clay to secure the structure.
With these simple steps, we can create a cozy home for our feathered friends!
How Do You Make a Bird Nest at School?
Building a bird's nest at school is like weaving a delicate basket, requiring patience and creativity.
We start by collecting flexible stems like privet, which form the nest's foundation.
We then add decorations like feathers, dried grass, and moss to give it a natural look.
If needed, we use plasticine or clay to secure the structure.
Through this activity, we learn about the importance of springtime for birds building nests and the role of providing nesting materials.
Conclusion
As we step back to admire our handiwork, our DIY bird's nest comes alive, a snug haven for our feathered friends.
The twigs and sticks intertwined, a sturdy yet delicate cradle, swaying gently in the breeze.
We've crafted a cozy retreat, where birds can rest, nest, and thrive.
With every branch and feather, we've woven a tale of warmth and welcome.
Our DIY masterpiece awaits, ready to provide a safe haven for birds to call home.