To get the look with blue painted shiplap in 5 easy steps, start by preparing your shiplap for painting by cleaning, sanding, and priming it. Next, choose the right shade of blue and apply multiple thin coats of paint, considering distressing for a rustic touch. Then, install the shiplap on your wall, measuring carefully and leaving a gap between each board for expansion. After installation, inspect and fill in any gaps, and apply a clear top coat for protection. Finally, add nautical accents and decor items to complete the coastal chic or rustic look, and discover more tips to refine your design.
Key Takeaways
• Prepare shiplap by cleaning, lightly sanding, and priming it for a professional-looking finish.
• Choose the right shade of blue and apply multiple thin coats of paint, considering distressing for a rustic touch.
• Install shiplap on walls by measuring carefully, locating wall studs, and leaving a gap between each board for expansion.
• Inspect the installation, fill gaps or holes with wood filler, and apply at least two coats of paint, plus a clear top coat for protection.
• Add finishing touches by incorporating nautical accents, beach-themed artwork, and coordinating decor items for a harmonious atmosphere.
Prepare Your Shiplap for Painting
Before you start painting, give your shiplap a thorough cleaning with a mild detergent and water to remove any dirt, dust, or grease that might interfere with the paint's adhesion. This important step will guarantee a strong bond between the shiplap and the paint, resulting in a smooth, even finish.
Next, take some time to lightly sand the shiplap, smoothing out any rough spots or imperfections that could affect the paint job. This DIY project requires attention to detail, so don't skip this step! By doing so, you'll create a clean and even surface for painting.
Using a high-quality primer will also help the paint adhere better and prevent the wood from absorbing too much paint. Remember, a good primer is essential for a professional-looking finish.
With these preparation steps complete, you'll be ready to apply that first coat of paint and start transforming your shiplap into a stunning blue accent wall.
Painting Your Shiplap Blue
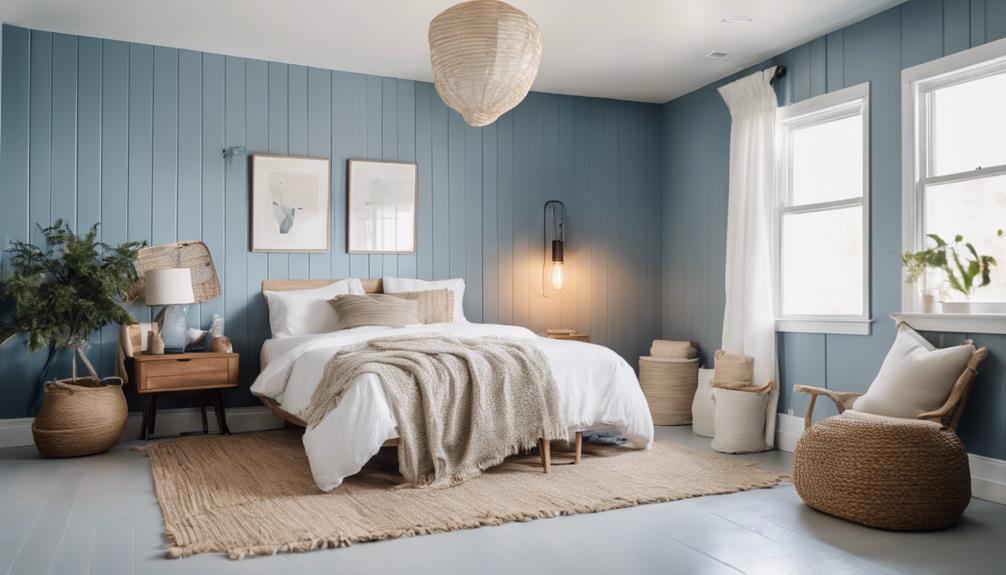
With your shiplap properly prepared, grab your paintbrush and get ready to transform your wall with a beautiful blue hue that complements your decor scheme.
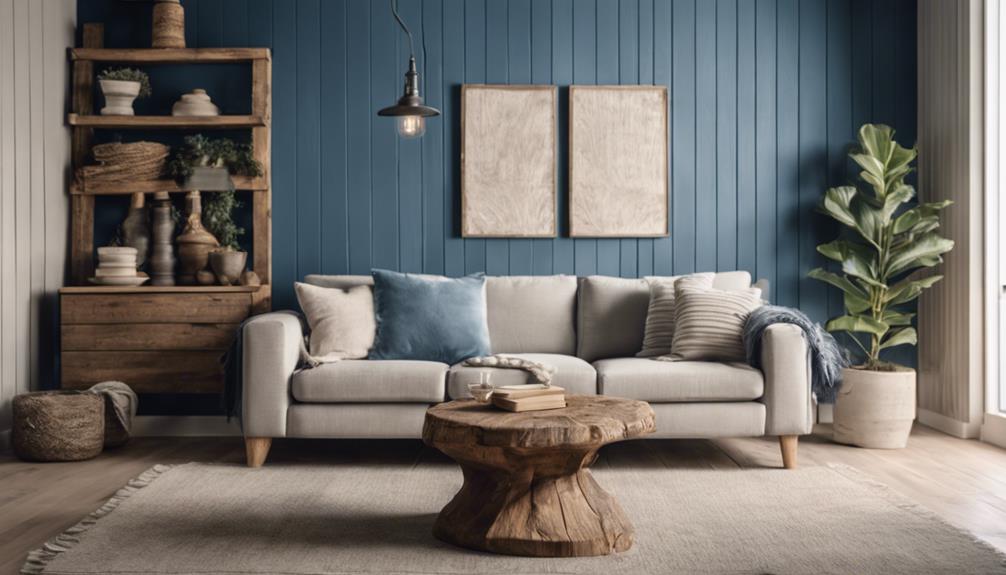
When it comes to DIY projects, choosing the right shade of blue is important. Consider different colors, from calming sky blue to bold navy blue, to make sure your shiplap walls blend seamlessly with your existing decor.
Before you start painting, apply a high-quality primer to make sure proper adhesion and prevent the wood from absorbing too much paint. Then, apply multiple thin coats of blue paint to achieve a smooth, even finish on the shiplap boards.
If you want to add a rustic or beachy touch, consider distressing the painted shiplap by lightly sanding the edges and corners. Finally, seal the painted shiplap with a clear top coat to protect it from wear and tear.
With these simple steps, you'll be on your way to creating a stunning blue accent wall that adds personality to any room.
Installing Shiplap on Walls

Measure your wall carefully to determine the placement and amount of shiplap you'll need for your project. This step is important to guarantee a seamless and professional-looking installation. To achieve a mid-century modern look, make sure to plan your shiplap layout thoughtfully.
Here's a step-by-step guide to installing shiplap on your walls:
- Locate and mark wall studs: Use a stud finder to locate and mark the wall studs where the shiplap boards will be attached for secure installation.
- Start from the bottom: Begin installing the shiplap from the bottom up, ensuring each board is level and securely nailed or glued to the wall.
- Leave a gap: Leave a small gap between each board for the characteristic shiplap look and to allow for any expansion or contraction of the wood.
- Trim and finish: Trim the last row of shiplap boards to fit the space, and finish the project by filling nail holes, sanding any rough edges, and painting the shiplap in the desired blue color.
It's easy to find tutorials and guides online, but by following these steps, you'll be well on your way to achieving a beautiful blue painted shiplap wall that adds a touch of elegance to any room.
Finishing Touches and Inspection
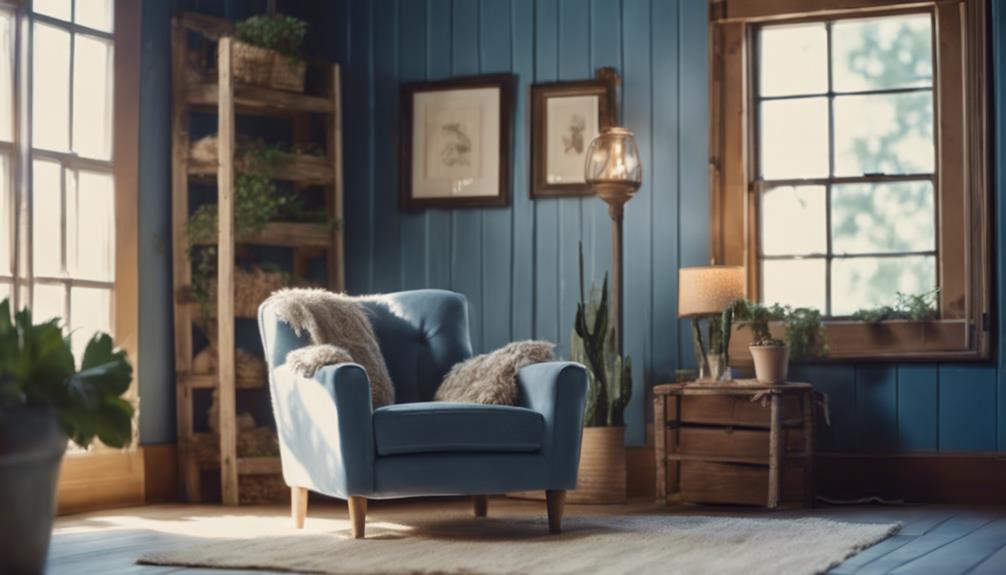
Now that your shiplap is securely attached to the wall, inspect the installation for any imperfections or gaps that need to be filled before proceeding with the final touches. This is an important step, as you need to know that any imperfections will be amplified once the paint is applied. Take your time to examine the shiplap carefully, and fill in any gaps or holes with a wood filler. Once you're satisfied with the installation, it's time to move on to the fun part – painting!
You're going to show off your creativity with a beautiful blue hue, specifically designed for wood surfaces. Apply at least two coats of paint, allowing sufficient drying time between each coat for a smooth and even coverage. To take your shiplap to the next level, consider adding a protective clear coat or sealer to enhance its durability and resist wear and tear.
Once the paint is completely dry, step back and admire the beautiful blue painted shiplap that adds a pop of color and character to your space. You'll be thrilled with how great it looks, and you can take pride in knowing you've done it yourself!
Completing the Shiplap Look
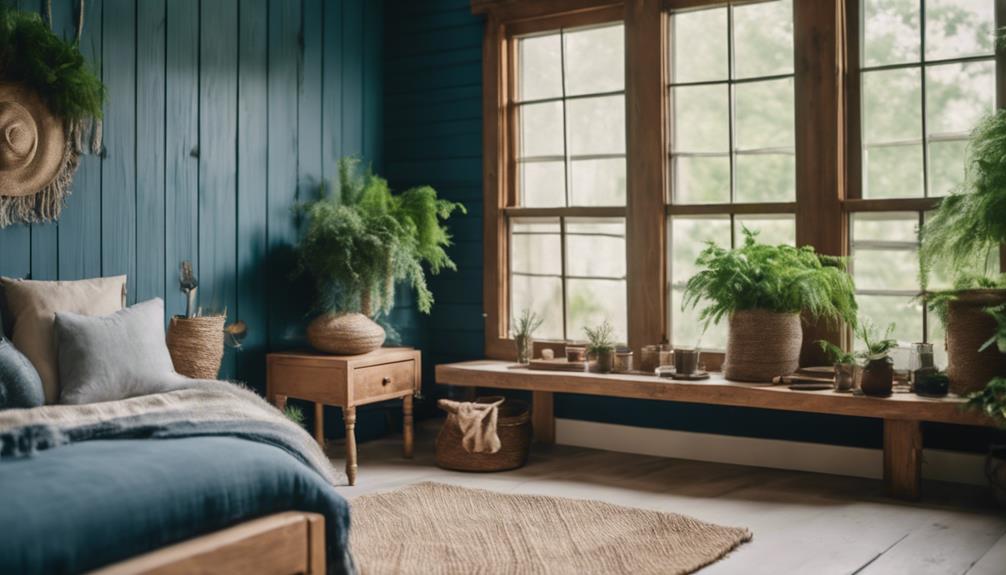
You're ready to bring your blue painted shiplap to life by incorporating decorative elements that enhance its coastal charm. Now that you've completed the painting process, it's time to add the finishing touches that'll make your shiplap stand out.
To complete the look, consider the following elements:
- Nautical Accents: Add anchors, ropes, or other coastal-inspired decorations to create a cohesive design that's completely different from a traditional shiplap look.
- Beach-Themed Artwork: Hang coastal-themed artwork or prints that complement the soothing blue color of your shiplap, adding visual interest without breaking the bank.
- Distressed Finishing: Distress or sand your painted shiplap for a weathered, rustic appearance that adds character to your design.
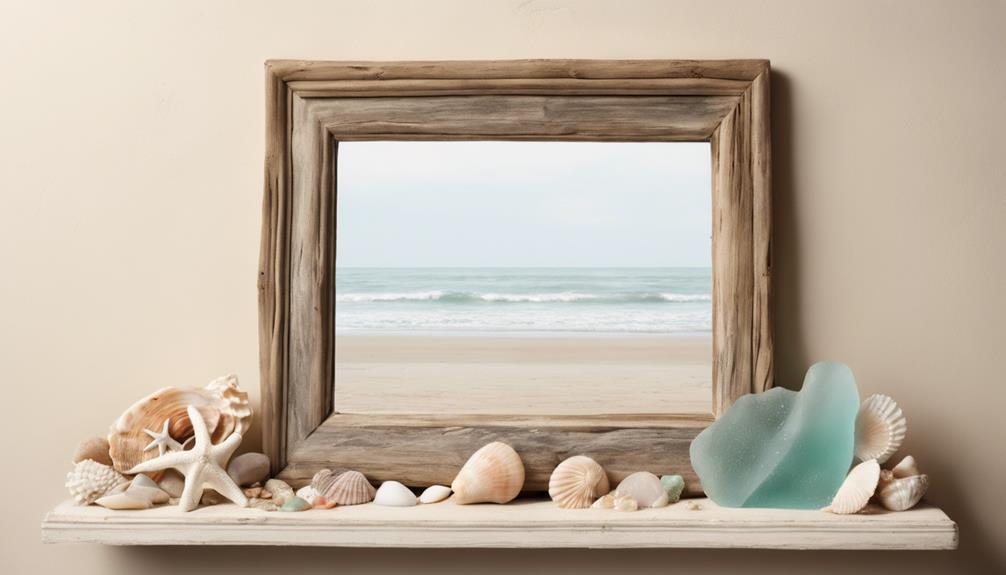
- Coordinating Decor: Choose decorative items, such as vases, candles, or shells, that match the coastal vibe of your shiplap, creating a harmonious and inviting atmosphere.
Frequently Asked Questions
What Is the Easiest Way to Paint Shiplap?
When it comes to painting shiplap, you'll find that the easiest way to get started is by cleaning the surface and sanding any rough areas for a smooth finish. This important step guarantees a strong bond between the shiplap and the paint, resulting in a durable and professional-looking finish.
How to Make Shiplap Look Good?
To make shiplap look good, you'll want to focus on creating a cohesive aesthetic. Start by selecting a paint color that complements your interior design, such as a soft blue for a calming atmosphere.
Guarantee a smooth finish by properly sanding and priming the shiplap. Then, apply a high-quality paint with a roller or brush, considering a second coat for added depth.
How to Make Shiplap Look Seamless?
When you're trying to create a seamless shiplap look, think of it like a puzzle: each piece must fit together perfectly to create a cohesive whole.
To achieve this, guarantee tight seams by using spacers or tongue and groove boards, align boards carefully, and place nails in a consistent pattern.
What Is the Best Color to Paint Shiplap?
When it comes to choosing the best color to paint shiplap, you're spoiled for choice. But, if you want a fresh, coastal vibe, blue is an excellent option.
Consider the room's lighting and decor when selecting a shade, as it'll impact the overall ambiance. From calming light blues to dramatic navies, blue painted shiplap can elevate your space while maintaining a timeless aesthetic.
Conclusion
With blue-painted shiplap now adorning your walls, the transformation is nothing short of mesmerizing. As you step back to admire your handiwork, the rhythmic lines of the shiplap seem to dance across the wall, infusing the space with a sense of rustic charm.
Your efforts have paid off, and the result is a look that's both modern and timeless. The blue hue adds a touch of sophistication, elevating the entire aesthetic. You've successfully achieved the coveted blue-painted shiplap look – and it's nothing short of stunning.
