We're about to transform our living room with a stunning brick accent wall, adding texture, color, and depth to the space. First, we'll identify the perfect accent wall, choosing a focal point that complements our home's design. Next, we'll gather essential supplies, selecting a brick pattern and color that match our aesthetic. With our surface prepared, we'll create a brick pattern, apply joint compound, and remove the tape to reveal a realistic, textured look. As we move forward, we'll add finishing touches, ensuring a cohesive, stunning brick accent wall that elevates our living room's decor – and the best part is yet to come.
Key Takeaways
• Identify a focal point wall in the living room and choose a brick pattern, color, and design that complements the home's overall aesthetic.
• Prepare the wall surface by cleaning, filling holes, and sanding to ensure a smooth brick installation process.
• Create a brick pattern by taping off sections, applying joint compound, and peeling away the tape to reveal the brick design.
• Apply joint compound evenly to create a seamless brick pattern, and add texture by using different joint sizes and contrasting colors.
• Finish the accent wall by sealing it for protection, adding wall sconces or picture lights, and hanging wall art or mirrors to complement the rustic charm.

Art3d 20-Pack 105 Sq.Ft Faux Brick 3D Wall Panels Peel and Stick in Red Brown, Self Adhesive Waterproof Foam Wallpaper for Bedroom, Bathroom, Kitchen
Features: Square sheet with brick design, easy to match installation, Peel and Stick, Acoustic, anti-collision, waterproof, and stain…
As an affiliate, we earn on qualifying purchases.
As an affiliate, we earn on qualifying purchases.
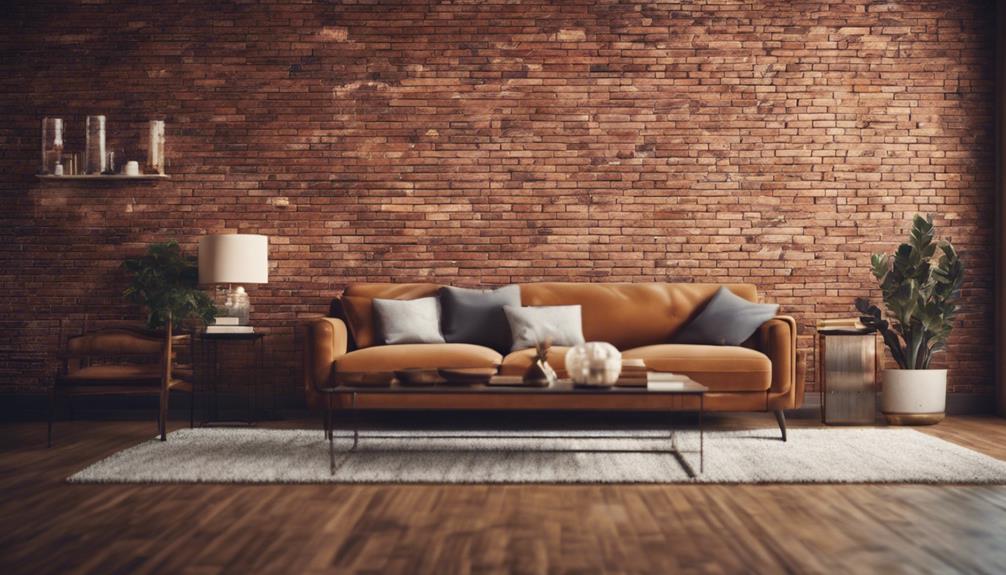
Choosing the Perfect Accent Wall
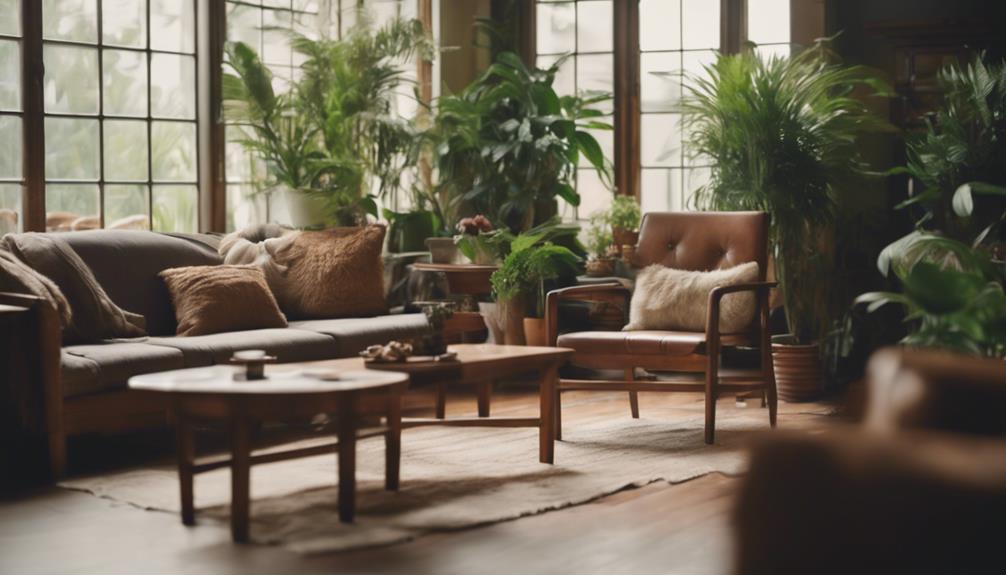
As we set out to create a stunning brick accent wall, we need to identify the perfect wall in our living room that will make the most impact. We're looking for a wall that will serve as a focal point, drawing the eye and elevating the overall aesthetic of the space.
To achieve this, we should opt for walls that will benefit from the visual interest of a faux brick finish. Consider walls with cutouts or niches, as these will add dimension and create a unique visual appeal. We should also evaluate walls that are in need of texture and color enhancement, as a brick accent wall will provide a much-needed boost to the room's aesthetic.
Additionally, choose walls that complement the overall layout and design of our home, ensuring a cohesive look that ties the room together. By selecting the right wall, we'll be able to create a brick accent wall that makes a statement and enhances our living room's decor.

DAP Wallboard Joint Compound, White, 12 Lbs (7079810102)
Joint compound for interior surfaces provides a smooth, high quality finishing of gypsum panel joints
As an affiliate, we earn on qualifying purchases.
As an affiliate, we earn on qualifying purchases.
Gathering Essential Supplies

As we gather essential supplies for our stunning brick accent wall, we're getting close to making our design vision a reality.
With our materials in hand, we can start thinking about the finer details, such as choosing a brick pattern that complements our space, selecting a brick color that matches our aesthetic, and preparing the surface to guarantee a flawless installation.
Next, we'll explore these critical points to make sure our accent wall turns out exactly as we envision it.
Brick Pattern Options
Let's start by exploring three classic brick patterns that can elevate our accent wall: herringbone, basket weave, and running bond. These timeless designs can add visual interest and depth to our brick accent walls, making them a stunning focal point in our living room.
The herringbone pattern involves alternating bricks at a 90-degree angle, creating a dynamic, zigzag effect.
In contrast, the basket weave pattern features bricks arranged in a checkerboard style, creating a sense of texture and rhythm.
For a more traditional look, the running bond pattern is a great option, where bricks are stacked in a staggered formation.
When choosing a pattern, consider the overall aesthetic you want to achieve in your living room. Each pattern has its unique character, so it's essential to select the one that complements your interior design style.
Brick Color Choices
We're now faced with the crucial decision of choosing the perfect brick color to bring our accent wall to life, and with options ranging from classic red to sleek gray, the possibilities are endless.
As we deliberate on the ideal hue, we must consider the overall aesthetic we want to achieve in our living room. A bold, fire-engine red can add a pop of energy to the space, while a sleek gray can bring a touch of sophistication. Alternatively, a crisp white or dramatic black can provide a striking contrast to the surrounding decor.
When selecting a brick color, it's crucial to think about the natural light, furniture, and overall style of the room. By choosing a color that complements these elements, we can create a cohesive and stunning brick accent wall that elevates the ambiance of our living room.
With our brick color chosen, we can start gathering essential supplies, such as masking tape, joint compound, and a ruler, to bring our design to life.
Surface Preparation Needs
With our brick color selected, we turn our attention to gathering the essential supplies needed to bring our design to life, starting with the must-haves: masking tape, joint compound, ruler, pencil, ladder, and towel. These tools will be essential in our surface preparation, guaranteeing a smooth and even application process.
We'll also consider creating a brick template made of wood to assist in creating consistent brick sizes during the taping process. Proper organization and accessibility of materials are vital for a smooth application process, so we'll make sure to have everything within arm's reach.
As we begin taping off bricks in sections, we'll ensure easier application and uniformity across the wall. With our surface preparation complete, we'll be ready to apply joint compound evenly over the taped-off areas with a spatula, creating a textured finish for our faux brick wall.

3 Rolls Miniature Dollhouse Wallpaper and Flooring Peel and Stick Mini Stone Brick Tile Tape Stickers DIY Self Adhesive Dollhouse Accessories
Size: 1.97*78.74inch
As an affiliate, we earn on qualifying purchases.
As an affiliate, we earn on qualifying purchases.
Preparing the Wall Surface
As we progress with creating our stunning brick accent wall, we need to make sure the wall surface is properly prepared.
We'll start by cleaning the wall thoroughly to remove any dirt, dust, or grease that may interfere with the brick application.
Next, we'll fill in any holes or cracks with spackling compound and sand them smooth, creating a smooth canvas for our brick installation.
Clean the Wall Thoroughly
We'll begin by wiping down the wall surface with a damp cloth to remove any loose dust, dirt, and debris. This initial cleaning step is important in ensuring a smooth and even application of our brick accent wall.
Next, we'll tackle any stubborn stains or grease marks using a mild detergent solution. We'll gently scrub the affected areas, taking care not to scrub too hard and damage the wall.
Once we've removed all the dirt and grime, we'll make sure the wall is completely dry before proceeding. This is essential, as any excess moisture can compromise the adhesive bonding between the brick and the wall.
By taking the time to thoroughly clean the wall, we'll create a clean slate for our brick installation, ensuring a stunning and long-lasting result.
With a clean wall, we'll be ready to move on to the next step, fixing any imperfections and preparing the surface for our brick accent wall.
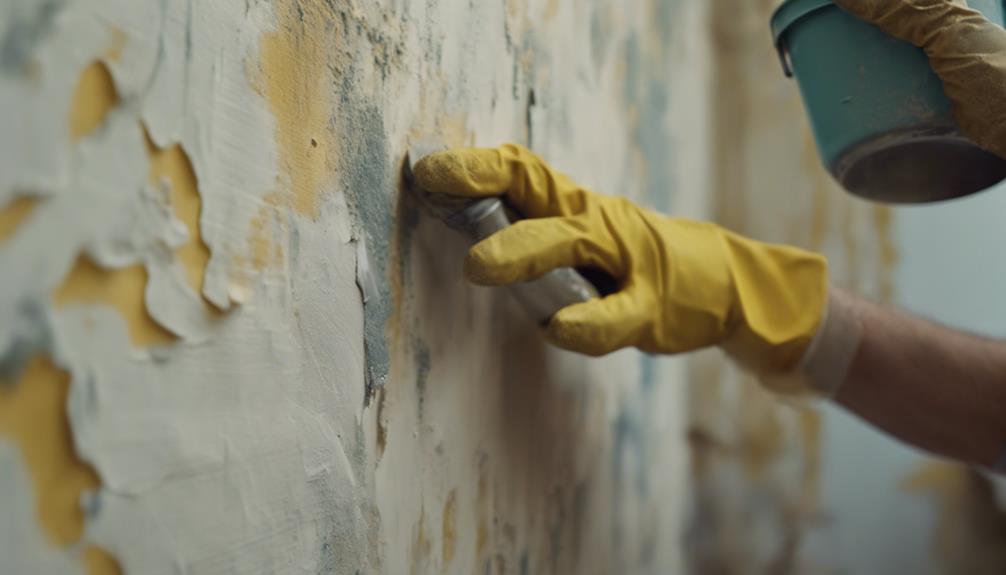
Fix Any Holes
Before applying our brick accent wall, we need to fix any holes or cracks in the wall surface by filling them with spackling compound. This step is vital in ensuring a smooth, even surface for our accent wall to adhere to.
Using a putty knife, we'll fill in any holes or cracks, making sure to smooth out the compound as we go. Once it's dry, we'll sand it down to create a seamless surface. It's important to get this step right, as any imperfections will show through our beautiful brick accent wall.

Zinnser 03688 Covers Up Stain Sealing Ceiling Paint, White
Zinnser
As an affiliate, we earn on qualifying purchases.
As an affiliate, we earn on qualifying purchases.
Creating the Brick Pattern
Creating a brick pattern on our accent wall starts with taping off sections to define the shape and size of each brick. This is where the magic begins, and our plain wall transforms into a stunning focal point.
To achieve a realistic brick look, we need to create a textural contrast between the 'bricks' and the 'mortar' joints.
Here's how we do it:
- Securely tape off sections to define the shape and size of each brick.
- Apply joint compound evenly over the taped areas for a consistent finish.
- Peel away the tape while the compound is wet to reveal the brick design.
Applying the Joint Compound
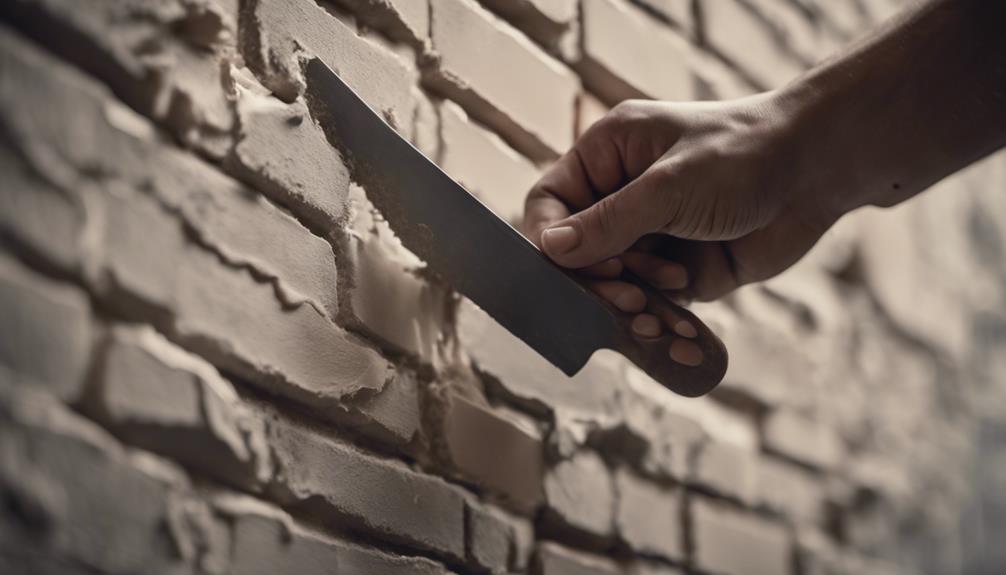
As we move on to the next step, we're ready to add the textured element that brings our brick pattern to life by applying joint compound evenly over the taped-off areas.
This is where the messy, yet vital, process of creating our faux brick wall begins. We take a spatula and spread the compound thoroughly on each brick area, making sure to cover the entire surface. This may get a bit messy, but it's necessary to achieve an authentic, textured look that adds depth to our interior design.
Complete coverage of the joint compound helps obscure the tape outlines effectively, creating a seamless brick pattern. As we work, we're careful to spread the compound evenly, making sure not to leave any gaps or bare spots.
Removing the Tape and Cleanup
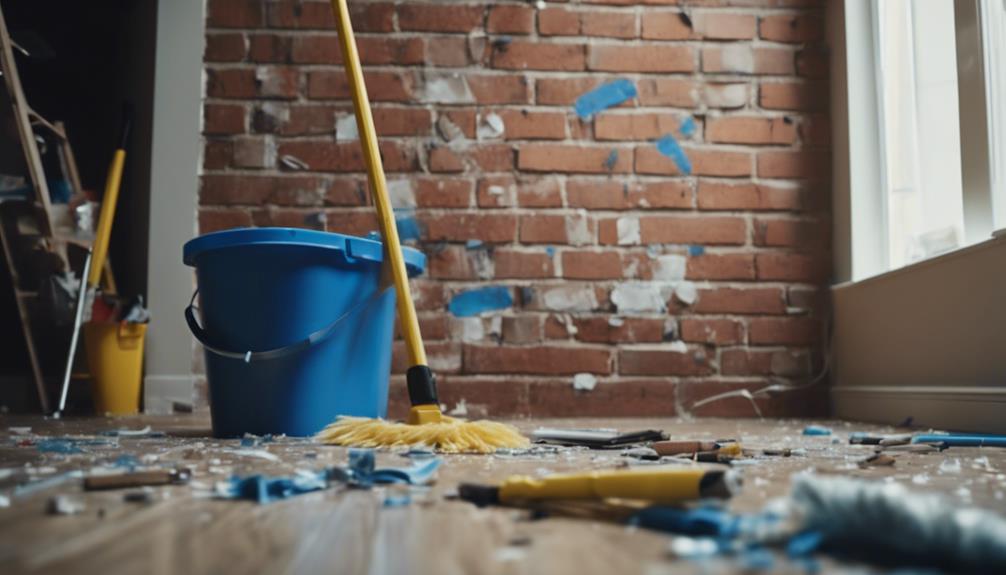
We carefully remove the tape, taking care not to smudge the still-wet joint compound, and revel in the clean, defined edges that emerge. As we peel away the tape, the textured finish of our faux brick accent wall begins to take shape. We can't help but feel a sense of excitement and accomplishment as we witness the transformation of our living room.
Here are a few key takeaways to keep in mind during this step:
- Dispose of tape remnants: Make sure to throw away the used tape in a nearby trash bag to keep your workspace tidy.
- Admire your handiwork: Take a step back and appreciate the clean, defined edges and textured finish of your brick accent wall.
- Prepare for the next step: Now that the tape is removed, we're one step closer to completing our stunning brick accent wall in our living room.
As we complete each section, we can see the room's aesthetics coming together.
We're thrilled to see our vision taking shape, and we can't wait to add the finishing touches to our beautiful brick accent wall.
Adding Texture and Finishing Touches
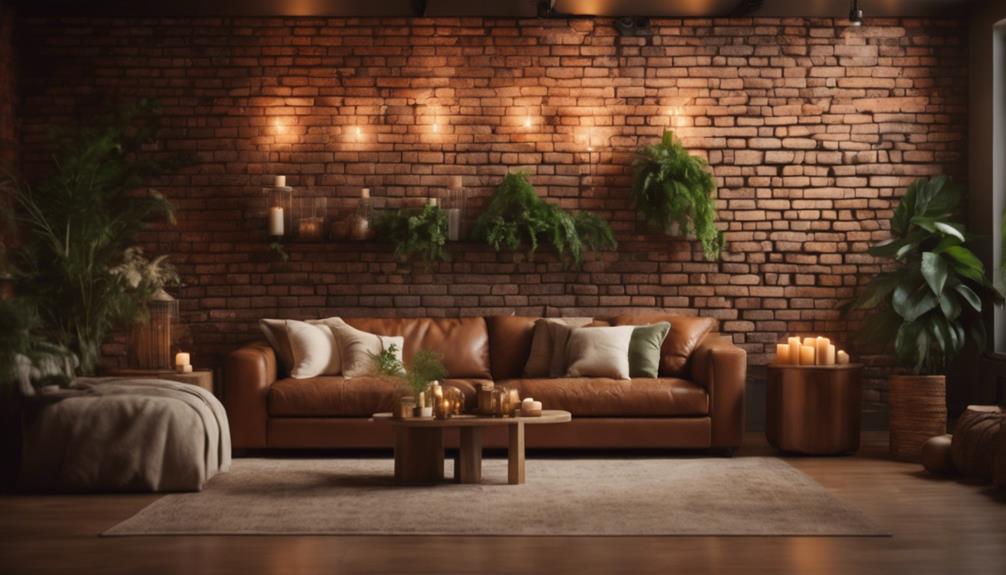
With our brick accent wall's defined edges and textured finish now revealed, it's time to amplify its visual appeal by adding texture and finishing touches that bring out its rustic charm.
We can experiment with different grout joint sizes to achieve the desired visual impact. The wall gives us an opportunity to play with contrasting colors, so consider using different colored grout to enhance the texture of the brick accent wall.
To protect the bricks and make cleaning easier, we'll add a coat of sealant.
Now, let's highlight the texture and depth of the bricks by incorporating wall sconces or picture lights strategically. These lighting fixtures will create a warm ambiance, drawing attention to the brick accent wall's unique character.
Finally, we'll hang wall art or mirrors strategically to complement the rustic charm of the brick accent wall, creating a stunning focal point in our living room.
Final Inspection and Touch-ups
Now that we've added texture and finishing touches to our brick accent wall, it's time to scrutinize every inch of it to guarantee a flawless finish. We've worked hard to get to this point, and we want to make sure everything is brick right.
During our final inspection, we'll be looking for three key things:
- Consistency: We'll check for consistent texture and coverage across all bricks to confirm a cohesive look.
- Imperfections: We'll address any uneven or missing areas by applying more joint compound and blending it seamlessly.
- Gaps: We'll use a small spatula or brush to carefully touch up any imperfections or gaps in the brick pattern.
Frequently Asked Questions
How to Make a Brick Wall More Attractive?
Having an understanding that making a brick wall more attractive can be a challenge.
To tackle this, we suggest incorporating lighting fixtures that highlight the texture of the bricks.
Additionally, it's recommended to use artwork or mirrors to create visual interest on the wall.
Experimenting with different color schemes and adding plants or greenery can also enhance the overall aesthetic.
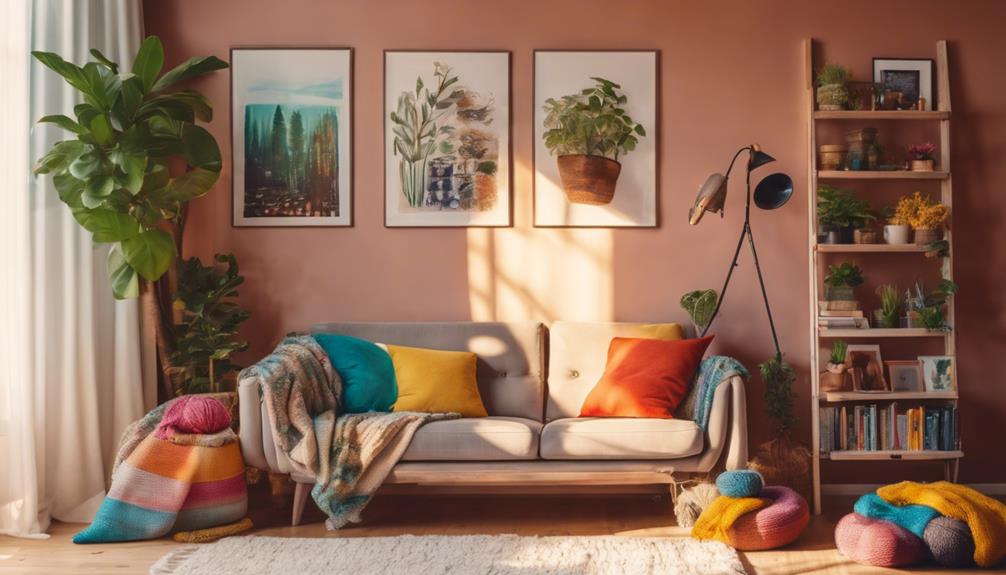
How to Decorate a Brick Wall in a Living Room?
When considering decorating a brick wall in our living room, we often ponder where to start. It's more than just slapping some decorations on the wall; we aim to create a cohesive look that complements the brick's rustic charm.
We'll select furniture pieces that match the wall's earthy tone, add plants to soften the look, and experiment with lighting to highlight the brick's texture.
How Do You Make a Stunning Accent Wall?
As we explore the process of creating a stunning accent wall, we consider the wall's purpose: to draw attention and elevate the room's aesthetic.
We choose a wall that's a natural focal point, like one with a fireplace or a large window. By doing so, we create a visual anchor that ties the room together.
Then, we select a finish that complements the room's style, ensuring our accent wall becomes a design showstopper.
How Do You Make Indoor Brick Look Nice?
We're often asked how to make indoor brick look nice, and our answer is simple: it's all about the finish. We swear by using a faux brick finish with joint compound to achieve a realistic look.
Conclusion
With our brick accent wall complete, we step back to admire the stunning result. The texture, pattern, and color all come together to create a unique focal point in our living room.
We've successfully transformed a plain wall into a statement piece that adds depth and visual interest to the space. Our patience and attention to detail have paid off, and we can't wait to enjoy the cozy ambiance this new feature brings to our home.