
To breathe new life into an old mirror, start by cleaning the surface with glass cleaner, followed by priming with spray primer for a strong bond. Use chalk paint specifically designed for mirrors, applying it in light, even coats. Mask off areas with painter's tape to create crisp lines, and touch up edges with acrylic paint and a fine brush. Seal your masterpiece with a clear acrylic sealer for added protection. Finally, apply a topcoat designed for glass surfaces to guarantee durability. Now that you've got the basics down, you're ready to discover the secrets to a truly transformed mirror – and it all starts with the next step.
Key Takeaways
• Clean the mirror surface with glass cleaner to ensure proper adhesion of the paint.
• Use chalk paint for its adhesion properties to prevent peeling or chipping.
• Prime the mirror's surface with spray primer for a strong bond and durability.
• Apply high-quality spray paint designed for mirrors in light, even coats for even coverage.
• Seal the painted mirror with a clear acrylic sealer for added protection.

Sprayway Glass Cleaner Foaming Aerosol Spray, 19oz, Pack of 2 | Ammonia-Free, Streakless, Fast-Acting | Cleans & Polishes Glass Surfaces | Fresh Scent, Removes Fingerprints, Dust, Dirt, Smoke Film
- Versatile Glass Surface Cleaner: Suitable for all glass surfaces
- Effective Streak-Free Cleaning: Leaves glass streakless and shiny
- Removes Fingerprints and Dirt: Eliminates fingerprints, dust, dirt, smoke film
As an affiliate, we earn on qualifying purchases.
As an affiliate, we earn on qualifying purchases.
Prepare the Mirror Surface
Before you can start painting, you'll need to thoroughly clean the mirror surface with a glass cleaner to remove any dirt, dust, or residue that may interfere with paint adhesion. This vital step guarantees a strong bond between the mirror and the paint, preventing peeling or chipping over time.
Once the mirror surface is clean, you're ready to move on to the next step. Since you'll be using chalk paint, which is known for its excellent adhesion properties, you can feel confident that your paint job will last. However, it's still essential to take the time to properly prepare the surface to achieve the best results.
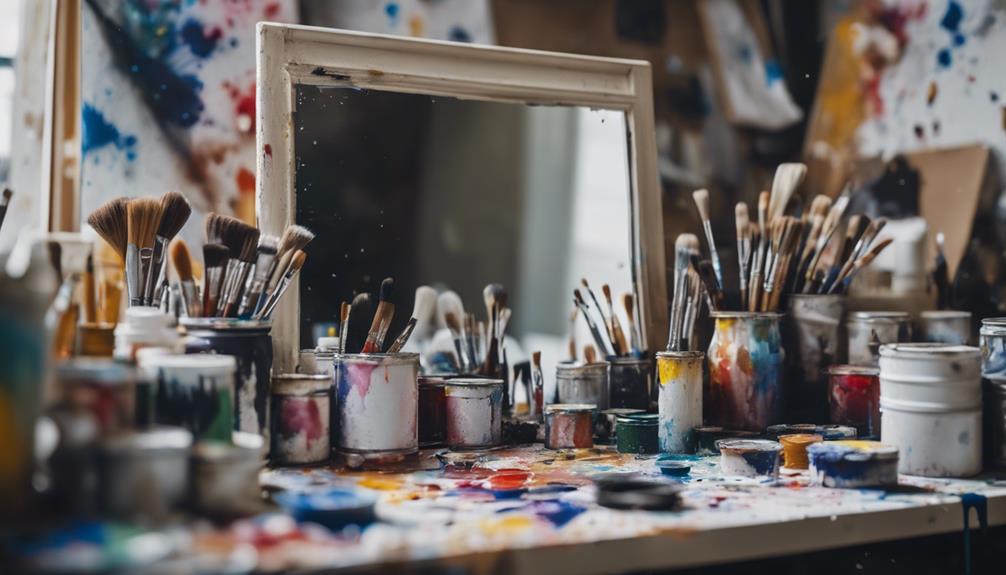
Clean the Mirror Frame

With your mirror surface sparkling clean, turn your attention to the frame, where a mixture of water and mild detergent awaits to help you scrub away dust, dirt, and grime. This important step guarantees a clean mirror frame, essential for proper paint adhesion and a professional-looking finish.
Using a microfiber cloth or sponge, gently scrub the frame, paying special attention to corners and intricate details. Remove any residue, making sure all surfaces are clean and dry. Allow the frame to dry completely after cleaning to prevent any moisture from affecting the adhesion of the paint.
A clean mirror frame is crucial, as it provides a smooth surface for painting. Take your time to thoroughly clean the frame, and you'll be rewarded with a beautifully painted mirror that looks like new. By cleaning the mirror frame, you're setting yourself up for success and ensuring a stunning final result.
Prime the Mirror
As you move on to the next step, it's crucial to focus on preparing the mirror's surface for painting.
Now that you've cleaned the mirror frame, you'll need to prime the mirror itself, which involves cleaning the surface and applying a primer coat to establish a strong bond between the paint and the mirror.
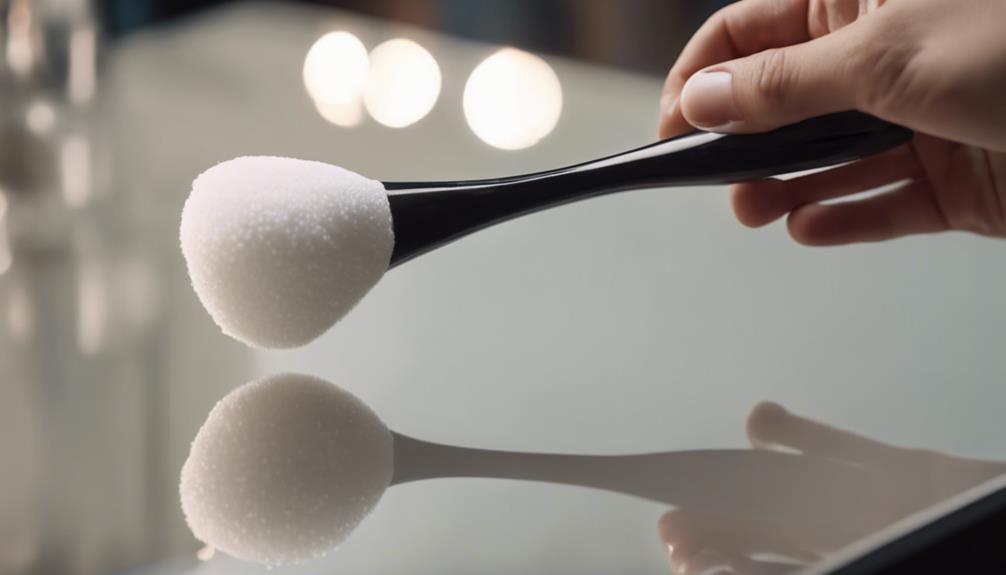
Cleaning the Surface
You'll need to give your mirror a thorough cleaning to guarantee a strong bond between the mirror and the paint. This step is crucial, as any dirt, grime, or residue can affect the paint's adhesion. Reach for a trusted glass cleaner and spray it onto the mirror's surface. Wipe it down with a lint-free cloth or paper towel, making sure to remove any streaks or residue. If you want to add an extra layer of cleanliness, mix a mild detergent with water or use a vinegar solution to remove any oils or fingerprints.
| Cleaning Supplies | Purpose | Tips |
|---|---|---|
| Glass Cleaner | Removes dirt and grime | Use a lint-free cloth or paper towel |
| Mild Detergent | Removes oils and fingerprints | Mix with water for a gentle solution |
| Vinegar Solution | Removes oils and fingerprints | Dilute with water for a gentle solution |
Applying Primer Coat
Now that your mirror is sparkling clean, it's time to prime the surface to guarantee a strong bond between the mirror and paint. Applying a primer coat is an important step in ensuring a professional-looking finish and a long-lasting paint job. When you prime the mirror frame, you're promoting adhesion and durability, which prevents chipping or peeling of the paint.
To do this, use a spray primer for easy application and even coverage on the mirror frame. Hold the can 8-10 inches away from the surface and move it back and forth, applying a light coat evenly. Make sure to follow the manufacturer's instructions for drying time before moving on to the next step.
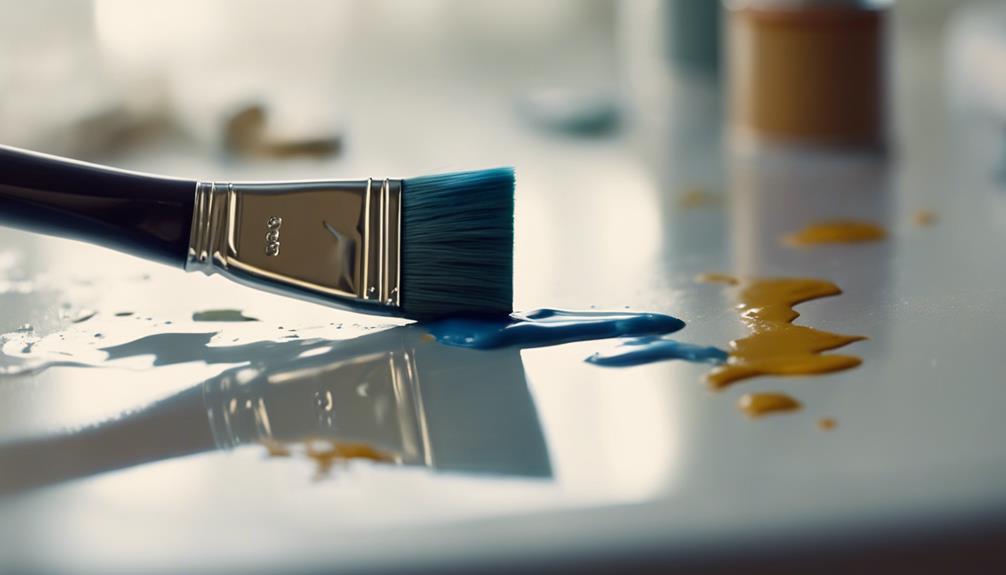
Paint the Mirror Design
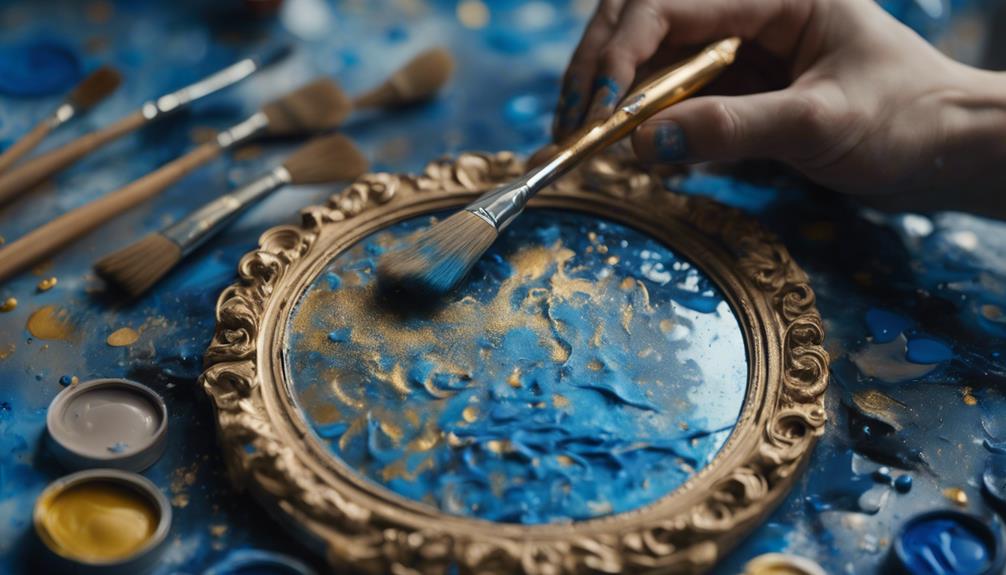
With your mirror detached or masked, start by applying a light coat of primer to the frame, making sure to cover all angles for an even finish. As an Amazon Associate, I recommend using a high-quality spray paint specifically designed for mirrors to achieve a stroke-free finish. Hold the can 8-10 inches away from the frame and spray in a steady, back-and-forth motion, covering the entire surface.
Make sure to apply light coats, guaranteeing each coat to dry before applying the next. This will prevent drips and secure a smooth finish. You can use a small brush to touch up any areas the spray paint may have missed. Remember to spray from all angles to achieve even coverage on the mirror frame.
Once you've achieved the desired color, let the final coat dry completely before moving on to the next step.
Remove Masking and Tape
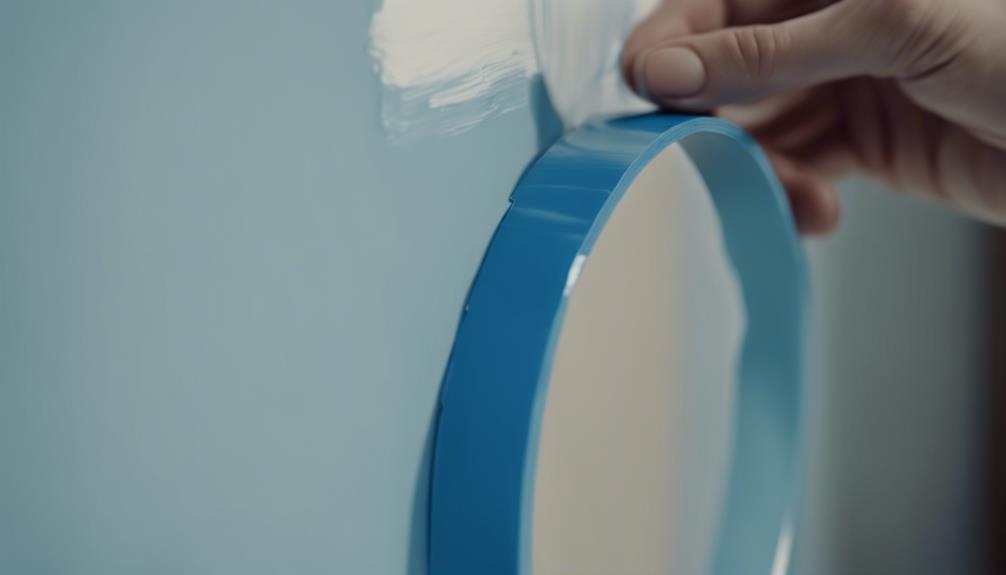
After applying the final coat of paint, it's time to remove the masking and tape from the mirror frame to reveal the beautifully painted design. This is an exciting step, as you get to see your hard work come together.
| Step | Action | Tips |
|---|---|---|
| 1 | Peel off masking tape and painter's tape | Use a gentle touch to avoid scratching the mirror |
| 2 | Remove excess paint | Use a razor blade or craft knife to lift paint off the mirror surface |
| 3 | Clean the mirror | Use glass cleaner to remove residue left behind by the tape |
| 4 | Inspect the mirror | Check for any remaining paint marks or smudges that need attention |
As you remove the tape, use a gentle touch to avoid scratching the mirror. You may need to use a razor blade or craft knife to gently lift any paint that may have seeped onto the mirror surface. After cleaning the mirror with glass cleaner, inspect it closely for any remaining paint marks or smudges that need to be addressed. Once you've completed these steps, you can enjoy your newly painted mirror without any masking or tape remnants detracting from its beauty.
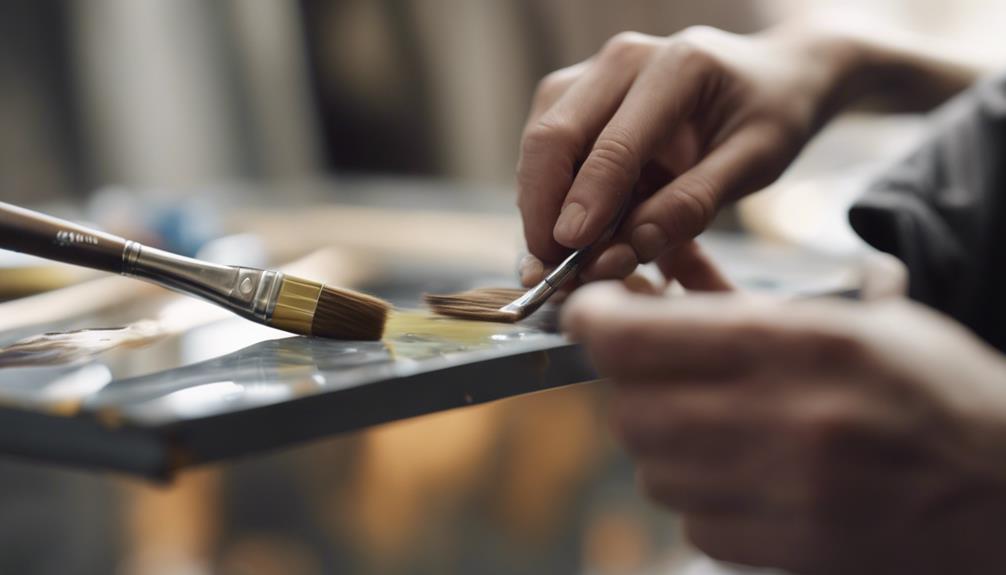
Touch Up Mirror Edges
Guarantee the mirror edges are carefully painted, using a small, fine paintbrush to achieve a professional finish.
You want to make sure that the paint only reaches the edges, so apply a thin layer of painter's tape along the edges of the mirror to create a clean line. This will prevent any paint from seeping onto the mirror's surface.
Next, use a high-quality acrylic paint specifically designed for glass surfaces to carefully touch up the mirror edges. Work methodically, using smooth, even strokes to cover the entire edge. Remember to maintain a steady hand and take your time – it's better to apply multiple thin coats than to risk applying too much paint at once.
Once you've completed the edges, allow the paint to dry completely before removing the painter's tape to reveal crisp, freshly painted mirror edges.
With patience and attention to detail, you'll achieve a flawless, professional-looking finish.
Seal the Painted Mirror
As you move forward with sealing your painted mirror, you'll want to focus on two key points: protecting the paint job and adding a topcoat.
By doing so, you'll guarantee your DIY project remains vibrant and durable for years to come.
Protecting the Paint Job
Completing your painted mirror with a clear acrylic sealer is important to safeguarding your artwork from scratches and damage. This step is vital in guaranteeing your hard work lasts for years to come.
By applying a clear acrylic sealer, you're adding an extra layer of protection against the elements and daily wear and tear.
Here are some key takeaways to keep in mind when sealing your painted mirror:
- Choose a high-quality sealer suitable for glass surfaces to ensure long-lasting durability.
- Apply the sealer in thin, even coats to prevent drips or streaks on the painted mirror.
- Allow each layer of sealer to dry completely before applying additional coats for best protection.
- Regularly clean and maintain the sealed painted mirror to preserve its appearance and longevity.
- Be patient and take your time when applying the sealer, as this will ensure a professional-looking finish.
Adding a Topcoat
With your painted mirror fully dry, you're ready to seal in your artwork with a clear topcoat, the final protective layer that will shield your masterpiece from scratches and wear. This step is vital to guarantee your design lasts for a long time.
When choosing a topcoat, select one specifically designed for use on glass surfaces, as it will provide better adhesion and durability. Before applying the topcoat, make sure the painted mirror is completely dry to prevent smudging or an uneven finish.
Follow the manufacturer's instructions for the topcoat application process to ensure a smooth and long-lasting result. A clear topcoat with a gloss or satin finish can enhance the painted mirror's appearance, giving it a professional look.
Hang Your New Masterpiece
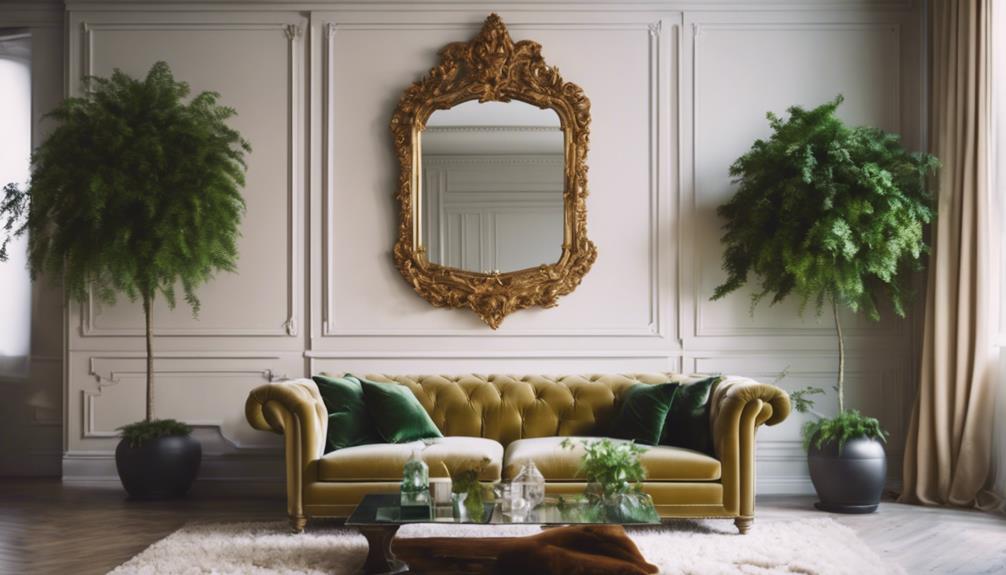
You're ready to hang your newly painted mirror, and a few final checks will guarantee it's securely in place. After investing so much time and effort into transforming your mirror, you want to make sure it's properly secured to the wall.
Here are the final steps to complete the process:
- Clean the frame one final time to remove any lingering dust or residue before hanging your newly painted mirror.
- Check the hanging hardware on the back of the mirror to make sure it's secure and can support the weight of the mirror.
- Use appropriate wall anchors or screws to hang the mirror securely, considering the weight and size of the mirror.
- Measure and mark the desired placement of the mirror on the wall before hanging to ensure proper alignment.
- Step back and admire your transformed mirror, appreciating the new look it brings to the space.
Frequently Asked Questions
How to Paint Over a Mirror?
When you're wondering how to paint over a mirror, remember to cover the mirror's surface with masking tape or detach it from the frame to prevent paint from seeping underneath.
Then, prime the frame with spray primer for better paint adhesion.
Apply light, even coats of spray paint from different angles, ensuring complete coverage.
Can I Use Acrylic Paint on a Mirror?
You're probably wondering if you can use acrylic paint on a mirror – and the answer is a resounding yes!
In fact, acrylic paint adheres amazingly well to glass surfaces, making it a fantastic choice for decorative projects or unique art pieces.
With its quick-drying properties, you'll be amazed at how swiftly you can transform your mirror into a stunning work of art.
What Do You Cover a Mirror With When Painting?
When painting around a mirror, you'll want to cover it to prevent paint from getting on the reflective surface. You can use painter's tape or masking tape to cover the mirror, and for added protection, layer newspaper or brown kraft paper on top, securing it with tape.
Alternatively, you can use plastic drop cloths or garbage bags to cover the mirror. Just make sure the covering is tightly secured to prevent any paint seepage.
Does Spray Paint Work on Mirrors?
You're likely wondering: does spray paint work on mirrors?
The answer is yes, it does! In fact, spray paint is a great option for painting mirrors, offering a stroke-free finish and easy application.
It's perfect for accessing tight angles and corners on the mirror frame, ensuring even coverage. Plus, it's a quick and cost-effective way to refresh your mirror's look.
Conclusion
As you step back to admire your handiwork, the transformed mirror reflects not only your new design, but also your resourcefulness and creativity.
Like a phoenix rising from the ashes, your once-bare mirror now boasts a fresh, vibrant personality, ready to elevate any room.
With each brushstroke, you've not only painted over the mirror but also infused it with a piece of yourself – a symbol of the power of transformation and self-expression.