When it comes to category furniture painting, we've learned that choosing the right paint type, preparing the surface, and using the right tools and materials are important for a professional-looking finish. We've discovered that chalk paint, mineral paint, acrylic, and urethane enamel paints each have unique characteristics and benefits. Cleaning and degreasing the surface, sanding, and priming are essential steps before applying paint. We'll explore the importance of mastering painting techniques, applying protective coats, and maintaining our painted furniture to guarantee a long-lasting, beautiful finish. Next, we'll dive deeper into the nuances of furniture painting to achieve a showroom-quality result.
Key Takeaways
• Prepare the furniture surface by cleaning, sanding, and degreasing to ensure a smooth paint job.
• Choose the right paint type, such as chalk, mineral, acrylic, or urethane enamel, depending on the desired finish and durability.
• Use essential tools and materials, including sandpaper, primer, paint, paintbrushes, and a tack cloth, to achieve a professional finish.
• Apply thin, even coats of paint, sanding between coats, and seal with a clear topcoat for protection and durability.
• Maintain painted furniture by cleaning regularly, avoiding harsh chemicals, and touching up scratches or chips with matching paint.
Choosing the Right Paint Type
When it comes to furniture painting, we need to choose the right paint type, as it can make all the difference in achieving the desired finish and durability of our project. With various options available, selecting the most appropriate paint is essential.
For instance, chalk paint is a popular choice for furniture painting, offering a flat finish and requiring minimal prep work. Its low VOC levels and water-based composition make it an attractive option for those seeking an eco-friendly solution. Additionally, chalk paint is often protected with wax, adding an extra layer of durability.
We can also consider mineral paint, which is made with natural minerals and offers a durable, non-toxic finish. Acrylic and urethane enamel paints are other options, each with their unique characteristics and benefits.
Preparing Your Furniture Surface
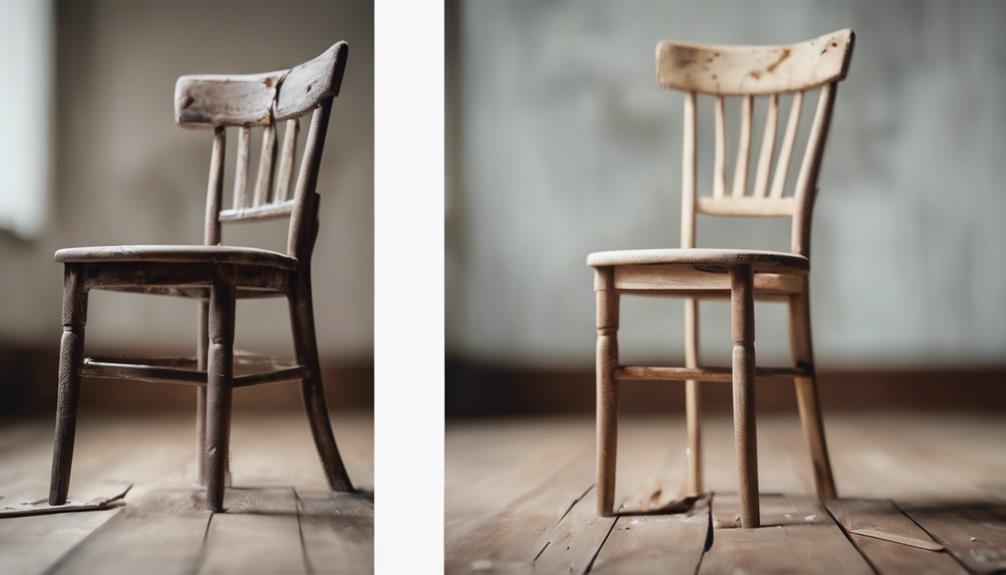
We address the important step of preparing our furniture surface, a process that sets the stage for a successful paint job. As we start on refinishing furniture, it's vital to remember that painting tips are only as good as the surface we're working with. To guarantee a smooth, professional finish, we must take the time to properly prepare our furniture.
Here are some essential steps to follow:
- Clean the surface: Use a gentle cleaner like Murphys Oil Soap to remove dirt and grime.
- Remove hardware: Take off knobs, handles, and other hardware to prevent paint from getting stuck in small crevices.
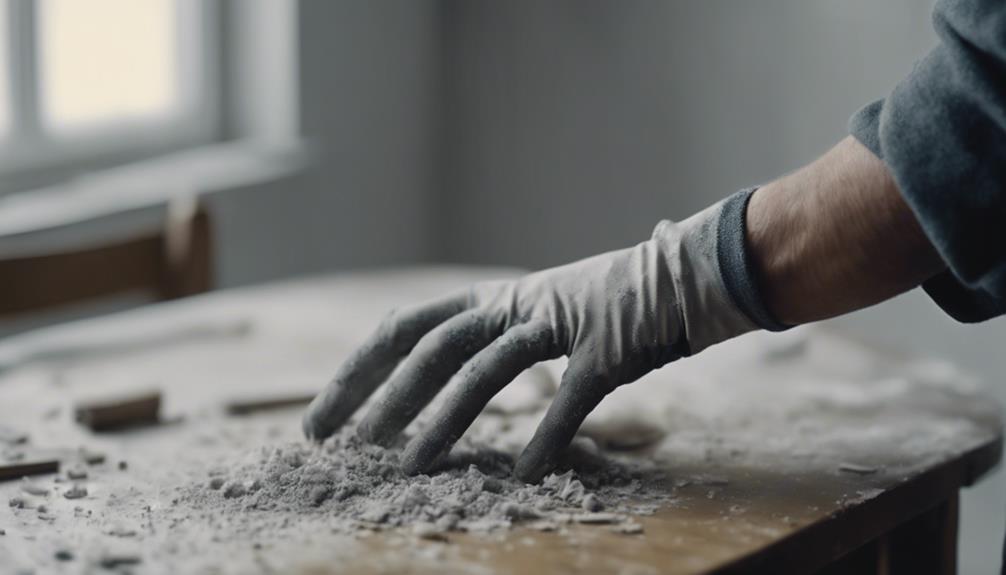
- Sand the surface: Use medium-grit sandpaper to remove the glossy finish and promote paint adhesion.
- Ensure a dust-free surface: Wipe down the surface with a damp cloth to prevent imperfections and ensure a smooth paint application.
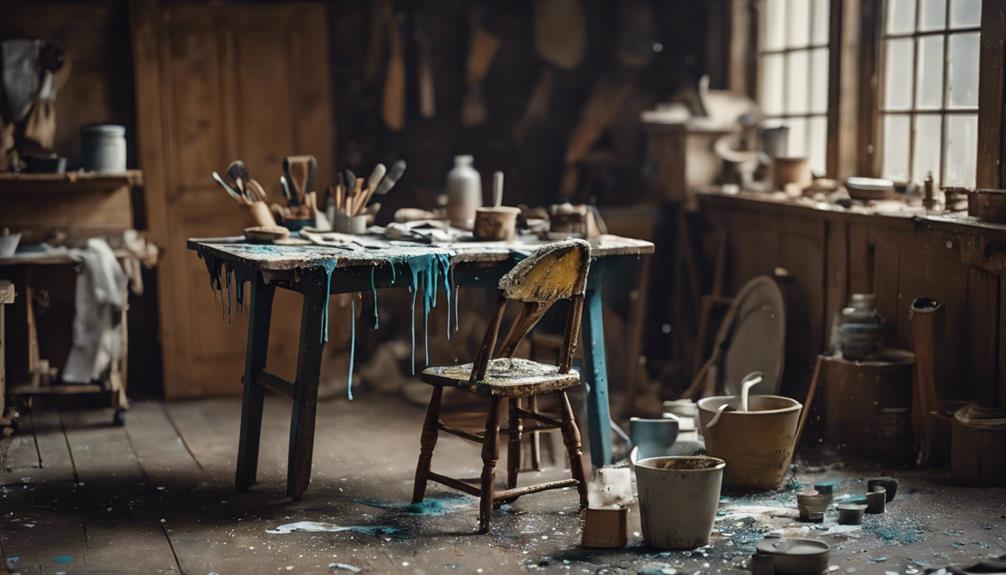
Essential Tools and Materials Needed
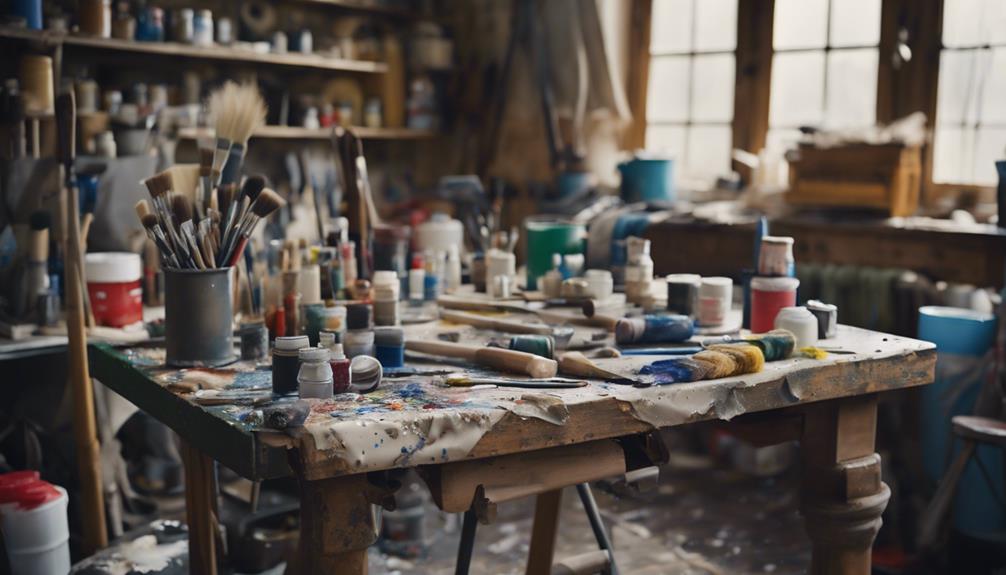
We're equipped with the right mindset and a prepared surface, so now it's time to gather the essential tools and materials that'll help us achieve a professional-looking finish.
For a flawless paint job, we'll need a few must-haves, including sandpaper, primer, paint, paintbrushes, foam rollers, and a tack cloth. Medium and fine grit sandpaper are essential for preparing the surface by removing gloss and creating a smooth finish.
We recommend using KILZ Primer, which helps paint adhere better and covers stains on furniture. A tack cloth is also vital for removing dust and debris before painting, ensuring a clean surface.
Using the right tools and materials is essential for achieving a professional finish on painted furniture. With these essentials, we'll be well on our way to a beautifully painted piece that exudes style and sophistication.
Cleaning and Degreasing Methods
As we progress to the vital step of cleaning and degreasing, we'll explore the essential methods for removing dust and dirt, as well as eradicating grease and grime, which are essential for a successful furniture painting project.
By doing so, we'll guarantee that our paint adheres properly and our finish turns out smooth and professional.
With the right techniques and products, such as Murphy's Oil Soap, we can effectively clean and degrease our furniture surfaces, paving the way for a beautiful and long-lasting finish.
Dust and Dirt Removal
Before applying a fresh coat of paint, we must rid our furniture of dust and dirt, which can sabotage even the best painting efforts. When it comes to wood furniture, a thorough cleaning is crucial to guarantee a smooth and even paint finish.
To achieve this, we use a combination of effective cleaning methods and products. Here are some key steps to follow:
- Remove hardware and drawers to make sure all surfaces are properly prepped.
- Use a gentle yet effective cleaner like Murphys Oil Soap to eliminate dirt and grime.
- Employ a tack cloth to get rid of any remaining dust particles for a smooth painting finish.
- Verify that the surface is completely clean and dry before applying paint.
Grease and Grime Eradication
With our furniture surfaces now free of dust and dirt, we turn our attention to tackling the often-overlooked task of grease and grime eradication. This important step is vital to guarantee a smooth, professional finish. We prioritize removing hardware before cleaning to make certain thorough degreasing of all areas.
Next, we reach for Murphys Oil Soap, a trusted solution for effectively cleaning and removing grease and grime from furniture surfaces. Wiping down each piece, including real wood furniture, with Murphys Oil Soap helps create a clean surface for painting by eliminating built-up grime. Properly degreasing furniture with Murphys Oil Soap prevents paint adhesion issues and ensures a professional finish.
Sanding and Smoothening Techniques
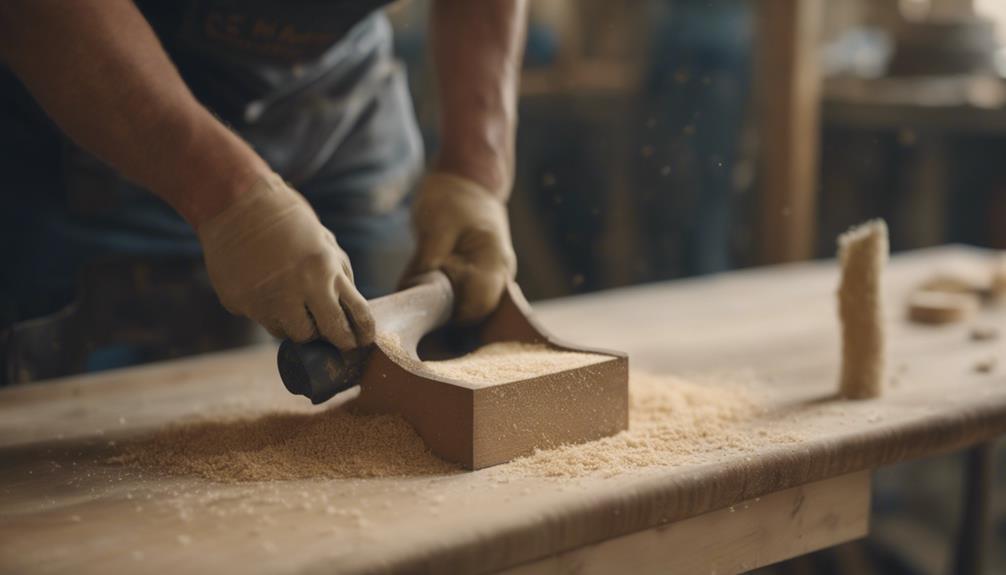
We start the preparation process by sanding the furniture to remove the glossy finish, an essential step that ensures a strong bond between the old surface and the new paint. Sanding is vital in ensuring a smooth finish and preventing peeling or chipping of the paint.
Here are some key sanding techniques to keep in mind:
- Medium-grit sandpaper: Use this for initial sanding to remove the glossy finish and create a surface for painting.
- Fine-grit sandpaper: Optional, but recommended between paint coats for an ultra-smooth finish.
- No stripping required: You don't need to strip the finish to bare wood; sanding is enough to aid in paint adhesion.
- Skip sanding if dull: If the surface is already dull, you can skip sanding, but it's recommended for a professional-looking result.
Priming for a Smooth Finish
When we're ready to prime our furniture, we select a suitable primer that creates a smooth base for our paint to adhere to, guaranteeing a durable and professional-looking finish. A good primer is vital for creating an even finish, as it covers stains and ensures better paint adhesion.
We recommend using primers like KILZ Primer or oil-based options, which are specially designed for furniture painting projects. For a convenient application, we can opt for spray primer, which helps apply an even coat of primer on the furniture surface. Choosing the right primer is essential, as it sets the stage for a durable and long-lasting finish.
As experts in the field, we understand that a well-primed surface is key to achieving a professional-looking finish. With the right primer, we can be confident that our paint job will last for years to come.
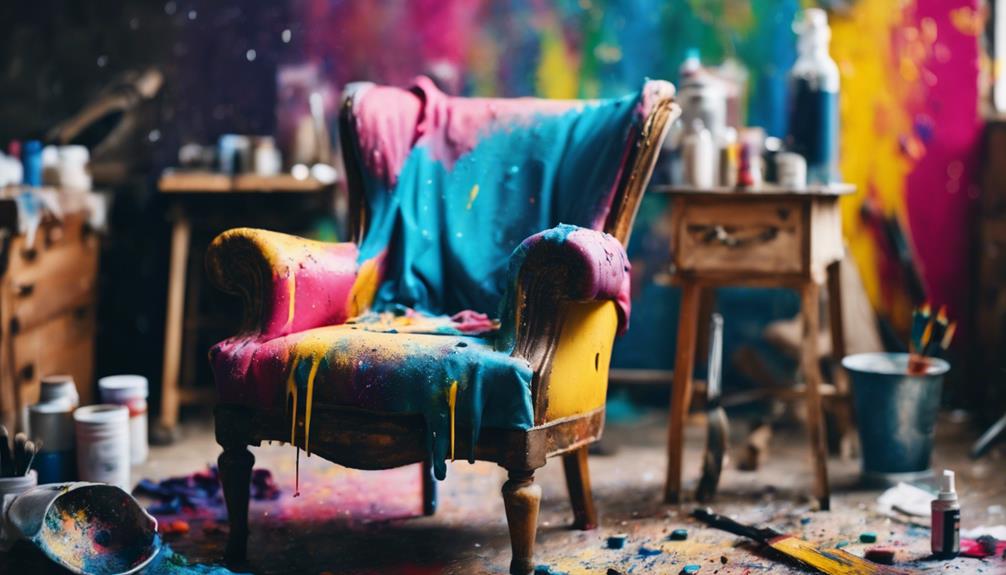
Painting Like a Professional
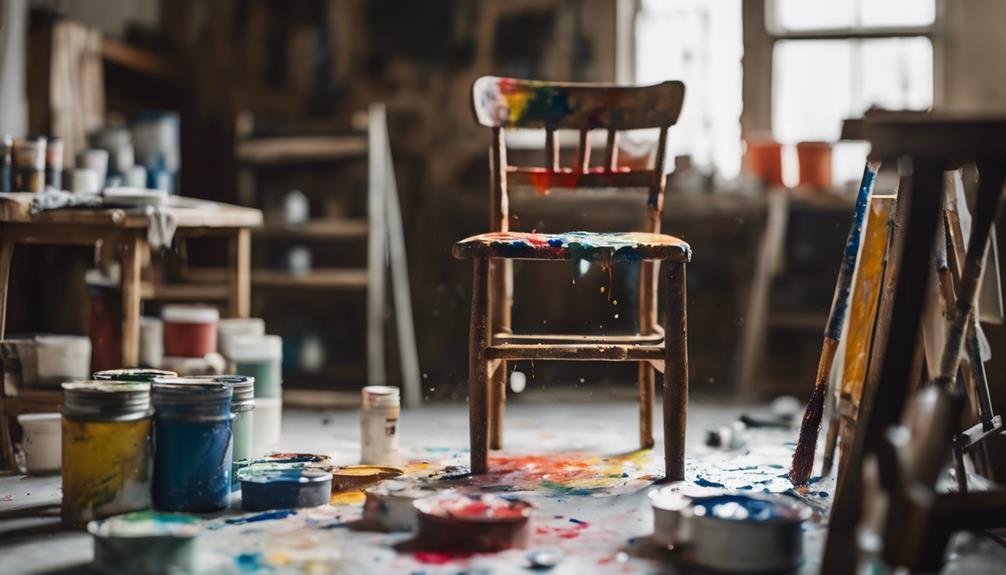
As we aim to paint like professionals, we comprehend that it's not just about slapping on a coat of paint and calling it a day – there's an art to achieving a flawless finish.
To get it right, we need to prepare the surface, choosing the right paint for the job, and mastering the technique to guarantee a seamless application.
Prepare the Surface
Before we start painting, we need to make sure our furniture is properly prepared, and that begins with a thorough cleaning to remove dirt and grime that can compromise paint adhesion. We can't emphasize enough how important this step is, as it sets the foundation for a flawless finish.
For a flat finish, it's vital to get the surface right.
Here's our step-by-step guide to preparing the surface:
- Clean the furniture: Use a gentle cleaner like Murphys Oil Soap to remove dirt and grime.
- Remove hardware and drawers: Take out the hardware and drawers to ensure a smoother and more professional finish.
- Sand the surface: Use medium-grit sandpaper to remove the glossy finish and create a rough surface for better paint adhesion.
- Apply primer: After cleaning and sanding, apply a primer to create a smooth base for the paint to adhere to.
Choose the Right Paint
We select the perfect paint for our furniture makeover by taking into account the finish, quality, and color that will enhance the overall aesthetic of the piece.
When it comes to painting, we need to think about the finish – matte, satin, or gloss – to achieve the desired look for our furniture.
High-quality, water-based paints are our go-to choice, as they're easier to clean up and maintain for long-lasting results.
Before committing to a specific paint, we test it on a small area to make sure the color and finish match our expectations.
The right paint color can make or break the overall look of our painted furniture, so we choose a shade that complements our decor and enhances the piece's aesthetic.
With the right tools, such as brushes, rollers, or spray guns, we can achieve a professional finish when applying the paint.
Master the Technique
With our paint selection at the ready, we immerse ourselves in the nuances of mastering the technique of furniture painting, where meticulous preparation and skillful execution can elevate our handiwork to professional heights.
To achieve a flawless finish, we must pay attention to the finer details. Here are some essential techniques to keep in mind:
- Clean and prepare the surface: Guarantee the furniture is free of dirt, dust, and old wax, and lightly sand it to create a smooth surface.
- Apply thin, even coats: Use the right tools, such as brushes, rollers, or a paint sprayer, to apply thin, even coats of paint, allowing each coat to dry completely before adding another.
- Sand between coats: Lightly sand the surface between coats to enhance the finish and ensure a uniform surface.
- Seal with a clear topcoat: Apply a clear topcoat to protect the paint and ensure durability against wear and tear.
Protective Coats and Finishes
We apply protective coats and finishes to seal our hard work and guarantee our beautifully painted furniture stands the test of time. These essential coatings shield our furniture from scratches, spills, and UV damage, greatly extending its lifespan. When choosing a finish, we consider the furniture's intended use, desired appearance, and maintenance preferences.
| Finish | Level of Protection | Sheen |
|---|---|---|
| Wax | Essential | Matte |
| Polyurethane | Moderate | Satin |
| Varnish | Moderate | Glossy |
| Lacquer | High | High Gloss |
| Shellac | High | Satin |
We recognize that proper application and curing of protective coats are vital for a professional and lasting finish on painted furniture. By selecting the right finish and applying it correctly, we can ensure our furniture remains vibrant and durable for years to come. As professionals, we comprehend that a well-executed finish is the crowning glory of our painting process, and we take pride in our meticulous attention to detail.
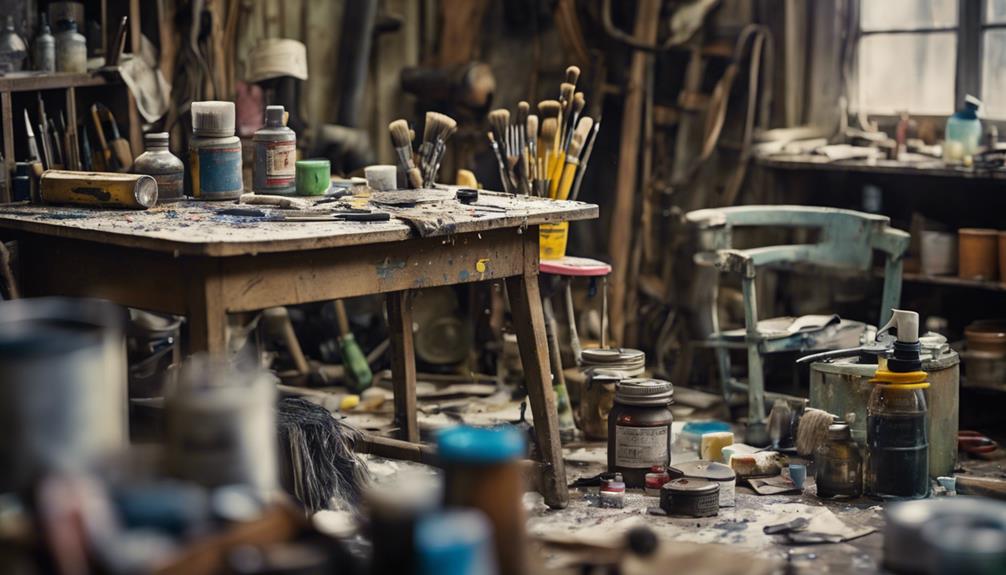
Common Mistakes to Avoid

As we embark on the fulfilling journey of furniture painting, it's vital to avoid common pitfalls that can derail our project's success. We're working with real wood, and a furniture project demands attention to detail to achieve a professional finish. To guarantee our hard work pays off, we need to steer clear of common mistakes that can lead to subpar results.
Here are some common mistakes to avoid:
- Not prepping the surface: Failing to clean and prepare the furniture can lead to poor paint adhesion and a rough finish.
- Skipping sanding: Omitting this crucial step can cause the paint to not adhere well or result in a rough texture.
- No primer: Applying paint without a primer can lead to uneven coverage and a shorter lifespan of the finish.
- Wrong paint type: Using the wrong type of paint for furniture can result in chipping, peeling, or a less durable finish.
Maintaining Your Painted Furniture
We've finally got our beautifully painted furniture, and now it's important that we take steps to maintain its integrity and preserve its stunning appearance.
As we enjoy our newly painted piece of furniture, we need to make sure that it remains in top condition. To do this, we must clean it regularly with a damp cloth to remove dust and maintain its appearance.
It's also essential that we avoid using harsh chemicals that can damage the latex paint and finish of our furniture.
Additionally, we should use coasters or placemats to protect painted surfaces from heat and moisture to prevent damage.
If we notice any scratches or chips, we should touch them up with matching paint to keep our furniture looking fresh.
Lastly, we should store our painted furniture away from direct sunlight to prevent fading and preserve the color.
Frequently Asked Questions
What Type of Paint to Use for Furniture?
When deciding what type of paint to use, we consider the project's needs, weighing factors like durability, toxicity, and finish, to make sure we choose the best paint for our specific task, whether it's chalk, mineral, acrylic, or urethane enamel.
What Is It Called When You Paint Old Furniture?
When we breathe new life into old pieces, we're actually refinishing or repainting them – a process that updates their look, enhances durability, and matches them with our current decor, allowing us to customize and personalize our space.
What Do Professionals Paint Furniture With?
Did you know 75% of us DIYers make mistakes when painting furniture? When it comes to furniture painting, we professionals opt for chalk, mineral, acrylic, or urethane enamel paints, depending on the desired finish and durability.
What Is the Process of Painting Furniture?
We start by thoroughly cleaning and sanding the furniture to guarantee a smooth finish, then prime it for better adhesion, apply thin coats of paint, and finally seal it with a clear topcoat for durability.
Conclusion
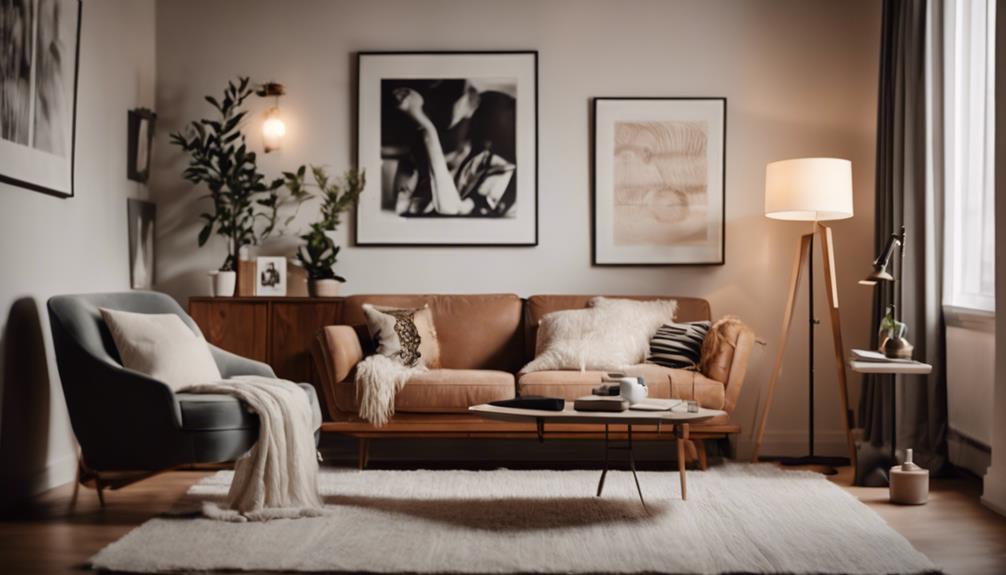
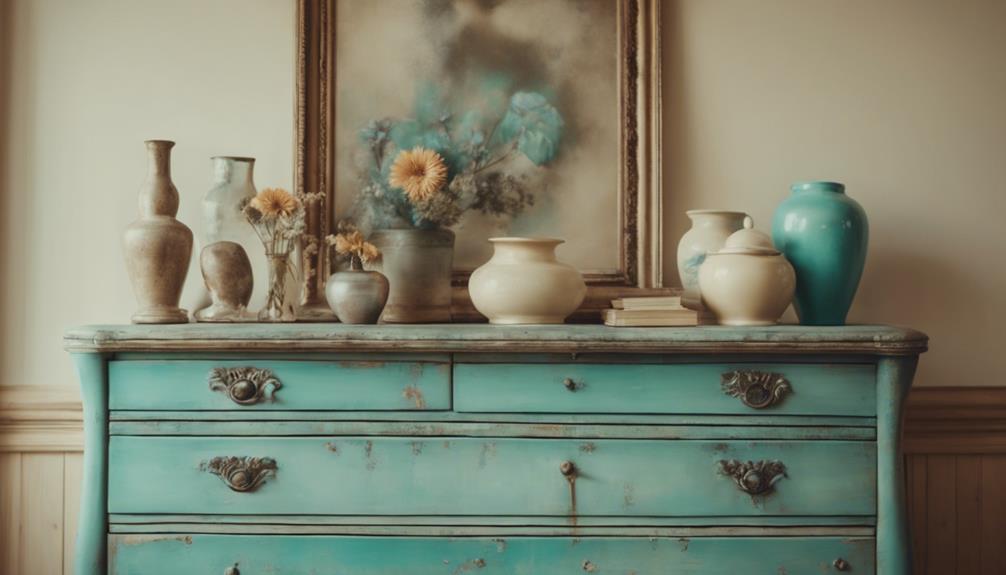
With our newly painted furniture, we've transformed our living spaces into masterpieces, rivaling those showcased in interior design magazines.
The once-dull surfaces now radiate with vibrant colors, exuding an aura of sophistication and elegance.
As we step back to admire our handiwork, we can't help but feel an overwhelming sense of pride and accomplishment.
As DIY expert, Bob Flexner, once said, 'A good paint job can make an old piece of furniture look brand new.' And, indeed, our creations are nothing short of breathtaking.