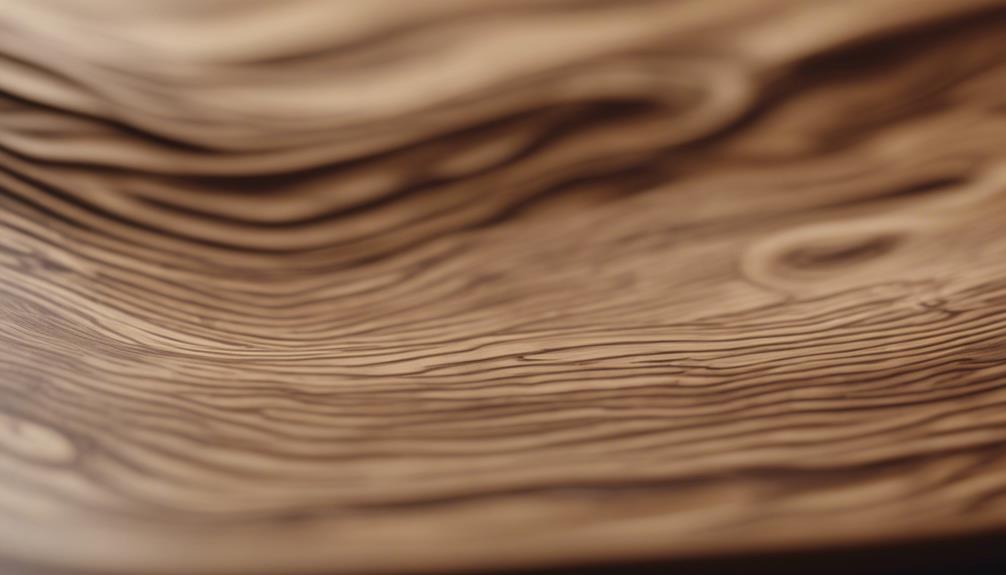
We can achieve a realistic faux wood grain finish by breaking down the process into three manageable steps. First, we prepare the canvas by applying a base coat and letting it dry overnight, then using a wood grain tool to create patterns. Next, we apply grain patterns using low-tack tape, experimenting with different sizes for unique designs. Finally, we seal the finish using wax, clear coat, or adhesive primer, choosing the best method based on the surface type. By following these steps, we can create a convincing wood grain look, and as we dig deeper, we'll uncover even more customization options.
Key Takeaways
• Prepare the canvas by applying a base coat and letting it dry overnight for a realistic wood grain look.
• Use a wood grain tool with the right pressure and movement to create a pattern, and refine the technique on spare materials.
• Apply grain patterns using low-tack tape, experimenting with different tape sizes for unique designs and a one-of-a-kind appearance.
• Seal the finish with wax, clear coat, or adhesive primer, depending on the surface, and consider adding wood tones and colorants for a customized look.
• Maintain the finish by regularly cleaning the surface, avoiding harsh chemicals, and touching up worn areas to ensure long-lasting beauty.
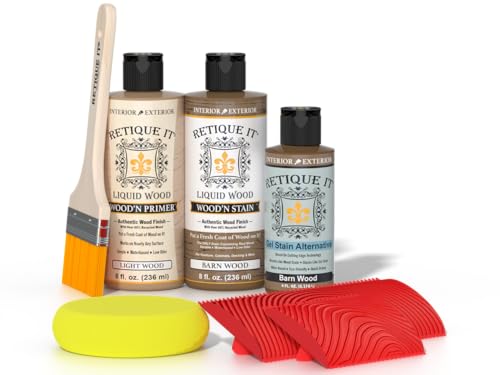
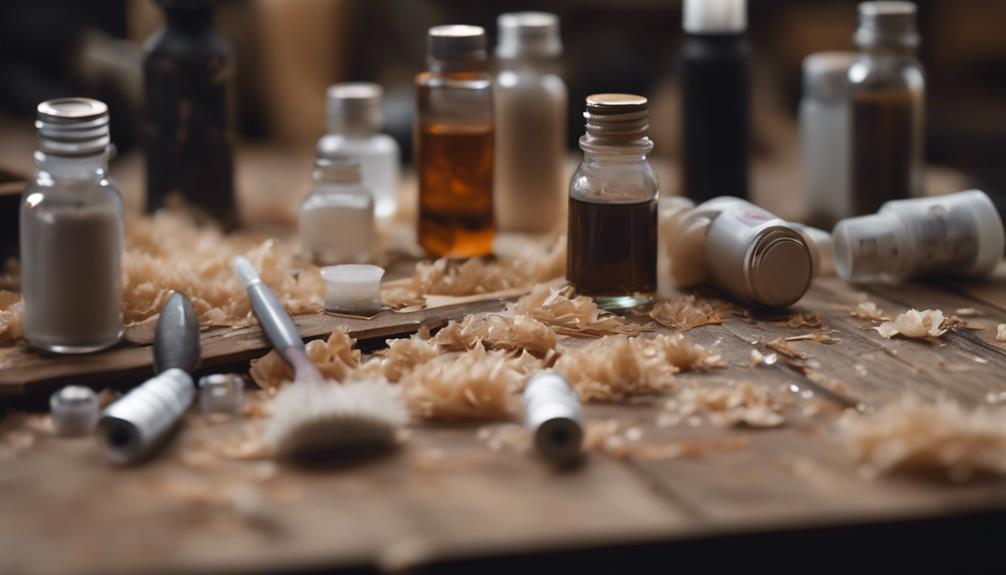
Retique It Muli-Purpose Wood Finish Kit – GO Beyond Faux Wood with Paintable Liquid Wood Based Primer and Gel Stain – Graining Tools Included (2X 8oz, Barn Wood)
- Authentic Wood Finish: Realistic wood look with recycled fibers
- Eco-Friendly & Safe: Water-based, zero VOC, odorless formula
- Easy Application: No stripping or sanding needed
As an affiliate, we earn on qualifying purchases.
As an affiliate, we earn on qualifying purchases.
Prepare the Canvas
We start by applying two coats of our chosen base color to the canvas using a sponge roller, ensuring a smooth foundation for our faux wood grain finish. This essential step provides an even surface for the wood grain effect to adhere to.
After applying the base coat, we let it dry overnight to guarantee the best results for our faux wood finish. A well-prepared canvas is vital for achieving a realistic wood grain look.
Next, we choose the right tool for the job – a wood grain tool. This specialized tool helps create the distinctive patterns found in real wood. To get the best results, we need to apply the tool correctly, using the right amount of pressure and movement to mimic the natural grain of wood.
Apply Grain Patterns
With our canvas prepared, it's time to create the characteristic grain patterns that will give our faux wood finish an authentic look.
To achieve this, we'll use a wood technique that involves applying low tack tape to create grain lines on our piece. We'll start by applying the tape vertically on the surface, experimenting with different tape sizes to create a unique and realistic wood grain appearance. Using low tack tape is crucial to avoid pulling up the base coat when applying the grain patterns.
Before applying the tape on our actual piece, we practice on spare materials to guarantee precision. This allows us to refine our technique and achieve the desired grain pattern.
By utilizing different tape placements, we can create customized grain patterns that give our faux wood finish a one-of-a-kind look.
With our grain patterns in place, we're one step closer to achieving a beautiful, authentic wood finish.
Seal the Finish
Now that our grain patterns are in place, it's time to seal our faux wood finish to protect it from wear and tear. We'll explore the best methods to seal our finish, ensuring our hard work lasts for years to come.
| Sealing Method | Benefits | Best For |
|---|---|---|
| Wax | Adds a subtle sheen, easy to apply | Small, smooth surfaces |
| Clear Coat | Provides a durable, glossy finish | Large, flat surfaces |
| Top Coat with Adhesive Primer | Ideal for challenging surfaces, long-lasting | Textured or porous surfaces |
When choosing a sealing method, consider the surface type and desired finish. For instance, wax is perfect for small, smooth surfaces, while a clear coat provides a durable, glossy finish for larger areas. If you're working with challenging surfaces, start with a high-adhesive primer for a strong bond. Remember to experiment with different wood tones and colorants to enhance the final look of your finish. By sealing our faux wood grain finish, we'll protect it from wear and tear, ensuring our project looks amazing for years to come.
Frequently Asked Questions
How to Create a Faux Wood Grain Finish?
We're often asked how to create a faux wood grain finish. To get started, we match the grain color with the base color for a realistic look.
Then, we mix 50/50 Flowtrol and paint for the glaze.
Next, we practice on spare materials to perfect the technique before applying it to furniture.
How to Wood Grain Effect?
'Practice makes perfect' is especially true when it comes to achieving a realistic wood grain effect.
We've found that experimenting with different techniques and tools is key. By mixing a 50/50 glaze and using low-tack tape to create vertical patterns, we can create a convincing wood grain look.
With practice, we can master the art of blending grain lines with a soft brush, resulting in a polished and durable finish that's sure to impress.
How to Bring Out Wood Grain Texture?
We're often asked how to bring out wood grain texture, and it's an essential step in achieving a realistic wood grain finish.
To do this, we use a wood-graining tool to create a textured surface, then apply a glaze mixture with a chip brush to enhance the grain lines.
What Technique or Tool Can Be Used to Create a Wood Grain Appearance?
We're about to commence on a journey back in time, where medieval artisans mastered the art of wood grain simulation.
Fast-forward to today, and we're asking: what technique or tool can be used to create a wood grain appearance?
The answer lies in specialized tools like graining rockers, paint combs, and mini rollers. These tools help create realistic wood grain patterns, adding texture and depth to your faux wood finish.
With practice and attention to detail, you'll be a master wood grain artist in no time!
Conclusion
With our faux wood grain finish now complete, we've successfully pulled the wool over everyone's eyes!
By following these three simple steps, we've created a finish that's virtually indistinguishable from the real deal.
Whether you're a DIY enthusiast or a seasoned pro, this technique is sure to become a staple in your arsenal of decorative tricks.
So, go ahead, take a step back, and admire your handiwork – you've earned it!