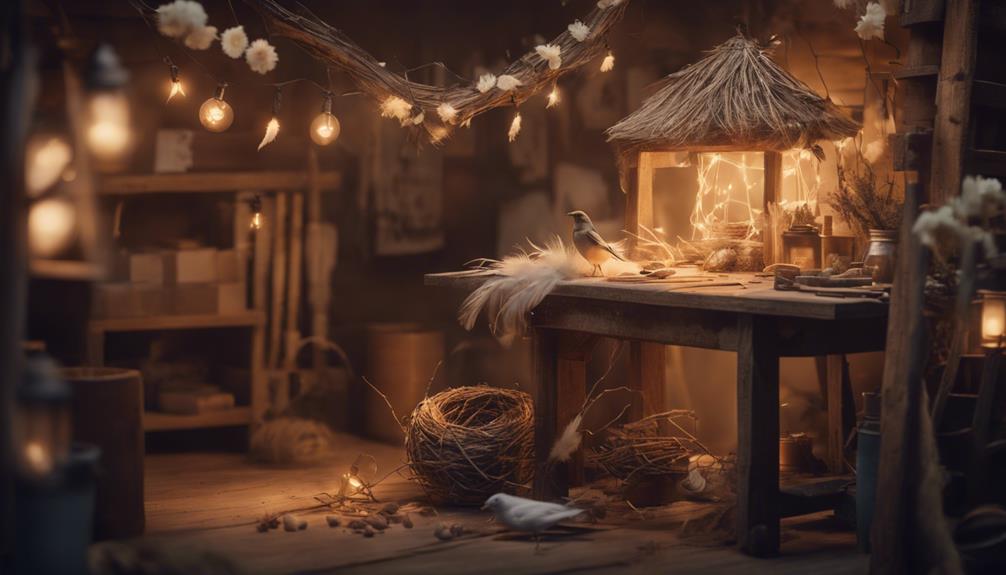
You're about to create a charming bird's nest in just three easy steps. First, prepare your space by covering your workspace with paper or newspaper and gathering materials like dried grass, Spanish moss, and sticks. Next, shape your nest using a bowl as a mold, wrapping it with angel hair vine filler and securing it with thin wire. Finally, add natural touches like dried grass and moss, using spray adhesive to shape your nest. As you finesse your design, you'll discover more opportunities to customize your bird's nest and make it truly unique.
Key Takeaways
• Prepare your crafting space by covering your work surface, wearing gloves, and working in a well-ventilated area.
• Shape your bird's nest using a bowl as a mold, wrapping angel hair vine filler around it, and securing it with wire.
• Add natural touches like dried grass, Spanish moss, and sticks to create a realistic look, and customize with embellishments like ribbons or flowers.
• Use spray adhesive to shape the nest organically and add seasonal touches like faux Easter eggs or pumpkins.
• Display your unique DIY bird's nest in your home as a centerpiece or seasonal decoration, and share your crafting experience with others.

Flutesan 24 Pcs Spring Bird Nest Craft Kit Happy Spring Ornaments with Stickers Make Your Own Bird Ornament Arts and DIY Crafts Gift for Home Activity Birthday Decotation
Complete Spring Craft: this spring-themed bird's nest craft kit includes 24 pcs complete materials, from bird's nests, chicks,…
As an affiliate, we earn on qualifying purchases.
As an affiliate, we earn on qualifying purchases.
Prepare Your Crafting Space
Cover your workspace with craft paper or newspaper to protect surfaces and make cleanup easier, saving you time and hassle in the long run. This simple step will guarantee that you can focus on creating your bird's nest without worrying about making a mess.
Next, put on your gloves to prevent getting adhesive or materials stuck to your hands – trust us, you'll thank us later! Working in a well-ventilated area is also essential, as you'll be handling materials that might emit fumes.
Now, take stock of your materials: dried grass, Spanish moss, sticks, and leaves should all be within arm's reach. You'll also need spray adhesive to shape your nest later on. Having everything ready will help you stay concentrated on the task at hand.

Sukh Bird Nesting Material – Bird Nests Bedding Hummingbird Nesting Material Mixing Canary Nesting Material Finch Nesting Material Parakeet Nesting Materials for Cage,Gardens,Tree Trunks (2)
Mixed Nesting Material: The bird nest material is made of high-quality jute silk, straw, cotton, agave sisalana in…
As an affiliate, we earn on qualifying purchases.
As an affiliate, we earn on qualifying purchases.
Shape Your Bird's Nest
With your workspace prepared and all materials within reach, you're ready to start shaping your bird's nest by using a bowl as a mold to achieve a realistic look.
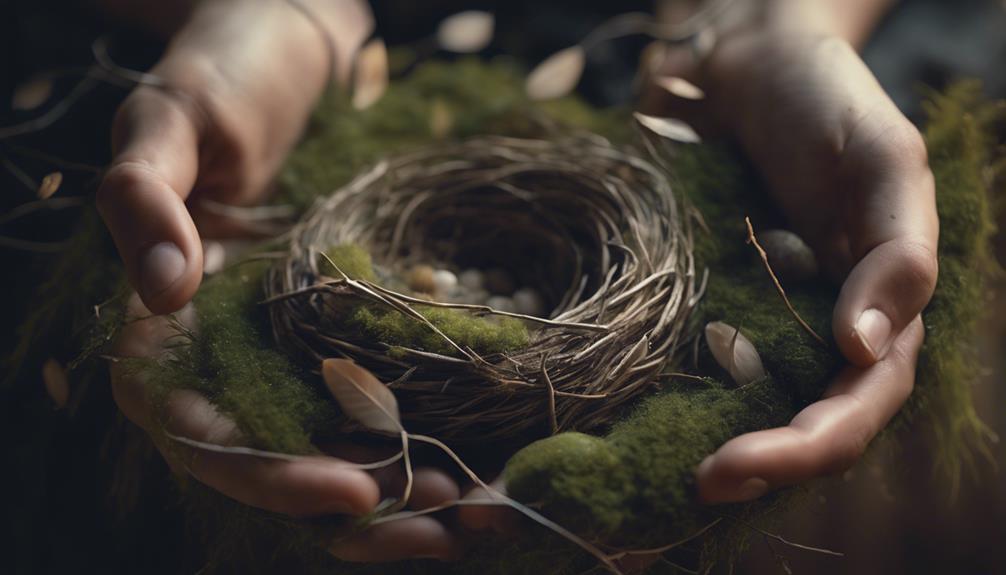
This DIY Bird Nest project is coming along nicely! To make a bird nest that's both sturdy and visually appealing, wrap angel hair vine filler around the bowl to create the nest structure. Secure the sides together with thin wire and wire cutters for stability, making sure your nest holds its shape.
Next, apply hot glue inside the nest and add Spanish moss for a natural touch. Be sure to avoid using your hands to press down the moss, as it can be delicate.
By following these steps, you'll have a beautiful, rustic nest that's perfect for decorating with Easter eggs or other embellishments.
As you work, remember to handle the materials with care, taking your time to guarantee a sturdy and beautiful DIY Bird Nest.
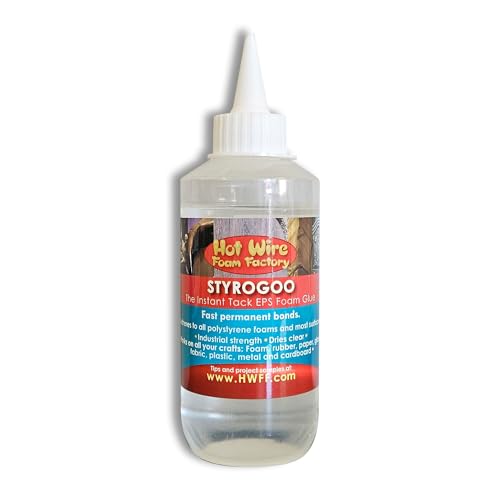
Hot Wire Foam Factory StyroGoo Instant Tack Foam-Safe Glue, Bonds EPS, XPS Foam to Wood, Metal, Glass, Rubber, 8.5oz
Instant Tack: This EPS foam glue forms an immediate powerful bond for all your craft and hobby projects.
As an affiliate, we earn on qualifying purchases.
As an affiliate, we earn on qualifying purchases.
Add Natural Touches
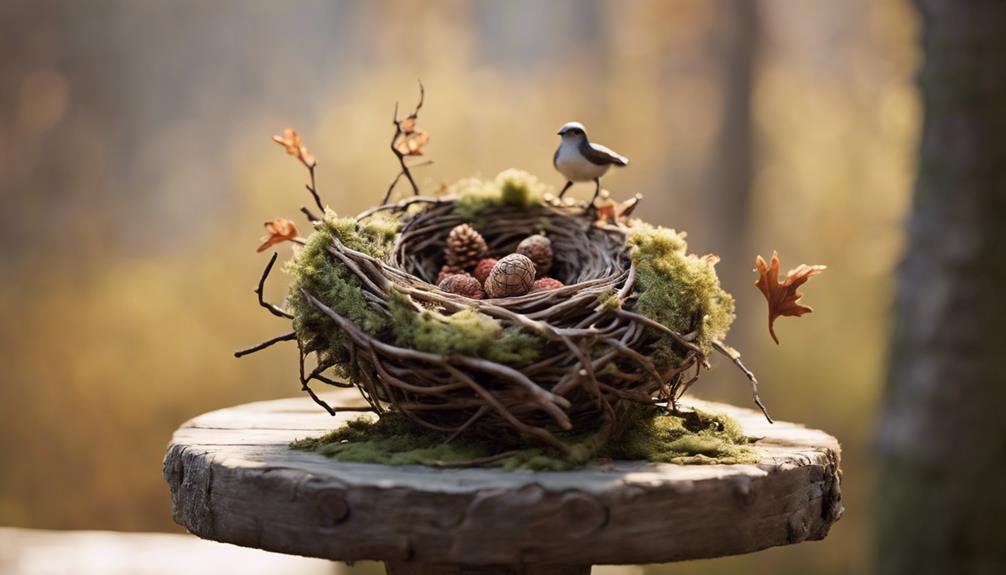
Now that your nest structure is secure, add natural touches by incorporating dried grass, Spanish moss, and sticks to create a realistic and visually appealing bird's nest. You'll love how these natural materials bring your DIY project to life!
To make your nest more realistic, use spray adhesive to shape the nest, forming the bottom with your fist and the edges with your fingertips. This will give your bird's nest a more organic, curved shape.
To elevate your bird's nest, incorporate seasonal touches like faux Easter eggs, pumpkins, or incorporate it into Christmas decorations. You can also elevate your nest by placing it in flower pots, vintage books, wreaths, or cloches for year-round charm.
Share your DIY bird nest ideas with friends and family for festive occasions and creative inspiration. By adding these natural touches, you'll create a beautiful and unique bird's nest that will make you and others feel like you're bringing the outdoors in.

FBIRDY Artificial Birds Nest with Eggs Large Decorative Rattan Birds Nest 4.7Inch for Spring Christmas Tree Ornaments Easter Decor Crafts Patio Garden Home Decor (2 Sets)
【Rattan Grass Bird Nest & Foam Eggs】The faux bird nests are made of rattan grass, artificial bird eggs…
As an affiliate, we earn on qualifying purchases.
As an affiliate, we earn on qualifying purchases.
Frequently Asked Questions
How to Build a Bird Nest Step by Step?
When building a bird nest, you'll start by gathering natural materials like dried grass, Spanish moss, and sticks.
Next, shape the nest using spray adhesive, forming the bottom with your fist and the edges with your fingertips.
How to Make a Craft Nest for Kids?
You're looking to make a craft nest for kids, a fun and engaging activity that promotes creativity and fine motor skills.
Start by gathering materials like shredded paper, glue, and a bowl.
Cut the paper into strips and layer them in the bowl with a glue-water mixture to form the nest.
You can get creative with colors and textures to make it personalized.
How Do Birds Build Nests for Kids?
As you explore how birds build nests, you'll discover it's a remarkable process. Birds collect twigs, grass, feathers, and mud to create a cozy home for their eggs and young.
They work together, with males gathering materials and females constructing and lining the nest. Each species has its unique technique, from weaving to mud-building, showcasing their creativity and resourcefulness.
How to Make a Bird Nest With Cardboard?
As you begin on a creative journey to craft a bird's nest, imagine yourself as a skilled architect, building a cozy sanctuary for feathered friends.
To make a bird nest with cardboard, start by cutting a circular base and long strips for the sides. Fold and bend the strips to form a nest-like shape, attaching them to the base with glue.
Conclusion
As you step back to admire your handiwork, your DIY bird's nest begins to resemble a cozy little sanctuary, a confirmation of your creativity and patience.
Like a gentle breeze on a spring morning, your nest whispers promises of new life and possibility.
With every delicate twig and feather, you've woven a tale of nature's beauty, a reminder that even the smallest creations can hold profound significance.