
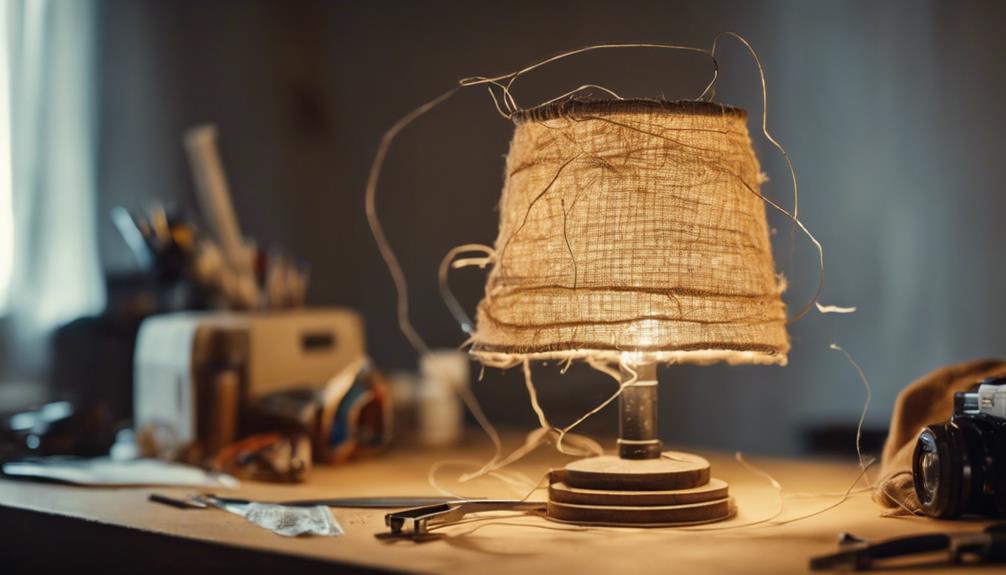
We're about to create a unique and rustic DIY burlap lamp shade that not only adds warmth and character to any room but also offers a cost-effective alternative to expensive store-bought options. By gathering essential supplies like burlap fabric, spray adhesive, and a glue gun, we can customize our lamp shade with binding colors and designs that reflect our personal style. With accurate measurements and cutting, we can guarantee a snug and tailored fit. As we assemble the lamp shade, we'll explore various techniques for attaching the burlap fabric, adding decorative trims, and securing the shade to the base. Now, let's get started and uncover the steps to craft a beautiful, one-of-a-kind lamp shade that adds a touch of rustic charm to our home.
Key Takeaways
• Gather essential supplies, including a lamp shade, burlap fabric, spray adhesive, Heat n Bond, and a glue gun, to create a unique DIY burlap lamp shade.
• Measure the lamp shade accurately, adding a few inches for a tailored fit, and cut the burlap fabric precisely for a polished appearance.
• Attach the burlap fabric to the lamp shade frame using a strong adhesive or stitching method, and secure the edges with Heat n Bond and a glue gun.
• Add decorative embellishments, such as trim, fabric rosettes, or jeweled pins, to enhance the lamp shade's style and reflect personal taste.
• Secure the lamp shade to the base using a lamp harp and finial, ensuring a snug and centered fit, and test the lamp for proper functionality.

Black Chandelier, 6-Light Farmhouse Chandelier for Dining Room Lighting Fixtures Hanging, Dining Light Fixtures Industrial Modern Chandelier for Bedroom, Foyer, Hall, Kitchen, Living Room and Entryway
Black Farmhouse Chandelier: Embracing a rustic and industrial style, this farmhouse chandelier features 6 elegantly simple lamp arms....
As an affiliate, we earn on qualifying purchases.
Gathering Materials and Supplies
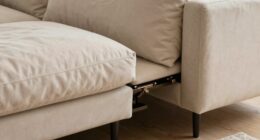
We'll need a solid color lamp shade as the base for our DIY burlap lamp shade project, so grab one that fits your desired size and shape. This will provide a sturdy foundation for our burlap creation.
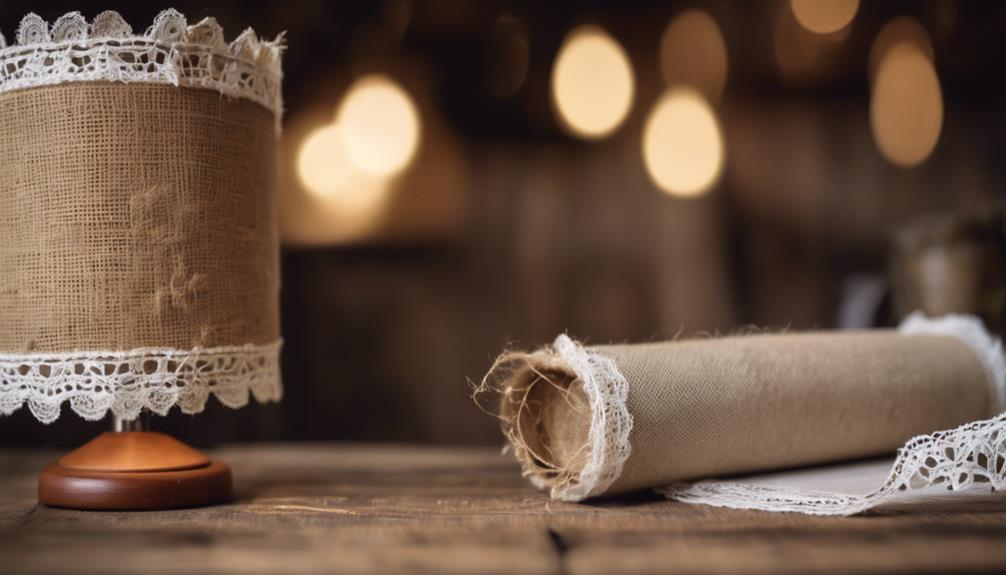
Next, we'll need to gather the essential supplies, including burlap fabric, spray adhesive, Heat n Bond, and a trusty glue gun. The amount of burlap needed will depend on the size of our lamp shade, but a general rule of thumb is to have 1-2 yards on hand, with more needed for larger shades. Having these materials ready will guarantee a smooth and successful project.
With our supplies in order, we can start thinking about customizing our lamp shade with binding colors and designs that reflect our personal style. By taking on this DIY project, we can enjoy significant cost savings compared to buying a similar lamp shade at a retail store.

RUIYEY Modern Chandelier Ceiling Light Fixture Sputnik Chandeliers Gold and Black Farmhouse Chandelier Over Table 12-Light Height Adjustable Chandeliers for Dining Room, Living Room,Kitchen Island
Height Adjustable Chandelier: The hanging height of this chandelier can be adjusted by changing the number of rods,...
As an affiliate, we earn on qualifying purchases.
Measuring and Cutting Burlap Fabric
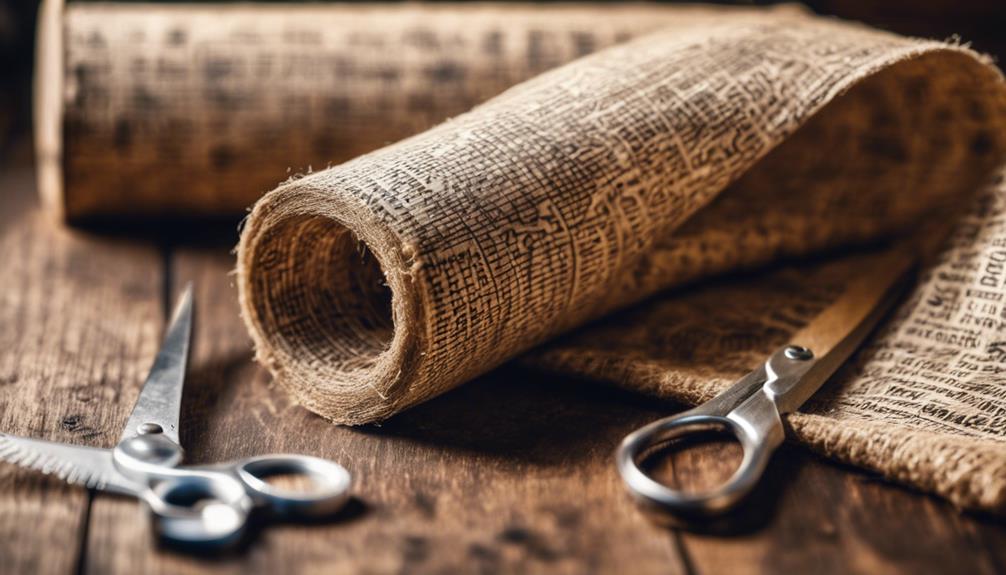
Measuring and cutting burlap fabric accurately is essential, so we carefully measure our lamp shade, taking note of its dimensions and adding a few inches to our calculations to guarantee a snug, tailored fit.
We understand that precision is key in this step, as it directly impacts the overall appearance of our DIY lamp shade. To guarantee a seamless and professional-looking cover, we take our time to measure twice and cut once.
When cutting the burlap fabric, we use a clever trick: we pull out a thread along the desired cutting line, creating a straight edge for a clean finish. This technique allows us to achieve a precise cut, which is crucial for a polished finish.

MAYNA Modern LED Pendant Light Fixture, Contemporary LED Chandelier with Irregular Ring Lights, Adjustable Modern Chandeliers for Dining Room Kitchen Entryway Living Room Bedroom, 6000K Daylight
[Modern Design] The unique irregular interlaced ring design is full of modern avant-garde style, adding more fashionable and...
As an affiliate, we earn on qualifying purchases.
Assembling the Lamp Shade
Now that we've successfully measured and cut our burlap fabric, it's time to bring our lamp shade to life by assembling the various components.
We'll start by shaping the frame to provide a sturdy base for our shade, then carefully attach the burlap fabric using a strong adhesive or stitching method.
Shaping the Frame
As we assemble the lamp shade, shaping the frame is the essential first step that sets the tone for the entire project. We're not just creating a lamp shade, we're building a foundation that will support the entire structure.
Proper frame shaping is important for guaranteeing the lamp shade fits securely on the lamp base. We need to adjust the frame to accommodate different types of lamp bases and lamp shade styles. This process involves bending, molding, and securing the frame to achieve a balanced and visually appealing design.
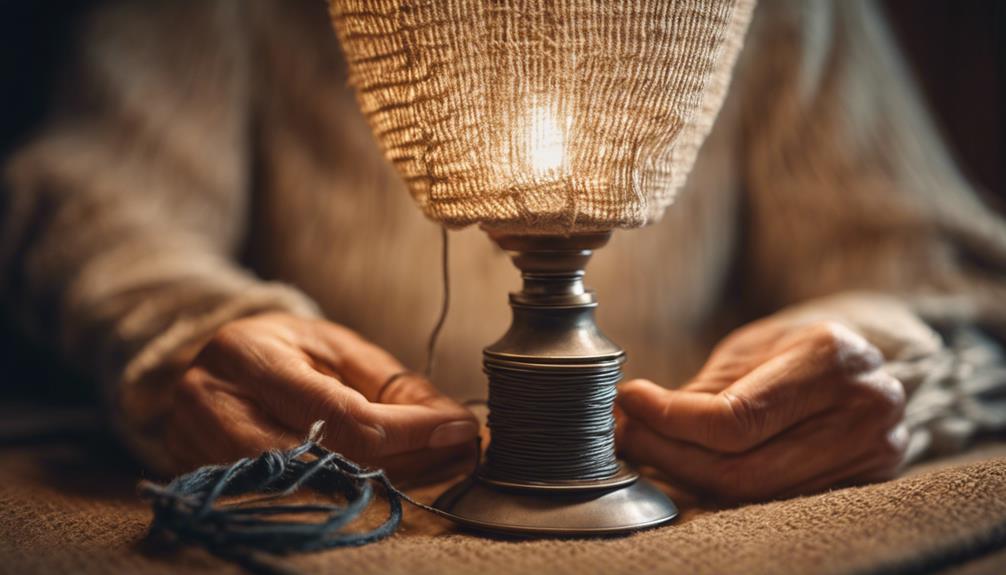
Attaching the Burlap
We're prepared to bring our lamp shade to life by attaching the burlap fabric. This won't only add texture and visual interest but also tie the entire design together. To guarantee a secure and even application, we'll use a spray adhesive to attach the burlap fabric to the lampshade.
For a polished look, we can use Heat n Bond to create a finished edge on the burlap fabric.
Here are a few tips to keep in mind when attaching the burlap:
- Secure the binding to the top and bottom edges of the lampshade using a glue gun for a neat and professional finish.
- Consider using bias tape for a different binding look, adding a unique touch to the burlap lampshade design.
- Customize the binding color to match your decor scheme, such as brown or cream, for a cohesive and stylish look.
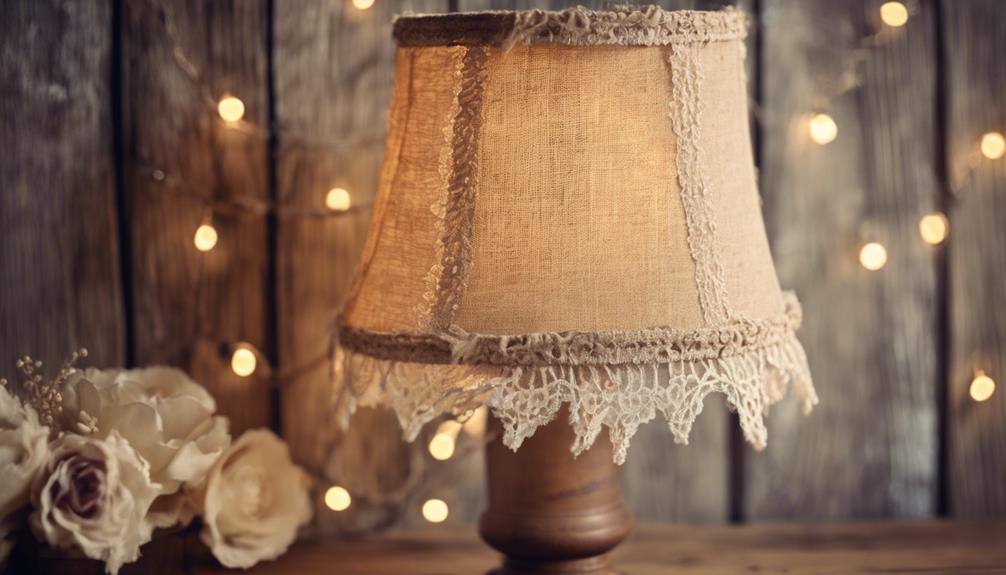
Adding the Trim
With our burlap fabric securely in place, we'll elevate our lamp shade's style by adding a decorative trim that complements its rustic charm. We love how trim can transform the overall look of our DIY project, and we're excited to share our process with you.
When choosing a trim, we recommend selecting a style that complements the burlap fabric, such as ribbon, lace, or decorative braiding. To attach the trim, we'll use fabric glue or a glue gun to securely fasten it to the top and bottom edges of the lamp shade.
This won't only add a decorative touch but also help cover any imperfections in the fabric edges, creating a seamless look. We can experiment with different trim styles and widths to achieve the desired aesthetic for our burlap lamp shade.

25" Modern Matte Black Chandelier for Dining Room, No Assembly Required Black Dining Room Light Fixture Over Table, Industrial Metal Hanging Pendant Lights Fixture for Kitchen Island, Entryway, Foyer
【Style & Design】This modern chandelier features 6 geometric square metal frames, each with a lamp holder. The clean,...
As an affiliate, we earn on qualifying purchases.
Adding Decorative Embellishments
We can take our burlap lamp shade to the next level by adding decorative embellishments that reflect our personal style. This is where we can get creative and make our lamp shade truly unique. By incorporating decorative elements, we can add a touch of elegance or whimsy to our DIY project.
Here are some ideas to get us started:
- Fabric rosettes or jeweled pins can add a touch of glamour to our lamp shade
- A monogram or personalized message can create a special and meaningful piece
- Utilizing the burlap's hemmed edge on the bottom of the shade can provide a clean and finished appearance
When customizing our lamp shade with embellishments, we can experiment with different trims and decorative elements to enhance the overall design. Through affiliate links, we can find a wide range of materials and inspiration to help us customize our lamp shade.
Attaching the Shade to Base
As we progress with attaching the shade to the base, we'll need to focus on securing the shade properly to guarantee a sturdy and stable lamp.
We'll use a combination of glue gun or fabric glue to attach the burlap-covered shade to the lamp base, making sure it's centered and straight before securing it in place.
Securing the Shade
We'll secure the lampshade to the base using a lamp harp and finial, guaranteeing a sturdy and stylish attachment. Before we start, we'll double-check that the lampshade fits snugly on the base. A little rotation will help us find the perfect position, making sure it sits straight and securely.
Here are some key steps to keep in mind:
- Rotate the lampshade to guarantee it's properly aligned on the base
- Adjust the harp's height to position the lampshade correctly
- Tighten the finial to hold the lampshade firmly in place
Final Assembly Steps
Now that our lampshade is securely covered in burlap, it's time to attach it to the base, guaranteeing a sturdy and stylish final assembly. To do this, we'll use a glue gun to firmly attach the lampshade to the base.
Before applying the glue, we'll make sure the lampshade is centered and straight to avoid any unevenness. Once the glue is applied, we'll double-check that the lampshade is securely attached to prevent any accidents.
Next, we'll test the lamp to confirm it functions properly before placing it in its final location.
This DIY burlap lamp shade is almost complete, and we can't wait to enjoy the rustic and stylish lighting addition to our home.
As a reminder, 'a DIY burlap lamp shade is a great way to add a touch of rustic charm to any room' (DIY Home Decor).
With our glue gun and some patience, we'll have a beautifully crafted lamp shade that's both functional and aesthetically pleasing.
Finishing Touches and Display
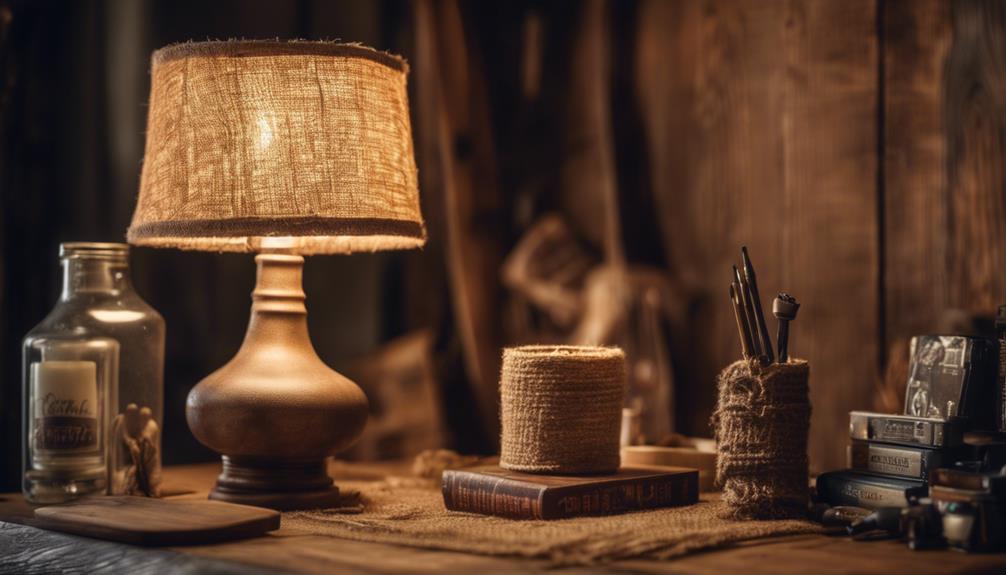
We're putting the final flourishes on our burlap lamp shade, and that means it's time to add those special touches that make it truly one-of-a-kind.
Now that our shade is assembled, we can focus on the finishing touches that will give it a custom look.
Here are a few ideas to get you started:
- Add a fabric rosette or jeweled pin to give your shade a touch of elegance
- Experiment with different trims to create a unique design that reflects your personal style
- Consider adding a monogram for a personal touch that makes your lamp shade truly one-of-a-kind.
Frequently Asked Questions
What Is the Best Fabric to Cover a Lampshade?
We're deciding on the best fabric to cover a lampshade – it depends on the vibe we want. For rustic, we'd choose burlap or linen, while cotton offers a softer look, and velvet or silk add luxury and sophistication.
Can You Make a Lampshade Out of Any Fabric?
We're wondering if we can make a lampshade out of any fabric, and the answer is yes, as long as it's heat-resistant and allows light to pass through.
What Can I Use as a Temporary Lamp Shade?
"Like a ray of sunshine, temporary solutions brighten up our lives! We can repurpose paper, fabric, or even a basket as a makeshift lamp shade – a quick fix for our lighting needs."
What Can I Use to Make a Lamp Shade?
We're considering various materials to make a lamp shade, and we think paper, fabric, or even recycled materials like old maps or book pages could work well, depending on the desired look and ambiance.
Conclusion
As we step back to admire our handiwork, the burlap lamp shade radiates a warm, earthy glow, reminiscent of a rustic country cottage. Like a master weaver, we've intertwined threads of creativity and practicality, crafting a unique piece that illuminates not only a room, but also our imagination.
As designer Rachel Ashwell once said, 'The beauty of DIY is that it's all about self-expression.' And in this case, our self-expression shines brightly, casting a warm, inviting light on our creative endeavors.