
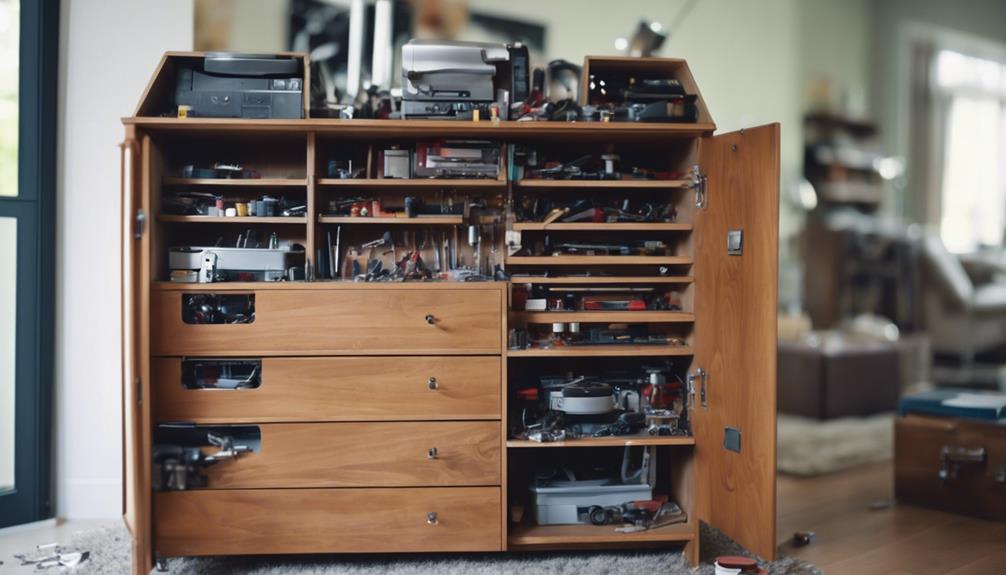
You can breathe new life into an old tall dresser by repurposing it in just 5 steps. First, remove all hardware and drawers, labeling and organizing them for easy reassembly. Next, sand and prepare the surfaces, filling in cracks and imperfections. Then, paint and add finishing touches, considering decorative elements like trim or appliques. After that, incorporate these elements and reassemble the dresser, ensuring a secure and functional piece. Finally, install and test your unique, eco-friendly creation, and discover how to take your project to the next level.
Key Takeaways
• Remove hardware, knobs, and handles, and set aside drawers to prepare the dresser for repurposing.
• Sand all surfaces to smooth out imperfections, then fill in cracks and holes with wood filler for a seamless finish.
• Paint the dresser with wood-specific paint, applying multiple thin coats for a professional-looking finish, and add decorative elements like trim or molding.
• Add a clear topcoat or wax to seal and protect the painted finish, and reattach drawers and components securely.
• Install additional features or accessories to personalize the dresser, ensuring all parts are properly aligned and securely attached.
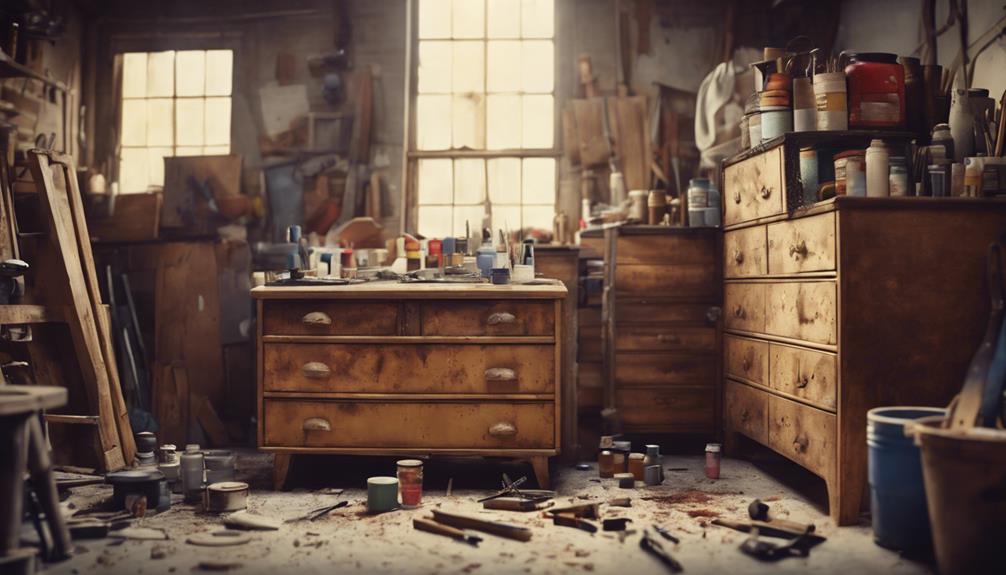
Remove Hardware and Drawers
Remove all hardware, including knobs, handles, and drawer pulls, from the tall dresser to clear the way for repurposing. This step is essential in transforming your old dresser into a functional piece that serves a new purpose.
As you remove the hardware, be sure to keep track of the screws and other small parts, so you don't lose them during the process.
Next, carefully take out each drawer from the dresser, setting them aside for later use. You can repurpose these old drawers into shelves or other storage solutions, giving you more flexibility in your design. Label or organize the drawers so you can easily reassemble or repurpose them later.
By removing the hardware and drawers, you're one step closer to creating a unique and functional piece of furniture that reflects your personal style.
Remember to store the removed hardware in a safe place to prevent loss or damage during the transformation.
Sand and Prepare Surfaces
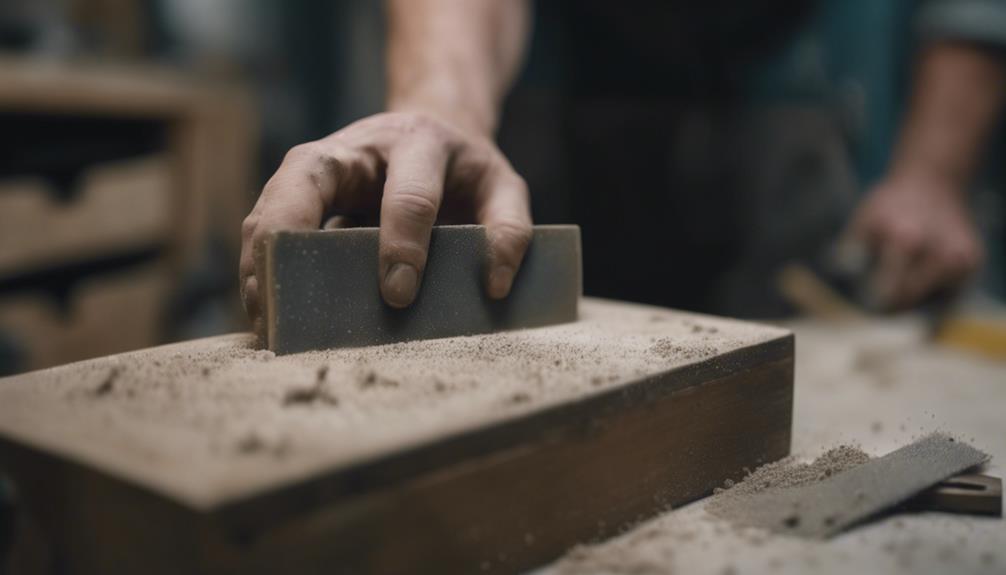
With your dresser's hardware and drawers set aside, you're ready to tackle the next step: sanding and preparing the surfaces to guarantee a smooth, even finish for painting or staining. This important step in repurposing your old dresser requires some elbow grease, but the payoff is worth it.
Start by sanding all surfaces using a medium-grit sandpaper to remove any existing paint, varnish, or imperfections. This will secure a seamless appearance once you've finished. Wipe down the dresser with a damp cloth after sanding to remove any dust and debris from the surface.
If you notice any cracks, holes, or dents, fill them in with wood filler and sand again for a seamless appearance. Proper preparation is key to a successful repurposing project, so take your time to get it right.
Paint and Add Finishing Touches
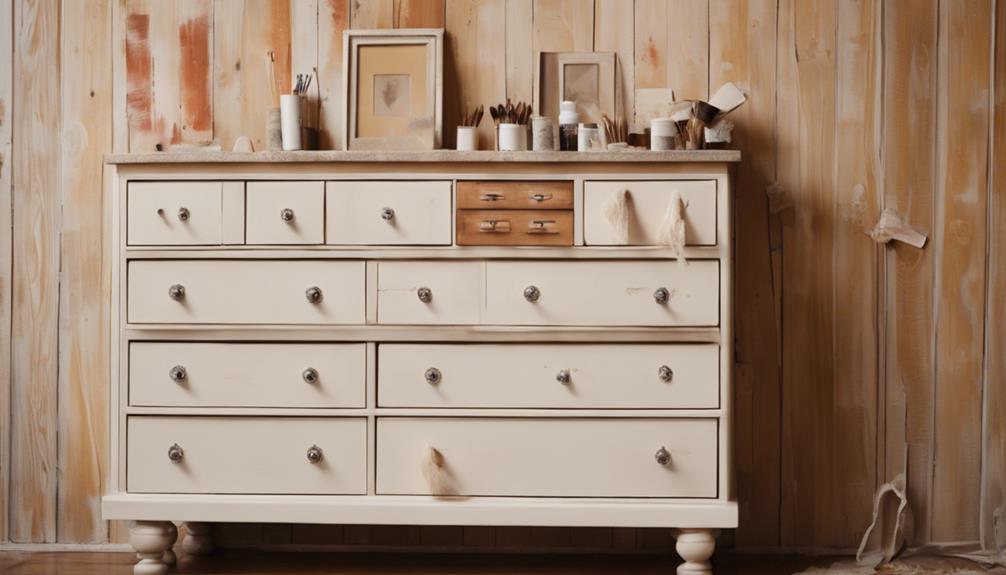
You're now ready to add some color and personality to your repurposed dresser by painting it with a high-quality, wood-specific paint. This type of paint is essential for ensuring a durable and long-lasting finish on your wood furniture.
Before you start painting, lightly sand the dresser to create a smooth surface for the paint to adhere to. When applying the paint, use multiple thin coats rather than one thick coat to avoid drips and achieve a professional-looking finish.
Consider adding decorative finishes like distressing, stenciling, or decoupage to personalize the dresser and add character. Once you've achieved the desired look, seal the painted dresser with a clear topcoat or wax to protect the finish and enhance durability.
Add Decorative Elements
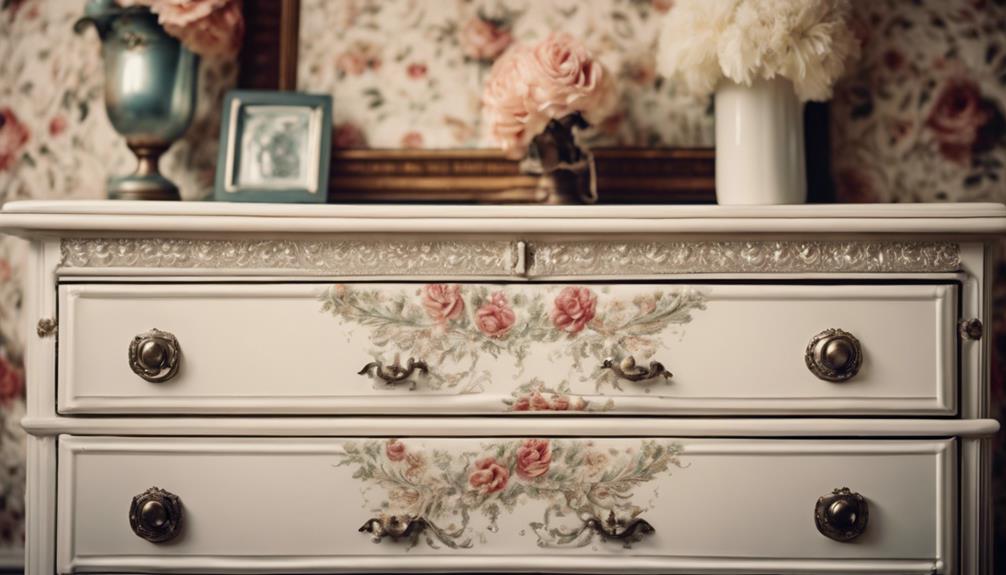
To further elevate the aesthetic of your repurposed tall dresser, now's the time to incorporate decorative elements that add personality and whimsy. Consider adding trim, molding, or appliques to enhance the visual appeal of your old furniture.
You can paint these decorative elements in a contrasting color to create a unique and eye-catching design. Plus, they can help cover up any imperfections or damage on the dresser. When choosing decorative elements, make sure they complement the style and overall aesthetic of the room where the repurposed dresser will be placed.
Don't be afraid to experiment with different decorative elements to find the perfect combination that suits your taste and decor preferences. Remember, the goal is to create a one-of-a-kind piece that reflects your personal style.
Reassemble and Install
Now that your repurposed tall dresser has been transformed, it's time to reattach all the components, guaranteeing a sturdy and functional piece of furniture.
You've taken an old, worn-out dresser and given it a new life, and now it's time to bring all the pieces together.
To reassemble your dresser, follow these steps:
- Reattach the drawers, shelves, and other components, making sure they're securely attached and properly aligned for stability and functionality.
- Install any additional features or accessories, such as new knobs or handles, to give your dresser a personalized touch.
- Check for any loose screws or parts that may need tightening before finalizing the assembly.
- Test the dresser to ensure it functions as intended before placing it in its designated space.
Frequently Asked Questions
What Can I Do With a Tall Dresser?
You're wondering what to do with that tall dresser collecting dust?
Well, the possibilities are endless! You can repurpose it into a functional kitchen pantry, a chic craft station, a stylish linen closet, a modern entertainment center, or even a space-saving home office.
Get creative and think beyond its original purpose – with a little imagination, you can breathe new life into this old piece of furniture.
How Can I Repurpose an Old Dresser?
You're wondering how to breathe new life into an old dresser. Fear not, friend! Revamping an outdated dresser can be a fantastic way to reduce waste and create a one-of-a-kind piece that reflects your personal style.
From upcycled bookshelves to repurposed kitchen islands, the possibilities are endless. Get creative and think beyond the original purpose – you might just stumble upon a unique treasure that adds character to your space.
How Can I Make My Old Dresser Taller?
You're looking to give your old dresser a height boost. To start, consider adding tall legs or furniture risers to the bottom for a quick fix.
Alternatively, you could build a sturdy base or platform to elevate the entire piece. If you're feeling handy, try replacing the existing legs with longer ones or combining multiple dressers for a taller, customized storage unit.
How to Refurbish a Cheap Dresser?
As you stand before your worn, lackluster dresser, envision the hidden gem beneath the surface, waiting to be unearthed.
To refurbish a cheap dresser, start by sanding it to remove imperfections, then apply a coat of primer for better paint adhesion.
Next, use high-quality paint for a durable finish. Consider updating the hardware or knobs for a fresh look.
Conclusion
With your repurposed tall dresser now complete, you've managed to breathe new life into a discarded relic, much like a medieval alchemist transforming lead into gold. As you step back to admire your handiwork, remember that upcycling isn't only eco-friendly, but also a tribute to human ingenuity.
Your revamped dresser is more than just a piece of furniture – it's a statement piece that showcases your creativity and resourcefulness.