We're excited to create a rustic coat rack that combines farmhouse charm with modern functionality, and the best part is that we can make it in just five easy steps. We'll start by gathering materials like barn wood and black metal farmhouse-style hooks. Next, we'll measure and mark the wood, ensuring accurate dimensions and precise markings. Then, we'll attach the hooks to the wood, securely fastening them in place. After that, we'll assemble and install the rack, making sure it's level and secure. Finally, we'll add some finishing touches, like decorative elements and a small shelf, to create a unique and functional coat rack that's all our own. Now, let's get started and see how our rustic coat rack takes shape!
Key Takeaways
• Gather materials, including barn wood, black metal hooks, a stud finder, power drill, and level, to create a rustic coat rack.
• Measure and mark the wood accurately, deciding on hook spacing and shelf placement, to ensure a precise fit.
• Attach black metal hooks to the wood, pre-drilling holes and spacing them evenly, for a rustic and functional design.
• Assemble and install the rack, securing it to wall studs with screws, and adding wall anchors if necessary, for a sturdy hold.
• Add decorative elements, such as knobs or a shelf, and seal the wood with spray paint to complete the rustic coat rack.
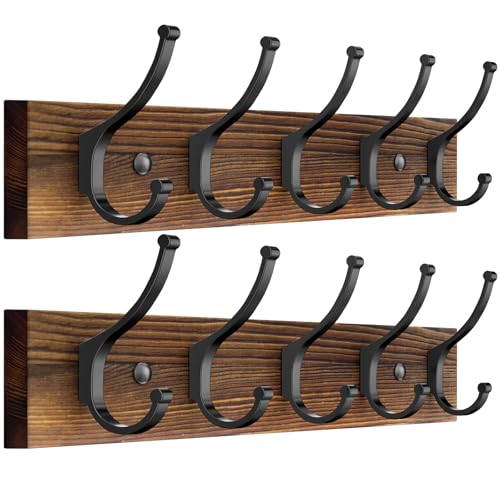
Optish 2 Pack Wooden Coat Rack Wall Mount, 16.1" Rustic Coat Hanger Hooks with 10 Double Hooks, Wall Coat Rack for Hat, Clothes, Bags, Jacket, Brown
- Sturdy and Durable Construction: Solid wood base with strong metal hooks
- High Weight Capacity: Supports up to 45 lbs total
- Double Hook Design: Provides extra hanging space
As an affiliate, we earn on qualifying purchases.
As an affiliate, we earn on qualifying purchases.
Gather Materials and Tools Needed
As we start constructing our rustic coat rack, the initial vital step is to gather all the necessary materials and tools to guarantee a smooth construction process.
We'll need a few essential items to get started. First, we'll require a piece of barn wood, which can range in price from $5 to $15 per linear foot. We'll also need some black metal farmhouse style hooks, spaced 5-7 hooks evenly, to hang our coats. Additionally, we'll require a stud finder to locate the wall studs, a power drill to make holes, and a level to make sure our coat rack is straight.
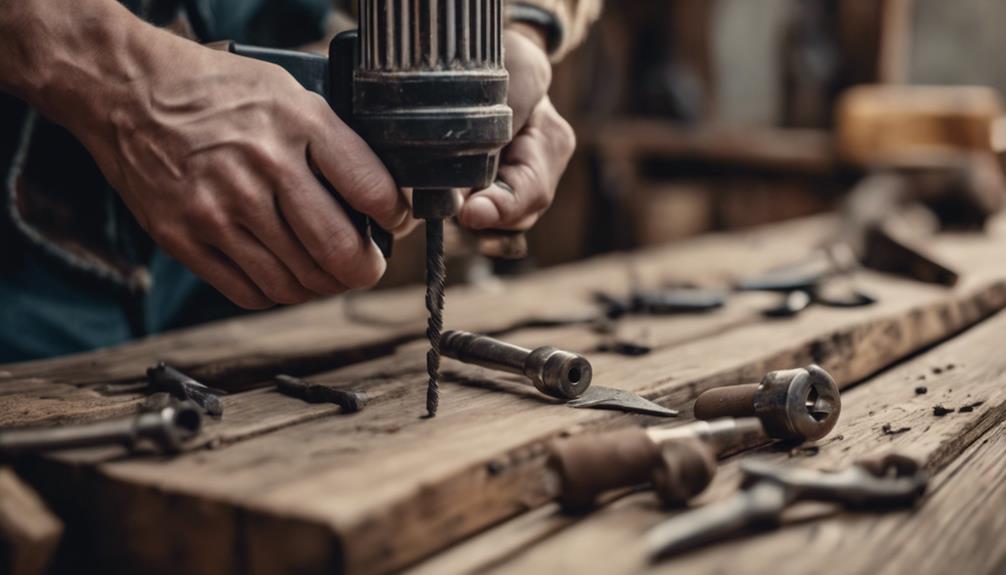
To ensure efficient installation, we'll use a cordless screwdriver. It's also important to pre-drill holes in the wood before attaching the hooks to prevent splitting and ensure a neat finish.
With all our materials and tools ready, we can move forward with our DIY project, confident that we've everything needed for a successful and efficient construction process.
Measure and Mark the Wood
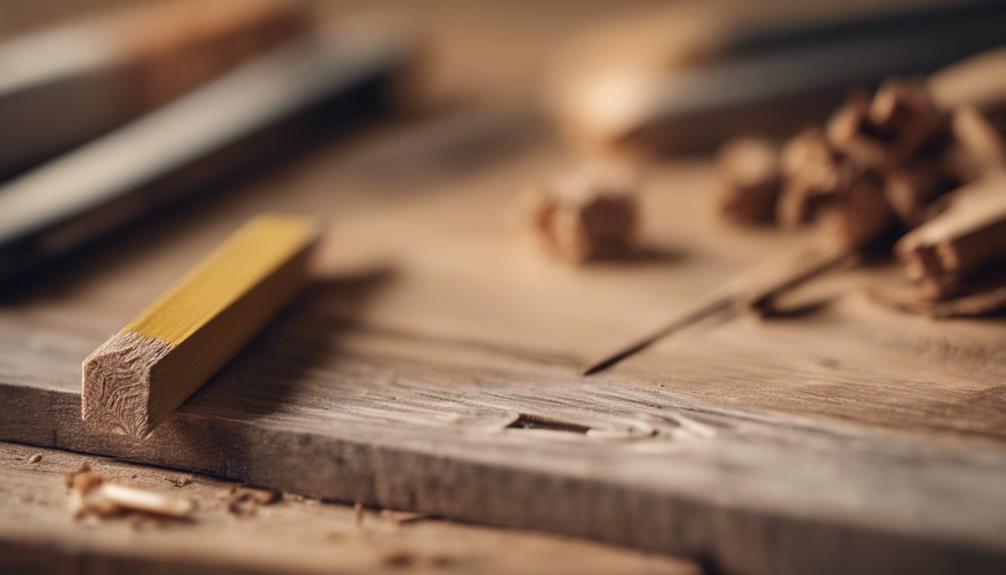
We carefully measure the wood, taking our time to guarantee accurate dimensions for our rustic coat rack. We're building a DIY coat rack, and precision is key to achieving a professional finish.
Using a tape measure, we measure the wood, making sure our coat rack's dimensions are spot on. Next, we mark the wood with a pencil or marker, deciding on the ideal spacing for our hooks or shelf placement. A level comes in handy to make sure our markings are straight and aligned.
We double-check our measurements and markings before moving forward, avoiding any potential mistakes that could throw off our entire project. With our measurements and markings in place, we're ready to start drilling and attaching our hooks. But for now, we take a step back, satisfied that our coat rack's foundation is solid.
Attach Hooks to the Wood
With our measurements and markings in place, we're ready to bring our rustic coat rack to life by attaching the hooks that'll soon be holding our favorite jackets and bags.
To achieve a rustic look, we'll be using black metal farmhouse style hooks. Before installing the hooks, we need to pre-drill holes in the wood to prevent splitting. This step is essential to guarantee a secure and sturdy installation.
Next, we'll space the hooks evenly along the wood, typically 5-7 hooks, depending on the size of our rack. To maintain a neat finish, we'll align the hook installation with the markings on the wood.
Using a cordless screwdriver, we'll efficiently screw the hooks into place. This efficient installation process will make sure our hooks are securely attached to the wood.
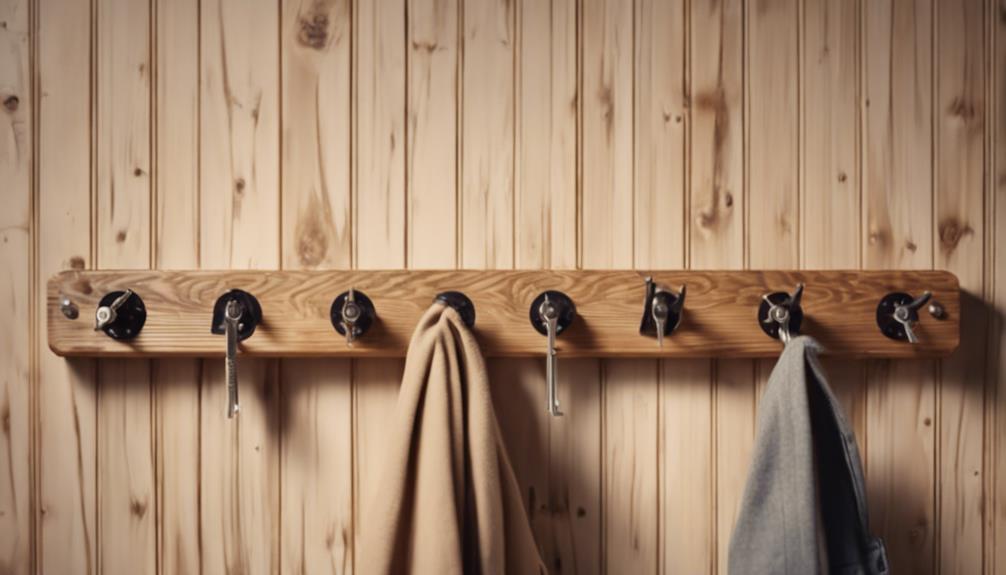
With our hooks in place, our rustic coat rack is starting to take shape. The metal hooks will add a touch of industrial chic to our wooden rack, creating a unique and functional piece for our entryway.
Assemble and Install the Rack
Drilling screws into wall studs, we secure our rustic coat rack, guaranteeing a sturdy installation that can hold the weight of our favorite jackets and bags. As we assemble and install the rack, we're mindful to take into account a few important factors for a successful DIY project.
Here are some key steps to keep in mind:
- Attach securely: Use a drill and screws to fasten the coat rack to wall studs for a strong attachment.
- Level installation: Ensure the rack is flat by using a level during installation to prevent it from tilting.
- Weight considerations: Take into consideration the weight of the rack when choosing screws for mounting to ensure it can hold the desired load.
- Add wall anchors: If studs aren't available, add wall anchors for a strong attachment.
Add Final Touches and Accessories
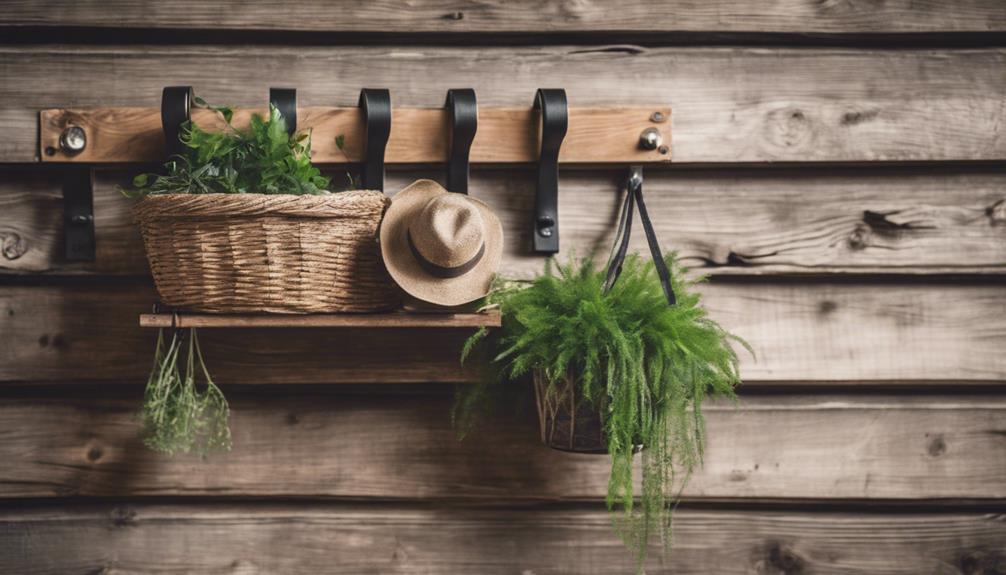
Now that our rustic coat rack is securely in place, let's add some personality to it. We can give our DIY project a touch of Farmhouse Style by incorporating decorative elements. Consider adding decorative hooks or knobs from Hobby Lobby to give it a personalized touch.
We can also attach hooks made from rustic materials like wood or metal to complement the overall aesthetic. A useful addition would be a small shelf above the hooks for added functionality and storage space. To prevent splitting, we can use spray paint to seal the wood before attaching the hooks.
Hang a mirror above the coat rack for a convenient last-minute check before leaving. For extra storage, include baskets or bins underneath for organizing scarves, gloves, or other accessories. Finally, display seasonal decor or artwork around the coat rack to complement the rustic style.
With these final touches, our DIY coat rack is transformed into a functional and stylish piece that adds character to our entryway without breaking the bank or incurring extra cost.
Frequently Asked Questions
How Do You Make a Simple Coat Rack?
We'll show you how to make a simple coat rack!
To get started, decide on the length and material for your rack. Cut the board to size, and sand the edges for a smooth finish.
Stain the board with your preferred color, and attach hooks evenly spaced along the length.
Finally, secure the rack to the wall using wall anchors for stability.
With these easy steps, you'll have a functional and stylish coat rack in no time!
What Wood to Use for a Coat Rack?
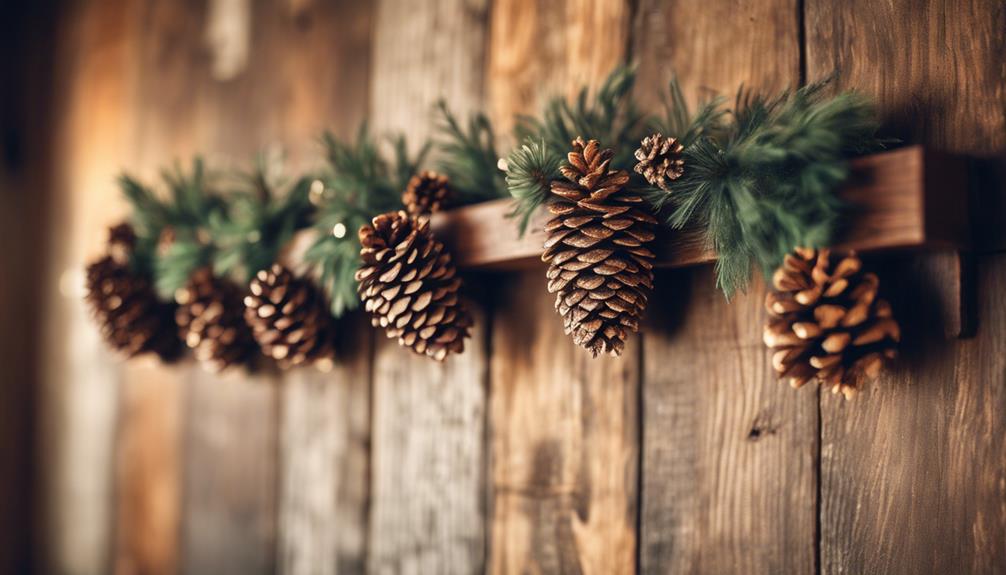
When selecting wood for our coat rack, we seek sturdy, stylish options. We fancy wood with flair, like reclaimed barn wood, which flaunts a rugged, rustic charm.
Aged or weathered wood adds character, while durable varieties guarantee our coat rack remains sturdy. We prioritize wood that's both visually appealing and long-lasting, perfect for standing up to the weight of our outerwear.
How to Make Wooden Coat Hooks?
We're excited to begin crafting wooden coat hooks!
To start, we select our preferred wood type, considering the look and durability we want to achieve.
Next, we sand and stain the wood to enhance its appearance and longevity.
Then, we pre-drill holes to prevent splitting before attaching the hooks.
How Do You Make a Coat Rack Out of an Old Door?
We're transforming an old door into a functional work of art!
To make a coat rack out of an old door, we start by giving it a fresh new look with a sand and paint job.
Next, we add hooks or knobs, attaching them securely to the door's panels.
Conclusion
Our rustic coat rack is now ready to hold our jackets, hats, and scarves. But the best part? We got to create it ourselves, and it's uniquely ours.
Now, imagine the rustic charm it'll add to our entryway – and the envy of our friends when they see it. We can't wait to show it off!