
You can elevate your space with a DIY table riser in just three simple steps. Start by preparing the base, choosing a sturdy material like wood or acrylic, and considering the desired height and aesthetic. Next, attach legs and add a stain that complements your decor. Finally, apply a polished finish with a gel stain and clear wax coat for protection. By following these steps, you can create a functional and stylish table riser that boosts productivity, reduces eye strain, and adds a touch of modern style to your home or office – and that's just the beginning of what you can achieve.
Key Takeaways
• Prepare a sturdy base material, considering the desired height and sanding the edges for a smooth finish.
• Attach legs or feet securely using wood glue or screws, ensuring stability and even distribution of weight.
• Apply gel stain evenly, wiping away excess for a clean finish, and consider a clear wax coat for added protection.
• Customize the size and design of the table riser to fit your needs, choosing a material that complements your existing decor.
• Finish with a polished look by buffing the wax with a soft cloth for a lustrous surface, enhancing the appearance and feel of your DIY Table Riser.

HAOPENGYOU 6PCS Wooden Risers for Display Wood Cake Stand for Party Round Food Risers for Buffet Wooden Holder Rustic Riser for Decor Tiered Tray Decor Home Kitchen (Rustic, 6 PCS (8”, 6”, 5”))
- Versatile Display Use: Elevate plants, candles, jewelry, and more
- Multiple Application Scenarios: Suitable for home, kitchen, bathroom, and office
- Natural & Durable Material: Made of high-quality solid wood with smooth finish
As an affiliate, we earn on qualifying purchases.
As an affiliate, we earn on qualifying purchases.
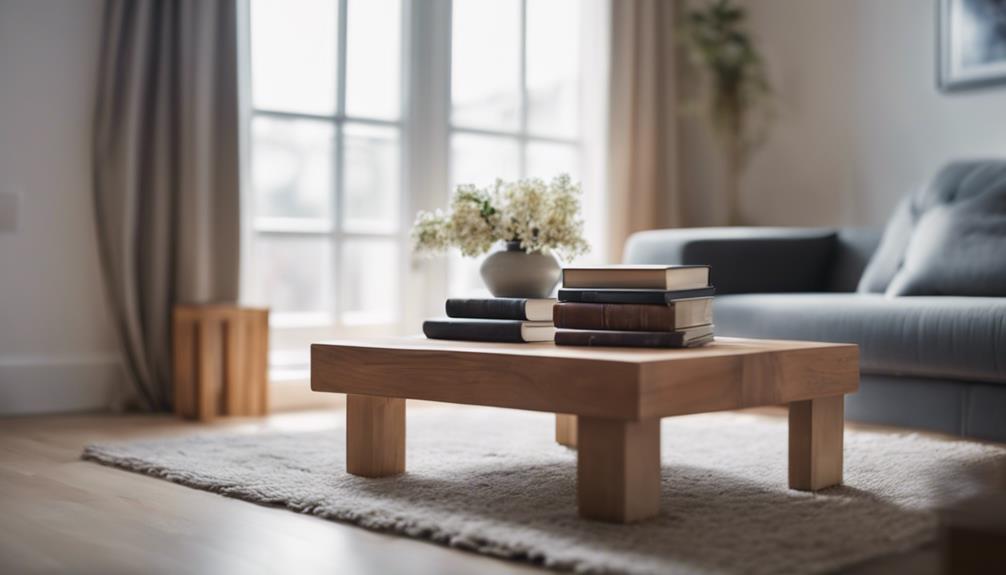
Prepare the Table Riser Base
Choose a sturdy and flat base material, like wood or acrylic, that can provide stability to your table riser. When selecting the base material, consider the desired height of your table riser to make sure it fits your needs.
A wooden base, for instance, can provide a natural and rustic look, while an acrylic base can give a modern and sleek appearance. Once you've chosen your base material, sand the edges and surface to achieve a smooth finish. This step is important in ensuring that your table riser is stable and even.
Next, measure and mark the placement of the feet or legs on the base. You can use wood glue or screws to securely attach the feet or legs to the base, making sure they're evenly spaced and sturdy.
Add the Legs and Stain
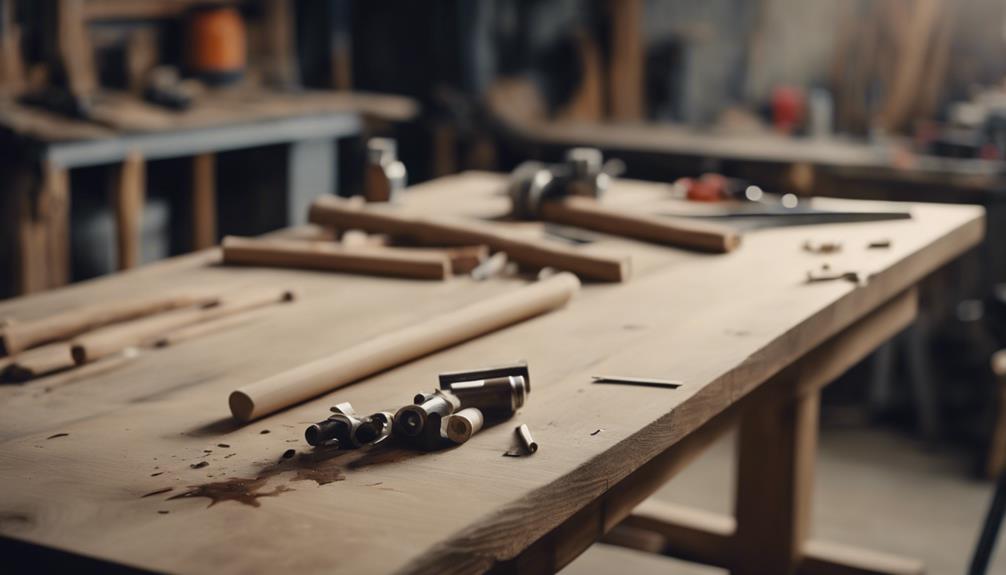
You'll now add the legs to your table riser base, using wood glue to securely attach wood candle cups or spindles as feet. This will provide stability and elevate your DIY Table Risers to the desired height. Next, choose a gel stain that complements your decor and apply it evenly to the table riser. Make sure to wipe away excess stain for a clean finish before letting it dry overnight.
| Step | Task | Tips |
|---|---|---|
| 1 | Add legs | Use wood glue for stability |
| 2 | Apply stain | Choose a gel stain that complements your decor |
| 3 | Wipe excess | Clean finish before drying overnight |
| 4 | Add clear wax | Optional for added protection and smooth surface |
Consider applying a clear wax coat for added protection and a smooth surface. You can also customize the size and design of the table riser to fit your specific needs and style preferences. With these steps, you'll have a sturdy and stylish DIY Table Riser that elevates your space.
Finish With a Polished Look
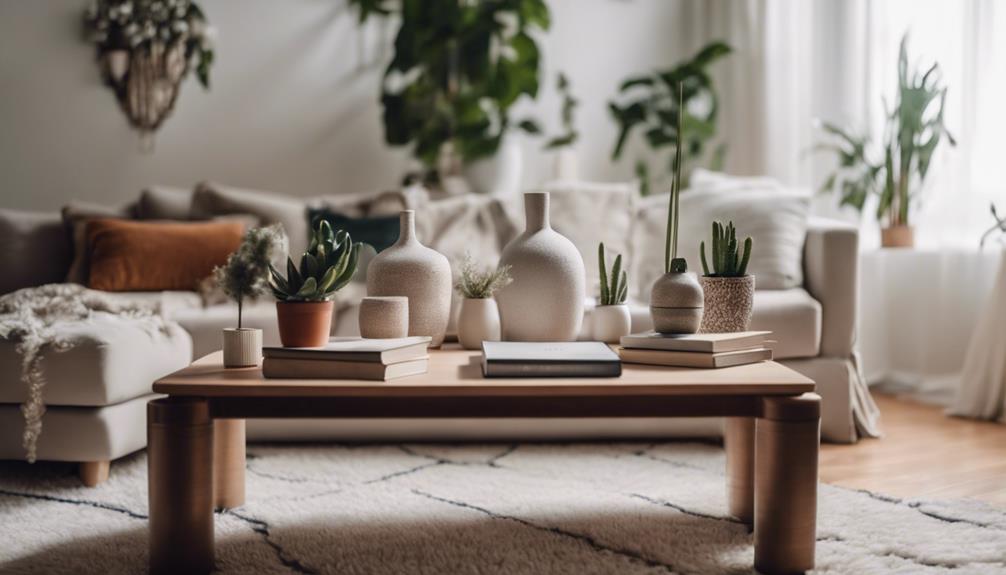
To achieve a polished look, apply a coat of gel stain to the table riser, guaranteeing an even application for a rich, professional finish. This will enhance the overall appearance of your DIY Table Risers and give them a luxurious feel.
Next, use a quality wax brush to apply a thin layer of clear wax, providing added protection and a beautiful shine to your table riser. This step is essential in maintaining the durability of your DIY project.
Once the wax is applied, buff it with a soft cloth to achieve a smooth and lustrous surface. This will bring out the beauty of the wood and give your table riser a sophisticated look.
Frequently Asked Questions
What Can I Use for Table Risers?
When it comes to creating table risers, you're not limited to specific materials. You can repurpose wooden blocks, bed risers, or even PVC pipes to elevate your space.
Consider using furniture risers, stackable crates, or DIY wooden platforms for varying heights.
Think outside the box and get creative – vintage books, picture frames, or old furniture legs can also serve as unique table risers, offering a one-of-a-kind touch to your space.
How to Make Table Risers?
'Are you ready to elevate your space?
To make your own table risers, start by selecting the perfect wood boards, considering dimensions and wood types that fit your style.
Next, attach sturdy feet to the corners for stability, ensuring your riser won't topple.
Finally, apply gel stain to achieve your desired color, seal with clear wax, and buff for a smooth finish.
You're just three simple steps away from a customized, elevated space that's all your own!'
How Do You Make a Homemade Riser?
To make a homemade riser, you'll start by gathering materials like:
- Wood boards
- Wood glue
- Sandpaper
- Stain
You'll attach wood candle cups or spindles as feet to the corners of the board using wood glue.
Then, customize the size and design of the riser by choosing different board dimensions.
How Can I Raise My Table Higher?
You're looking to raise your table higher, and you're wondering how to do it. Well, you've got several options.
You can add extensions like bed risers, leg extensions, or even PVC pipes to give your table a boost. Alternatively, you can replace the existing legs with new ones of a desired length and design.
Whatever method you choose, make sure to attach the extensions securely and sand them smooth for a seamless finish. With a little creativity, you can elevate your table to the perfect height.
Conclusion
With your new DIY table risers in place, you've successfully 'clear the deck' for a more organized and functional space. By elevating your surfaces, you've created a fresh canvas for creativity and productivity.
As you step back to admire your handiwork, remember that it's the little tweaks that can make a big impact, and sometimes all it takes is a slight adjustment to change your perspective.