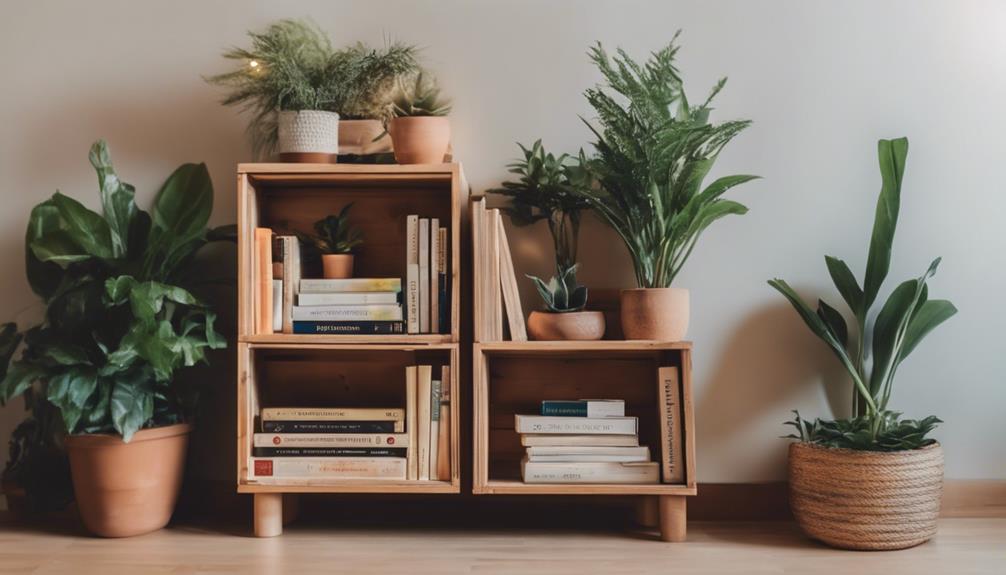
You're about to give new life to an old dresser by transforming it into a functional bookshelf in just three easy steps. First, dismantle the dresser by clearing it of contents, removing drawers and hardware, and taking out center rungs. Next, assemble the bookshelf by attaching shelves to drawers and adding support with cleats or braces. Finally, add finishing touches by applying a coat of stain or paint, adding decorative trim or molding, and protecting with a polyurethane finish. With these steps, you'll be well on your way to creating a unique bookshelf that's both functional and visually appealing – and there's more to explore to bring your project to life.
Key Takeaways
• Disassemble the dresser into its individual components, including removing drawers and hardware, to create a blank canvas for repurposing.
• Attach the drawers to the shelves, adding support with cleats or braces, and ensure stability with wood screws or nails.
• Add finishing touches, such as applying a coat of stain or paint, adding decorative trim or molding, and protecting with polyurethane finish.
• Consider adjusting shelf heights, adding a personal touch with decorative elements, and matching the finishing touches to the overall design.
• Elevate the style and protection of the bookshelf by applying a protective finish, safeguarding the hard work, and achieving the desired finish.
Dismantle the Dresser
Begin by clearing the dresser of its contents, removing all drawers and hardware to create a blank slate for your repurposing project. This is the first step in transforming an old dresser into a functional bookshelf.
Take out any center rungs or dividers that may obstruct shelf placement, as you'll want a smooth surface to work with. Next, carefully disassemble the dresser, dismantling it piece by piece to prepare for repurposing. Confirm all parts are detached and ready for the next steps.
As you disassemble, imagine the possibilities – a blank canvas waiting for your creative touch. By dismantling the dresser, you're giving yourself a fresh start, a chance to reimagine and recreate something new. Take your time, and don't be afraid to get a little messy – after all, repurposing is all about giving old things new life.
With the dresser completely disassembled, you'll be ready to move on to the next step in your repurposing journey.
Assemble the Bookshelf

With your dresser completely disassembled, you're now ready to breathe new life into its components by transforming them into functional shelves. It's time to assemble the repurposed bookshelf by attaching shelves to the converted drawers. Guarantee stability and support by adding cleats or braces to hold the shelves in place.
| Step | Task | Materials |
|---|---|---|
| 1 | Attach shelves to drawers | Wood screws, cleats, or braces |
| 2 | Add support and stability | Wood screws, nails, or brackets |
| 3 | Adjust shelf heights | Measuring tape, pencil, and wood filler |
Use wood screws or nails to secure the shelves securely inside the old dresser. Measure and adjust shelf heights to accommodate different storage needs. As you assemble the bookshelf, keep in mind the overall aesthetic you want to achieve. You can also add a personal touch by painting or staining the bookshelf for a cohesive look. With these steps, you'll have a functional and stylish bookshelf made from your repurposed drawers.
Add Finishing Touches

Now that your bookshelf is assembled, it's time to add the finishing touches that will elevate its style and protection.
You've successfully transformed an old dresser into a new, repurposed bookshelf, and now it's time to make it look great. Apply a coat of stain or paint to achieve the desired finish that complements the rest of your decor.
Consider adding decorative trim or molding to give your bookshelf a polished look. If you're going for a rustic or vintage vibe, lightly distress the edges to create a unique, worn appearance.
Don't forget to safeguard your hard work with a protective finish like polyurethane to make sure your bookshelf remains durable and long-lasting.
As you add these finishing touches, make sure they match the overall design and style of your dresser-turned-bookshelf. With a little creativity and elbow grease, you'll have a one-of-a-kind piece of furniture that's both functional and beautiful.
Frequently Asked Questions
Can You Turn a Dresser Into a Bookcase?
You're wondering if it's possible to turn a dresser into a bookcase. The answer is yes, you can! By repurposing an old dresser, you can create a unique and functional bookshelf that adds character to any room.
This creative transformation allows you to upcycle old furniture, giving it a new purpose in your home. With some simple modifications, you can convert drawers into shelves, creating a one-of-a-kind bookcase that's both functional and stylish.
How to Convert Dresser Drawers to Shelves?
Are you wondering how to breathe new life into an old dresser? Converting dresser drawers to shelves can be a brilliant solution.
To start, remove the hardware and fill any holes with wood putty before sanding. Next, measure the drawer interiors to determine the ideal shelf width.
How to Make an Old Dresser Look Modern?
You're wondering how to make an old dresser look modern. Well, it's easier than you think!
Start by giving it a fresh coat of paint in a trendy color like soft blue or gray. Update the knobs or handles with modern designs to give it a contemporary look.
Additionally, consider sanding the dresser to smooth out any rough edges and create a sleek finish. With these simple updates, you'll be amazed at how modern your old dresser can look!
How to Turn a Dresser Into a Toy Box?
Imagine transforming an old dresser into a treasure trove for your little ones! To turn a dresser into a toy box, start by removing the drawers and adding a hinged lid for easy access. Don't forget to use non-toxic paint for safety.
You can customize it with chalkboard paint for labeling or fun designs. Add caster wheels for mobility and utilize drawer dividers or baskets for toy organization.
Conclusion
With your newly repurposed bookshelf, you've not only given an old dresser a second life but also debunked the myth that upcycling requires extensive craftsmanship.
In reality, a little creativity and elbow grease can transform an outdated piece of furniture into a functional and stylish bookshelf.
By dismantling, assembling, and adding finishing touches, you've successfully breathed new life into what was once destined for the landfill, proving that with minimal effort, anyone can become an upcycling pro.


