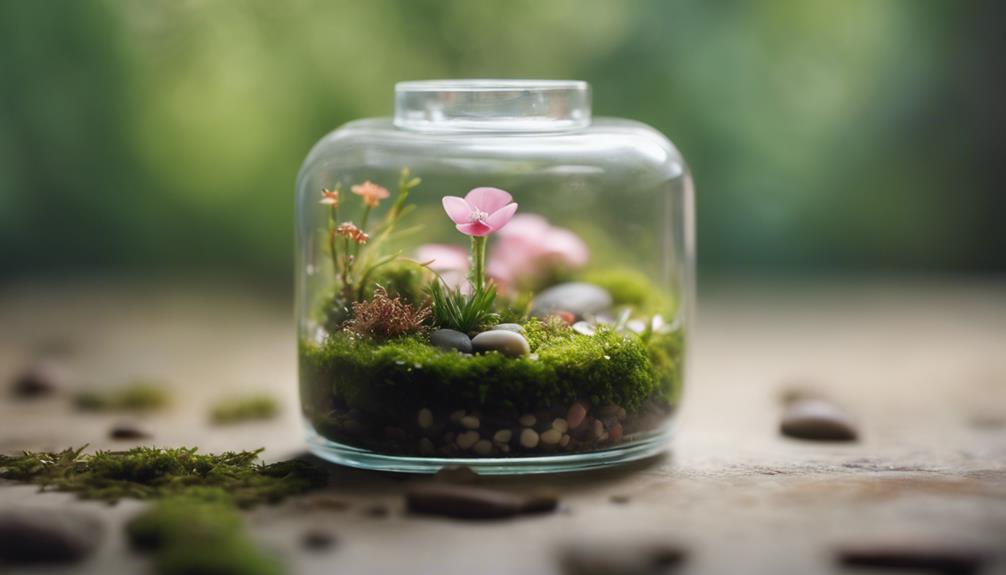

We can create a stunning spring-themed terrarium in just 7 simple steps! First, we gather essential materials like a clear glass container, pea gravel, and sphagnum moss. Then, we establish a drainage layer base, add activated charcoal for filtration, and layer sphagnum moss and soil. Next, we plant our chosen spring greens, adding decorative elements and touches. Finally, we maintain and care for our terrarium. By following these steps, we'll be enjoying our beautiful, low-maintenance mini indoor garden in no time. To guarantee our terrarium thrives, let's explore the finer details of plant selection, lighting, and humidity control.
Key Takeaways
• Choose a clear glass container and layer gravel, charcoal, and soil for proper drainage and filtration.
• Select small, slow-growing spring plants like ferns or moss that thrive in low-light conditions.
• Add decorative elements like small figurines, stones, or dried flowers to reflect your personal style.
• Place the terrarium in indirect sunlight and rotate it regularly for even growth and to prevent plant burns.
• Monitor plant growth and adjust lighting as needed, cleaning the container glass with a soft brush as necessary.

WGVI Clear Slant Cut Bowl Glass Vase, Glass Terrarium, Candy Dish, Glassware, Slant Open: 7". Height: 6" x 2.7". Base: 4" (1 Piece)
Contains: 1 piece of Slant Cut Bowl, Dimensions: Open: 7", Back Height: 6",Front Height: 2.7", Base 4"
As an affiliate, we earn on qualifying purchases.
As an affiliate, we earn on qualifying purchases.
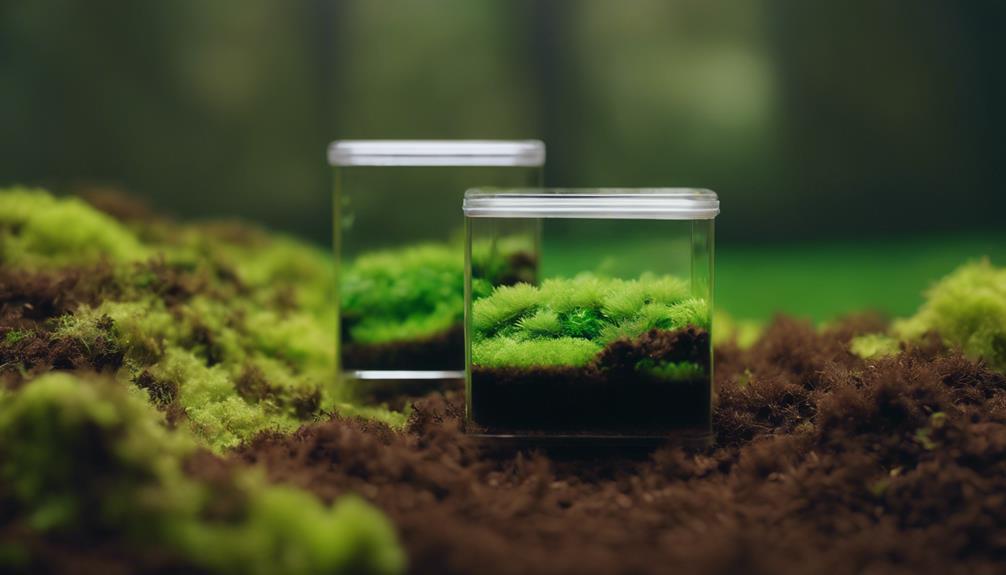
Gather Essential Terrarium Materials
We'll start by collecting the essential materials needed to create our spring time terrarium.
For this, we'll need a clear glass container, which will serve as the base of our miniature garden.
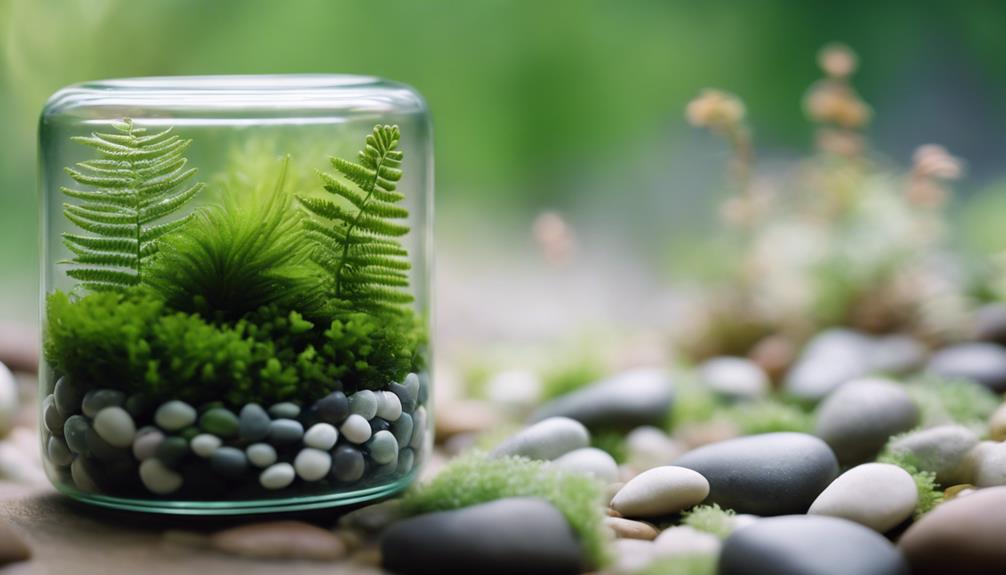
Next, we'll gather pea gravel or polished rocks, which will help with drainage and add visual appeal.
Vital charcoal is another critical component, as it will absorb excess moisture and prevent mold growth.
We'll also need sphagnum moss, a type of peat moss that retains moisture but drains excess water, making it perfect for our terrarium.
To end, we'll select small, slow-growing plants that thrive in low-light conditions, such as ferns, mosses, or air plants. It's important to choose plants that are compatible with the terrarium environment to ensure their survival.
With all our materials in hand, we can begin assembling our spring time terrarium, creating a beautiful and self-sustaining miniature ecosystem.
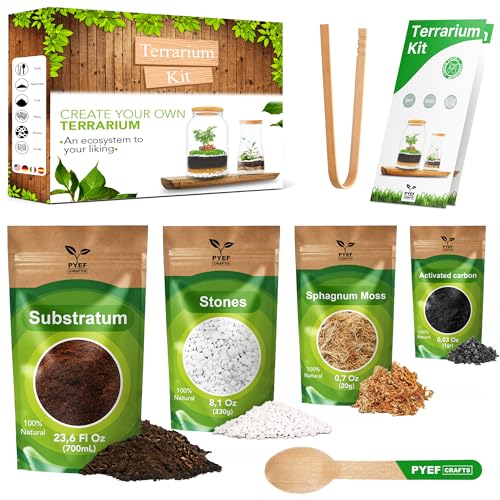
PYEF CRAFTS DIY Terrarium Kit for Plants – Build a Self‑Sustaining Closed Ecosystem – Supplies for Up to 68 oz (1‑2 Liter) – Succulents, Air Plants (Tillandsia), Fern – Jar Not Included
Easy to use: Such a terrarium kit for plant creations is designed to be easy to use and…
As an affiliate, we earn on qualifying purchases.
As an affiliate, we earn on qualifying purchases.
Create a Drainage Layer Base
Now that we've gathered all the necessary materials, let's create a solid foundation for our springtime terrarium by building a drainage layer base that will promote healthy plant growth.
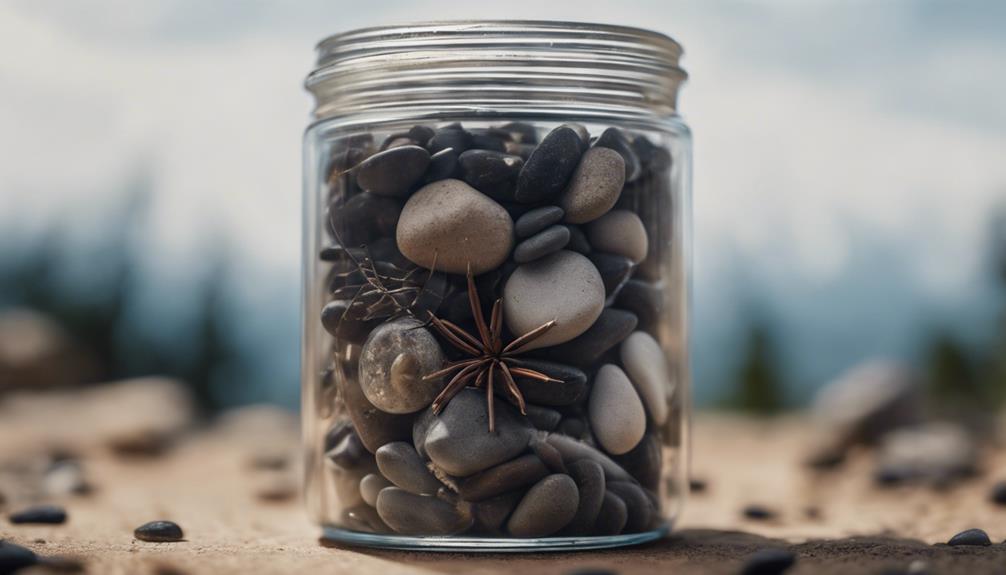
This layer is vital for preventing waterlogging and ensuring proper drainage, which is essential for a healthy environment. We'll start by adding a layer of pebbles or rocks at the bottom of our terrarium. This will allow excess water to drain through, preventing the buildup of stagnant water that can be detrimental to our plants.
Next, we'll add a layer of charcoal, which will help filter the water and prevent any unpleasant odors from developing in our terrarium. After the charcoal layer, we'll add a layer of sphagnum moss, which will act as a barrier, keeping the soil separate from the drainage materials.

FCKLVMC 27 Pcs 9 Styles Zen Garden Accessories, Miniature Rockery Decoration Mini Garden Accessories for Micro Landscape Decoration Bonsai Ornament Plant Pot
27PCS Zen Garden Accessories Set: Includes 9 unique mountain styles, 3 pieces of each design, perfect for creating…
As an affiliate, we earn on qualifying purchases.
As an affiliate, we earn on qualifying purchases.
Add Activated Charcoal for Filteration
By incorporating a layer of activated charcoal into our terrarium, we're taking an essential step in maintaining a healthy and balanced environment, as it effectively filters impurities and odors. This vital layer prevents the growth of bacteria and mold by absorbing excess moisture, ensuring our plants thrive in a clean and nurturing space.
Here are three key benefits of adding activated charcoal to our terrarium:
- Improved air circulation: Activated charcoal promotes air circulation by allowing oxygen to flow freely, preventing stagnant air pockets that can harm our plants.
- Enhanced water drainage: The porous nature of activated charcoal enhances water drainage, reducing the risk of waterlogged soil and root rot.
- Optimized nutrient absorption: Activated charcoal's porous structure also facilitates the absorption of essential nutrients, giving our plants the nutrients they need to flourish.

Pawfly 11 W Terrarium Light for 12" to 18" Terrarium Extendable Reptile Tank Light with Full Spectrum Brilliant White Blue Red Lights with Day & Night Modes and Adjustable Brightness
Full Spectrum: The terrarium light contains 6500 K white light, 450 nm blue light and 660 nm red…
As an affiliate, we earn on qualifying purchases.
As an affiliate, we earn on qualifying purchases.
Layer Sphagnum Moss and Soil
As we proceed with our Spring Time Terrariums, we're now going to tackle the essential step of layering sphagnum moss and soil.
We'll start by preparing the moss base, ensuring it's evenly distributed and ready to support our plants.
Next, we'll explore various soil layering techniques that will help create a thriving environment for our plants to grow.
Moss Base Preparation
We begin by preparing the moss base, a crucial step in creating a thriving terrarium ecosystem, by layering sphagnum moss at the bottom of the container. This moss layer acts as a moisture barrier, preventing soil from falling through and maintaining moisture within the terrarium, creating a suitable environment for plant growth. The moss layer also adds a natural and aesthetic element to the terrarium design.
Here are the key benefits of a well-prepared moss base:
- Moisture retention: Sphagnum moss helps maintain a consistent level of moisture, ensuring a healthy ecosystem.
- Soil retention: The moss layer prevents soil from falling through, keeping the terrarium design intact.
- Even spread: A uniform layer of moss ensures a balanced environment for plant growth.
Soil Layering Techniques
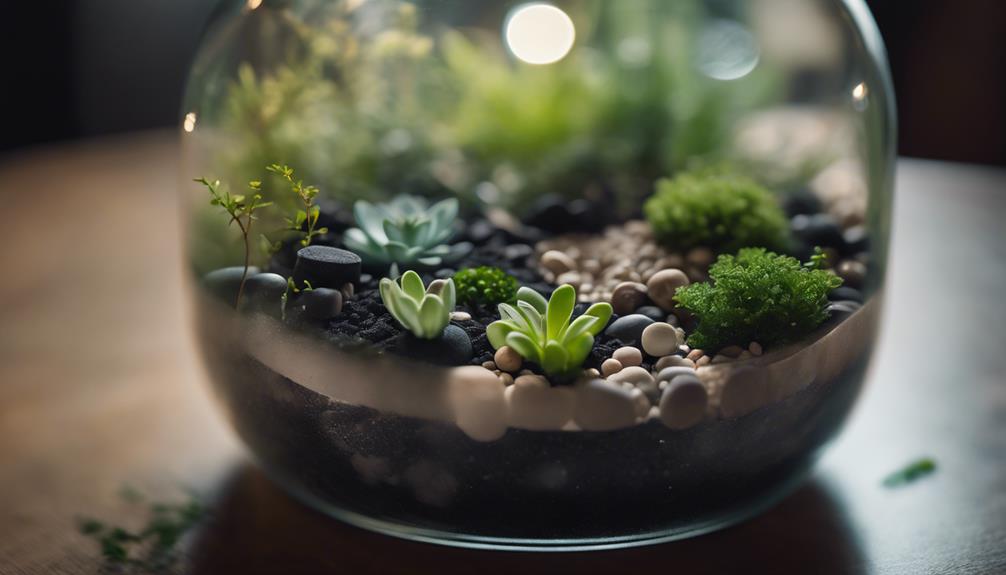
Now that we've prepared the moss base, let's move on to layering the soil, where we'll combine sphagnum moss and soil to create an ideal environment for our terrarium plants to thrive.
We'll start by adding a thin layer of sphagnum moss, which acts as a barrier between the soil and drainage materials, promoting proper plant growth. This natural material helps prevent soil compaction, aids in water distribution, and maintains soil moisture.
Next, we'll add a layer of activated charcoal to help with moisture control and prevent mold growth. Then, we'll add the soil around the plants, making sure not to pack it too tightly.
After that, we'll add another layer of sheet moss to help with drainage and air circulation. Since our terrarium plants don't need a lot of water, we'll make sure to leave some space between the soil and the top of the container for drainage holes.
Plant Your Chosen Spring Greens
Let's get started with planting our chosen spring greens by selecting a few of our favorite species that fit our terrarium's conditions. We'll choose plants that thrive in higher humidity and indirect sunlight during the spring season, such as ferns, mosses, and ivy.
Here are some tips to keep in mind:
- Proper Plant Spacing: Make sure to leave enough space between each plant to allow for growth and visual appeal.
- Handle with Care: Gently remove the plants from their pots and tease out the roots before placing them in the terrarium.
- Water Wisely: Water the plants gently but thoroughly, making sure the potting mix is moist but not waterlogged.
As we pot our plants, we'll make sure to handle them carefully to avoid damaging their roots or leaves. We'll also use a small amount of potting mix specifically designed for terrariums, which will help retain moisture and prevent waterlogged soil. By following these simple steps, we'll create a beautiful and thriving spring terrarium that will bring joy and serenity to our space.
Add Decorative Elements and Touches
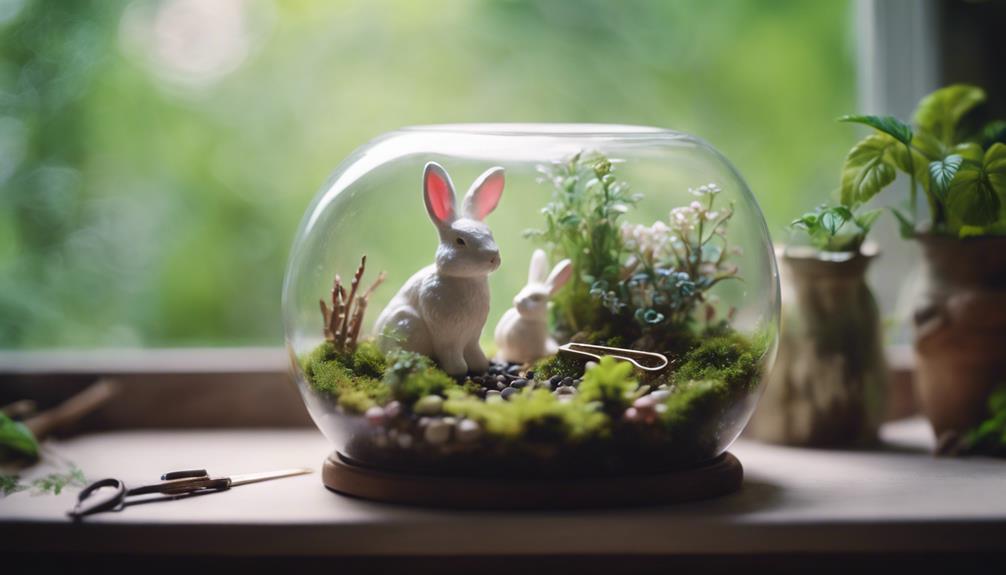
With our plants securely in place, we're ready to add the finishing touches to our spring terrarium by incorporating decorative elements that reflect our personal style.
It's time to get creative and add decorative elements that bring our terrarium to life. We can add small figurines, miniatures, or tiny accessories to personalize our terrarium and give it a unique touch.
Colored stones, crystals, or seashells can enhance the visual appeal of our terrarium, while natural elements like dried flowers, pinecones, or driftwood can add a rustic charm. We can experiment with different textures and colors to create a visually interesting and harmonious display.
For a whimsical touch, we can use miniature fairy garden items or tiny animals to create a magical terrarium theme. By adding these decorative elements, we can transform our terrarium into a beautiful and unique piece of art that reflects our personality.
Maintain and Care for Your Terrarium
As we move forward with our terrariums, we'll need to focus on maintaining and caring for them. We'll explore the best practices for watering, including scheduling tips and humidity control methods, to guarantee our miniature gardens thrive.
Watering Schedule Tips
We water our terrariums just enough to maintain the delicate balance of moisture, knowing that overwatering can be detrimental to the health of our plants. To guarantee our plants thrive, we follow a few simple watering schedule tips.
Here are some guidelines to keep in mind:
- Watering frequency: For open terrariums, we water once a week or when the soil feels dry to the touch. Closed terrariums require watering every 4-6 months to maintain moisture levels.
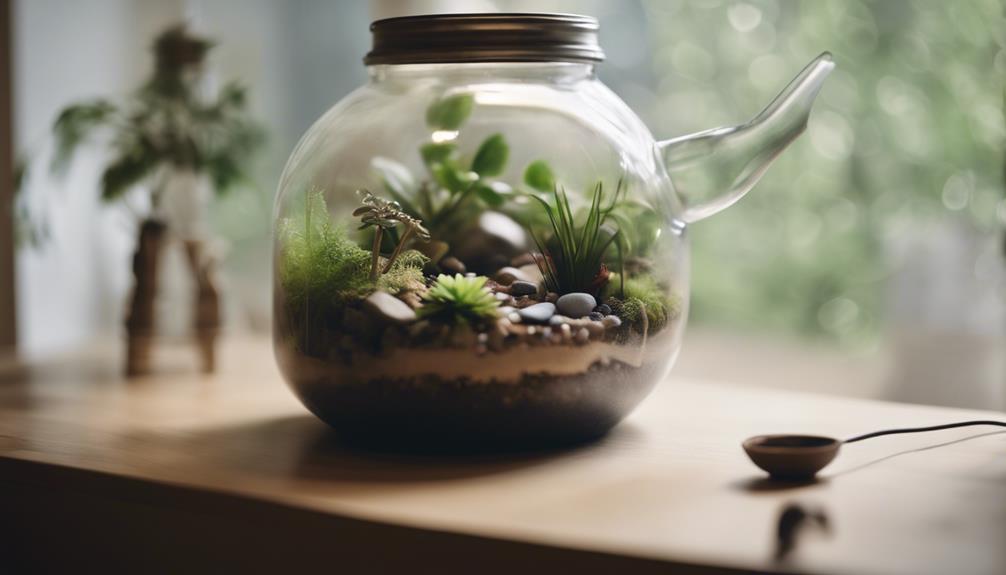
- Drainage is key: We add drainage to our glass jar to prevent waterlogged soil, which can lead to root rot and other problems.
- Monitor and adjust: We regularly check the condition of the soil and plants in our terrarium, adjusting our watering frequency as needed. We also remove any yellowing or damaged leaves and clean the container glass periodically to maintain a clear view of our terrarium.
Humidity Control Methods
By maintaining ideal humidity levels, we create an environment where our plants can thrive, and now it's time to explore the methods for controlling humidity in our terrariums.
A closed terrarium is an excellent way to naturally regulate humidity levels, especially for tropical plants. However, it's important to make sure proper ventilation to prevent mold growth due to excess moisture. We can monitor condensation levels on the terrarium walls as an indicator of humidity control effectiveness.
For open terrariums, we need to water more frequently to maintain adequate moisture levels for plant health. To improve air circulation and prevent stagnant humidity buildup, we can consider adding a small fan near the terrarium. Another trick is to add activated charcoal on top of the potting mix to absorb excess moisture.
Frequently Asked Questions
How to Make a Terrarium Step by Step?
We're thrilled to immerse ourselves in creating a mini indoor garden!
To make a terrarium, we'll start by selecting a clear container without drainage holes. Then, we'll layer in pea gravel, activated charcoal, sphagnum moss, and potting soil for proper drainage and plant growth.
Next, we'll carefully plant our selected plants, followed by adding decorative elements for visual appeal.
What Goes First in a Terrarium?
As we start on our terrarium journey, the first vital step is to establish a solid foundation.
So, what goes first in a terrarium? The answer lies in the humble beginnings of gravel or pebbles.
This initial layer provides essential drainage, preventing waterlogged soil and ensuring our miniature ecosystem thrives.
How Do You Make a Simple Terrarium for Kids?
We make a simple terrarium for kids by choosing a clear plastic container and adding a layer of gravel for drainage.
Next, we add a thin layer of charcoal to prevent mold growth, followed by a layer of soil.
We plant hardy succulents or air plants, and let kids get creative with colorful pebbles, figurines, or miniatures.
How Do You Make a Low Maintenance Terrarium?
We're excited to share that 75% of indoor plants are now low-maintenance terrariums! To make one, we choose plants like air plants, succulents, and miniature ferns that thrive in low light and humid conditions.
We avoid overwatering by monitoring soil moisture and only watering when necessary. We place our terrariums in indirect sunlight to prevent burning or drying out.
Conclusion
We've successfully created our own mini springtime world in a glass container!
To illustrate, let's take the example of Emma, who crafted a beautiful terrarium with baby's tears and ferns. She placed it on her office desk, where it thrives under the fluorescent lights, requiring only occasional watering.
With these 7 simple steps, you too can bring a touch of spring into your home or workspace, enjoying the calming benefits of a self-sustaining mini-ecosystem.