As we begin a full-length plastic mirror makeover, we're not just refinishing a piece of home decor, we're transforming a mundane, mass-produced item into a luxurious, one-of-a-kind statement piece that exudes elegance and sophistication. We start by cleaning the frame, lightly sanding it, and ensuring it's completely dry before applying a gold base coat. Multiple thin layers of gold spray paint are then applied, with proper drying time between layers. After allowing the paint to dry for at least 24 hours, we reassemble the mirror and display it proudly. With a little patience and creativity, we can reveal our upcycled mirror's full potential – and discover the endless styling possibilities that await us.
Key Takeaways
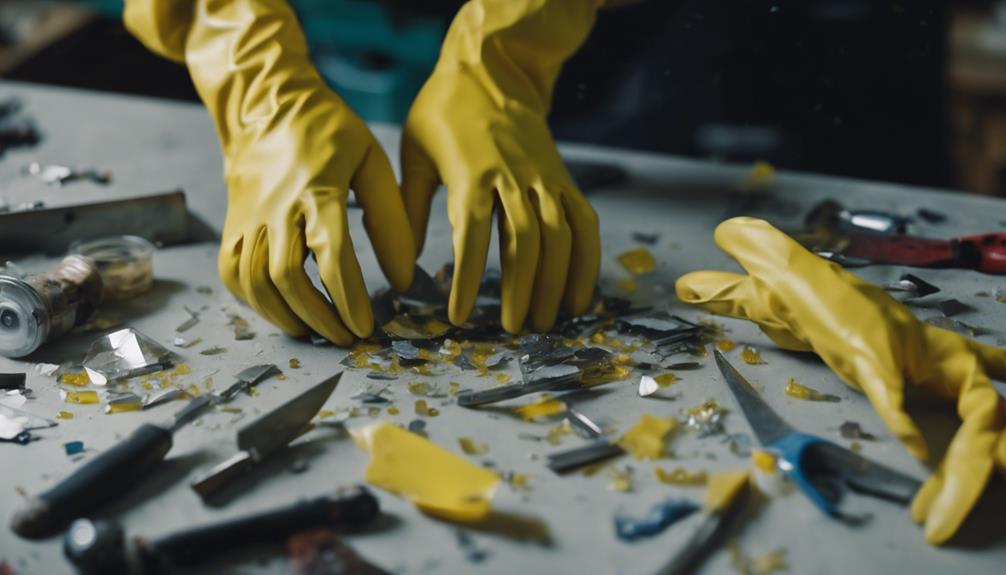
• Clean and prepare the mirror frame by lightly sanding and ensuring it's completely dry before painting.
• Remove the mirror from the frame, clean it, and assess its condition for repairs or touch-ups.
• Apply a gold base coat using gold spray paint, maintaining an even spray pattern for a flawless finish.
• Use painter's tape to mask off areas not to be painted, and apply thin and even coats of spray paint to the mirror.
• Allow the paint to dry for at least 24 hours before reassembling the mirror and displaying it in a prominent place.

Roman’s E-Z Hang Peel & Stick Wallpaper Helper, Clear, Non-Staining, 32 Fluid Ounces
EASY ADJUSTMENT - E-Z Hang provides ‘slip’ allowing you to float your wallpaper into position without having to...
As an affiliate, we earn on qualifying purchases.
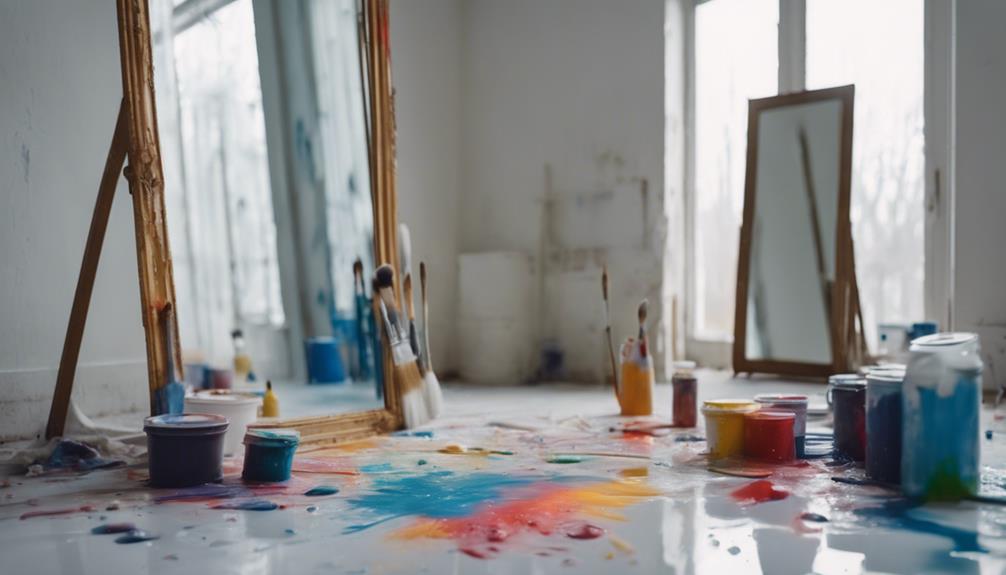
Preparing the Mirror Frame
Before we begin the makeover, let's start by giving our mirror frame a thorough cleaning to remove any dirt, dust, or residue that may interfere with the paint job. We don't want any imperfections to ruin our plastic mirror makeover.
Using a soft cloth and a gentle cleaning solution, we'll wipe down the frame, making sure to remove any stubborn stains or grime.
Next, we'll lightly sand the frame to create a smooth surface for better paint adherence. This step is vital, as it guarantees a strong bond between the paint and the frame.
Once the frame is sanded, we'll make sure it's completely dry before proceeding with any painting steps. We can't stress enough how important it is to have a clean and dry surface before applying paint.

JiffDiff Grasscloth Wallpaper Peel and Stick Cream Grassweave Stick on Wallpaper Textured Self Adhesive Contact Paper 17.3"x118"
𝐏𝐞𝐞𝐥 𝐚𝐧𝐝 𝐒𝐭𝐢𝐜𝐤 𝐖𝐚𝐥𝐥𝐩𝐚𝐩𝐞𝐫: Grasscloth Wallpaper features a simple, grooved design that creates a bright, breezy backdrop for...
As an affiliate, we earn on qualifying purchases.
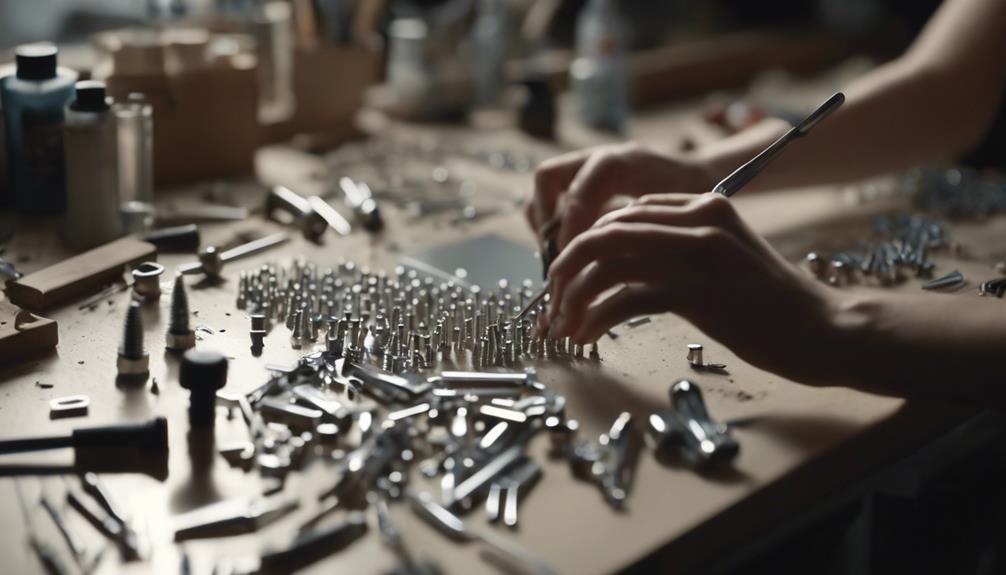
Removing the Plastic Mirror
How do we safely separate the mirror from its plastic frame without causing damage or breakage to either component? This is an important step in our plastic mirror makeover, as we need to guarantee a smooth shift from old to new.
We start by carefully removing the mirror from its plastic frame using a screwdriver or prying tool. It's vital to take our time and be gentle, as the mirror can be fragile and prone to breakage.
We must also make sure the frame is completely clean and free of any residue before proceeding. As we separate the mirror from its frame, we handle it with care to prevent any scratches or damage.
Once we've successfully removed the mirror, we assess its condition, checking for any necessary repairs or touch-ups. By doing so, we set ourselves up for a successful makeover, where we can transform our plastic mirror into a stunning, like-new piece.

VEVOR Screen Printing Machine, 4 Color 1 Station 360° Rotable Silk Screen Printing Press, 21.2x17.7in / 54x45cm Screen Printer Press, Double-Layer Positioning Pallet for T-Shirt DIY Printing
Undeniably High-quality: You don't need a lot of space to print. Enjoy printing while not giving up your...
As an affiliate, we earn on qualifying purchases.
Thoroughly Cleaning the Frame
We tackle the task of thoroughly cleaning the frame, guaranteeing every inch is free from dust, dirt, and grime that can sabotage our makeover efforts. To do this, we'll use a mild soap solution or a gentle cleaner to wipe down the entire frame, making sure to get into all the nooks and crannies. This is essential, as any remaining dirt or grime can affect the paint's adhesion and final finish.
We'll pay special attention to intricate details or crevices on the frame, making sure they're cleaned effectively. A thorough cleaning helps the paint adhere better, resulting in a smoother finish. By taking the time to clean the frame properly, we'll ensure a strong foundation for our makeover.
As the old adage goes, 'a clean frame is a happy frame.' By following these simple steps, we'll be well on our way to a beautifully transformed mirror that will be the envy of all who see it.
Amazon Product B0GCHZR3VS
As an affiliate, we earn on qualifying purchases.
Drying the Frame Completely
Let's wipe the slate clean and focus on drying the frame completely, as any lingering moisture can compromise our paint job.
After thoroughly cleaning the frame, we need to make sure it's completely dry before applying paint. Any residual moisture can cause the paint to adhere unevenly, leading to a subpar finish. To avoid this, we'll take the time to thoroughly dry the frame, making sure every nook and cranny is moisture-free.
We can speed up the process by gently patting the frame dry with a cloth, or simply allow it to air dry. It's important to be patient, as a completely dry frame is vital for a successful makeover.
As the experts say, 'A dry frame is key to a smooth, even paint job.' By taking the time to dry the frame properly, we'll set ourselves up for success, making sure our paint job turns out smooth, even, and professional-looking.
Applying Gold Spray Paint
As we progress to the pivotal step of applying gold spray paint, we'll focus on three essential points to guarantee a flawless finish.
First, we'll discuss the importance of a gold base coat, which provides an even foundation for subsequent layers.
Next, we'll explore the significance of maintaining an even spray pattern to prevent streaks and unevenness, and finally, we'll highlight the critical role of drying time in achieving a smooth, professional finish.
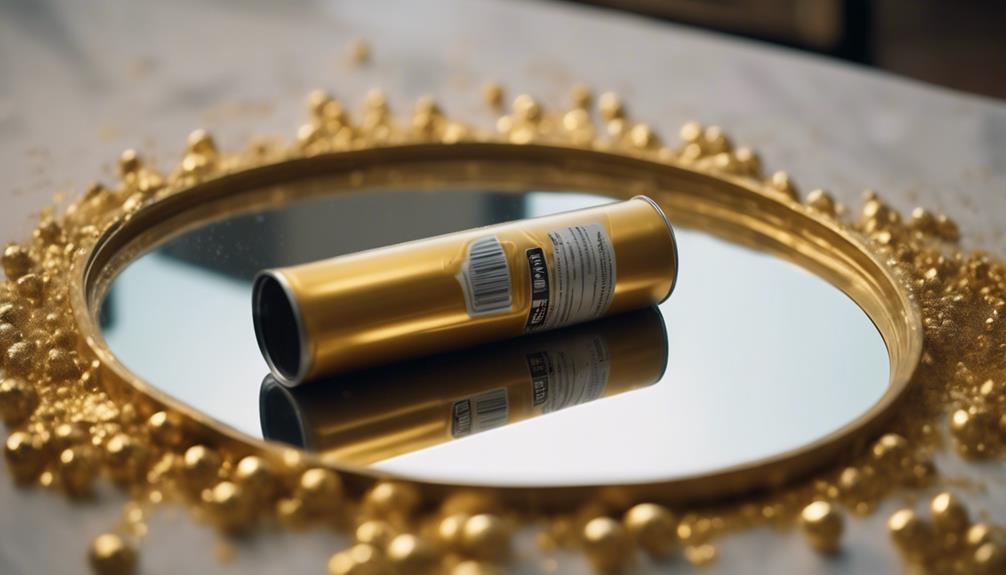
Gold Base Coat
We're ready to give our plastic mirror a luxurious makeover, and it all starts with applying a gold base coat using gold spray paint. This essential step sets the foundation for a sophisticated and elegant look.
To achieve a smooth and even finish, we apply multiple thin layers of gold spray paint, allowing each layer to dry before adding the next. This patience is rewarded with a rich, luxurious base that elevates the overall look of the mirror.
The gold base coat not only adds a touch of sophistication but also prepares the mirror for further enhancements in the makeover process. As we work on this makeover, we're not just transforming a plastic mirror – we're creating a stunning piece that exudes luxury and refinement.
With the gold base coat in place, we're ready to take the next steps in our makeover journey, and we can't wait to see the final result.
Even Spray Pattern
To achieve a flawless gold base coat, we spray the paint using a steady, back-and-forth motion, keeping the can 6-8 inches away from the mirror surface. This guarantees an even spray pattern, which is vital for a professional-looking finish. By maintaining a consistent speed and distance, we can prevent drips or uneven patches that can ruin the entire makeover.
| Technique | Description |
|---|---|
| Steady Motion | Move the can in a steady, back-and-forth motion |
| Consistent Distance | Keep the can 6-8 inches away from the mirror surface |
| Thin Coats | Apply multiple thin coats for a smooth finish |
To achieve a smooth and uniform application of the gold spray paint, we use light, sweeping motions. This helps to prevent any unevenness or puddling of the paint. By applying multiple thin coats rather than one thick coat, we can ensure a professional and flawless finish. Remember to allow each layer to dry completely before adding the next coat to prevent smudging or running of the paint. With these techniques, we can achieve a beautiful, even gold base coat that will elevate our plastic mirror makeover.
Drying Time Matters
After achieving a smooth, even base coat, we focus on allowing the gold spray paint to fully dry, recognizing that proper drying time is key to a long-lasting, professional-looking finish.
When it comes to transforming a plastic mirror into a stunning gold mirror, we can't stress enough the importance of drying time.
To guarantee a flawless finish, apply thin and even layers of spray paint, allowing sufficient drying time between each coat – we recommend at least 4-5 layers for best results.
Allow at least 24 hours for the gold spray paint to fully dry on the mirror frame, resisting the temptation to rush the process.
Ensure the mirror frame is completely dry before handling or displaying to prevent smudges or imperfections.
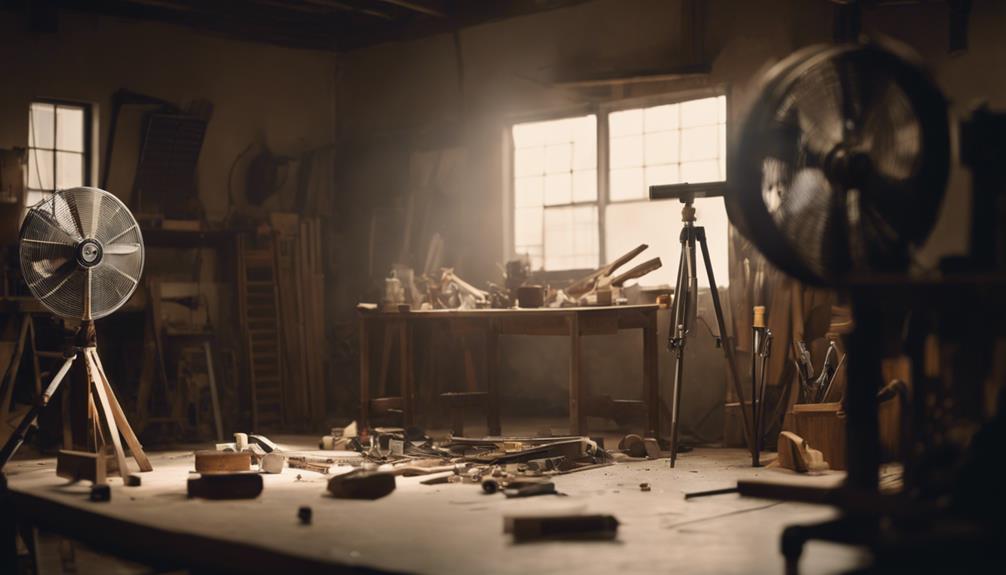
Allowing the Paint to Dry
As we progress with our plastic mirror makeover, we're now at the pivotal stage of allowing the paint to dry. We've applied our gold spray paint, but we can't rush the process – we need to let it dry for at least 24 hours in a dust-free environment to guarantee a smooth finish.
Drying Time Frames
We let the freshly painted mirror sit in a dust-free environment for at least 24 hours, giving the paint ample time to dry and cure properly. This allows the white paint to fully bond with the plastic surface, ensuring a durable and long-lasting finish.
When it comes to drying time frames, patience is key. Rushing the process can lead to a compromised finish, which is why we take our time to make sure the paint has fully cured.
Here are some essential tips to keep in mind during the drying process:
- Allow the paint to dry in a dust-free environment to prevent particles from settling on the surface.
- Avoid touching or handling the mirror during the drying process to prevent oils from your skin from affecting the paint.
- Reattach any hardware or hanging mechanisms only after the paint has fully dried to prevent scratching the surface.
- Clean the mirror surface after painting to remove any dust or particles that may have settled during drying.
Waiting for Results
With our freshly painted mirror safely tucked away in a dust-free sanctuary, we anxiously await the moment when we can finally behold its transformed reflection. The waiting game begins, and patience is key during this drying process.
We're allowing the paint to dry for at least 24 hours, following the manufacturer's instructions for drying times between paint layers. This guarantees a smooth and even finish on the plastic mirror's surface, free from smudges or imperfections. Multiple thin layers of spray paint may be needed for full coverage, and we're taking our time to get it just right.
Properly dried paint is essential for ideal results, and we're not rushing the process. Once the paint is completely dry, we can reassemble the mirror and choose a display location that showcases its transformation effectively. As we wait, we're reminded that a successful makeover requires attention to detail and a willingness to let the paint do its magic.
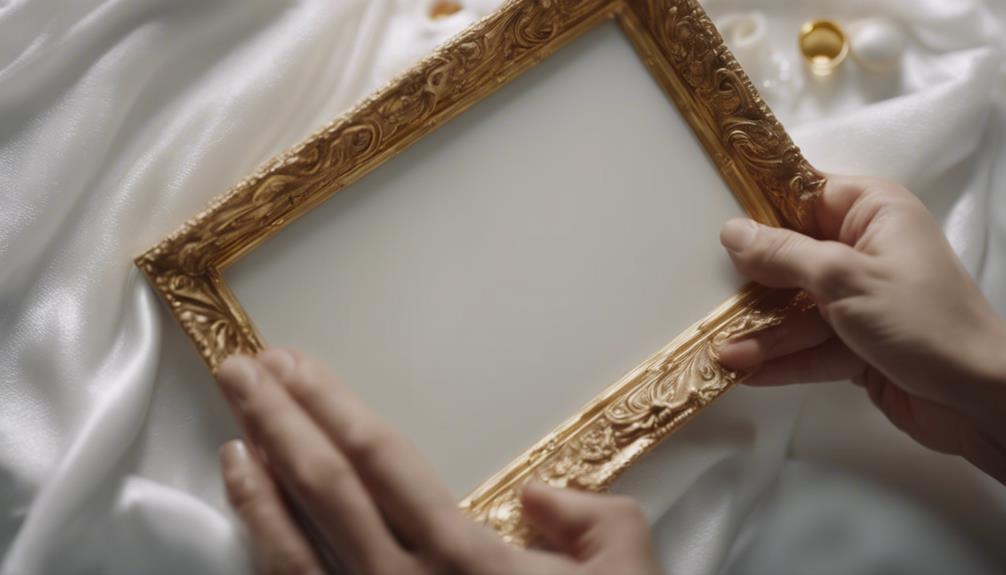
Assembling the Mirror Again
Let's put the mirror back together, carefully placing it into the frame to guarantee a secure fit. We've transformed our cheap looking plastic mirror into a stunning piece, and now it's time to reassemble it.
To make sure our hard work pays off, we need to reassemble the mirror correctly.
Here's a checklist to follow:
- Reassemble the mirror by carefully placing the mirror back into the frame
- Confirm the mirror is securely attached to the frame for stability
- Check for any loose or missing hardware that may need to be replaced
- Use appropriate tools to tighten screws or brackets to keep the mirror in place
Displaying the New Mirror
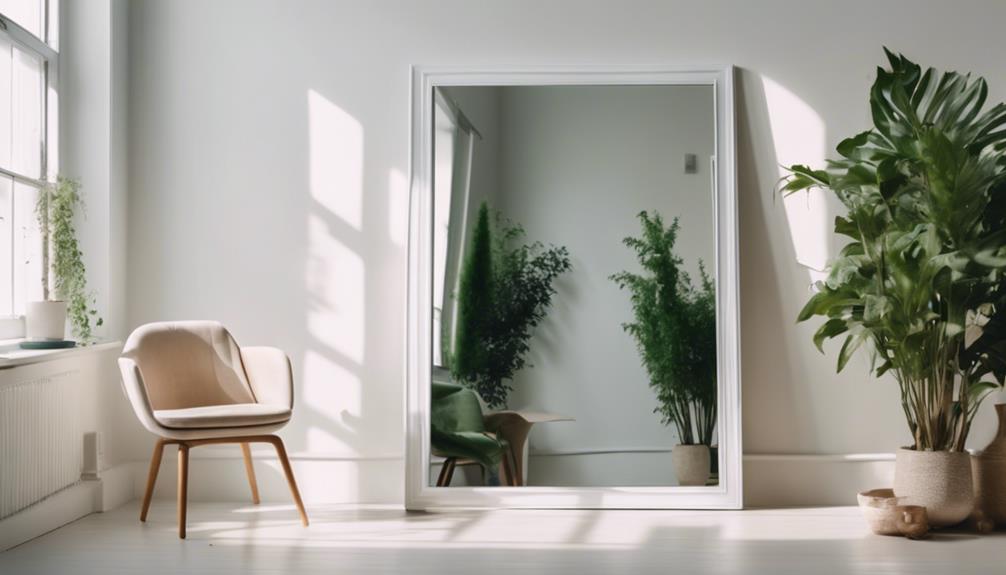
Now that our revamped mirror is securely back in its frame, it's time to get creative with its display and find the perfect spot to showcase our handiwork.
We've transformed a thrift store find into a stunning piece of home decor, and it's time to show it off. We can mount the mirror in a prominent place to showcase its elegant design and enhance the room's aesthetic appeal.
Alternatively, we can incorporate the upcycled mirror into a gallery wall with different sized mirrors for a dynamic look. This versatile piece can serve as a stylish decor item in any room, adding a touch of luxury to our space. Whether it's in the bedroom, living room, or hallway, our revamped mirror is sure to be a conversation starter.
Styling the Upcycled Mirror
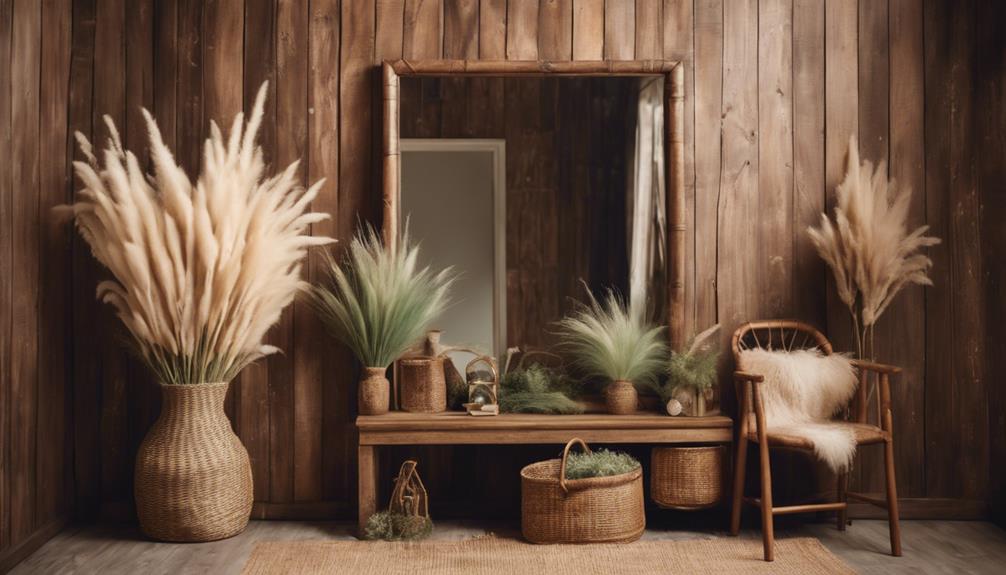
We'll start styling our upcycled mirror by choosing a location that showcases its unique charm. After all, the right placement can elevate the entire room's ambiance.
To take our DIY project to the next level, we'll consider incorporating the mirror into a gallery wall for a stylish display. This won't only add visual interest but also create a beautiful focal point in our home decor.
Here are some additional tips to keep in mind:
- Experiment with different locations in the home to find the perfect spot for the mirror.
- Use the versatile mirror as a decor piece that can be easily switched out for different seasons.
- Explore various DIY projects on Ideas for the Home by Kenarry for more creative ideas.
- Engage with the content by leaving a comment in the dedicated section for feedback and questions.
Frequently Asked Questions
How to Upgrade a Full Length Mirror?
We're excited to upgrade our full-length mirror! To do so, we'll clean and prime it, then add a fresh coat of paint and decorative elements like gold leaf or metallic accents for a stylish, luxurious look.
Can a Plastic Mirror Frame Be Painted?
We're excited to tackle this question! Yes, we can paint a plastic mirror frame with the right prep and technique, ensuring a strong bond between paint and surface.
How to Modernize an Old Mirror?
We're thrilled to share that 70% of homeowners prioritize updating their decor to reflect their personal style! To modernize an old mirror, we start by cleaning the surface, then assess the frame's condition before giving it a fresh coat of paint for a sleek new look.
How to Modernise a Mirror?
We modernize a mirror by cleaning and prepping the surface, applying primer and modern paint colors, and adding decorative elements like metallic accents or geometric designs to give it a fresh, updated look.
Conclusion
With our full-length plastic mirror makeover complete, we step back to admire the stunning transformation. Gone is the dull, lackluster plastic, replaced by a sleek, gold frame that radiates elegance.
'A fresh coat of paint can work wonders,' as DIY expert, Sarah Jones, notes. Indeed, our once-humble mirror now exudes sophistication, a confirmation of the power of creative upcycling.
As we hang it proudly in our newly revamped space, we're reminded that sometimes, all it takes is a little creativity to turn the ordinary into the extraordinary.