We're transforming ordinary plastic planters into stunning decorative pieces that elevate our indoor and outdoor spaces. With just a few simple steps, we can give our planters a faux stone finish, adding texture and depth with joint compound and putty knife. A satin finish spray paint and acrylic paint for details can completely revamp the look. By following these easy DIY steps, we can upcycle old planters, reduce waste, and add a personal touch to our homes – and it's a budget-friendly endeavor too! As we continue to explore these creative possibilities, we'll discover even more ways to turn ordinary planters into extraordinary pieces.
Key Takeaways
• Clean and prepare your plastic planter by removing dirt, debris, and old potting mix for a fresh start.
• Add texture and visual interest with joint compound and a putty knife before painting for a unique look.
• Use spray paint with a satin finish to give your planter a sophisticated appearance, and add details with acrylic paint.
• Seal your design with a clear sealant to ensure durability and protect your planter from the elements.
• Regularly wipe down your planter with a damp cloth to maintain its appearance and inspect for cracks or damage.
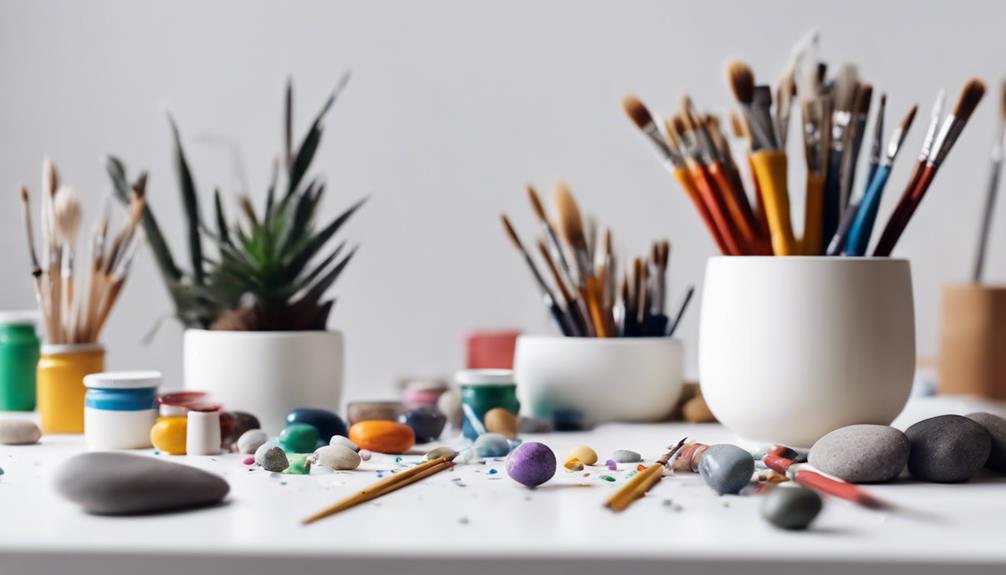
Essential Supplies for the Transformation
To get started on transforming our plastic planters, we'll need a few essential supplies that will help us achieve a stylish and upscale appearance. The first item on our list is a plastic planter pot, which will serve as the foundation for our makeover.
Next, we'll need a joint compound to create texture on the plastic planters, providing a weathered and aged look. A putty knife will come in handy for applying the joint compound.
Additionally, we'll require spray paint with a satin finish to enhance the overall appearance of the textured pot. Finally, acrylic paint with a craft brush will help us add color and detail to the planters, achieving a realistic faux stone finish.
By gathering these essential supplies, we'll be well on our way to glamorizing our plastic planters and giving them a sophisticated look.
As we start on this DIY project, we're confident that with the right tools, we can achieve a stunning transformation that will elevate our outdoor or indoor spaces.
Preparing Your Plastic Planter
As we move forward with preparing our plastic planters, we'll need to tackle a few essential tasks to guarantee a successful transformation.
First, we'll clean the planter surface to remove any dirt or debris, then remove old potting mix to start fresh, and finally, ready the new soil that will give our plants a healthy foundation.
Clean the Planter Surface
Before we start glamorizing our plastic planters, we're giving them a fresh start by thoroughly cleaning their surfaces with soap and water to remove any dirt or debris. This is important, especially if we're planning to use them as part of our home decor during any time of the year. A clean surface guarantees a strong bond between the planter and the paint, which is essential for a long-lasting finish.
Here are a few reasons why cleaning is important:
- Removes dirt and debris that can affect paint adhesion
- Prevents the growth of mold and mildew
- Gives us a smooth surface to work with
Remove Old Potting Mix
We're now ready to prep our plastic planters for their glamorization by removing any leftover potting mix, an important step in creating a healthy environment for our new plants. This vital step helps prevent soil compaction, improves drainage, and creates a healthier environment for our plants.
To start, we'll use a garden trowel or scoop to remove the old potting mix, discarding it in a compost pile or trash. Next, we'll inspect the planter for any roots or debris left behind, cleaning it thoroughly with soapy water. After a good rinse with clean water, we'll let the planter dry completely before adding fresh potting mix.
It's crucial to remove the old potting mix to give our new plants a clean start. By doing so, we'll guarantee our plants receive the necessary nutrients and water without any hindrances. By following these simple steps, we'll be well on our way to creating a thriving environment for our plants to flourish.
Ready the New Soil
We fill our cleaned and prepared plastic planters with a fresh, well-draining potting mix, specifically designed to promote healthy root growth and water penetration. This new soil will provide a nutrient-rich environment for our plants to thrive.
To guarantee a successful shift, we take a few pivotal steps.
- We choose a potting mix that's specifically designed for containers, which will help prevent waterlogged soil and root rot.
- We avoid using soil from our garden, as it can compact and prevent proper drainage in our planters.
- We don't skip this step, as using old potting mix can transfer diseases and pests to our new plants.
Applying Faux Stone Spray Paint
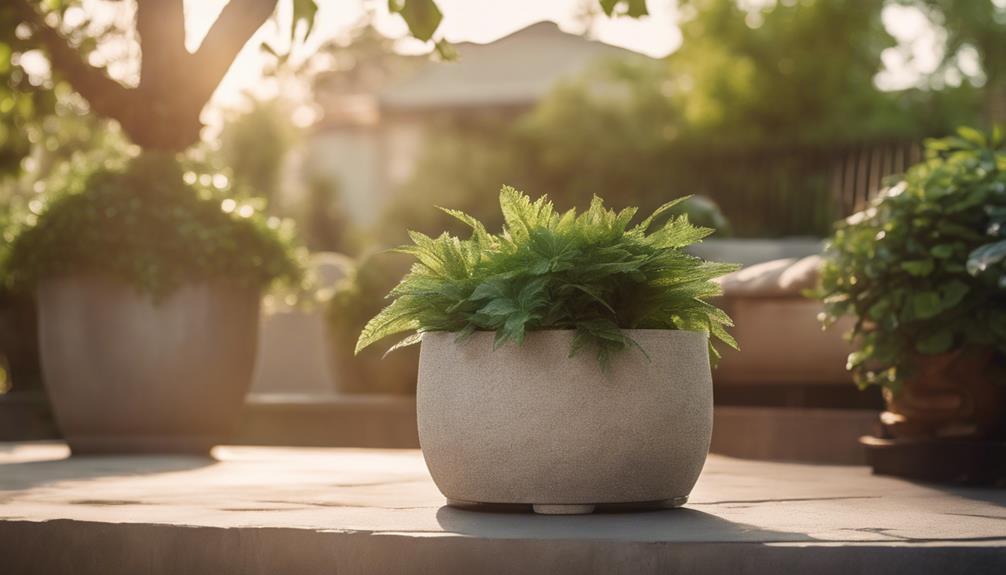
With our plastic planters thoroughly cleaned and prepared, we're ready to give them a realistic stone-like makeover by applying faux stone spray paint. This innovative product creates a textured, stone-like finish that's sure to elevate the appearance of our planters.
To achieve the best results, it's crucial to use thin and even coats of spray paint, as this will prevent unsightly drips and guarantee a smooth, natural-looking finish. We can enhance the depth and realism of our faux stone finish by adding layers of darker and lighter paint, creating a multi-dimensional effect.
Once we've achieved the desired look, we'll seal our planters with a clear sealant to protect the finish from weathering. This will ensure our planters remain durable and long-lasting, even when exposed to the elements.
Adding Depth and Texture Techniques
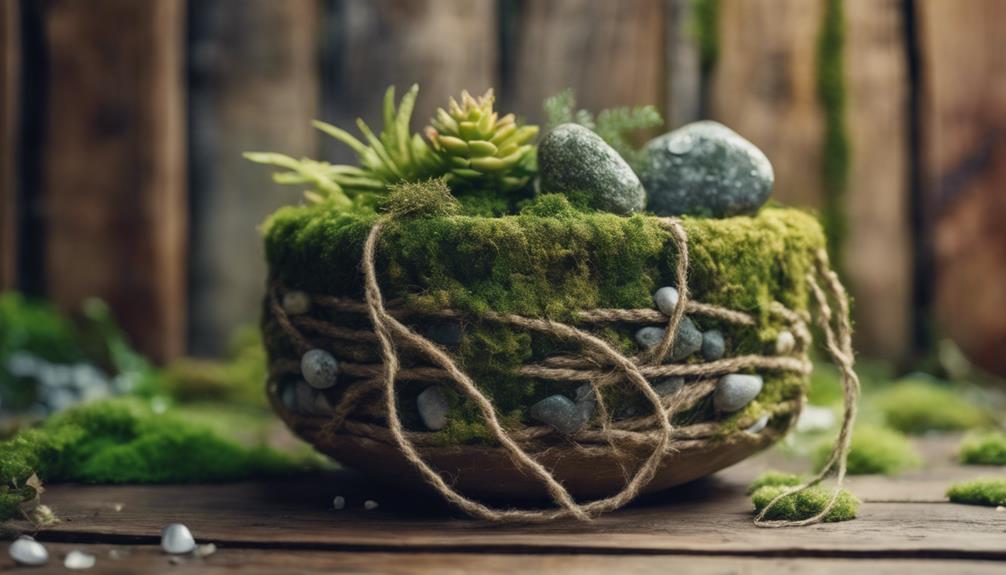
Now that our planters have a solid base coat of faux stone spray paint, we'll take our design to the next level by incorporating advanced techniques to add depth and texture. This is where the magic happens, and our planters start to resemble real stone.
To achieve a realistic appearance, we'll use darker shades of paint to create depth and shadows. We'll also experiment with different painting techniques, such as dry brushing or stippling, to add texture to the surface of the planters.
Here are some specific techniques to try:
- Use small brushes or sponges to create intricate details and patterns that imitate natural stone variations.
- Incorporate light touches of a lighter color to mimic highlights and enhance the three-dimensional effect of the faux stone finish.
- Allow each layer of paint to dry completely before adding additional details to secure a professional and polished look on your plastic planters.
Sealing the Finish for Durability
In order to guarantee the longevity of our beautifully painted planters against the elements, we apply a clear sealant specifically designed for outdoor use, protecting the finish from fading, chalking, or cracking. We take care to apply the sealant in thin, even layers to ensure proper coverage and protection against weathering.
Before applying the sealant, we make sure the planters are completely dry to prevent any trapped moisture. Following the manufacturer's instructions for drying and curing times is vital to ensure the sealant effectively protects the finish.
Reapplying the sealant annually is essential to maintain the durability and longevity of the faux stone finish on our plastic planters. By doing so, we can enjoy our beautifully glamorized planters for years to come. Remember, a well-sealed finish is key to withstanding the outdoor elements.
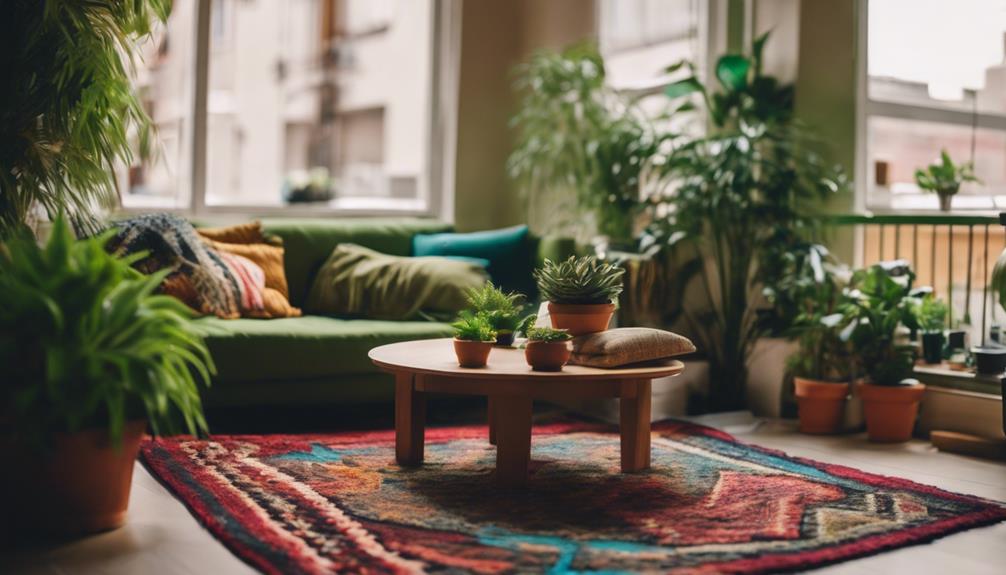
Displaying Your Glamorized Planter
As we've perfected the art of glamorizing our plastic planters, it's time to focus on showcasing them in a way that elevates our indoor or outdoor spaces. Now that our planters are looking their best, we want to create a display that showcases their beauty and enhances our surroundings.
To do this, we can try a few different approaches. Here are a few ideas to get us started:
- Group our glamorized planters with other decorative elements, like vases or sculptures, to create a cohesive and stylish display.
- Place our planters in strategic locations, like a sunny windowsill or a patio corner, to enhance the overall aesthetic of our space.
- Mix and match different sizes and shapes of glamorized planters to add visual interest and depth to our display.
Tips for Maintenance and Care
As we move forward with our glamorized planters, we're excited to share some essential tips for maintaining their beauty and longevity.
From understanding the right way to water our plants to establishing a daily cleaning routine and implementing effective pest control measures, we'll explore the best practices for keeping our planters looking their best.
Watering the Right Way
How can we guarantee our plants receive the appropriate amount of water without over- or under-watering them? We've all been there – watching our plants wither away from too little water or drown from too much. To avoid this, we need to water our plants the right way.
Here are some tips to keep in mind:
** Water at the base of the plant, not on the leaves, to prevent mold and disease.
Use a watering can** with a narrow spout to control the water flow and avoid overwatering.
Check the soil moisture level** by sticking your finger into the soil; water only when the top inch feels dry.
Additionally, we should avoid watering our plants during the hottest part of the day to prevent evaporation and scalding of the leaves. Consider using a self-watering system or moisture meter to make certain our plants receive the right amount of water consistently.
Daily Cleaning Routine
We maintain our plastic planters' sparkle and functionality by incorporating a daily cleaning routine into our plant care regimen. This involves wiping them down with a damp cloth or mild soap to remove dirt and debris that can accumulate and dull their appearance.
For tougher stains, we use a soft brush or sponge to gently scrub the surface of the planters. It's crucial to avoid harsh chemicals or abrasive cleaners that can damage the finish of the plastic planters.
During our daily cleaning routine, we also inspect the planters for any cracks or damage, and repair them promptly to prevent further deterioration. Additionally, we consider rotating the planters periodically to ensure even exposure to sunlight and prevent discoloration.
Pest Control Measures
Take a close look at our planters daily to catch any sign of unwanted visitors, from holes in the leaves to actual insects crawling around. We don't want any pests ruining our carefully curated planters. Regular inspections can help us identify potential problems before they get out of hand.
To keep our planters pest-free, we use natural remedies like neem oil, diatomaceous earth, or insecticidal soap to control common pests like aphids, mealybugs, and spider mites. We also encourage beneficial insects like ladybugs and lacewings to help control pest populations in our planters.
Here are some additional tips to keep in mind:
- Avoid overwatering our plants, as standing water can attract pests like fungus gnats and root rot-causing organisms.
- Practice good hygiene by removing debris, fallen leaves, and dead plant material from our planters to prevent pest infestations.
- Keep an eye out for signs of pests, such as holes, chewed leaves, or visible insects, and take action quickly to prevent infestations from spreading.
Frequently Asked Questions
How to Spruce up a Plastic Planter?
We're looking to spruce up a plastic planter, and we're excited to give it a makeover! By priming, painting, and sealing, we can transform it into a stunning faux stone planter that adds elegance to our outdoor space.
How to Make a Plastic Planter Look Old?
We're transforming our plastic planters to look aged! We clean, apply joint compound for texture, spray paint for a weathered finish, and layer brown and off-white paint for a realistic, distressed look.
How to Disguise a Plastic Planter?
We're tired of the shiny look, so we're disguising our plastic planters by adding texture with joint compound, then painting and sealing them to create a weathered, stone-like appearance that blends with our outdoor decor.
How to Upcycle Plastic Pots?
Did you know that 80% of plastic waste ends up in landfills? We're taking action by upcycling plastic pots into unique planters. We sand, prime, and spray paint them with faux stone finishes, giving new life to old plastic waste.
Conclusion
To sum up, we've successfully transformed our plastic planters into stunning, stone-like planters. According to the Environmental Protection Agency, 'containers and packaging' account for approximately 30% of municipal solid waste, highlighting the importance of upcycling and creative reuse.
By glamorizing our plastic planters, we're not only reducing waste but also adding a touch of elegance to our homes. Now, it's time to get creative and give new life to those mundane plastic planters!