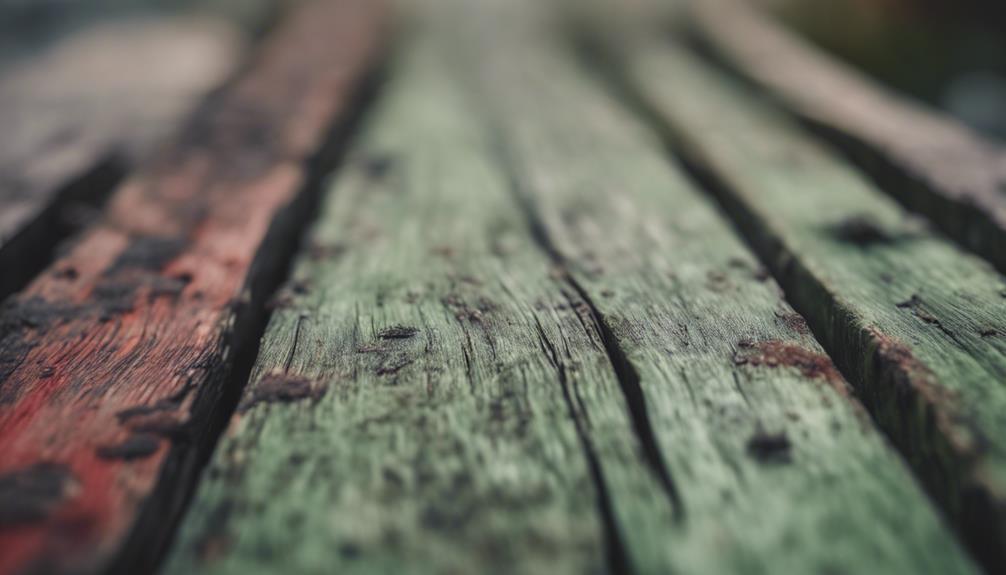
We're often drawn to the unique character of weathered wood finishes, which evoke a sense of nostalgia and history. To create a great weathered wood finish, we start by selecting the right wood type, such as softwoods like pine or cedar, and prepare the surface by sanding and filling imperfections. Next, we mix a weathered stain using water-based walnut stain and light grey acrylic paint, adjusting the ratio to achieve the desired color intensity. By layering the stain, distressing the surface with hammering and sanding, and sealing with poly-acrylic, we can achieve a professional-looking, unique weathered finish, and by following these steps carefully, we'll uncover even more techniques to master this distinctive look.
Key Takeaways
• Choose the right wood type, such as softwoods like pine or cedar, for a weathered finish with rich, warm color tones.
• Thoroughly sand and prepare the wood surface, filling cracks and holes, to ensure a smooth finish.
• Mix water-based stain with acrylic paint to achieve a customizable weathered finish, and experiment with ratios on scrap wood.
• Use distressing techniques like hammering, sanding, and staining to create subtle, random imperfections and a naturally weathered look.
• Seal the finish with poly-acrylic for preservation and durability, and allow each coat to fully dry before applying the next layer.

Retique It Multipurpose Kit with Liquid Wood Based Primer and Stain Includes Graining Tools, Brush and Gel Stain Alternative – Go Beyond Faux (2X 8oz / Weathered Wd)
AUTHENTIC WOOD FINISH – Go Beyond Faux with our patented liquid wood technology. It looks and feels like…
As an affiliate, we earn on qualifying purchases.
As an affiliate, we earn on qualifying purchases.
Selecting the Right Wood Type
When choosing the right wood type for a weathered finish, we narrow down our options to softwoods like pine or cedar, which absorb stains more effectively and showcase weathering effects beautifully. These wood types are ideal for achieving that distressed, vintage look we're going for.
On the other hand, hardwoods like oak or maple may require more sanding and preparation to achieve the same effect, making softwoods a more practical choice. Additionally, we consider the natural color variations and grain pattern of the wood, as these can greatly impact the final appearance of our piece.
A wood with a rich, warm color tone, for instance, will produce a unique and stunning weathered finish. By selecting the right wood type, we set ourselves up for success in creating a beautifully weathered wood finish that's full of character and charm.

BriSunshine Surface Conditioning Tool 1400W, Electric Burnishing Tool Machine, 8 Variable Speed Wheel Sander Polisher for Wood Metal Stainless Steel with 1 Wheel, Lock Switch (UL Certified)
【Powerful Copper Motor】– Built-in 1400W strong copper motor with 110V standard American plug and with UL testing report,this…
As an affiliate, we earn on qualifying purchases.
As an affiliate, we earn on qualifying purchases.
Preparing the Wood Surface
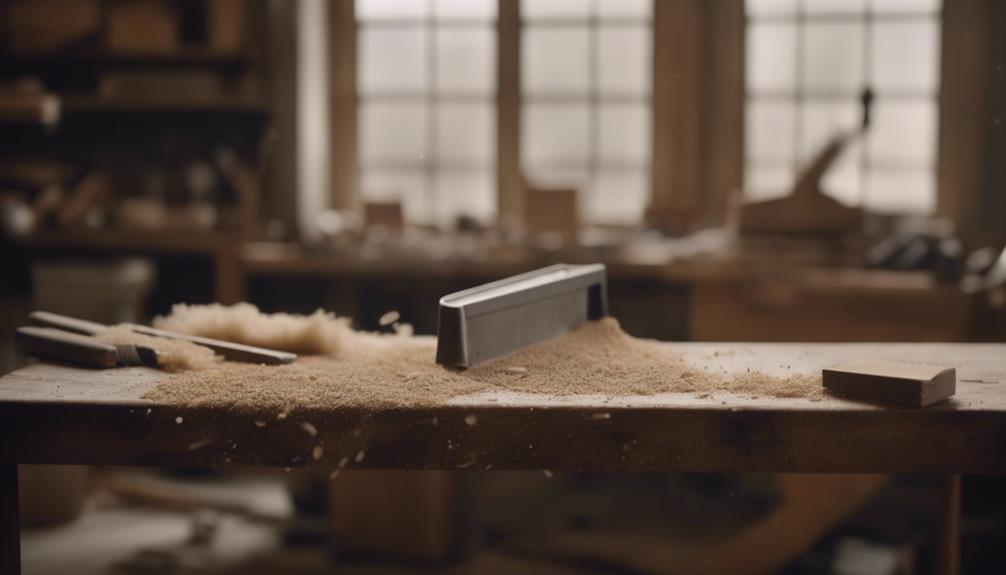
Now that we've selected the perfect wood type, we're ready to prepare the surface to guarantee a beautifully weathered finish. Wood surface preparation is a vital step in achieving the desired outcome.
We'll start by sanding the wood thoroughly to remove any existing finish or imperfections. Next, we'll clean the wood with a tack cloth or damp rag to remove dust and debris. This ensures a smooth, even surface for staining.
To prevent uneven stain absorption, we'll apply a wood conditioner, allowing the stain to penetrate evenly. If there are any cracks or holes, we'll fill them with wood filler to create a smooth finish. It's important to make sure the wood surface is completely dry before applying any stain or paint.

Minwax 233334444 Polycrylic Protective Wood Finish, Clear Satin, ½ Pint
PROTECT WOOD SURFACES – Minwax Polycrylic Protective Finish protects and adds beauty to your interior wood projects, including…
As an affiliate, we earn on qualifying purchases.
As an affiliate, we earn on qualifying purchases.
Mixing the Weathered Stain
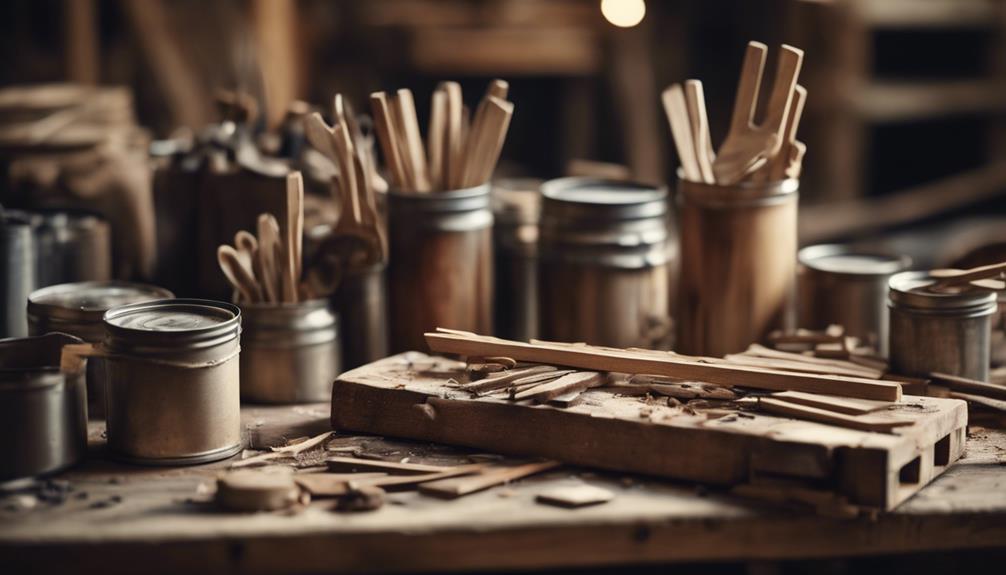
As we proceed with creating a weathered wood finish, we'll focus on mixing the perfect stain to achieve an authentic, distressed look.
Now, it's crucial to choose the right tones that will blend seamlessly with the natural wood texture, and we'll explore how to do just that.
Choosing the Right Tones
We'll start by mixing a water-based walnut stain with light grey acrylic paint to achieve a versatile weathered wood tone that suits our project's aesthetic.
By adjusting the ratio of stain to paint to water, we can fine-tune the color intensity to our liking. This allows us to create a range of weathered wood looks, from subtle to dramatic, without overpowering the natural wood grain.
To get it just right, we can experiment with different ratios on scrap wood, testing the results until we achieve the perfect tone. By layering the stain mixture, we can build up a customizable finish that's uniquely suited to our project.
And, by sealing the weathered wood finish with poly-acrylic, we can preserve the color and add durability. With a little patience and experimentation, we can create a stunning weathered wood look that adds character and charm to our project.
Blending With Distress
With our tone in mind, we mix the water-based American Walnut stain with light grey acrylic paint, carefully adjusting the ratio of stain to paint to water to achieve the perfect blend for our weathered wood finish. This blend will give us the desired intensity of color and create a unique, weathered look. To get it just right, we experiment with different ratios of stain, paint, and water, applying the blend to the wood surface using a brush, foam brush, or rag for even coverage.
| Stain | Paint | Water |
|---|---|---|
| 2 parts | 1 part | 1 part |
| 1 part | 2 parts | 1 part |
| 1 part | 1 part | 2 parts |
Achieving Authentic Look
We mix 1/4 cup of American Walnut water-based stain with 2 tablespoons of light grey acrylic paint and 1-1 1/2 cups of water to achieve an authentic weathered wood finish. This blend creates a DIY Wood Stain that's perfect for giving our wood projects a distressed, vintage look.
To make sure we get the desired effect, we apply the stain using a foam brush or a rag on any type of wood surface. We can layer the stain for a richer color without overpowering the natural wood grain.
Here are some key takeaways to keep in mind:
- Store the DIY weathered wood stain in a glass or mason jar for future projects.
- Apply the stain using a brush, foam brush, or rag on any type of wood surface.
- Layer the stain for a richer color without overpowering the natural wood grain.
- Seal the finish with poly-acrylic or leave it as is for a greige wood color effect.

Build Your Own Log Furniture: Ten Great Projects You Can Build For Fun or Profit
As an affiliate, we earn on qualifying purchases.
As an affiliate, we earn on qualifying purchases.
Applying the Stain Technique
To achieve an authentic weathered look, we apply Minwax Dark Walnut stain using a lint-free cloth, carefully working it into the wood grain to create a rich, dark base tone. This stained wood provides an excellent foundation for our weathered finish.
Next, we add a layer of white acrylic paint, using a dry-brushing technique to create a distressed appearance. This subtle, textured effect gives our wood a worn, aged look.
To further enhance the vintage vibe, we sand and distress the painted surface with Grade 2 Steel Wool, creating a beautifully worn, weathered appearance. We take care to allow each coat of stain or paint to fully dry before applying the next layer, ensuring a professional-looking finish.
Achieving the Weathered Look
As we explore the art of achieving a weathered look, it's important to select the right wood type, since it greatly influences the absorption of our carefully crafted treatments. This vital step will make or break the overall aesthetic of our piece of furniture.
To guarantee a successful weathering technique, we must follow a few key steps. Here are some essential tips to keep in mind:
- Test the weathering technique: Before applying it to the entire surface, test the technique on a small area to confirm the desired outcome.
- Sand for a smooth finish: Sanding may be necessary, especially for furniture, to ensure a smooth finish. Sanding between coats of treatment can improve the final appearance of the wood.
- Apply Minwax Dark Walnut stain correctly: Applying Minwax Dark Walnut stain with a lint-free cloth can help achieve a weathered look on wood.
- Apply treatments carefully: Applying treatments in a controlled environment, with the right tools and materials, will help us achieve the desired weathered look.
Tips for Distressing Wood

As we explore the art of distressing wood, we'll examine three essential techniques to achieve an authentically weathered look.
We'll learn how sanding down smoothly can create a subtle, worn appearance, how hammering out dents can mimic the imperfections of aged wood, and how roughing up edges can add a touch of ruggedness to our project.
Sanding Down Smoothly
We start by tackling the rough wood surface, sanding down smoothly to create a perfect canvas for our distressing techniques. Before we immerse ourselves in the world of distressing, it's crucial to have a smooth surface to work with. Sanding down the wood helps to create a flawless base, allowing our distressing techniques to shine.
To achieve the desired texture and appearance, we use different grit sandpaper, gradually moving from coarse to fine.
Here are some essential tips to keep in mind when sanding down smoothly:
- Focus on edges and corners: These areas tend to show wear and tear first, giving our wood a naturally weathered look.
- Sand in the direction of the wood grain: This prevents splintering or damage to the wood.
- Use different grit sandpaper: Gradually move from coarse to fine grit for a smooth finish.
- Wipe down the wood after sanding: Remove dust and ensure a clean surface for distressing.
Hammering Out Dents
We'll use a hammer to create dents and dings in the wood, simulating the natural wear and tear that occurs over time. This distressing technique helps achieve a weathered finish that looks like it's been around for decades.
To get the most realistic results, we'll vary the pressure and angle of our hammer strikes, focusing on areas that would naturally experience wear and tear, such as corners and edges. Experimenting with different hammer sizes and textures can also produce unique distressing patterns on the bare wood.
By combining hammering with other distressing techniques like sanding and staining, we can create an authentic weathered finish that's full of character. Remember, the key to a convincing distressed look is to create subtle, random imperfections that mimic the natural aging process.
With practice and patience, we can create a weathered wood finish that looks like it's been lovingly worn in over the years.
Roughing Up Edges
To add a convincing distressed look to our wood, let's start roughing up the edges with sandpaper or steel wool, focusing on areas that would naturally show wear over time. By doing so, we'll create a weathered effect that adds character to our wood.
To achieve this, we'll vary the pressure and technique to create a realistic look.
Here are some tips to keep in mind:
- Focus on high-wear areas: Corners and edges are prone to wear, so focus on these areas to create a realistic distressed look.
- Experiment with techniques: Try out different tools and methods to achieve the desired level of distressing.
- Practice makes perfect: Don't be afraid to experiment on a scrap piece of wood before applying your technique to your project.
- Be patient and persistent: Distressing wood takes time and effort, so be prepared to put in the work to achieve the desired look.
Frequently Asked Questions
How to Create a Weathered Wood Finish?
We're often asked how to achieve that perfect weathered wood finish, and we're excited to share our secrets! We start by sanding the wood surface to create a smooth base, then apply a darker stain or paint to give it an aged look.
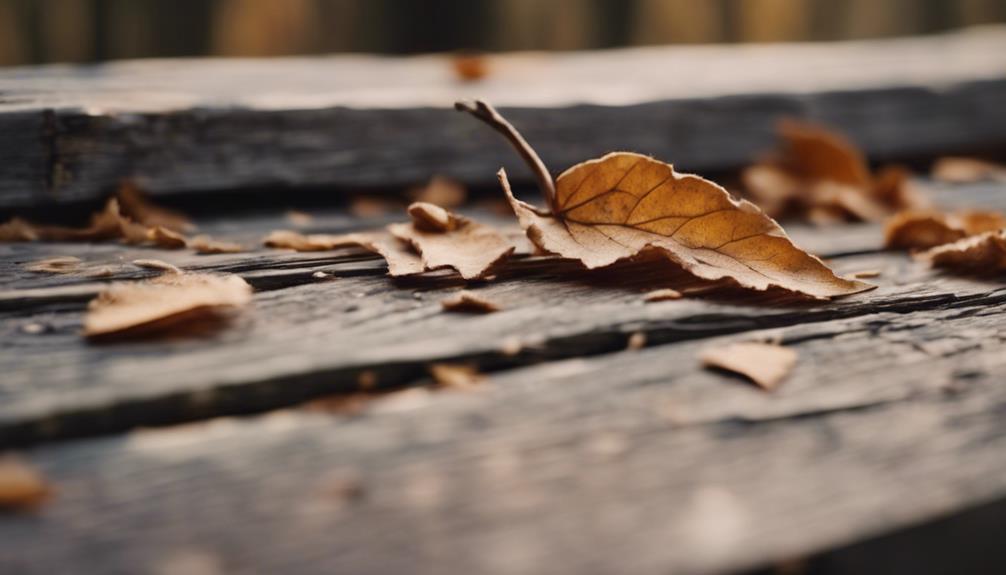
How to Make Wood Look Grey and Aged?
We crave the worn, mystical aura of aged wood, so we're on a mission to conjure a grey, weathered look – think driftwood on a windswept shore – by layering grey hues and distressing our wooden masterpiece.
What Finish to Use on Weathered Wood?
We're deciding on a finish for our weathered wood project, and we're leaning towards a water-based polyurethane or polyacrylic finish to preserve the natural look and texture, ensuring a durable and long-lasting result.
How to Create a Distressed Finish on Wood?
Did you know 75% of homeowners prefer distressed wood finishes for their unique charm? We're excited to create a distressed finish on wood by sanding the surface, dry-brushing white acrylic paint, and distressing with Grade 2 Steel Wool for a perfectly weathered look.
Conclusion
As we wrap up our journey to achieve a great weathered wood finish, remember that 'patience is a virtue' – and in this case, it's the key to revealing a truly authentic, weathered look.
By following these steps, you'll be well on your way to creating a finish that's as unique as a snowflake and as rugged as a well-worn pair of boots.
With practice and persistence, you'll master the art of weathering wood, and the results will be well worth the wait.