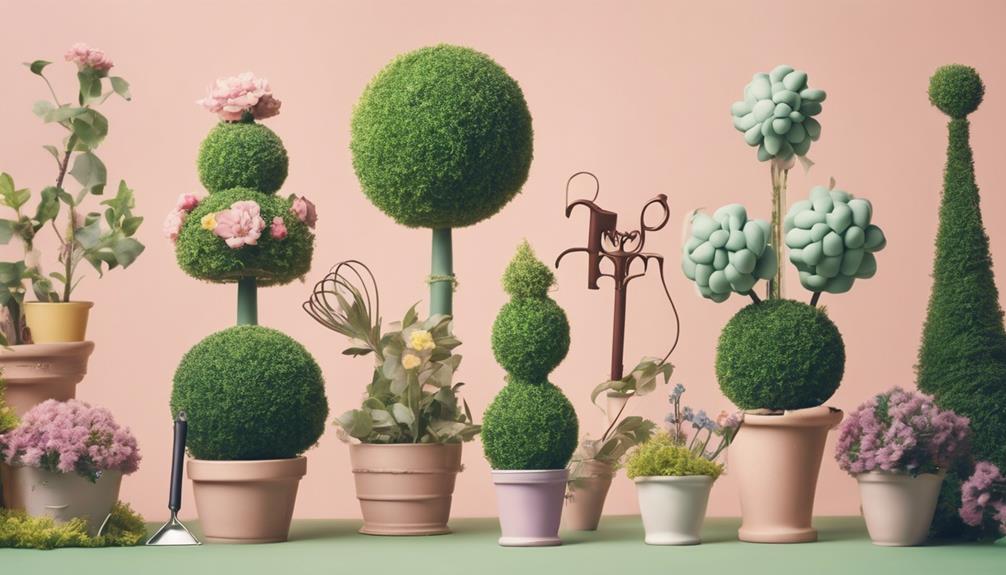
We're about to create a stunning topiary! To get started, we'll need a few essential materials like a flower pot, dowel rod, faux greenery, and Styrofoam or floral foam block. Next, we'll shape the Styrofoam base, creating a moss-covered ball attached to the stick. Then, we'll create the foliage structure using wire forms and hot glue guns. We'll add decorative elements like ribbons and ornaments, and finally, assemble our topiary by covering the base with moss and securing it in a pot. Now, let's get creative and take our topiary to the next level by exploring different styles and designs!
Key Takeaways
• Gather essential materials like flower pots, dowel rods, faux greenery, Styrofoam blocks, and hot glue guns to create a topiary.
• Shape a Styrofoam base by cutting, gluing, and covering it with moss, then attaching it to a stick or dowel rod.
• Create a foliage structure by selecting greenery, shaping a wire form, and attaching the greenery using florist wire or zip ties.
• Add decorative elements like ribbons and ornaments, choosing materials that match your decor style and securing them with hot glue or floral wire.
• Assemble the topiary by covering the base with preserved moss, securing the pot, and adding personal touches with decorative elements.
Gathering Essential Materials
We'll start by collecting the essential materials needed to create our topiary, as these components will serve as the foundation of our DIY project.
To create a beautiful and realistic faux topiary, we'll need a few key items. First, we'll need a flower pot or clay pot to serve as the base of our topiary. Next, we'll need a dowel rod to create the structure of our topiary. For a full and realistic look, we'll purchase 1-2 stems of faux greenery. We'll also need a Styrofoam or floral foam block to secure the topiary in the pot.
To assemble our topiary, we'll need a few tools, including a hot glue gun, wire cutters or scissors, floral tape, and preserved moss. With these materials in hand, we'll be ready to start building our topiary.
Shaping the Styrofoam Base
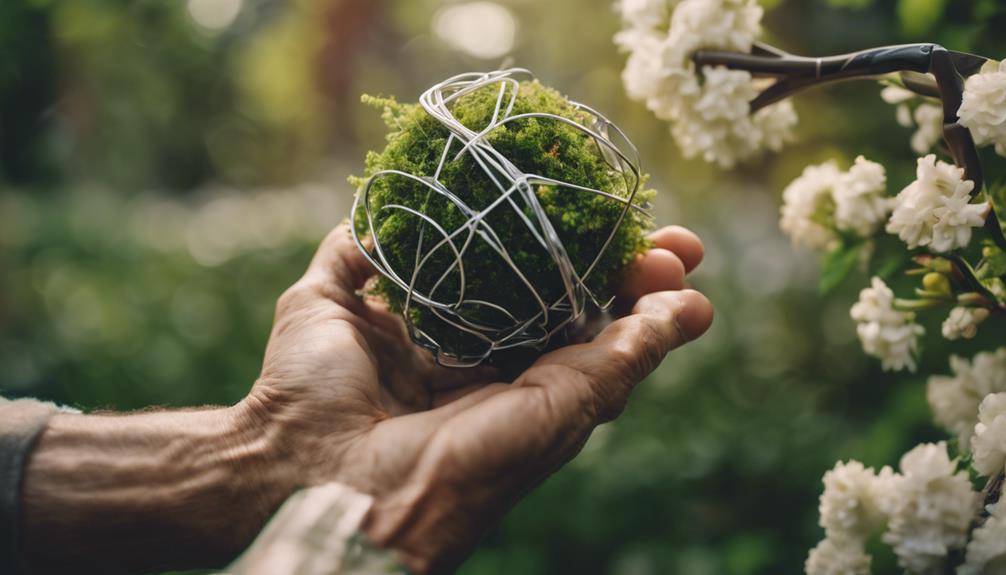
With our materials ready, we begin shaping the Styrofoam base, an essential step in creating a sturdy foundation for our topiary. We start by cutting the green styrofoam block to fit snugly in the container. This guarantees a secure fit and prevents any movement once the topiary is complete. Next, we use a hot glue gun to secure the styrofoam block in place, providing additional stability to our topiary.
To give our topiary a natural, faux look, we cover the styrofoam ball with green moss. This not only adds texture but also creates a lush, verdant appearance. Once the moss is securely attached, we attach the moss-covered ball to the stick or wooden dowel. This provides the structure needed to support our topiary's foliage.
Creating the Foliage Structure
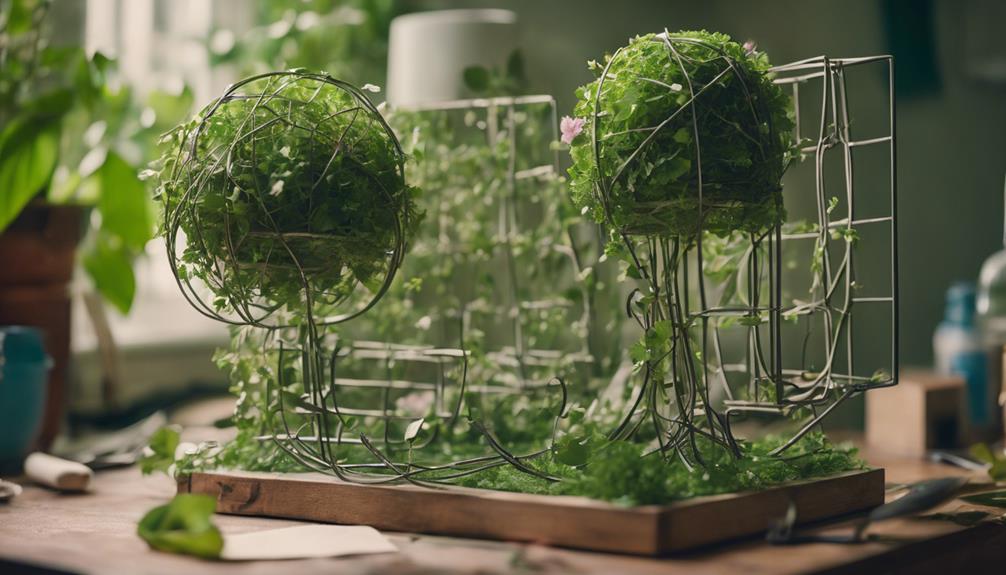
Now that we've prepared our base, we're ready to create the foliage structure of our topiary.
We'll start by selecting the right type of greenery for our design, whether it's boxwood, rosemary, or ivy, and then shape a wire form to serve as the foundation for our foliage.
Next, we'll securely attach the greenery to the form using florist wire or zip ties, making sure to cover the entire surface.
Foliage Base Creation
We create the foundation of our topiary by selecting a Styrofoam ball or cone as the base for our foliage structure. This provides a sturdy foundation for our design.
Next, we choose the type of greenery to cover our Styrofoam base. We can opt for real greenery, but faux greenery, such as preserved moss or artificial leaves, is often a more important and low-maintenance option.
To secure the greenery, we use a hot glue gun to make sure it stays in place. This step is vital in creating a lush and full topiary.
We can also add decorative elements like faux flowers or ribbons to enhance the overall appearance. It's crucial to cover the entire Styrofoam base with moss or greenery to create a cohesive look.
Foliage Shape Formation
As we've successfully covered our Styrofoam base with lush greenery, we'll shape our foliage into the desired form, selecting from a variety of styles, from classic spheres and cones to whimsical spirals and animals.
With our DIY topiary taking shape, we'll use pruning shears and topiary frames to create a real looking foliage shape formation that's both decorative and unique. To achieve the perfect shape, we'll need to prune our greenery regularly, making sure to trim and shape the stems to maintain the desired form.
Depending on the type of plant we're using, such as boxwood, ivy, or rosemary, we may need to prune more frequently to keep our topiary looking its best. By doing so, we'll be able to make one that's truly a work of art, adding a touch of elegance to our gardens, patios, or indoor spaces.
With regular maintenance and pruning, our decorative topiary shapes will thrive, becoming a beautiful and unique addition to our surroundings.
Adding Decorative Elements
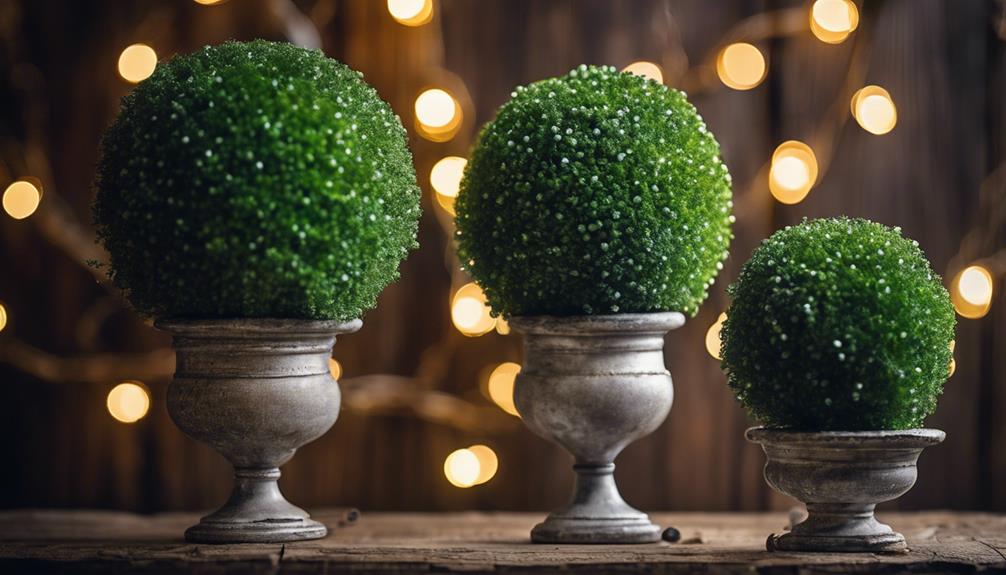
Now that we've built our topiary's foliage structure, it's time to add the finishing touches.
We'll start by embellishing our topiary with ribbons, bows, or flowers to give it a pop of color and personality.
Next, we'll adorn it with ornaments, lights, or other decorations that reflect our personal style and theme.
Embellishing With Ribbons
By adding ribbons in various hues, patterns, and textures, we can instantly elevate our topiaries from simple greenery to stunning centerpieces that reflect our personal style. Ribbons can add a festive touch to our topiaries, enhancing their visual appeal.
To get started, we can:
- Choose ribbons that match our decor style, selecting from a variety of colors, patterns, and textures that complement our home's aesthetic.
- Secure ribbons to the topiary using hot glue or floral wire, ensuring a durable hold that withstands handling and display.
- Experiment with ribbon lengths and bow styles to create unique and eye-catching designs that add personality to our topiaries.
- Consider seasonal or themed ribbons for special occasions or holidays to make our topiaries stand out.
Adorning With Ornaments
We take our topiaries to the next level by adorning them with ornaments that reflect our personal style and complement our decor, adding a new dimension of visual interest and personality.
We can enhance our topiaries with ornaments like mini LED lights, ribbons, or faux berries for a festive touch. We also incorporate seasonal elements such as miniature pumpkins for fall or small ornaments for winter to give our topiaries a timely flair.
For a whimsical and nature-inspired look, we use small decorative birds, butterflies, or bees. To add a touch of elegance, we opt for faux pearls, crystals, or silk flowers for a sophisticated topiary design.
Assembling the Topiary
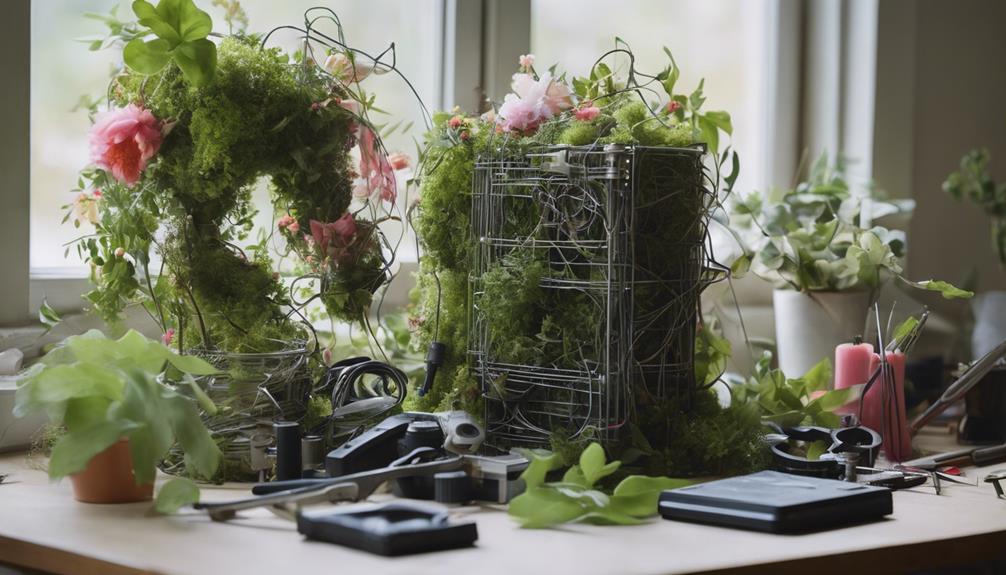
With our materials ready, we secure the greenery to the stick or dowel using floral tape to guarantee stability. This guarantees our topiary stays in shape and looks lush. Next, we use a glue gun to attach any additional decorations, if desired.
To finalize the assembly, we follow these essential steps:
- Cover the base: We use preserved moss to cover any visible tape or foam, giving our topiary a natural, polished look.
- Secure the pot: We make sure the topiary is securely placed in the flower pot or container to prevent tipping.
- Add a personal touch: We consider adding decorative elements like ribbons or faux flowers to give our topiary a personalized touch.
- Experiment with designs: We can experiment with different types of greenery and container styles to create unique topiary designs that reflect our personal style.
Displaying Your Masterpiece
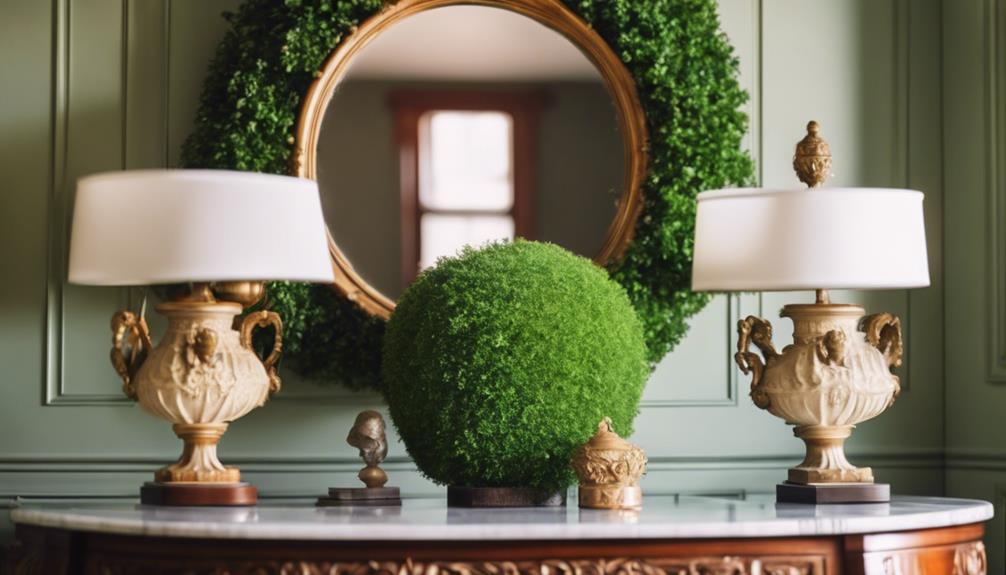
Displaying our topiary masterpiece is where creativity really takes center stage, as we arrange our beautiful creations to impress and delight.
We can create a visually interesting display by grouping different sized topiaries together. To add some dynamic flair, we vary the heights and types of sticks used in our arrangement. For a touch of realism, we can even repurpose sticks from dead live topiaries.
Mixing live and artificial topiaries is another great way to blend freshness and longevity. By combining real and faux elements, we can create a stunning focal point in our living room.
For a striking arrangement, we decorate our space with a single topiary display. When we mix and match different topiary styles, shapes, and sizes, we can create a unique and captivating arrangement.
Frequently Asked Questions
How to Make a Topiary for Beginners?
As novices, we're enthusiastic to create our own topiaries.
To start, we choose a small, manageable plant like rosemary or lavender. We use sharp shears to carefully trim the plant into a simple shape, like a cone or ball.
Regular pruning helps maintain the form as it grows. We can also use a wire frame to guide our trimming and achieve more intricate designs.
With practice, we'll experiment with different plants and shapes to refine our topiary-making skills.
How to Make Topiary Frames at Home?
We often think making topiary frames at home is a challenging task, but it's actually quite simple. We can use wire, chicken wire, or metal frames to create our design.
With a few basic materials, we can shape our frame into cones, balls, spirals, or even animals. By bending and molding the wire, we can bring our creative vision to life.
With a little patience and creativity, we can create unique and customizable topiary frames at home.
How Do You Make an Indoor Topiary?
We're excited to create our own indoor topiary!
To start, we choose a small, bushy plant like rosemary or ivy, and trim it regularly to maintain the desired shape and size. We use a topiary frame or a wire form to guide the plant's growth.
Then, we place it in a well-lit area with indirect sunlight and consider using a slow-release fertilizer to keep it healthy and vibrant.
Are Topiaries Still in Style?
Are topiaries still in style?
We're happy to report that yes, they are! Despite being a classic decor element, topiaries have managed to remain trendy and timeless.
Their versatility in fitting various decor styles, from traditional to contemporary, has contributed to their enduring popularity.
With their ability to bring a touch of nature indoors without the maintenance, it's no wonder topiaries continue to be a stylish and popular choice for home decorating.
Conclusion
We've finally reached the pinnacle of our topiary-making journey! With our creations now complete, we can 'cut to the chase' and showcase our masterpieces. Display your topiary proudly, and don't be afraid to experiment with different decorations and arrangements.
Remember, practice makes perfect, so don't be discouraged if your first attempt doesn't turn out exactly as envisioned. With patience and persistence, you'll be crafting stunning topiaries in no time!
