
To create a bird nest in 10 steps, first gather natural materials like twigs, grass, and feathers, along with essential tools like scissors and string. Form a circular base structure using flexible plant stems, securing them with twine or string. Weave a soft, thick inner lining layer using feathers and fuzz, adding small twigs for support. Add insulation with materials like lichen and fur, then construct the outer shell using twigs, bark, and moss. Consider camouflage, shape, and size, ensuring a sturdy, cozy nest. Finally, place the nest in a safe, sheltered spot, blending it with natural surroundings. As you proceed, you'll uncover the intricacies of crafting a haven that mirrors those built by birds in the wild.
Key Takeaways
• Gather natural materials like twigs, grass, leaves, and feathers to create a sturdy and camouflaged nest.
• Shape the stems into a circular base, securing it with twine or string for a solid foundation.
• Weave a thick inner lining layer using soft materials like feathers and fuzz to ensure warmth and coziness for the eggs.
• Add insulation and soft materials like feathers, fuzz, fur, plant down, and lichen to regulate temperature and humidity.
• Choose a sheltered spot to place the nest, blending it with natural camouflage materials to conceal it from predators and harsh weather.

Savina Wooden Hardwood Drop Spindle Top Whorl Yarn Spinner Wheel for Beginners & Advanced,Hand Spinning, Spin Roving into Yarn - Ideal for Sewing Projects
Craft Your Own Design: Start crafting uniqueness with Drop Spindle, where you can unleash your creativity by spinning...
As an affiliate, we earn on qualifying purchases.
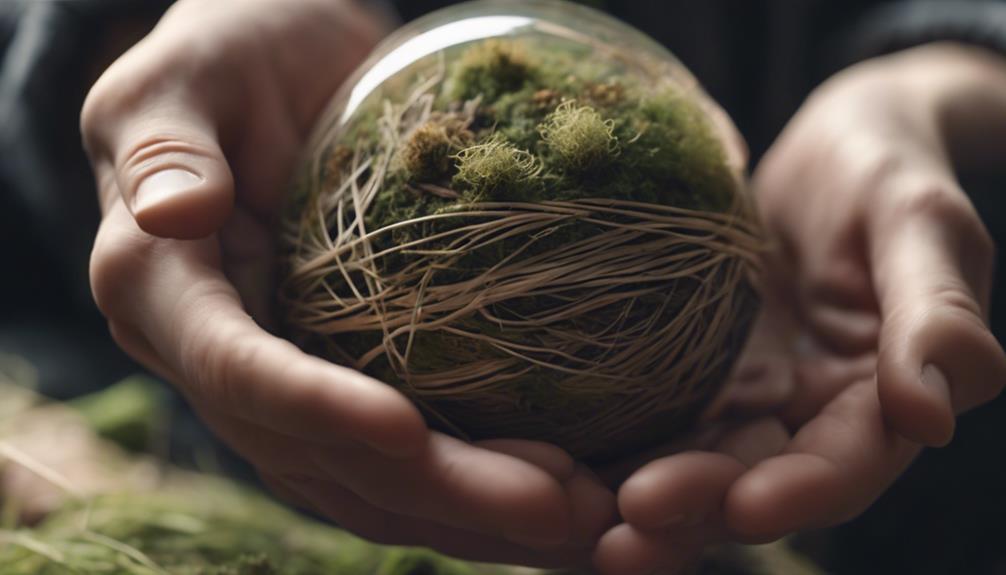
Gather Materials and Tools
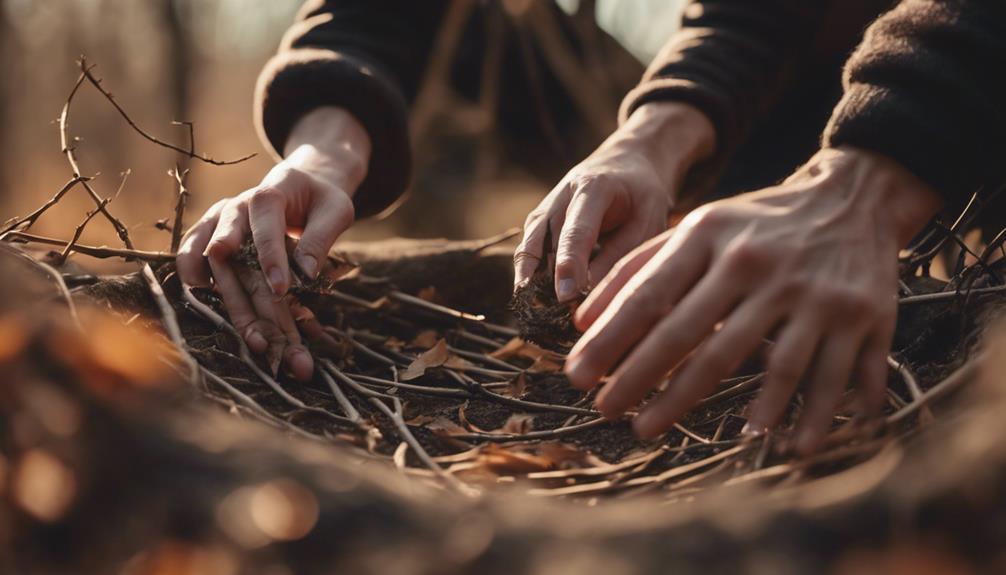
Collect a variety of natural materials like twigs, grass, leaves, and feathers from your backyard or a nearby park, making sure they're clean and safe for birds to use in their nests.
As you gather materials, look for long, flexible plant stems that will serve as the main structure of the nest. You'll also need some essential tools to build a nest, so prepare scissors, a piece of string, and a small basket to hold all your materials.
Make sure to choose materials that are sturdy enough to support the weight of the nest and the birds that will inhabit it. Consider adding some decorative elements like bark, moss, or small flowers to give your nest some visual appeal.
Once you have all your materials, you're ready to start building. With your materials and tools in hand, you'll be able to create a cozy nest that will attract birds and provide them with a safe and comfortable place to lay their eggs.

Spinning 101: Step by Step from Fleece to Yarn with Wheel or Spindle
As an affiliate, we earn on qualifying purchases.
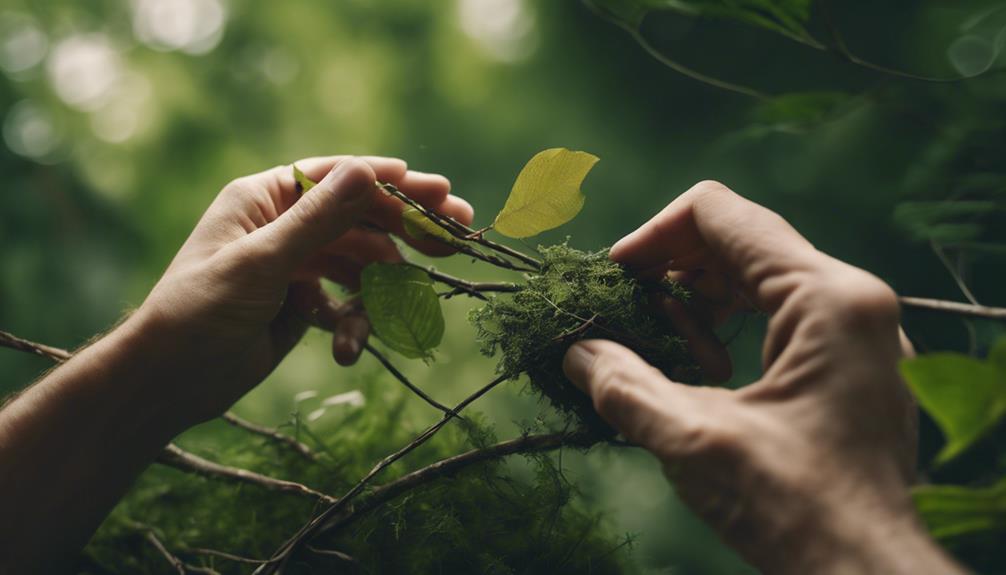
Form the Circular Base Structure
Now that you've gathered your materials, it's time to form the circular base structure of your bird nest.
You'll start by gathering twigs and branches that will form the foundation of your nest, making sure to select sturdy stems that can support the weight of the finished product.
Next, you'll shape these stems into a circular shape, securing them in place with twine or string to create a solid base that will hold everything together.
Gather Twigs and Branches
Gathering long, flexible twigs and branches is the first step in forming the circular base structure of your bird nest. You'll want to look for twigs that are sturdy yet pliable, as they'll provide the foundation for your nest.
Head outdoors and scour your surroundings for suitable materials. Look for branches with a diameter of about 1/4 inch to 1/2 inch, and lengths that range from 6 to 12 inches. Avoid brittle or dry twigs, as they may break easily. Instead, opt for fresh, green branches that can be bent and shaped without snapping.
Collect a variety of twigs in different lengths and thicknesses to make sure you have a sturdy base. You'll need a mix of thicker branches for the outer structure and thinner ones for filling in gaps.
As you gather your materials, consider the size and shape of your nest. Will it be small and cozy or large and spacious? This will help you figure out the number and type of twigs you'll need to collect.
Form Circular Shape
Take long, flexible plant stems like willow or grapevine and bend them into a loop, securing them together to form the initial circular shape of your nest. This circular base structure will provide a sturdy foundation for your bird nest. Make sure it's wide enough to accommodate the desired size of your nest.
To reinforce the circular shape, use additional plant stems to shape and secure the structure as needed. You can also use twigs and branches to add depth and stability to the nest.
Here's a summary of the key considerations for forming the circular shape:
| Consideration | Description |
|---|---|
| Material | Long, flexible plant stems like willow or grapevine |
| Shape | Circular, with a wide enough diameter to fit the nest |
| Reinforcement | Additional plant stems to shape and secure the structure |
Secure Base Structure
You'll begin forming the circular base structure of your bird nest by bending and shaping the long, flexible plant stems into a sturdy loop. This is an important step, as the base structure sets the foundation for adding smaller loops and decorative elements to complete the nest.
To guarantee your nest is sturdy, make sure the circular base is well-formed and secure. Take your time to carefully bend and shape the stems, as this will impact the overall structure of your nest.
Once you've formed the loop, tie the plant stems securely in place to create a solid foundation for your bird nest. This will prevent the nest from collapsing or toppling over, providing a safe and cozy space for the birds to inhabit.

Electric Yarn Spinner Winder Spinning Wheel for Wool with 3 Bobbins, Small Yarn Winder with Forward & Reverse, Free Speed Adjustable (Black)
[SPINNING WHEEL FOR YARN MAKING]: 2-in-1 electric spinning wheel twists wool into beautiful yarn and makes neat yarn...
As an affiliate, we earn on qualifying purchases.
Weave the Inner Lining Layer

Now that you've prepared the foundation of your bird nest, start weaving the inner lining layer by carefully selecting and arranging soft materials like feathers, fuzz, and fine grasses. This layer is important for providing a comfortable and protected environment for the eggs.
As you weave, incorporate small twigs or stems to add structure and support to the nest.
Here are some key considerations to keep in mind:
- Use a variety of soft materials to create a snug and insulated base for the eggs
- Weave the inner lining layer thick enough to keep the eggs warm and protected
- Incorporate small twigs or stems to add structure and support
- Make sure the inner lining layer is comfortable for the eggs and provides a cozy environment for the bird family
- Ensure the inner lining layer is secure and evenly distributed to prevent eggs from rolling around

Electric Yarn Spinner Winder Spinning Wheel for Wool with 3 Bobbins, Small Yarn Winder with Forward & Reverse, Free Speed Adjustable (Purple)
[SPINNING WHEEL FOR YARN MAKING]: 2-in-1 electric spinning wheel twists wool into beautiful yarn and makes neat yarn...
As an affiliate, we earn on qualifying purchases.
Add Insulation and Soft Materials

Now that you've woven the inner lining layer, it's time to add the soft bedding materials that'll make the nest cozy and snug for the birds.
You'll want to gather dry grass, twigs, and other soft materials to create a comfortable environment for the eggs and hatchlings.
Soft Bedding Materials
To create a cozy environment inside the nest, start collecting soft bedding materials like feathers, fuzz, and fur that will add insulation and keep bird eggs warm. These materials will help regulate the temperature for developing bird embryos. You'll want to gather a variety of soft materials to create a comfortable and warm space for your bird's eggs.
Some essential soft bedding materials to consider include:
- Feathers: which provide excellent insulation and cushioning for the eggs
- Fuzz: a great material for adding warmth and humidity to the nest
- Fur: which helps maintain a stable temperature and provides a soft surface for chicks
- Plant down: a soft, warm material that's perfect for lining the nest
- Lichen: a soft, humid material that helps maintain a stable environment for egg development
Dry Grass and Twigs
With your soft bedding materials in place, you can start adding dry grass and twigs to provide insulation and structure to the nest. These materials are essential for creating a cozy and protective environment for the eggs or young birds.
Twigs add strength to the nest structure, while dry grass can create a soft and comfortable inner lining. As you arrange the dry grass and twigs, remember that birds carefully select and arrange these materials to create a sturdy and well-insulated nest.
The combination of dry grass and twigs plays a vital role in the construction of a bird nest, keeping it warm and secure. When adding these materials, make sure to distribute them evenly throughout the nest, ensuring that the structure remains sturdy and balanced.
Create the Nest's Outer Shell
Gathering an assortment of materials like twigs, bark, and moss, you'll start building the outer shell of your bird nest. This structure will provide protection and insulation for the delicate inner nest, so it's crucial to get it right.
You'll want to bend and weave the twigs to create a sturdy framework, ensuring the outer shell is well camouflaged and strong.
Here are some key considerations for creating the outer shell:
- Use a variety of textures and materials to provide insulation and protection
- Guarantee the outer shell is large enough to house the inner nest comfortably
- Bend and weave twigs to create a sturdy structure
- Incorporate materials like bark and moss to enhance camouflage
- Make sure the outer shell is strong enough to withstand the elements
Shape and Secure the Nest
When shaping and securing your bird nest, it's crucial to take into account the nest's overall shape, bearing in mind the species-specific needs of your feathered friends.
You'll want to arrange sturdy twigs in a way that provides a solid foundation, ensuring the nest can support the weight of eggs or baby birds.
Nest Shape Considerations
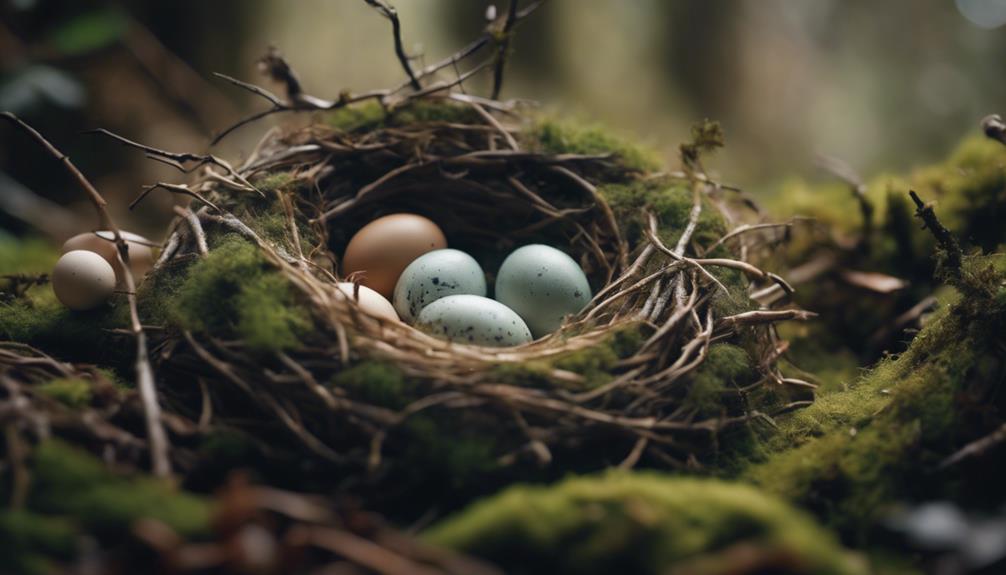
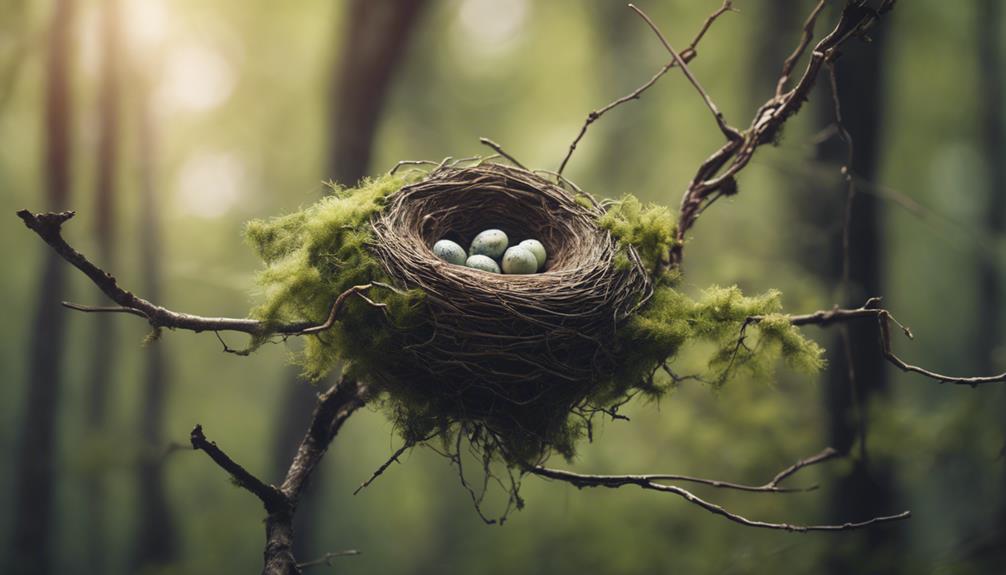
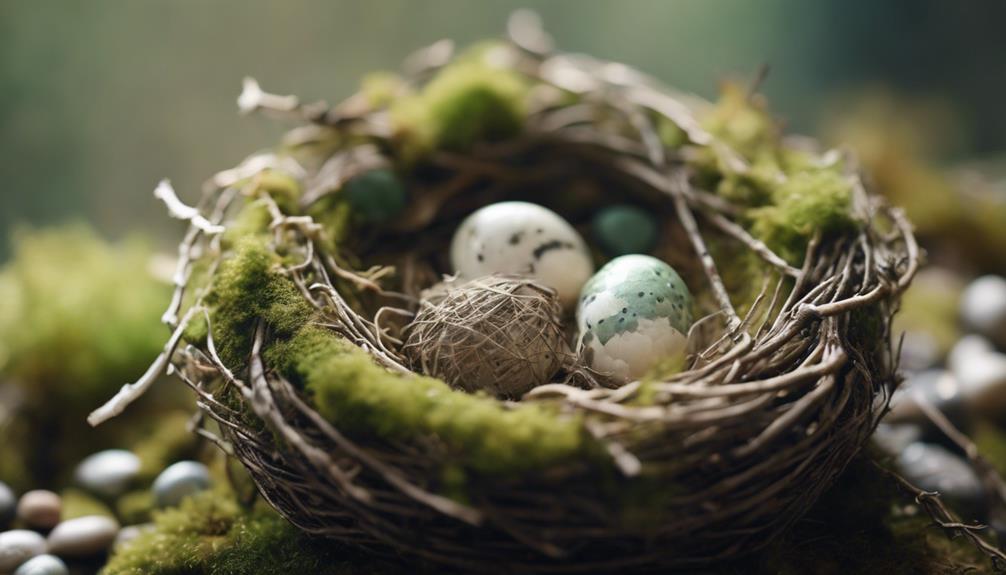
Shape the nest into a bowl or cup-like structure to cradle the eggs securely, guaranteeing the nest's stability and protection for its future occupants. This shape allows for the eggs to be safely nestled, reducing the risk of them rolling out or becoming dislodged.
When shaping the nest, consider the size of the eggs or young birds it will hold, as this will impact the size and depth of the nest.
Some key considerations to keep in mind when shaping your nest include:
- Choose a shape that mimics a bowl or cup to cradle the eggs securely.
- Secure the nest by weaving or intertwining the materials tightly to prevent it from coming apart.
- Make sure the nest has a stable base to prevent it from tipping over.
- Use flexible materials that can be easily manipulated to create the desired shape.
- Consider the size of the eggs or young birds when shaping the nest to ensure a comfortable fit.
Sturdy Twig Arrangement
You'll need about six to eight long, flexible plant stems to create the main shape of the nest, which will form the foundation of your bird's home. These stems should be bent into a loop and securely tied in place to form the base structure of the nest. This will provide a vital foundation for the rest of the nest.
Next, you'll add smaller loops and branches to shape the rest of the nest and provide additional support. As you work, make sure the nest is sturdy and well-secured to withstand weather and potential predators. You can use natural materials like twigs, grass, and vines to reinforce the nest's structure and provide insulation. These materials will help keep the nest warm and cozy for your bird.
Take your time and work carefully to create a sturdy and secure nest. Remember, the nest's structure is essential for the bird's safety and comfort.
Secure Nest Base
With your sturdy twig arrangement in place, now it's time to shape and secure the nest base, the foundation of your bird's home. This important step guarantees the stability of the entire nest structure.
To achieve this, find long, flexible plant stems and bend them into a loop, securing them in place to form the base. Use smaller loops of stems to shape the rest of the nest structure, making sure the base is strong and stable to support the weight of nesting materials.
Here are some key considerations to keep in mind:
- The nest base should be sturdy enough to support the weight of the nesting materials and the bird's movements.
- Flexible stems are ideal for creating the nest shape, as they can be bent into loops and secured in place.
- Use a combination of long and short stems to create a stable and balanced nest structure.
- The base of the nest should be wide enough to provide a stable foundation for the rest of the nest.
- Make sure the nest base is securely tied to prevent it from collapsing or shifting during use.
Add Camouflage and Disguise
To effectively camouflage your nest, incorporate materials like moss, lichen, and bark that blend seamlessly with the surrounding environment. This will help your nest merge with its surroundings, making it less visible to predators. You can also use feathers, leaves, and twigs of similar colors to the environment to create a natural disguise. Avoid using bright or unnatural materials that may attract unwanted attention.
To take your camouflage to the next level, disguise the nest's shape by adding irregularities and asymmetrical elements. This will make it harder for predators to spot the nest's outline. Additionally, mimic the patterns and textures of nearby foliage to make the nest less conspicuous. For example, if you're building a nest in a tree with rough bark, incorporate some of that bark into your nest's design.
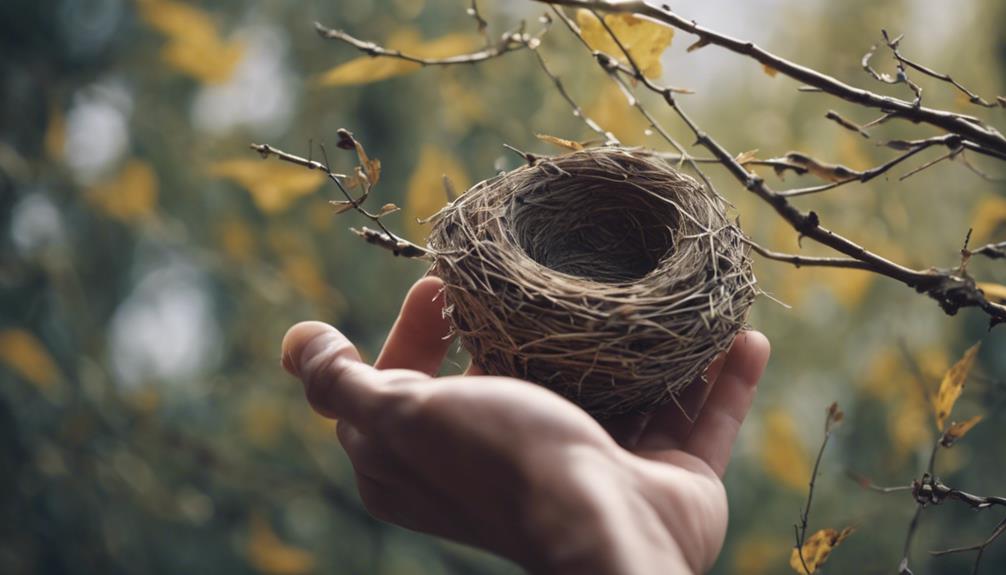
Place the Nest in a Safe Spot
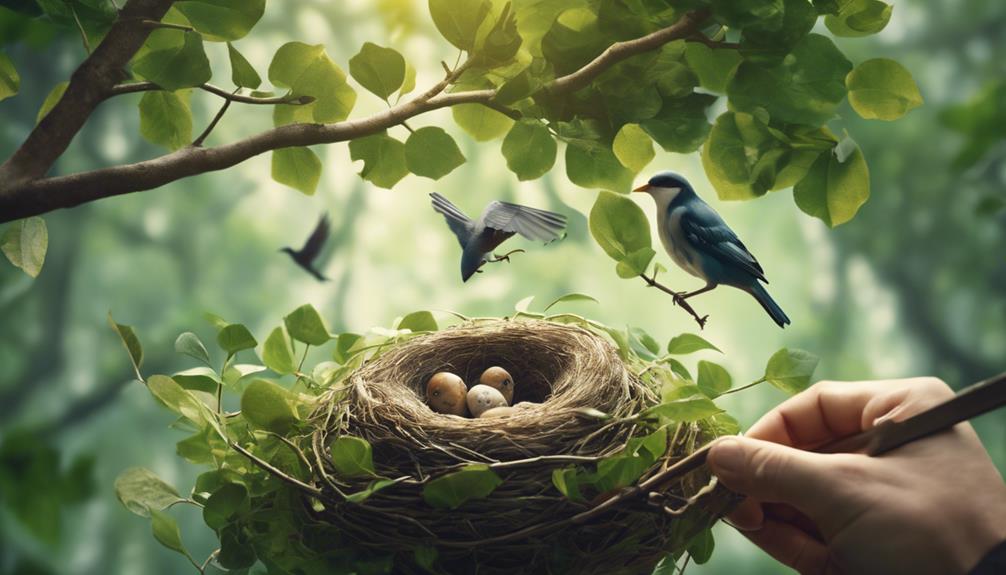
Now that your nest is expertly camouflaged, it's time to place it in a safe spot where your feathered friends can thrive. When choosing a location, remember to prioritize the birds' safety and comfort. You want to create a haven for them, not a hazard.
Here are some key considerations to keep in mind:
- Choose a sheltered location away from predators and harsh weather conditions.
- Guarantee the nest is hidden but easily accessible for the birds.
- Consider using natural camouflage materials to blend the nest with its surroundings.
- Avoid placing the nest too close to human activity to minimize disturbances.
- Provide a stable and secure foundation for the nest to prevent it from falling or being damaged.
Add Finishing Touches and Details
Add a personal touch to your bird nest by incorporating decorative elements that mimic a bird's natural habitat. Consider adding feathers, bark, moss, or colorful yarn to the exterior of the nest to give it a realistic look.
You can also place small, realistic-looking eggs inside the nest to complete the overall look. When adding decorations, make sure to keep it simple and realistic in design, avoiding overcrowding the nest. Remember, the goal is to attract birds, not humans, so use natural materials and colors that blend in with the environment.
Pay attention to the size and shape of the nest as well, ensuring it looks natural and appealing to birds. Avoid using bright colors or bold patterns that might scare them away.
Inspect and Test the Nest
You've carefully crafted your bird nest, but before placing it outdoors, inspect it carefully for any signs of wear and tear. It's crucial to make sure your hard work doesn't go to waste due to a few loose ends. Take a closer look at the nest's structure, and make any necessary adjustments to guarantee it's sturdy and secure.
Here are some key things to check:
- Check for signs of wear and tear, such as loose or broken materials.
- Test the nest's stability by gently pressing on it to see if it holds its shape.
- Look for any signs of pests or parasites in the nest that could harm the birds.
- Confirm that the nest is positioned securely to prevent it from falling or being easily disturbed.
- Verify that the nest is appropriate for the bird species based on its size and construction.
Frequently Asked Questions
How to Build a Bird Nest Step by Step?
You're curious about building a bird nest from scratch!
To start, you'll need to gather long, flexible plant stems to form the main shape. Bend them into a loop and secure with twine or string. Then, add smaller loops to shape the rest of the structure.
Don't forget to decorate with natural materials like feathers, bark, or moss.
How to Make a Craft Nest for Kids?
When making a craft nest for kids, you'll want to encourage their creativity while teaching them about the importance of nests for birds.
For instance, in a classroom setting, you could have students collect twigs and grass outside, then let them design their own unique nests using those materials, along with yarn, feathers, and other decorative elements.
This hands-on approach will help kids learn while having fun.
How to Make a Nest for Baby Birds?
You're likely wondering how to create a safe haven for baby birds.
To start, gather soft materials like feathers, fur, and fine grass to create a cozy environment.
Construct a small, shallow nest using twigs, grass, and leaves, mimicking natural nesting sites.
Place it securely in a hidden, sheltered location to protect the babies from predators and harsh weather.
How Do Birds Make Nests for Kids?
As you're curious about how birds make nests, you might be surprised to learn that it's an instinctual behavior passed down through generations. Birds collect materials like twigs, grass, and feathers, using techniques unique to their species.
They construct nests to protect eggs and provide a safe environment for hatchlings. By understanding how birds build nests, you'll appreciate the intricate process and importance of nesting in the life cycle of birds.
Conclusion
You've crafted a bird nest that's sturdy, snug, and secure, with a circular base, woven inner lining, insulation, and camouflage.
You've carefully placed it in a safe spot, added finishing touches, and inspected it with care.
Now, your bird nest is ready to cradle its feathered inhabitants, shielding them from harm and nurturing them with warmth.
Your attention to detail has paid off, and this cozy abode will soon become a haven for its new residents.