We're making a beautiful salt dough heart garland in 7 easy steps. First, we mix together flour, salt, and water to create a smooth dough. Then, we roll it out to an even thickness and cut out heart shapes with a cookie cutter. After baking the hearts at 250°F for 2 hours, we paint and decorate them with personalized touches. Next, we string the hearts together with twine, adding hanging holes and securely tying the twine to each heart. Finally, we assemble the garland, spacing the hearts out attractively. By following these steps, we'll have a unique, handmade decoration – and there's more to discover as we get creative with our garland!
Key Takeaways
• Combine flour, salt, and water in a 2:1/2:1/2 ratio to create the salt dough mixture, adding optional scents if desired.
• Roll out the dough evenly to a consistent thickness, using flour on the surface and rolling pin to prevent sticking.
• Use heart-shaped cookie cutters to create uniform shapes, placing them on a parchment paper-lined baking sheet with space between each heart.
• Bake the hearts at 250°F for at least 2 hours to harden, then paint and decorate with acrylics, glitter, or other embellishments.
• Thread twine through the hanging holes of each heart, tying a knot to secure, and string the hearts together with visually appealing spacing.
Prepare the Salt Dough Mixture
Let's combine flour, salt, and water in a large mixing bowl to create our salt dough mixture, using a ratio of 2 cups of flour to 1/2 cup of salt to 1/2 cup of water. We'll mix these ingredients thoroughly to achieve the right consistency for rolling and cutting.
As we mix, we can add a scented twist to our dough by incorporating optional additions like orange essential oil, cinnamon, or nutmeg. The key is to mix everything together until it forms a cohesive dough. We'll know we've reached the right consistency when the dough is smooth and pliable.
With our mixture ready, we're one step closer to creating our salt dough heart garland. Before we start rolling out the dough, let's take a moment to appreciate the simplicity of this mixture. Flour, salt, and water – it's amazing how these humble ingredients can come together to create something truly special.
With our dough in hand, we're ready to move on to the next step and start rolling out our heart-shaped creations, destined to become a beautiful garland perfect for hanging.
Roll Out the Salt Dough
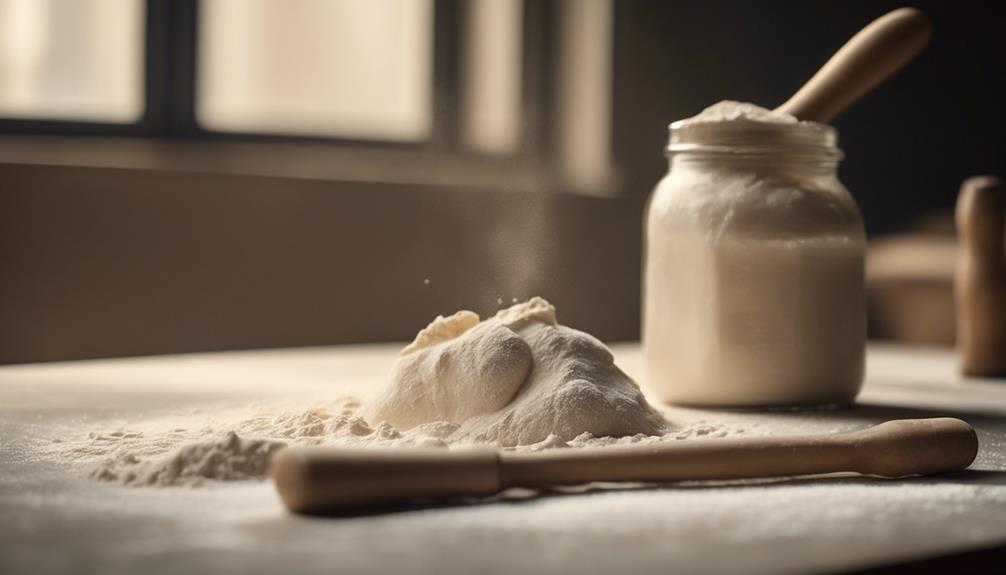
As we move forward with our salt dough heart garland project, it's important that we get the dough rolled out correctly.
We'll need to make sure the dough is evenly rolled out to achieve consistent heart shapes, and using a rolling pin on a floured surface will make the process much easier.
Dough Consistency Matters
We roll out the salt dough to a consistent thickness, making sure it's pliable and easy to cut into perfect heart shapes. The consistency of the salt dough is essential for easy rolling and cutting. If the dough is too thick, it may lead to uneven baking or undercooked centers. On the other hand, a well-kneaded dough will result in smooth and pliable hearts, making it easy to cut out perfect heart shapes.
We make sure to roll out the dough to an even thickness, so it bakes uniformly. This way, we can avoid any imperfections in our heart garland. When we get the consistency right, cutting out hearts becomes a breeze. We can make precise cuts, and the hearts will hold their shape beautifully.
The uniform thickness also ensures that the hearts bake evenly, resulting in a stunning garland that's both visually appealing and durable. By paying attention to the dough's consistency, we set ourselves up for success in making a beautiful salt dough heart garland.
Flour Surface Preparation
With our dough consistency perfected, we're ready to prepare a clean surface by lightly flouring it, preventing the dough from sticking and making it easier to work with. We sprinkle a thin layer of flour onto our work surface, making sure to cover the entire area where we'll be rolling out the salt dough. This flour coating will guarantee the dough from sticking to the surface, allowing us to work with it more easily.
Next, we take out our rolling pin and begin to flatten the dough to an even thickness. We make sure to distribute the flour evenly, avoiding any uneven spots that could impact the shape of our heart shapes. By doing so, we make certain that our salt dough hearts will be uniform and well-shaped.
With our floured surface and rolling pin, we're now ready to roll out the dough to the desired thickness, ready to be cut into heart shapes.
Rolling Pin Techniques
We'll start rolling out the salt dough, using our trusty rolling pin to achieve a consistent thickness that's crucial for even baking.
To do this, we'll need to flatten the dough evenly, which can be a bit tricky. The key is to roll the dough in one direction, applying even pressure to maintain the desired thickness throughout. This will guarantee a smooth surface and prevent the dough from sticking to the rolling pin.
Speaking of which, let's not forget to dust our rolling pin with flour to prevent sticking and facilitate smooth rolling. And, of course, we'll be rolling the dough out on a floured surface to prevent it from adhering and make it easier to handle.
By following these simple steps, we'll end up with a beautifully rolled-out salt dough that's ready for the next step in our garland-making process.
With our dough rolled out to a consistent thickness, we can be confident that our finished garland will turn out evenly baked and beautifully textured.
Cut Out Heart Shapes

Let's get started by using heart-shaped cookie cutters to create uniform heart shapes from the salt dough. We'll get consistent and decorative elements for our garland by cutting out heart shapes.
| Step | Action | Tips |
|---|---|---|
| 1 | Place cut-out hearts on a parchment paper-lined baking sheet | Guarantee hearts are evenly spaced to prevent sticking |
| 2 | Arrange hearts on the baking sheet | Leave enough space between each heart for easy handling |
| 3 | Press a straw through each heart | Create a hole for hanging once baked and hardened |
| 4 | Review heart placement | Make adjustments as needed for even baking |
Add Hanging Holes and Bake

We've arranged our heart shapes on the baking sheet, and now we're ready to add hanging holes and bake them to perfection.
To add a hole for hanging, we'll use a drinking straw to create a small hole at the top of each heart shape. This hole should be large enough to accommodate twine or ribbon for stringing.
Once we've created holes in all the salt dough hearts, we can discard the straw.
Next, we'll bake the hearts at 250°F for at least 2 hours to harden them for hanging. This baking process will help our salt dough hearts become sturdy enough to hold their shape and support the weight of the hanging string.
We'll make sure they're fully baked and hardened before stringing them into a garland.
Paint and Add Decorations

Now that our salt dough hearts are baked and ready, we're excited to add some personality to them.
We'll explore various colorful paint options to bring our hearts to life, and then we'll discuss some creative ways to add decorative embellishments to make our garland truly special.
From vibrant hues to sparkly textures, we'll discover the perfect combinations to make our hearts shine.
Colorful Paint Options
As we prepare to add some personality to our salt dough heart garlands, we're spoiled for choice when it comes to colorful paint options. We can choose from a variety of acrylic paints to create a unique and personalized look. To add some extra sparkle, we can add glitter to our paint for a mesmerizing effect. For a fragrant touch, we can even mix essential oils with our paint.
| Paint Option | Description |
|---|---|
| Acrylic Paints | Vibrant colors to create a personalized look |
| Glitter Paint | Add some sparkle to your heart garland |
| Scented Paint | Mix essential oils with paint for a fragrant aroma |
We can also create imprints or designs on our hearts before painting for added detail. To make our garland truly special, we can add personalized decorations like beads or stickers. The possibilities are endless, and it's up to us to get creative! With these colorful paint options, we can turn our salt dough heart garlands into one-of-a-kind masterpieces.
Decorative Embellishments Ideas
Let's take our salt dough heart garlands to the next level by adding some decorative embellishments that showcase our personal style.
To add an extra touch of personality to our garlands, we can experiment with the following decorative embellishments:
- Vibrant Colors: Paint our hearts with acrylic paints for a pop of color and design.
- Sparkle and Glam: Add glitter or sequins to give our hearts a touch of sparkle and glamour.
- Intricate Designs: Use stamps or embossing tools to create intricate designs on our hearts.
- Personal Touch: Personalize our hearts with names, dates, or special messages using a fine-tipped paintbrush.
String the Hearts Together

With our beautifully crafted salt dough hearts ready, we're excited to bring them together to form a charming garland.
Now it's time to string the hearts together to create a stunning piece of home decor. To start, we'll thread a piece of twine through the hanging holes of each salt dough heart.
Next, we'll tie a knot close to each heart to secure it in place. This guarantees that each heart stays put and doesn't slide around on the twine.
As we string the hearts onto the twine, our garland begins to take shape. To complete the look, we'll attach a small hanging string to each heart, allowing us to hang our garland with ease.
Assemble the Garland

We're ready to assemble our garland by threading the cooled salt dough hearts onto the twine, carefully spacing them to create a visually appealing arrangement. This is the fun part – seeing our hard work come together to create a beautiful salt dough heart garland.
Here's how we assemble our garland:
- String hearts onto twine: Thread the cooled salt dough hearts onto the twine, leaving enough space between each heart for a visually appealing arrangement.
- Tie hanging strings securely: Tie small hanging strings securely to each heart for decoration and to create a cohesive look.
- Create loops for hanging: Create loops at each end of the twine for easy hanging on walls, mantels, or shelves.
- Customize garland spacing: Customize the garland by spacing the hearts evenly or in a pattern to create a unique and festive heart garland décor.
Once we've assembled our garland, we can hang it on walls, mantels, or shelves to add a touch of festive charm to our home. With our salt dough heart garland, we can create a beautiful and unique decoration for any occasion.
Frequently Asked Questions
How Do You Make a Heart Out of Salt Dough?
We create a heart out of salt dough by mixing flour, salt, and water to form a workable dough.
Then, we roll it out and use a cookie cutter to cut out heart shapes.
Before baking, we use a straw to create a hole for hanging.
How Do You Make Salt Dough for School Projects?
As ancient Egyptians crafted mummies, we're about to craft a timeless art material – salt dough!
To make it for school projects, we mix 2 cups of all-purpose flour, 1/2 cup of fine salt, and 1/2 cup of water. We can customize it with food coloring, glitter, or textures.
Simply combine the ingredients until a dough forms, then knead until smooth.
Now, we're ready to shape our creations!
What Is the Fastest Way to Harden Salt Dough?
We've found that baking salt dough in a low-heat oven at 250°F for 2+ hours is the fastest way to harden it.
This method quickly dries out the dough, ensuring it's ready for crafting or decoration.
Unlike air drying, which takes several days, baking expedites the hardening process, giving us a sturdy base for our projects.
Do You Bake Salt Dough or Let It Dry?
We've a choice when it comes to hardening salt dough: baking or air drying.
We can bake it in a low-heat oven at 250°F for 2+ hours to expedite the process, or let it air dry for 3-7 days, depending on humidity levels.
Both methods yield a firm final product, so it ultimately comes down to our personal preference and time constraints.
We can choose the method that best fits our needs.
Conclusion
'Who knew salt dough could be so romantic? We've managed to turn a humble mixture of flour, salt, and water into a beautiful garland that screams 'I love you' without breaking the bank.
With just a few simple steps, we've created a heartfelt decoration that's sure to impress. And the best part? It's not just for Valentine's Day – this garland is perfect for any occasion that calls for a little love and whimsy.'
