
You're about to give your plastic mirror frame a fresh new look by painting it, and with these 10 easy steps, you'll be able to achieve a professional-looking finish. Start by preparing your workspace safely, then clean the plastic mirror frame with mild soap and water, and sand it with fine-grit sandpaper for better paint adhesion. Protect the mirror with painter's tape, apply primer for a smooth finish, and paint thin coats evenly. Allow the paint to dry completely, remove the tape carefully, and reassemble the mirror frame. As you follow these steps, you'll uncover the secrets to a beautifully painted plastic mirror frame, and discover even more tips to guarantee a successful transformation.
Key Takeaways
• Clear workspace and wear protective gear, including goggles, gloves, and a mask, to ensure safety while painting.
• Clean the frame with mild soap and water, and sand it with fine-grit sandpaper for better paint adhesion.
• Use painter's tape to mask mirror edges, applying it firmly and evenly to prevent paint from seeping underneath.
• Apply primer designed for plastic surfaces to enhance paint adhesion and durability, creating a smooth surface for painting.
• Apply thin coats of paint evenly, allowing each coat to dry completely before adding additional coats for a durable finish.

BAGTeck 22 Sets of Mirror Holder Clips Kit,Crystal Clear Plastic Mirror Clip,Mirror Holder Clips Glass Retainer Clips Kit,Mirror Hanging Kit with Screws and Fixed Mirror Box Door(Classic Style)
- Complete Mirror Hanging Kit: 22 clips, screws, and anchors included
- Size Compatibility: Fits mirrors up to 3/16 inch thick
- High-Quality Materials: Made of durable, lightweight polypropylene plastic
As an affiliate, we earn on qualifying purchases.
As an affiliate, we earn on qualifying purchases.
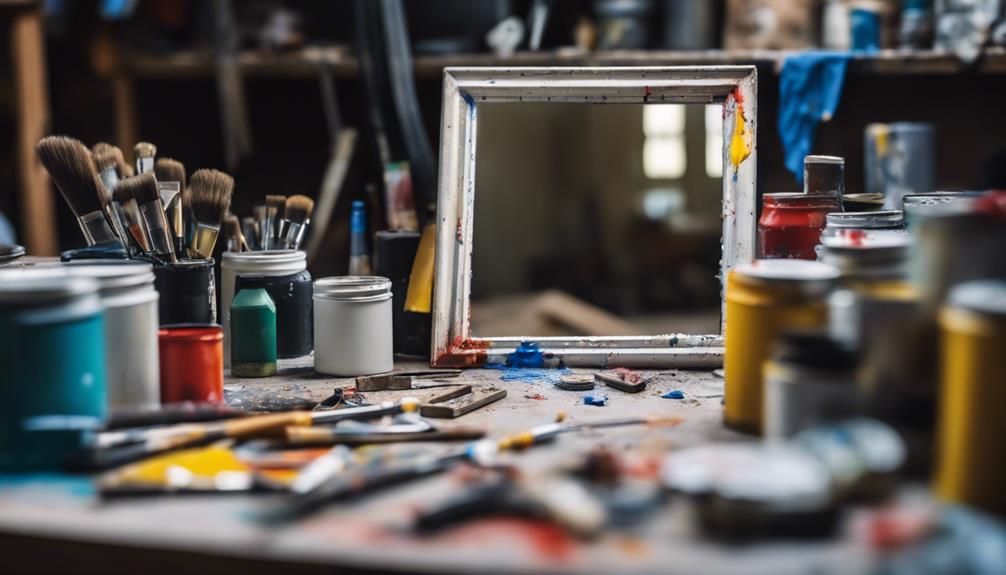
Prepare the Workspace Safely
Clear your workspace of any clutter or obstacles to prevent accidents and guarantee a smooth painting process. As you prepare to paint your plastic mirror frame, make sure the area is free from any tripping hazards or breakable objects that could get damaged. This will guarantee that you can focus on the task at hand without any distractions or interruptions.
Additionally, establish proper ventilation in the area to avoid inhaling paint fumes and maintain air quality. You should also protect the mirror by covering it with a drop cloth or tarp to prevent any accidental paint spills or drips. Wear protective gear such as goggles, gloves, and a mask to safeguard against paint splatters and fumes.
Lastly, keep children and pets away from the painting area to prevent any potential hazards or disruptions. By following these simple steps, you'll be well on your way to a successful and stress-free painting experience.
Clean the Plastic Mirror Frame
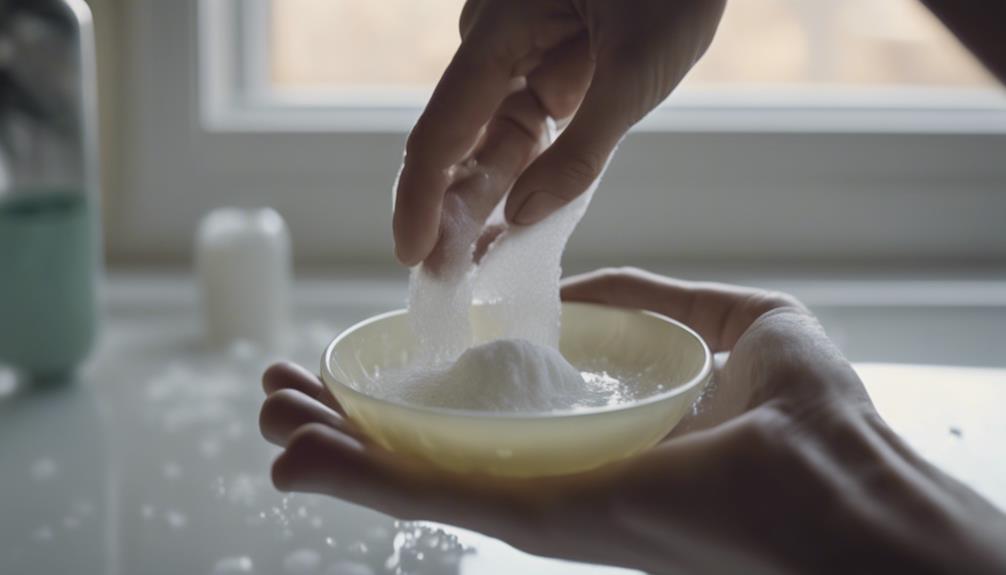
Now that your workspace is set up and ready to go, grab a soft cloth and a mild soap and water solution to gently wipe down the plastic mirror frame, removing any dirt, grime, or dust buildup that may be lurking on its surface.
This step is important in guaranteeing a smooth paint job, as any impurities can affect the adhesion of the paint to the frame. Take your time and thoroughly clean the entire frame, paying close attention to any crevices or grooves where dirt tends to accumulate.
Once you've cleaned the frame, use a dry cloth to wipe it down and remove any excess moisture. It's crucial to dry the frame completely before proceeding with the painting process. A clean frame ensures better paint adhesion and a smoother finish, ultimately leading to a successful painting project.
Sand the Frame for Better Adhesion
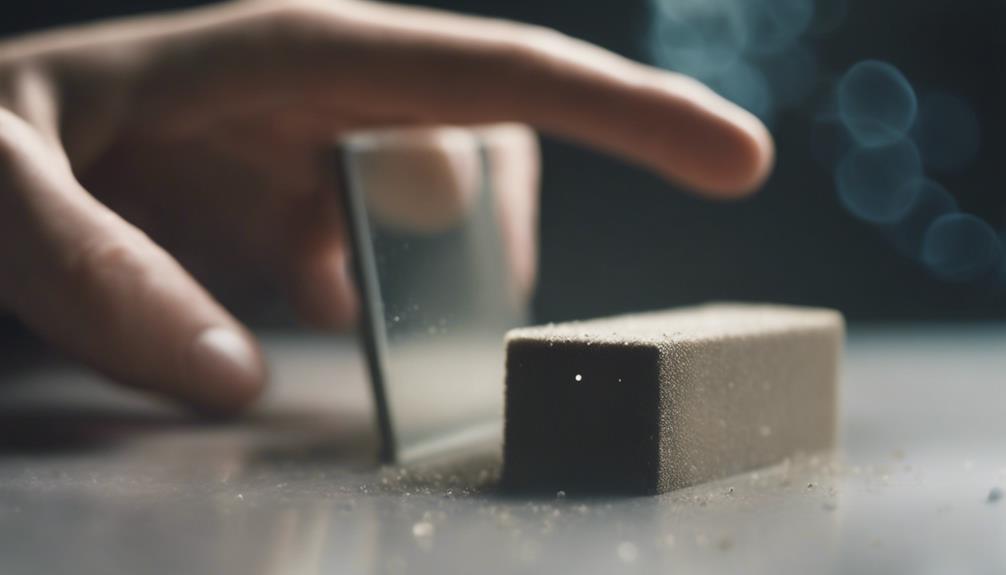
You'll need to sand the plastic mirror frame to create a rough surface for better paint adhesion. This important step guarantees that your paint job lasts long and looks great.
Use fine-grit sandpaper to smooth out any imperfections on the frame, removing any existing paint or finish that may prevent new paint from sticking. As you sand, focus on creating a uniform surface, making sure to cover the entire frame.
Once you've finished sanding, clean the frame thoroughly to remove any dust or debris. This step is essential, as any remaining particles can affect paint adhesion.
By properly sanding your plastic mirror frame, you'll create a clean canvas for painting and ensure a long-lasting finish. Remember, a well-sanded frame is essential for a successful paint job, so take your time and do it right.
With a smooth, even surface, you'll be ready to move on to the next step, confident that your paint will adhere perfectly to the frame.
Protect the Mirror With Masking Tape

Mask the mirror's edges with painter's tape, carefully pressing it down to guarantee a seal that prevents paint from seeping through. This vital step guarantees a professional finish and saves you from the hassle of cleaning up paint mistakes.
When applying the tape, make sure it's pressed firmly onto the plastic frame to create a tight seal.
Here are some essential tips to keep in mind when protecting your mirror with masking tape:
- Cover the entire mirror surface: Don't leave any part of the mirror exposed, as paint can easily splatter onto it.
- Apply even pressure: Press the tape down firmly to prevent any air bubbles or wrinkles that might let paint seep through.
- Remove the tape carefully: After painting, gently remove the tape to avoid pulling off the paint or damaging the plastic frame.
Apply Primer for Smooth Finish
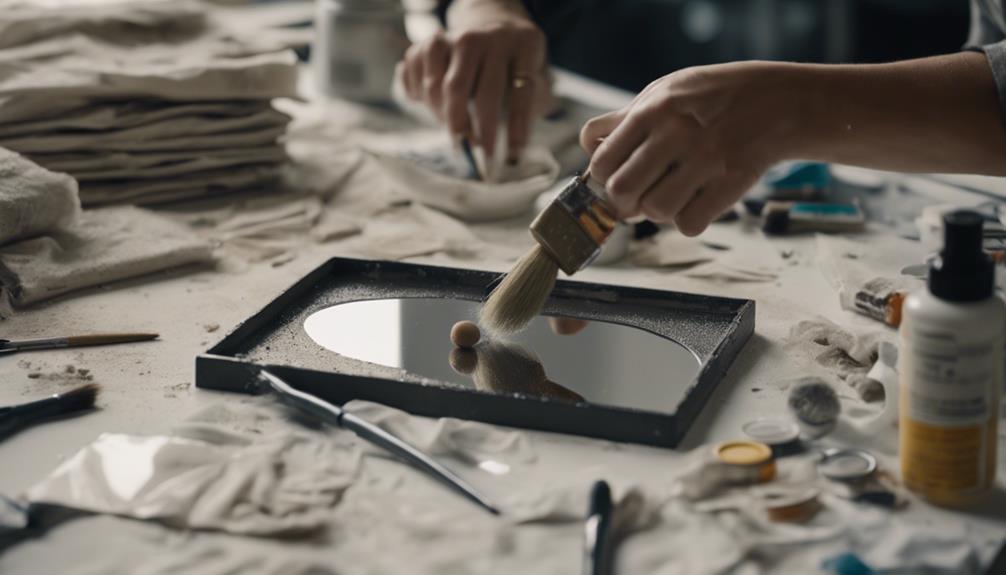
How can you guarantee a smooth, even finish on your plastic mirror frame? The answer lies in applying a primer specifically designed for plastic surfaces. This essential step helps create a surface for the paint to adhere to, ensuring a durable and long-lasting finish.
| Primer Benefits | Why It Matters |
|---|---|
| Improves paint adhesion | Ensures a strong bond between paint and plastic |
| Enhances durability | Reduces chipping, peeling, or flaking over time |
| Creates a smooth surface | Allows for an even, professional-looking finish |
Choose the Right Paint for Plastic
When choosing the right paint for your plastic mirror frame, you'll want to take into account the specific needs of plastic surfaces, which often require specialized paints for best durability and adhesion.
You'll need to select a paint that's specifically designed for plastic, taking into consideration factors like smooth finishes and vintage looks.
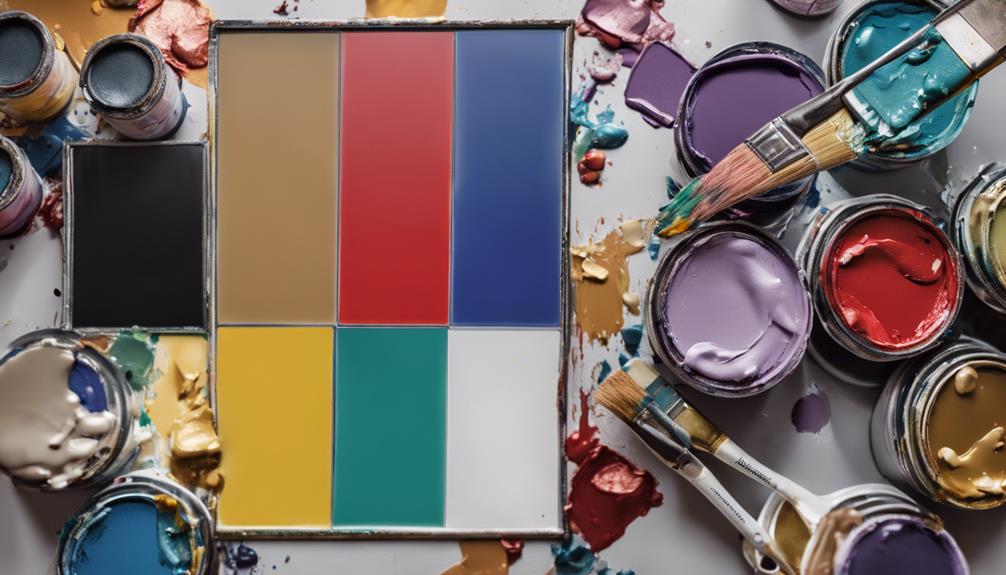
Paint Types for Plastic
You'll find that selecting the appropriate paint for your plastic mirror frame is essential to achieving a professional-looking finish. With so many options available, it can be overwhelming, but don't worry, we're here to help.
Here are three paint types that are perfect for your plastic mirror frame:
- Chalk paint: This is a great option if you're going for a vintage look. It's easy to work with and provides a smooth, matte finish.
- Spray paint specifically designed for plastic: This type of paint ensures a durable and long-lasting finish. It's available in a wide range of colors, making it easy to customize your frame.
- Krylon paint for plastic: This paint offers a wide range of colors and finishes, making it perfect for customization. Plus, it's specifically designed for plastic surfaces, ensuring a strong bond and long-lasting results.
Specific Plastic Paint Needs
Considering the unique properties of your plastic mirror frame, selecting the right paint is essential to achieving a flawless finish. As you prepare to paint, remember that not all paints are created equal when it comes to plastic surfaces. You'll want to choose a paint specifically designed for plastic, ensuring a strong bond and durable finish. Spray paint, in particular, is a great option, as it provides a quick and even coverage.
Krylon paint for plastic is a trusted brand, offering a wide range of colors and suitable for plastic surfaces. If you prefer a more subtle look, chalk paint is another popular choice, known for its matte finish and ease of application. Regardless of the paint you choose, don't forget to use painters tape to mask off areas you don't want to paint, ensuring crisp lines and a professional finish.
Durability and Adhesion
To guarantee a long-lasting, chip-resistant finish on your plastic mirror frame, it's important to choose a paint that adheres well to plastic surfaces. Take your time to select the right paint, as it's essential for a durable and long-lasting finish. You'll want to cover the mirror with a paint that's specifically designed for plastic surfaces.
When it comes to choosing the right paint, consider the following options:
- Chalk paint: A popular choice for plastic mirror frames due to its durability and adhesion.
- Spray paint for plastic: Ensures better adhesion and longevity on plastic surfaces.
- Krylon paint for plastic: A reliable option known for its adhesion to plastic surfaces.
Apply Thin Coats of Paint Evenly

Now that your mirror frame is properly prepared, apply a thin, even layer of paint to the entire surface, working from one side to the other to maintain a consistent finish. This is important in achieving a smooth, professional-looking result.
By applying thin coats of paint, you'll prevent drips and establish better adhesion to the plastic surface. Thin coats also help you avoid clumping or uneven coverage on the frame, leading to a more uniform appearance.
Additionally, even application of paint in thin layers allows you to control the color intensity and achieve the desired look for your mirror frame. Take your time to apply thin coats of paint evenly, and you'll be rewarded with a beautifully painted plastic mirror frame that enhances the overall aesthetic of the mirror.
Allow the Paint to Dry Completely
Now that you've applied thin coats of paint evenly, it's important to allow the paint to dry completely to achieve a professional-looking finish.
You'll need to be patient and let the paint curing process take its course, which may vary depending on the type of paint you're using.
Understanding the drying time frames and paint curing process is vital to avoid common mistakes that can ruin your hard work.
Drying Time Frames
After you've applied the paint, let it sit for a bit, as the drying time frames for your plastic mirror frame will vary depending on the type of paint you're using. It's crucial to allow the paint to dry completely to guarantee a durable finish.
Here are some general guidelines for drying times:
- Chalk paint: Allow at least 24 hours before handling the frame.
- Spray paint: Typically dries within 1-2 hours, but may require up to 24 hours for full curing.
- Check the label: Specific drying times can vary based on brand and type, so always refer to the paint label for instructions.
Paint Curing Process
Allow the paint on your plastic mirror frame to dry completely to guarantee a durable and long-lasting finish. This important step in the painting process ensures that your hard work doesn't go to waste. Depending on the type of paint used, curing times may vary from a few hours to a few days. Proper paint curing is essential to prevent smudges or damage to the finish.
| Type of Paint | Curing Time |
|---|---|
| Acrylic | 1-2 hours |
| Enamel | 2-4 hours |
| Spray Paint | 30 minutes – 1 hour |
| Epoxy | 24 hours |
| Lacquer | 1-2 hours |
Before taking the mirror, make sure to follow the manufacturer's instructions for recommended drying and curing times. Avoid touching or using the mirror frame until the paint has fully cured to achieve the best results. By allowing the paint to dry completely, you'll be rewarded with a beautiful, long-lasting finish that will enhance the overall appearance of your mirror.
Remove Masking Tape Carefully
With precision, you'll need to remove the masking tape to reveal the crisp, clean lines of your newly painted mirror frame. This step requires patience and care to avoid damaging the fresh paint. Before you remove the tape, use a sharp utility knife to score the edges of the tape, especially where it meets the frame. This will help prevent the paint from peeling off with the tape.
Here are some tips to keep in mind when removing the tape:
- Peel off the tape slowly and carefully to prevent damaging the paint.
- Pull the tape back on itself at a 45-degree angle to avoid paint from peeling off with the tape.
- Check for any areas where the tape may have lifted paint and touch up with a small brush if necessary.
After removing the tape, inspect the frame for any residue left behind. If necessary, use a gentle adhesive remover to clean the area. This will secure a clean finish and a professional-looking result.
Reassemble the Mirror Frame
You're now ready to reassemble your beautifully painted mirror frame, carefully placing the mirror back into its new surroundings. Make sure it fits securely, as this would take some patience and attention to detail.
Next, use a screwdriver to reattach any screws that were removed during disassembly. It's important to confirm the frame is fully dry before reassembling to prevent any smudges or damage.
As you reassemble, double-check that the mirror is properly aligned within the frame for a polished look. This step is really good practice for getting everything perfectly in place.
Once you've reattached all the parts, do a final check to confirm the mirror is securely in place before hanging or displaying. Take your time, and you'll be rewarded with a beautifully painted mirror frame that's sure to impress.
Frequently Asked Questions
How to Paint a Plastic Mirror Frame?
When considering how to paint a plastic mirror frame, you'll want to start by preparing the surface. Sand the frame to create a smoother base for painting, and use painter's tape to protect the mirror glass.
Then, apply multiple thin coats of paint specifically designed for plastic surfaces, such as chalk or spray paint. Finish with a clear polyacrylic sealant to guarantee durability and protection.
How to Paint Over a Plastic Frame?
When you decide to paint over a plastic frame, remember that preparation is key. You'll need to sand the surface to create a smooth base for painting.
Next, choose a spray paint specifically designed for plastic surfaces to guarantee better adhesion. Apply multiple thin coats for even coverage, and consider adding a clear polyacrylic sealer to protect the finish.
What Kind of Paint Do You Use on a Mirror Frame?
When it comes to painting a mirror frame, you're not limited to just one type of paint. Surprisingly, did you know that over 70% of DIYers opt for spray paint for its ease of use and quick drying time?
For a plastic mirror frame, you can use chalk paint, spray paint specifically designed for plastic, Krylon paint for plastic, or all-purpose spray paint. Just remember to prep the surface properly for a smooth, durable finish.
What Paint Will Cover Plastic?
When it comes to covering plastic, you'll want to reach for paints specifically designed for the job. Chalk paint is a popular choice, offering a matte finish and easy application.
However, if you're looking for a more durable option, spray paints like Krylon for plastic or all-purpose spray paint can provide a long-lasting finish. These paints are formulated to adhere well to plastic surfaces, ensuring a smooth, even coat.
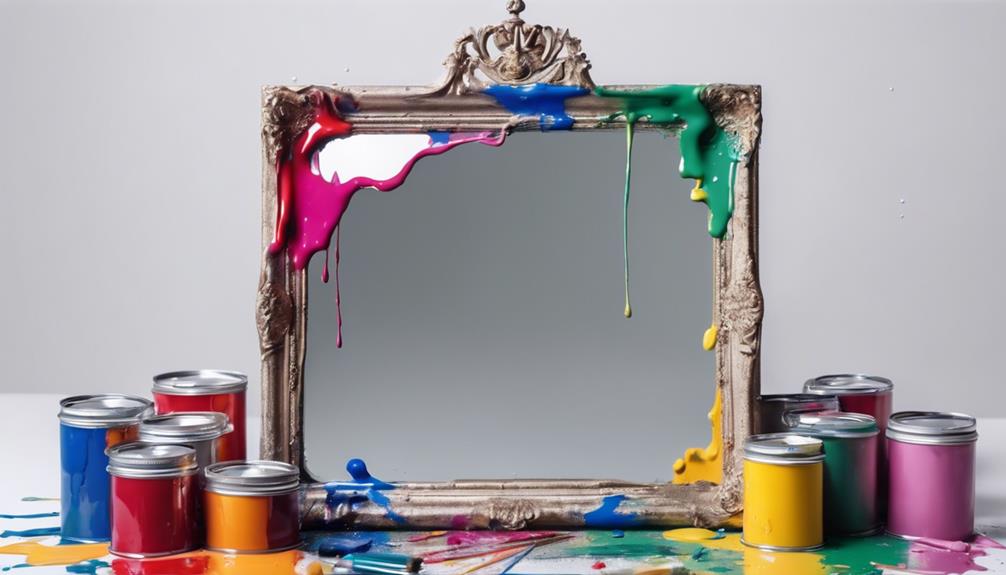
Conclusion
As you step back to admire your handiwork, the transformed mirror frame radiates a sense of pride and accomplishment, a tribute to the power of creativity and perseverance.
Like a phoenix rising from the ashes, your once-bland plastic frame now shines with a fresh, vibrant hue, reflecting not only your reflection but also your unique persona.