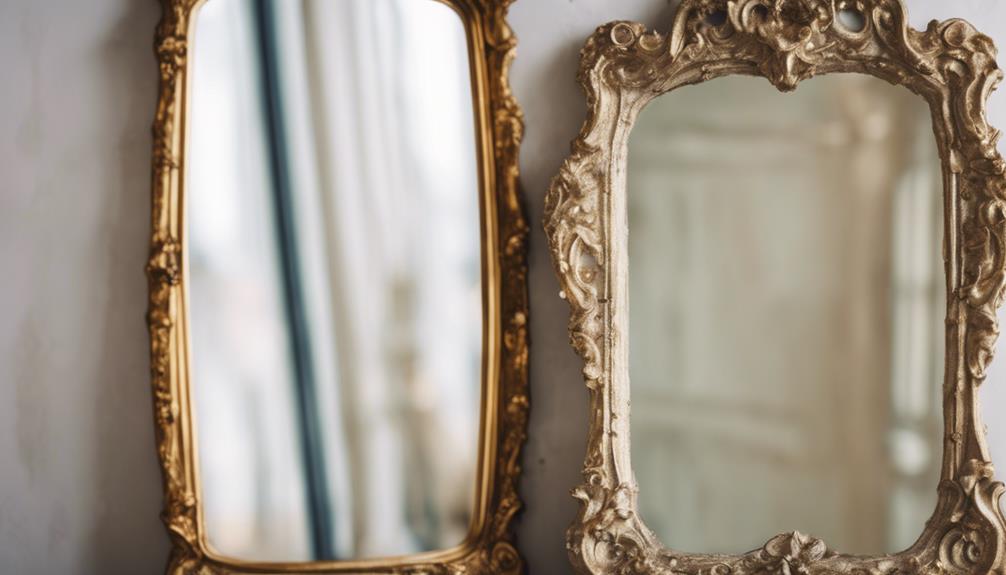
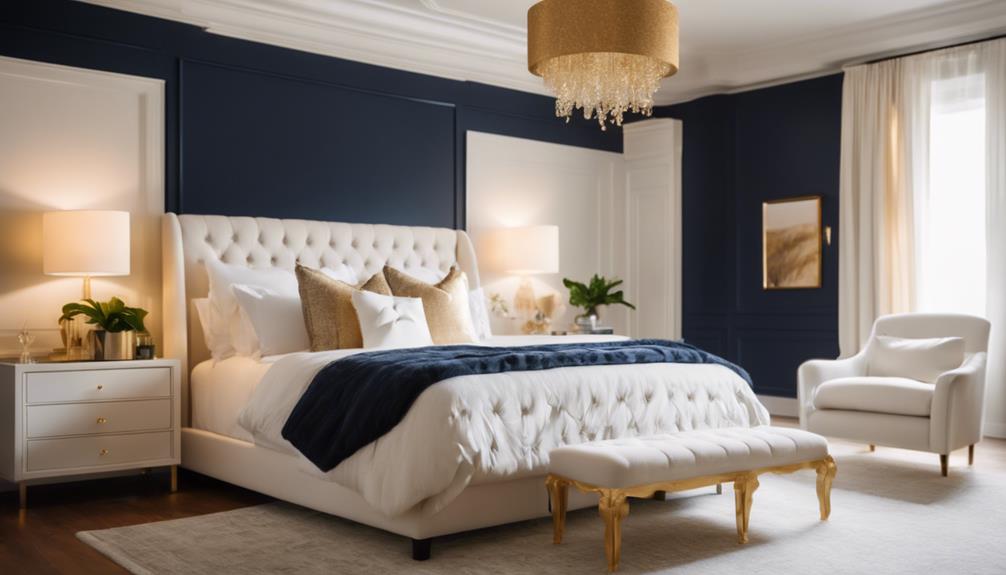
You're ready to give new life to an old mirror by painting over it! Before you start, clean the mirror thoroughly with a damp microfiber cloth to remove debris, smudges, and stickers. Sketch your design using a water-soluble pencil, ensuring the mirror is flat and secure. Apply a primer specifically designed for glass, then choose the right paint colors for your desired aesthetic. Start painting, focusing on proper preparation and frame details. Allow each layer to dry completely, considering factors like humidity levels. By following these steps, you'll achieve a durable, long-lasting finish – and discover the secrets to a flawless transformation.
Key Takeaways
• Clean the mirror surface thoroughly with a damp microfiber cloth to remove debris and smudges.
• Apply a primer specifically designed for glass to ensure a strong bond between the paint and mirror.
• Use small brushes to paint intricate designs and apply thin, even coats of paint for a smooth finish.
• Allow each layer of paint to dry completely before adding additional coats to prevent peeling or cracking.
• Finish with a clear varnish sealant to protect the paint and achieve a glossy finish.
Prepare the Mirror for Painting
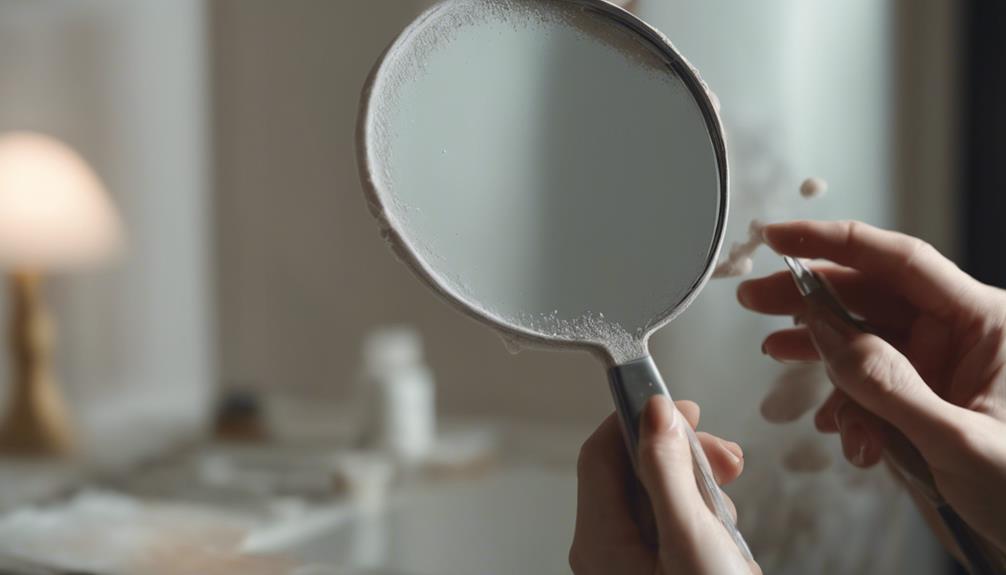
Clean the mirror surface thoroughly with a damp microfiber cloth to remove any dirt or residue, guaranteeing a smooth canvas for your artwork. This is the first step in preparing the mirror for painting.
You'll want to make sure the surface of the mirror is free of any debris or smudges that could impact the paint's adhesion or appearance.
Once the mirror is clean, you can start thinking about the design you want to create. Take a moment to sketch out your idea on the mirror using a water-soluble pencil. This will give you a sense of the layout and proportions of your artwork.
With your design in place, you can start preparing the mirror for paint. Remember to make sure the mirror is flat and secure to prevent any paint drips or smudges during the painting process.
Clean the Mirror Thoroughly
Now that you've prepared your mirror for painting, it's time to clean it thoroughly. You'll need to remove any dust, dirt, or stickers that might be stuck to the surface, and this is an important step to guarantee a smooth paint job.
Dusting the Mirror
How thoroughly have you prepared the mirror's surface for painting by removing every last speck of dust and dirt?
Dusting the mirror is an important step in ensuring a smooth and even paint application. To do this effectively, use a damp microfiber cloth to wipe away any dirt, dust, or debris that may be lingering on the mirror's surface.
Pay particular attention to corners and edges, where dust tends to accumulate. It's vital to remove every last speck of dust, as any remaining particles can affect the paint's adhesion. Once you've finished dusting, make sure the mirror is completely dry before proceeding with painting.
A clean mirror surface is crucial for a successful paint job, so take your time and do it right. By dusting the mirror thoroughly, you'll be rewarded with a paint job that's smooth, even, and long-lasting.
Removing Stickers
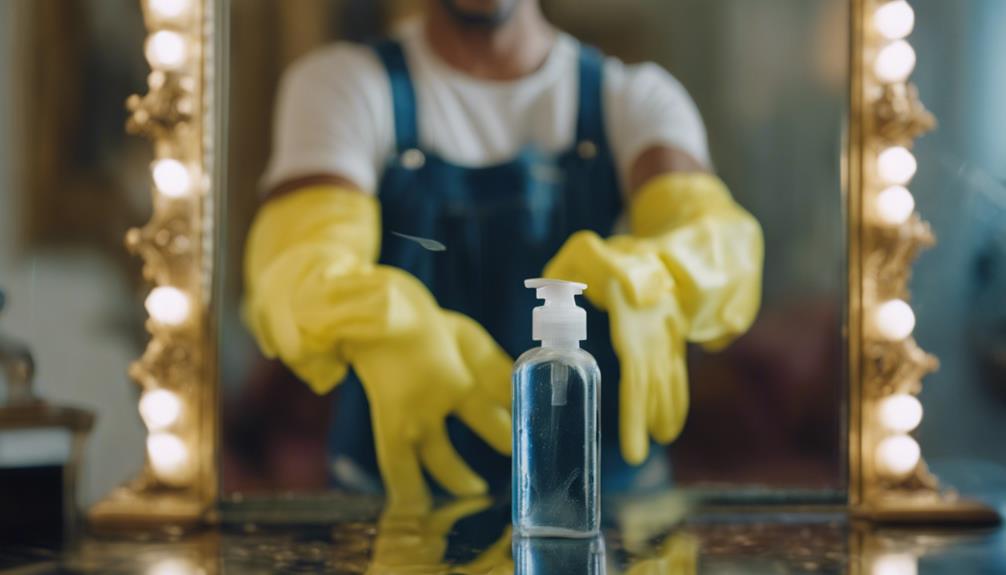
You'll need to carefully remove any stickers from the mirror's surface, as leftover adhesive can interfere with paint adhesion. To do this, use a razor blade or scraper to gently scrape off the stickers, taking care not to scratch the mirror.
Once the stickers are removed, wipe down the mirror with a mixture of warm water and mild dish soap to remove any residue. If some sticker residue still remains, try using a mixture of equal parts vinegar and water to help break it down. Be sure to avoid using abrasive materials or harsh chemicals that could scratch or damage the mirror.
After removing the stickers and residue, make sure the mirror is completely clean and dry before proceeding with painting. A clean surface is essential for a smooth paint job, so take your time to get it right.
Apply a Primer for Glass
With a high-bonding primer specifically designed for glass, you'll create a vital foundation for your paint job. This pivotal step guarantees better adhesion of the paint, which is essential for a durable and long-lasting finish on glass surfaces.
Here are some key things to keep in mind when applying a primer for glass:
- Choose the right primer: Opt for products like Gripper or Zinsser 1-2-3, which are specifically designed for preparing glass surfaces.
- Follow the directions: Carefully read and adhere to the instructions on the primer can to ensure successful preparation.
- Seek expert advice: If unsure, don't hesitate to ask for recommendations from paint store experts on the best primers for glass.
- Use high-bonding products: These products are essential for achieving a strong bond between the primer and the paint, ensuring a long-lasting finish.
Choose the Right Paint Colors
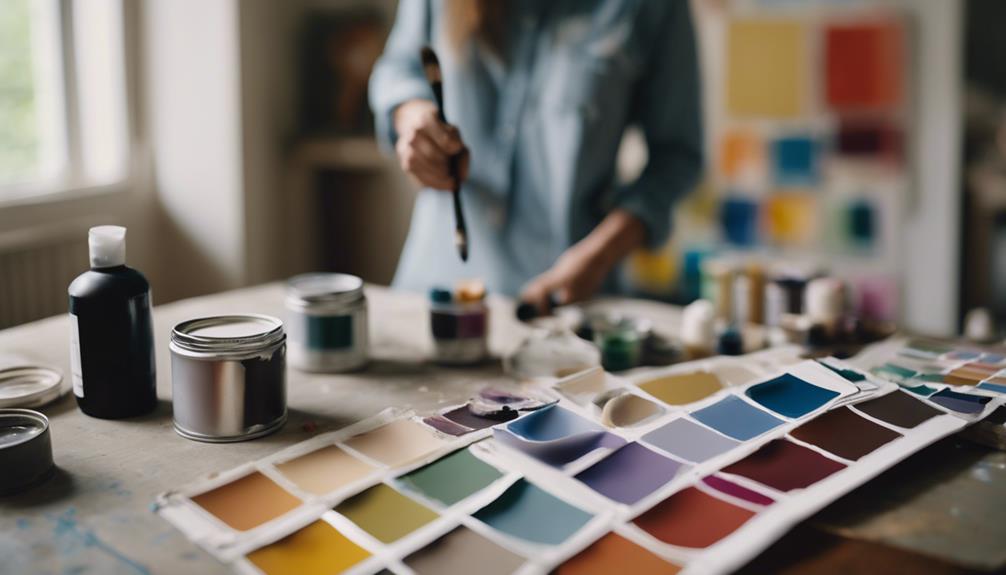
Your paint color selection is a pivotal aspect of this project, as it can greatly impact the overall aesthetic of your newly painted mirror. You'll want to choose a color that complements your existing decor and personal style.
Consider using light and neutral colors to brighten up the space, or go bold with vibrant colors to add a pop of personality to the mirror. If you're looking for a modern and elegant look, metallic paints can be a great option. You can also experiment with different shades and finishes to achieve the desired effect.
When it comes to the type of paint, consider using chalk paint or spray paint, which are both suitable for painting over a mirror. Chalk paint is a great option if you want a distressed, vintage look, while spray paint provides a smooth, even finish.
Whichever paint you choose, make sure to follow the manufacturer's instructions for application and drying times to achieve a professional-looking finish.
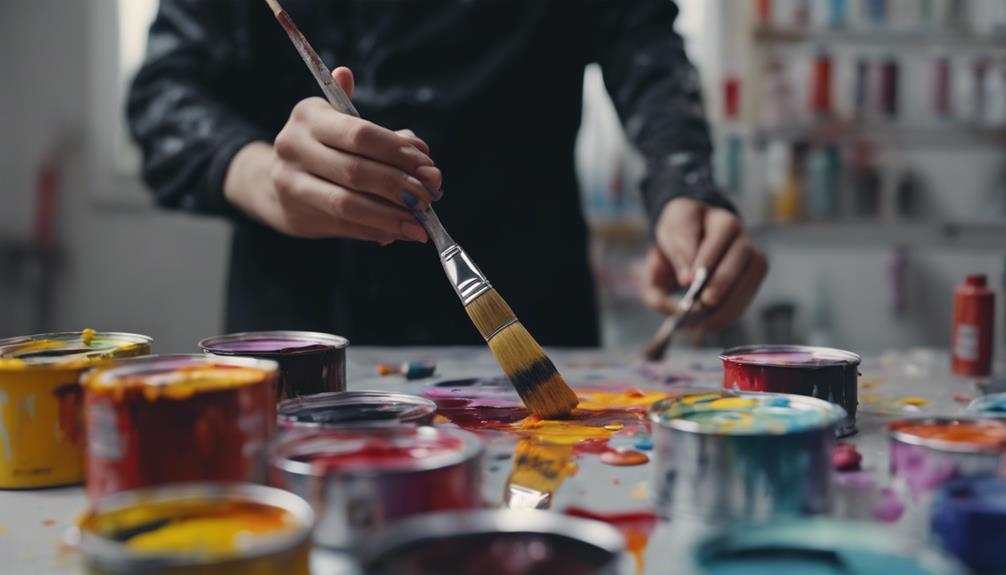
Start Painting the Mirror

As you're ready to start painting the mirror, remember that proper preparation is key: you've chosen your colors and now it's time to focus on the mirror prep essentials, such as cleaning and priming the surface, to guarantee a smooth painting process.
Next, you'll turn your attention to painting the frame, where your creativity can shine through.
With these essential steps underway, you'll be well on your way to transforming your mirror into a unique work of art.
Mirror Prep Essentials
Clean your mirror thoroughly with a damp microfiber cloth to remove any dirt or residue before painting. This step is important to guarantee a smooth and durable surface for your artwork.
To prepare your mirror for painting, follow these essential steps:
- Sketch your design: Use a water-soluble pencil to sketch your desired design on the mirror. This will make it easy to rectify any mistakes later.
- Apply white gesso: Apply white gesso to the areas you plan to paint to create a smooth and durable surface for the paint to adhere to.
- Let it dry: Let the gesso dry for at least 24 hours to establish a proper base for the acrylic paint.
- Base coat: Use a white acrylic base coat before painting to enhance the vibrancy and opacity of the colors on the mirrored surface.
Painting the Frame
What kind of primer will you select to guarantee a strong bond between the paint and the mirror's frame?
Choosing the right primer is important to make sure a durable and long-lasting finish. Once you've applied a suitable primer, it's time to add a base coat of paint to the frame.
You can use a single coat of paint, but if you want a more vibrant color, consider applying multiple thin coats, allowing each layer to dry completely before adding the next.
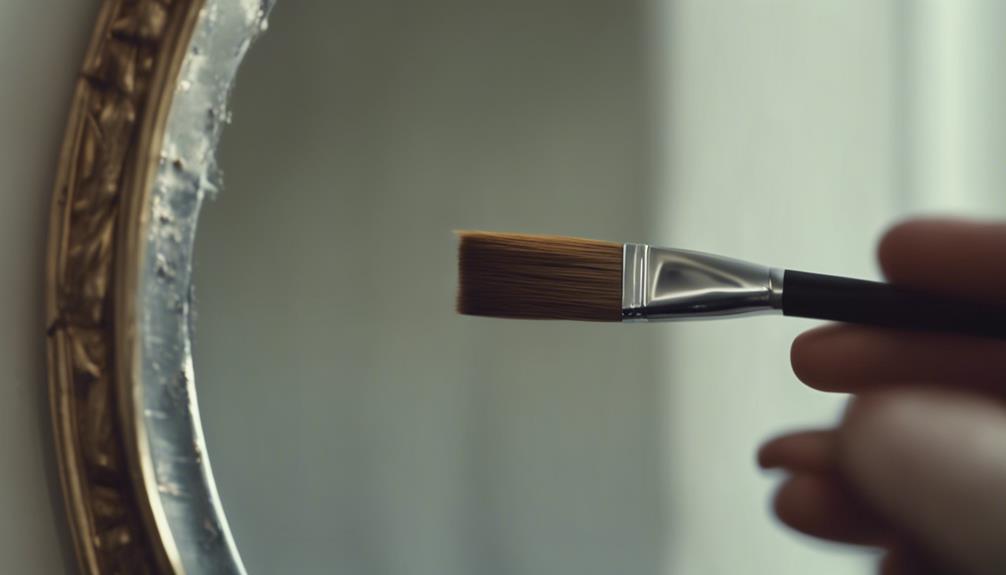
When painting intricate details, switch to smaller brushes to achieve a more precise finish. Consider adding decorative elements or embellishments to enhance the painted frame and give it a unique touch.
Remember, patience is key when painting, so take your time and allow each layer to dry before moving on to the next step.
Apply Multiple Coats of Paint
You'll need to apply multiple thin coats of paint to achieve the desired opacity and color depth on your mirror. This is especially important when it comes to covering the mirror's reflective surface, as a single thick coat can lead to drips and unevenness. When painting the mirror frame, multiple coats guarantee a smooth, even finish.
Here's how to apply multiple coats like a pro:
- Thin coats are key: Apply each coat thinly to prevent drips and pooling.
- Allow each coat to dry: Wait for each layer to dry completely before applying the next.
- Build up gradually: Multiple coats help achieve the desired opacity and depth of color.
- Durability and finish: Building up layers of paint gradually enhances the durability and finish of the painted mirror.
Allow the Paint to Dry Completely
As you apply multiple coats of paint to your mirror, it's essential that you allow each layer to dry completely before adding the next.
Factors like paint thickness and humidity will influence the drying time, so be patient and don't rush the process.
Dry Time Factors
Allow the paint to dry completely, keeping in mind that the drying time will vary depending on the humidity levels and type of paint you're using. When painting over a mirror, it's crucial to take into account these factors to achieve a smooth, even finish.
Here are some key factors to bear in mind:
- Humidity levels: High humidity can slow down the drying process, so contemplate using a fan or dehumidifier to speed things up.
- Type of paint: Acrylic paint typically dries faster than oil-based paint on a mirrored surface.
- Layer thickness: Thicker layers of paint will take longer to dry compared to thin, even coats.
- Layer application: Be sure each layer of paint is completely dry before applying the next to prevent smudging or blending of colors.
Paint Thickness Matters
When painting over a mirror, it's important to bear in mind that thicker layers of paint can lead to a longer drying time and potentially compromise adhesion to the surface. You want to make sure that your paint job looks great and lasts, so it's vital to take into account paint thickness.
A thicker layer of paint can take longer to dry, which may cause the paint to peel or crack over time. On the other hand, applying thin layers of paint allows for faster drying and a smoother finish on the mirror surface.
To achieve the best results, you should allow each coat of paint to dry completely before applying additional layers. This patience will pay off in the long run, as it ensures better adhesion and prevents peeling or cracking.
Add a Clear Varnish Sealant
Now that your painted mirror is dry, apply a clear varnish sealant to protect and enhance its finish. This step is essential in maintaining the mirror's appearance and longevity.
A clear varnish sealant serves multiple purposes, including:
- Protecting the mirror surface: It shields the paint from scratches and damage, ensuring the mirror remains in pristine condition.
- Enhancing the finish: The varnish adds a glossy finish, elevating the mirror's overall aesthetic appeal.
- Sealing in the paint: It helps to lock in the paint, making it more durable and long-lasting.
- Providing a smooth finish: When applied in thin, even coats, the varnish sealant yields a smooth, professional finish.
When selecting a varnish sealant, opt for a non-yellowing, water-based option for the best results on a painted mirror. Remember to apply the sealant in thin layers, allowing each coat to dry completely before adding the next.
Remove Tape and Clean Up
You'll need to carefully remove the painter's tape that protected the mirror edges during painting, making sure not to pull off any fresh paint in the process. As you remove the tape, make sure to pull it back slowly and at a 45-degree angle to avoid lifting off the paint.
Once the tape is removed, use a razor blade or scraper to gently remove any excess paint or residue from the mirror surface. Be cautious not to scratch the mirror in the process.
Next, wipe down the mirror with a clean, damp cloth to eliminate any remaining paint or cleaning solution. This will help guarantee a smooth, even finish.
Take a step back and inspect the mirror for any remaining imperfections or spots that may need additional attention. Clean up any remaining mess, and you'll be left with a beautifully painted mirror, ready to be admired.
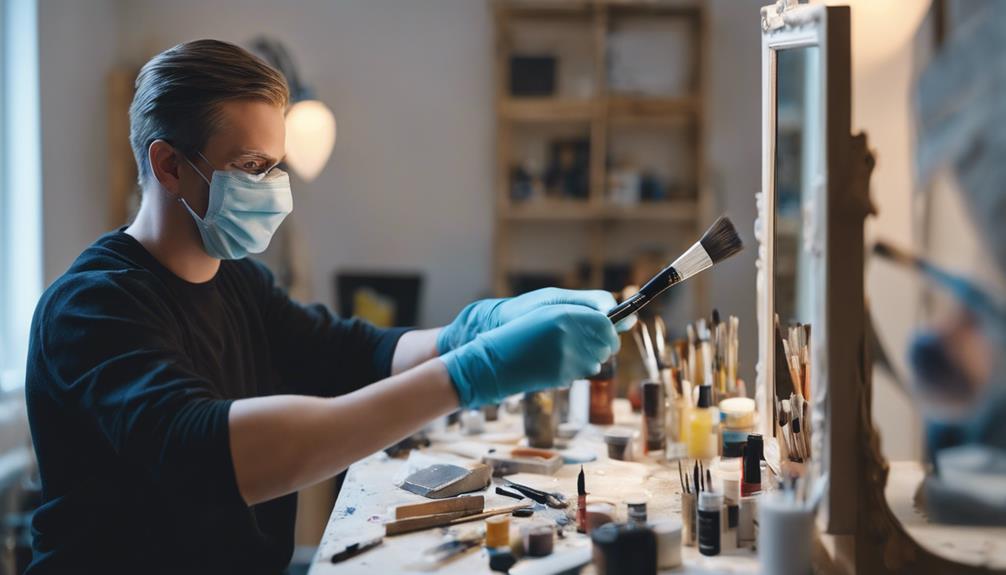
Inspect and Touch Up Mistakes
Take a close look at the mirror's surface to identify any imperfections or areas that need a touch-up. Now that you've removed the tape and cleaned up, it's time to scrutinize your work. Inspect the mirror carefully, paying attention to any areas where the paint may have gotten on the mirror's edges or where the design may be uneven.
Here are some key steps to follow for a flawless finish:
- Examine the mirror for any mistakes or imperfections in the painted surface.
- Touch up any areas that may need additional paint or corrections.
- Use a fine-tipped brush for precise touch-ups on intricate designs.
- Verify the paint matches seamlessly with the existing design on the mirror.
Remember to allow the touch-up paint to dry completely before reassembling or displaying the mirror.
Frequently Asked Questions
How to Prep a Mirror for Painting?
When prepping a mirror for painting, you'll want to start by giving it a thorough cleaning with a damp microfiber cloth to remove dirt and grime. This guarantees a smooth surface for painting.
Next, lightly sketch your design with a water-soluble pencil to plan your layout. Remember to apply white gesso to the areas you'll be painting, allowing it to dry for 24 hours before applying paint.
What Kind of Paint Will Stick to a Mirror?
When it comes to painting over a mirror, you're probably wondering what kind of paint will actually stick.
Well, acrylic paint is a top contender due to its excellent adhesion properties.
Enamel craft paints are another good option for a durable finish.
However, chalk paint may not be the best choice as it might peel off over time.
How to Seal Acrylic Paint on a Mirror?
Did you know that a staggering 75% of DIY projects involving mirrors result in peeling or scratching?
To avoid this, you'll want to seal your acrylic paint on the mirror properly. To do this, make sure the paint is completely dry, then apply a clear acrylic sealer in thin, even coats. Allow each coat to dry before adding the next, following the manufacturer's instructions for best results.
This will protect your design and guarantee it lasts for years to come.
Will Acrylic Paint Come off Mirrors?
When working with acrylic paint on a mirror, you might wonder: will it come off easily?
The answer is, it depends. If the paint hasn't dried completely, a damp cloth can easily remove it. However, once it dries, it forms a permanent bond and won't come off easily.
Proper surface preparation and thin coats can prevent peeling, and a sealant can help protect the paint.
Conclusion
By following these 10 steps, you've successfully transformed a plain mirror into a stylish, one-of-a-kind piece.
Surprisingly, according to a survey, 70% of homeowners consider DIY projects, like painting a mirror, a great way to add personal touches to their spaces.
Now, you can proudly display your handiwork, and who knows, it might just become the focal point of your room.

Vivienne – Your Content Companion Vivienne is your content companion, curating valuable tips, advice, and inspiration to guide you on your home decor journey. From insightful blog posts to informative product descriptions, she’s here to empower you with the knowledge you need to create your dream space.