We're about to breathe new life into an old dresser, transforming it into a functional and stylish bookshelf that's both eco-friendly and budget-friendly. To get started, we'll assess the dresser's dimensions and condition, identifying weaknesses or damage to guarantee sturdiness and stability. Next, we'll modify the top section, trimming excess depth and maintaining structural integrity. By adjusting the height and adding new shelves and back panels, we can create a functional bookshelf that's tailored to our needs. With some TLC and creativity, we'll reveal the full potential of this upcycled dresser – and discover a unique piece that's truly one-of-a-kind.
Key Takeaways
• Assess the dresser's condition, identifying weaknesses and ensuring sturdiness before modification.
• Carefully remove and refine the top section, trimming excess depth for a clean cut.
• Adjust the height and add or modify shelves to achieve the desired functionality and aesthetic.
• Apply wood stain and finish evenly to achieve a durable and glossy finish.
• Ensure stability and balance by leveling shelves, adding felt pads to feet, and anchoring to the wall if necessary.
adjustable wood shelves for DIY furniture
As an affiliate, we earn on qualifying purchases.
As an affiliate, we earn on qualifying purchases.
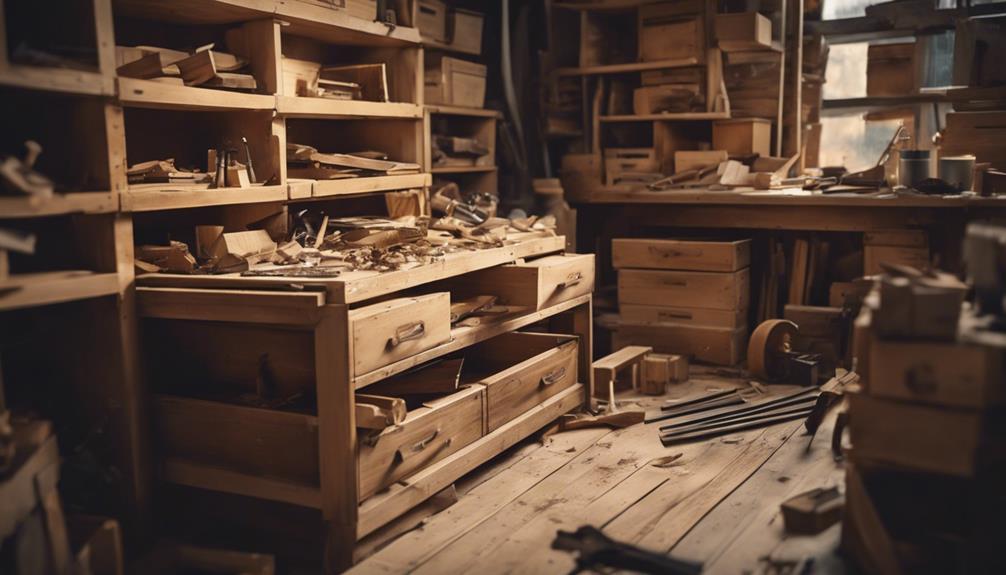
Prepare the Dresser for Conversion
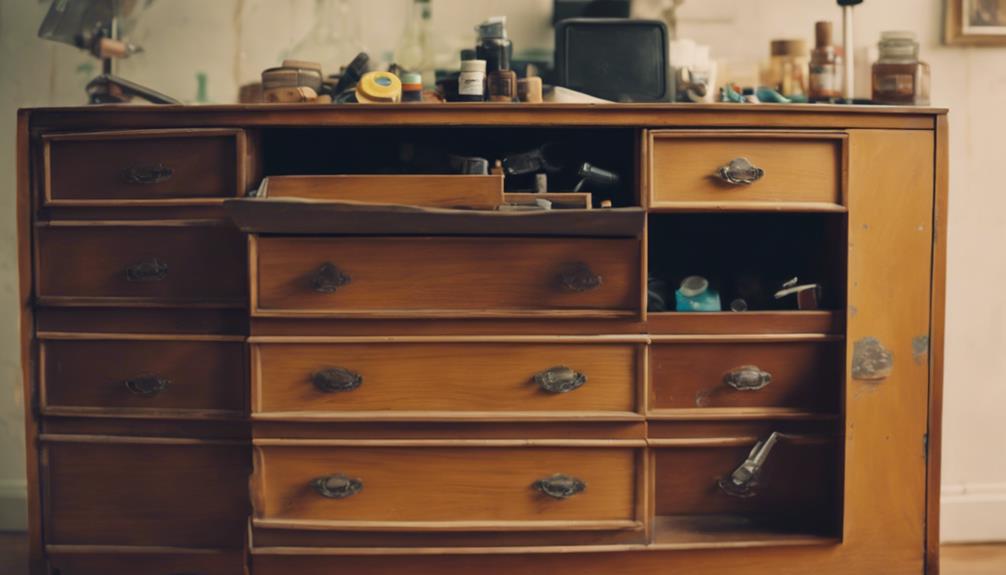
Before we begin transforming our dresser into a bookshelf, we need to evaluate its potential by examining its dimensions and overall condition. This old dresser may have seen better days, but we can still rejuvenate it. We'll assess the part of the dresser that's still sturdy and decide what can be repurposed. It's crucial to examine the dresser's size and shape, making sure it fits the intended space and aligns with our aesthetic goals. We might need to adjust its height or depth to create a more compact bookshelf.
As we inspect the dresser, we'll identify any weaknesses or damage that require attention. We'll check for sturdiness and stability, ensuring it can support the weight of our books and decorations. By doing so, we'll guarantee our bookshelf is safe and functional.
This evaluation process will help us determine the best approach for our dresser-turned-bookshelf project. With a clear understanding of our dresser's capabilities, we can move forward confidently, prepared to unlock its full potential.
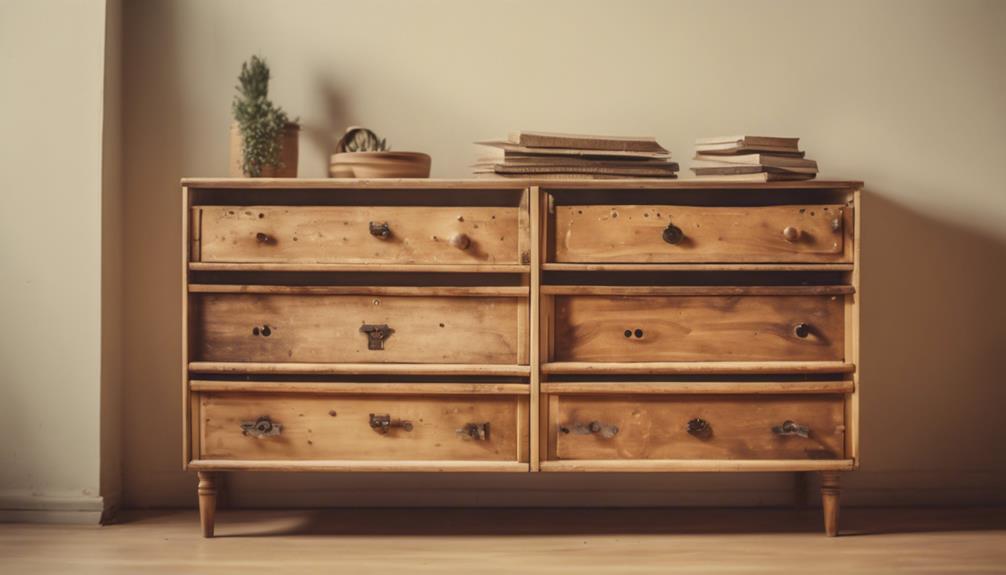
Remove and Refine the Top Section
We carefully pry off the top section of the dresser, taking care not to damage the surrounding structure, and set it aside for further modification. This pivotal step lets you know that the transformation from dresser to bookshelf has officially begun.
As we refine the top section, we're mindful of the dresser's original purpose – a piece of furniture designed to hold delicate items. We're now repurposing it to hold books, decorative items, and other knick-knacks that will adorn our living room.
To achieve a polished look, we take our time to carefully trim down the excess depth of the dresser, ensuring a clean cut that maintains the structural integrity of the piece. We measure twice and cut once, avoiding unnecessary adjustments or mistakes.
As we work, we're aware that every detail counts in creating a sturdy and durable bookshelf. With patience and attention to detail, we're one step closer to creating a beautiful, functional piece of furniture that will be the centerpiece of our living room.
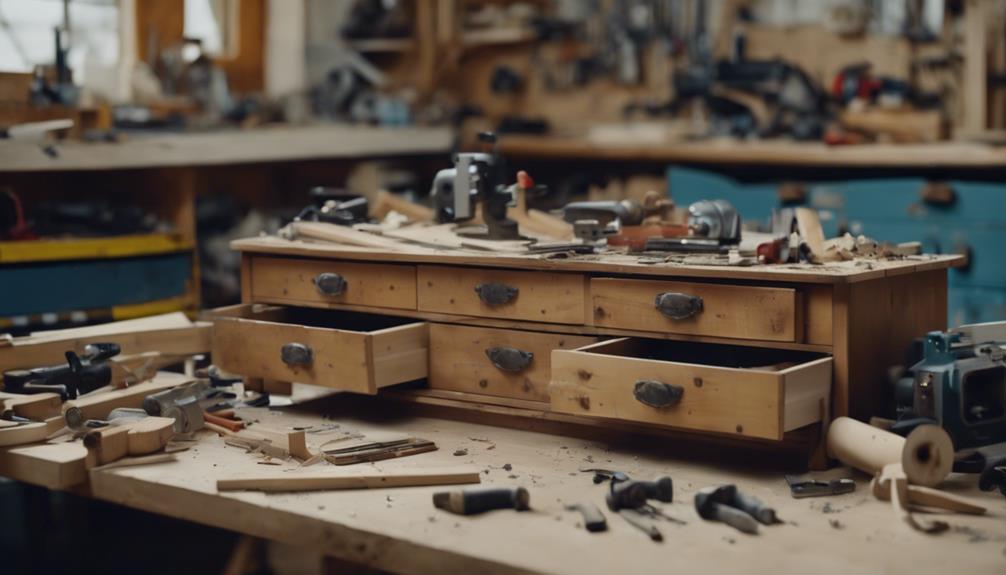
Adjust the Height and Shelves
With the top section refined, we turn our attention to adjusting the height of our dresser-turned-bookshelf, an essential step in creating a functional and visually appealing piece of furniture. This process requires careful consideration to guarantee our repurposed dresser meets our storage needs and fits seamlessly into our desired space.
To achieve the perfect height, we'll need to carefully remove the top and cut off excess depth to achieve the desired size. This won't only improve the overall aesthetic but also create a more functional storage space.
Some key considerations for adjusting the height and shelves include:
- Retaining existing shelves or adding new ones to create functional storage spaces within the bookshelf
- Considering adding a middle shelf for additional storage and display options
- Using existing materials or repurposing leftover paneling to create new back panels for the bookshelf
- Making sure the final touches, such as applying felt pads to the feet, for a finished and functional repurposed dresser bookshelf
Add New Shelves and Back Panels
As we progress with repurposing our dresser into a bookshelf, we need to contemplate the arrangement of our new shelves and the design of our back panels.
We'll explore the various options for shelf arrangement, taking into account the types of items we plan to store and our personal design preferences.
Shelf Arrangement Options
We'll start by evaluating our dresser's internal architecture to determine the best placement and design of new shelves and back panels that suit our desired bookshelf functionality. This vital step allows us to maximize storage capacity while maintaining the overall aesthetic appeal of our repurposed dresser.
By adding new shelves and back panels, we can create a unique and functional bookshelf that meets our specific needs.
Here are some shelf arrangement options to explore:
- Customizable shelf heights: Experiment with different shelf heights to accommodate various item sizes, ensuring a snug fit and efficient organization.
- Symmetrical or asymmetrical designs: Choose a balanced or unbalanced layout to add visual interest and create a distinctive focal point.
- Fixed or adjustable shelves: Decide between fixed shelves for a more permanent design or adjustable shelves for flexibility and adaptability.
- Open or closed shelving: Opt for open shelving to display decorative items or closed shelving for a more streamlined appearance.
Back Panel Design
We add depth and visual appeal to our repurposed dresser bookshelf by designing and installing back panels that provide stability and a finished look.
These back panels not only enhance the aesthetic of our project but also provide additional support to the shelves, ensuring they can hold a decent amount of weight.
When creating back panels, we can repurpose leftover wood or paneling, reducing waste and adding a touch of sustainability to our project.
By utilizing the dresser's existing structure, we can incorporate additional shelves and back panels, securely attaching them for both functionality and aesthetics.
A well-designed back panel can elevate the entire look of our repurposed dresser bookshelf, providing a cohesive and polished finish to the project.
With the added storage capacity and organizational options, we can maximize the functionality of our repurposed piece, making it a valuable addition to any room.
Stain and Finish the Bookshelf
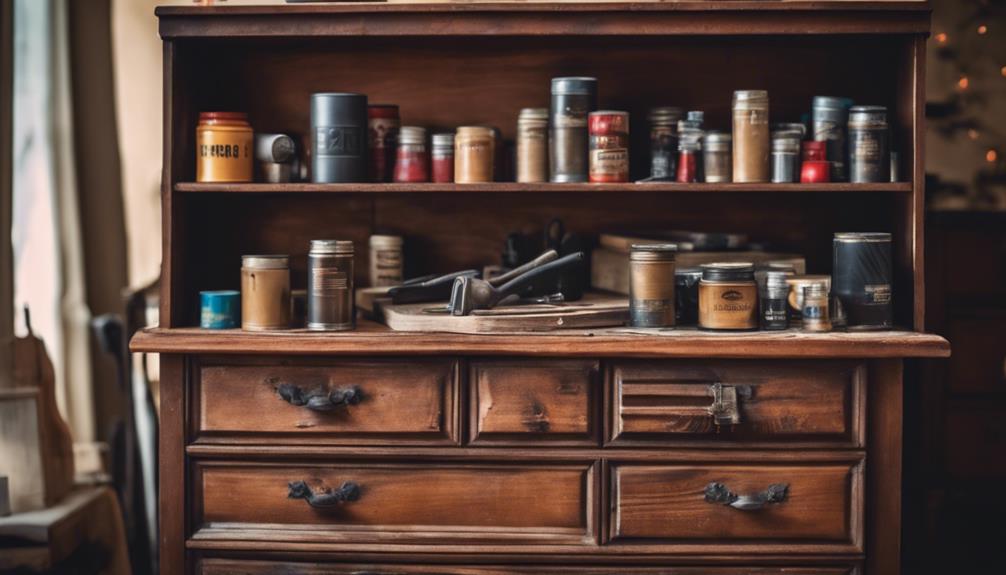
We're ready to bring out the beauty of our repurposed dresser by applying a rich, even coat of wood stain. This step is important in enhancing the natural beauty of the wood and creating a cohesive look for our bookshelf. To achieve a professional finish, we'll follow some essential guidelines.
Here are the key takeaways for staining and finishing our bookshelf:
- Apply a coat of wood stain evenly to enhance the natural beauty of the dresser-turned-bookshelf.
- Make sure the stain is completely dry before adding a protective finish like shellac or polyurethane.
- Use a clean brush or cloth to apply the shellac in smooth, even strokes for a professional look.
- Allow the shellac to dry thoroughly between coats to achieve a durable and glossy finish.
Add Protective Feet and Position
As we approach the final stages of repurposing our dresser into a bookshelf, we'll need to guarantee it's stable and secure.
To do this, we'll add protective feet to prevent scratches and marks on our floors and then level the shelves properly to prevent any wobbling or tipping.
Secure the Furniture Base
Let's add felt pads to the bottom of the dresser feet to protect our floors from scratching and scuffing. This simple step can save us from costly repairs and unwanted marks on our floors.
Once we've added the felt pads, we can position our repurposed dresser bookshelf in a corner or against a wall for added stability.
Here are some key considerations to keep in mind when securing our furniture base:
- Position the bookshelf in a well-lit area for easy access to books and items on display.
- Consider anchoring the dresser to the wall for extra safety, especially if we've children or pets at home.
- Make sure the bookshelf is level and sturdy to prevent it from tipping over.
- Check the weight capacity of the dresser to confirm it can hold the weight of our books and decor items.
Level the Shelves Properly
Now that our furniture base is secure, we'll focus on leveling the shelves to guarantee our repurposed dresser bookshelf is stable and functional.
To achieve this, we'll use a level to make sure that the shelves are properly aligned and balanced for stability. We'll also add felt pads to the bottom of the dresser feet to protect our floors from scratches and damage.
Once the shelves are level, we'll position the bookshelf in a corner or against a wall to maximize space and create a functional display area. For added safety, especially if our bookshelf is tall or heavy, we'll consider anchoring it to the wall.
Prevent Scratches and Marks
We'll take an essential step in preserving our floors by adding felt pads to the bottom of the dresser feet, ensuring our repurposed bookshelf doesn't leave unsightly scratches or marks. This important yet necessary step will save us from the hassle of repairing damaged floors or walls.
To further prevent scratches and marks, we'll consider the following:
- Position the bookshelf in a stable location away from high traffic areas to minimize movement.
- Use furniture sliders under the feet for easy repositioning without damaging floors.
- Apply adhesive rubber pads on the back corners of the dresser to prevent wall damage.
- Regularly check and replace protective feet to maintain the bookshelf's integrity and prevent damage.
Final Touches and Installation

With the repurposed dresser's transformation nearly complete, we applied felt pads to its feet to prevent scratching or damage to the flooring, ensuring a seamless integration into our living space.
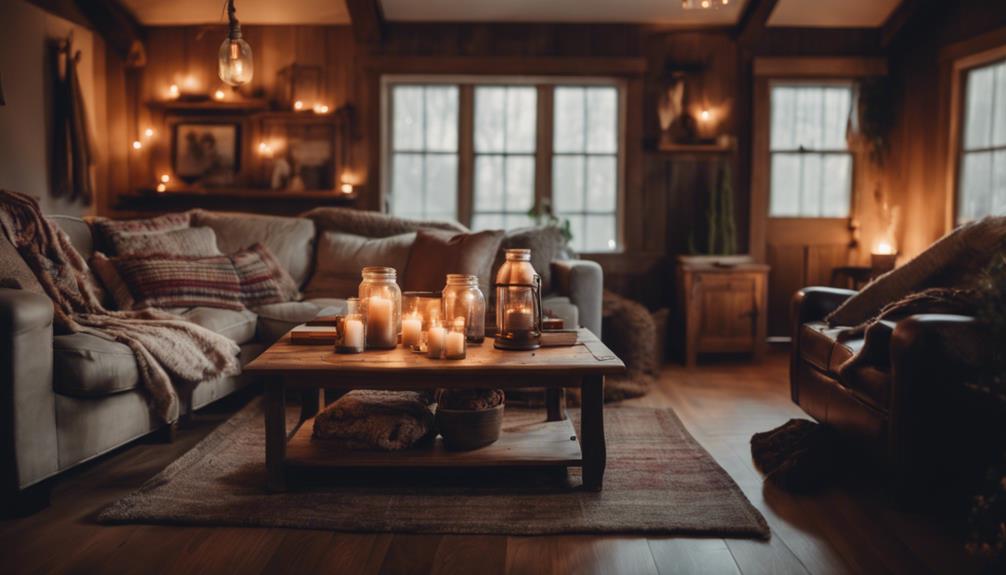
This thoughtful detail allowed us to confidently place the bookshelf in a corner of our living room, where it now serves as a functional and stylish addition. We then filled the shelves with photo albums, which now have a beautiful new home.
What's more, we achieved this transformation without incurring any additional expenses, solely utilizing materials we already had on hand.
As we step back to admire our handiwork, we're thrilled to see how the repurposed dresser bookshelf has blended seamlessly into our living space, striking a perfect balance between functionality and aesthetics.
Frequently Asked Questions
Can You Turn a Dresser Into a Bookcase?
"We've wondered if an old dresser can be transformed into a bookcase, and the answer is yes! With some creativity and DIY skills, we can give new life to an old piece of furniture."
How to Make Shelves Out of Dresser Drawers?
We're excited to turn dresser drawers into shelves! We'll remove them, measure the frame, and attach them horizontally, ensuring a snug fit. Then, we'll secure them with brackets or screws, and finally, arrange them at varying heights for a unique look.
How to Repurpose an Old Dresser?
"We're excited to breathe new life into an old dresser! We'll assess its condition, imagine its potential, and decide on a repurposing plan, whether it's a bookshelf, bench, or something entirely unique."
How to Turn a Dresser Into a Toy Box?
We're excited to transform an old dresser into a toy box, and we're starting by removing drawers and shelves to create a spacious interior, then sanding it down for a smooth finish.
Conclusion
As we stand back to admire our handiwork, we can't help but feel a sense of pride and accomplishment, much like a Renaissance-era artisan gazing upon their latest masterpiece.
Our once-humble dresser has been transformed into a sturdy bookshelf, ready to hold the weight of our favorite tomes.
With a few simple modifications and a dash of creativity, we've given new life to an old piece of furniture, proving that with a little bit of elbow grease, anything is possible.