
You're about to breathe new life into an old dresser, and with these 10 steps, you'll transform it into a functional and stylish piece that reflects your personal style. First, assess the dresser's current state, envision its future form, and identify weaknesses in its structure. Then, disassemble and prepare the dresser, sanding its surface to create a smooth finish. Refinish the surface, add new hardware and accessories, and modify the layout for its new purpose. Add decorative trim and moulding, install new fixtures and fittings, and finally, put the finishing touches on your revamped dresser. As you dive deeper, you'll uncover the secrets to creating a truly one-of-a-kind piece.
Key Takeaways
• Evaluate the dresser's current state, envision its future form, and define its new purpose to guide the repurposing process.
• Disassemble the dresser, inspect for structural issues, and sand the surface to create a smooth canvas for transformation.
• Update the dresser's look with new hardware and accessories, considering size, color, and material to add a personalized touch.
• Modify the layout to maximize storage space and functionality, incorporating shelves and storage compartments as needed.
• Apply a professional finish with proper sanding, painting, or staining, and add decorative trim and moulding to elevate the dresser's aesthetic appeal.

ALLECIN 8 Values Wood Dowels Kit 1/4 3/8 5/16 Inch Fluted Wooden Dowel Pins Pegs Assortment for Furniture Woodworking DIY Crafts (Pack of 225Pcs)
- Set Includes Multiple Sizes: Various lengths and diameters included
- High-Quality Hardwood: Made from sturdy, straight-grained wood
- Enhanced Adhesion: Grooved surface for better glue absorption
As an affiliate, we earn on qualifying purchases.
As an affiliate, we earn on qualifying purchases.
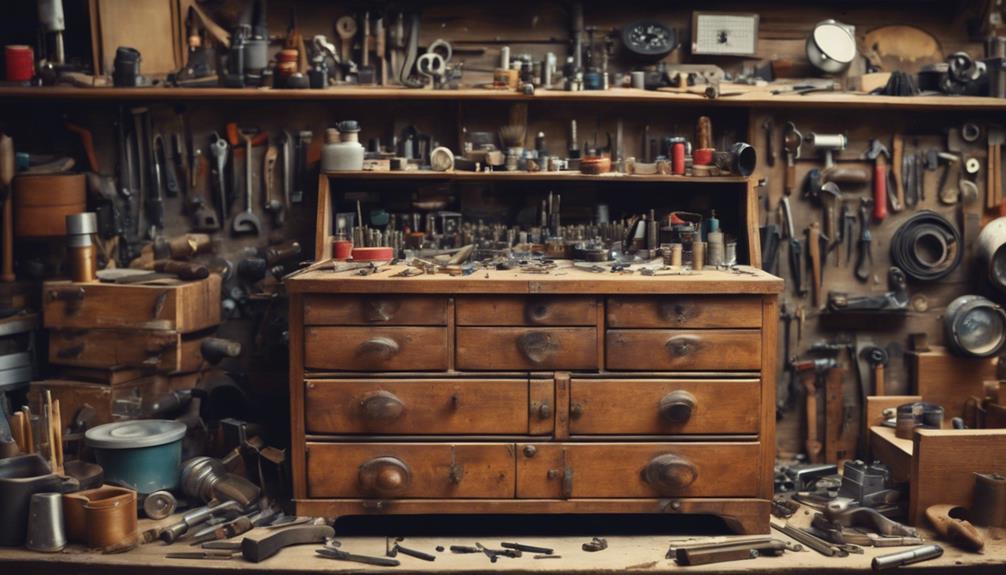
Assess and Plan the Project
Before you start the repurposing process, take a step back to evaluate the dresser's current state and envision its future form, considering the project's scope, your desired outcome, and the work required to get there.
It's crucial to examine the dresser's structure, identifying any weaknesses or potential issues that may arise during the process. Think about the purpose you want the repurposed dresser to serve – will it be a functional piece, or a statement piece? This clarity will help you define your project's scope and desired outcome.
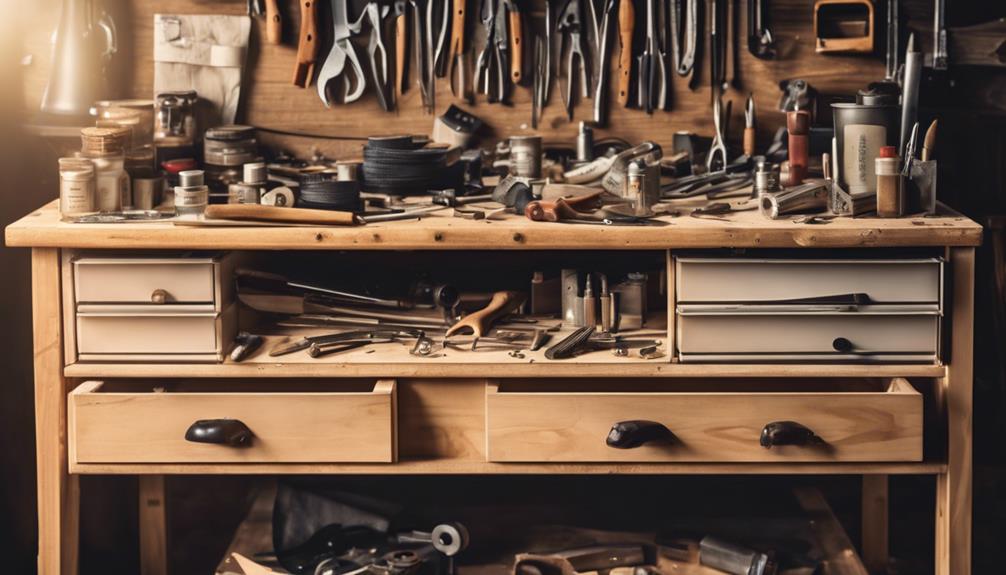
Next, make a list of necessary supplies, including materials for sanding, painting, and adding finishing touches. Set a realistic timeline for completion, breaking down the project into manageable tasks to ensure a smooth process.
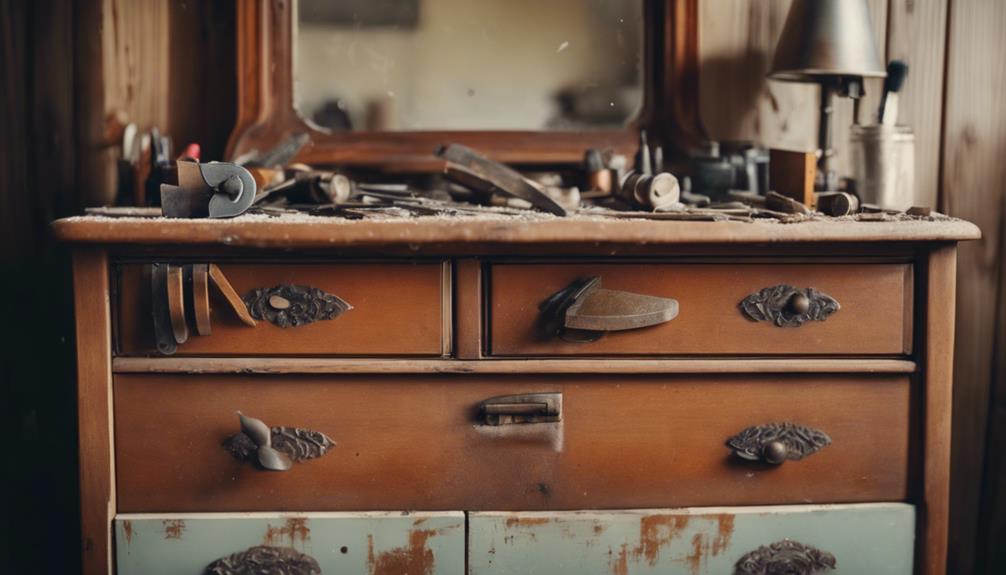
Disassemble and Prepare the Dresser
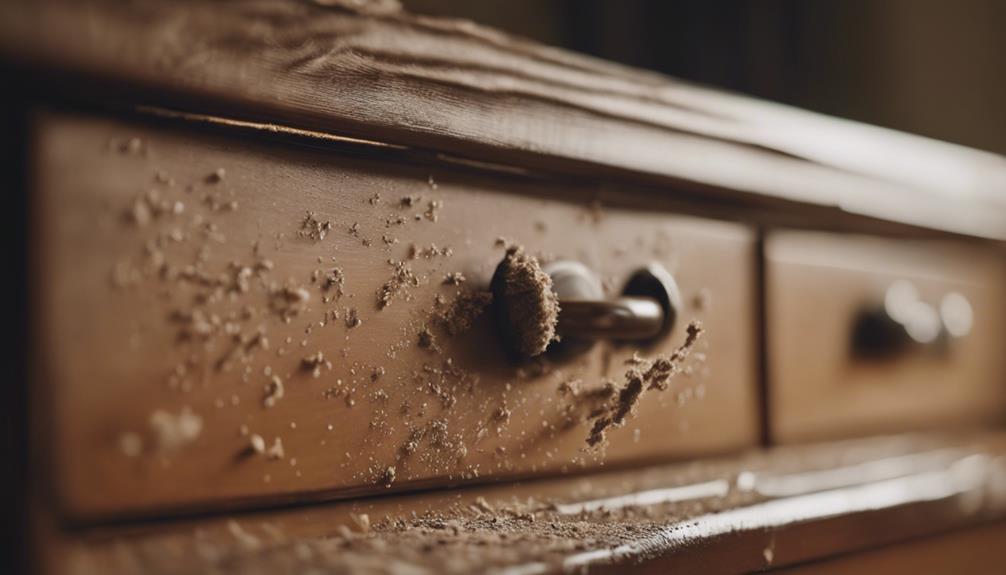
Remove all hardware from the dresser, including knobs and drawer pulls, to prevent damage and guarantee a smooth repurposing process. This step is important in protecting your old dresser from any potential harm during the transformation.
Next, consider disassembling the dresser if needed, which can make it easier to transport or modify the piece. As you take it apart, inspect the dresser for any structural issues or repairs that may need to be addressed before repurposing. This is the perfect opportunity to identify and fix any problems, ensuring your project turns out sturdy and functional.
Don't forget to sand down the dresser to remove any existing paint or finish, creating a smooth surface for painting or staining. This step will establish a strong bond between the old surface and the new finish.
Sand and Refinish the Surface
Sand the dresser's surface to a smooth finish, using progressively finer grits of sandpaper to remove old paint, stains, and imperfections. This pivotal step sets the stage for a beautiful refinishing job. By sanding, you'll create a surface that's ready for a fresh coat of paint, stain, or sealant.
Here are some key considerations to keep in mind as you sand and refinish the surface of your dresser:
- Sanding helps remove old paint, stains, and imperfections, ensuring a smooth finish.
- Refinishing allows you to update the look of your dresser, whether you want to bring out the natural beauty of the wood or introduce a new color scheme.
- Using progressively finer grits of sandpaper helps achieve the desired smoothness and texture.
- Proper sanding preparation is essential for better adhesion of paint or stain.
- Refinishing the surface gives you the opportunity to revamp the entire look of your dresser.
Add New Hardware and Accessories
As you advance with repurposing your dresser, it's time to ponder the details that will bring your vision to life. Now that the surface is sanded and refinished, you can concentrate on adding new hardware and accessories that will give your dresser a fresh, updated look.
You'll want to contemplate modern hardware options and update your knob styles to create a cohesive, stylish piece that reflects your personal taste.
Modern Hardware Options
With a vast array of modern hardware options at your fingertips, you can effortlessly transform an outdated dresser into a stylish, contemporary piece that complements your home's décor. By swapping out old, worn hardware for new pieces, you can instantly update the look of your dresser, giving it a fresh and contemporary feel.
Here are some modern hardware options worth exploring:
- Brushed nickel: A sleek and modern finish that adds a touch of sophistication to any dresser
- Matte black: A versatile and trendy option that pairs well with most décor styles
- Brass: A classic choice that adds a warm, luxurious feel to your dresser
- Decorative knobs and handles: Add a personal touch to your dresser with unique and stylish hardware designs
- Custom hardware: Create a one-of-a-kind look with custom-made hardware that reflects your personal style
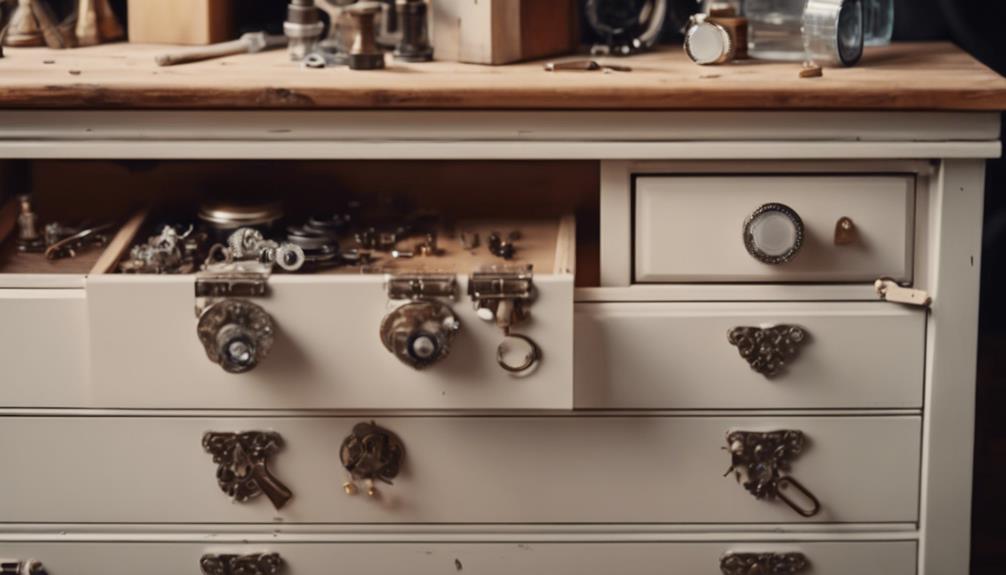
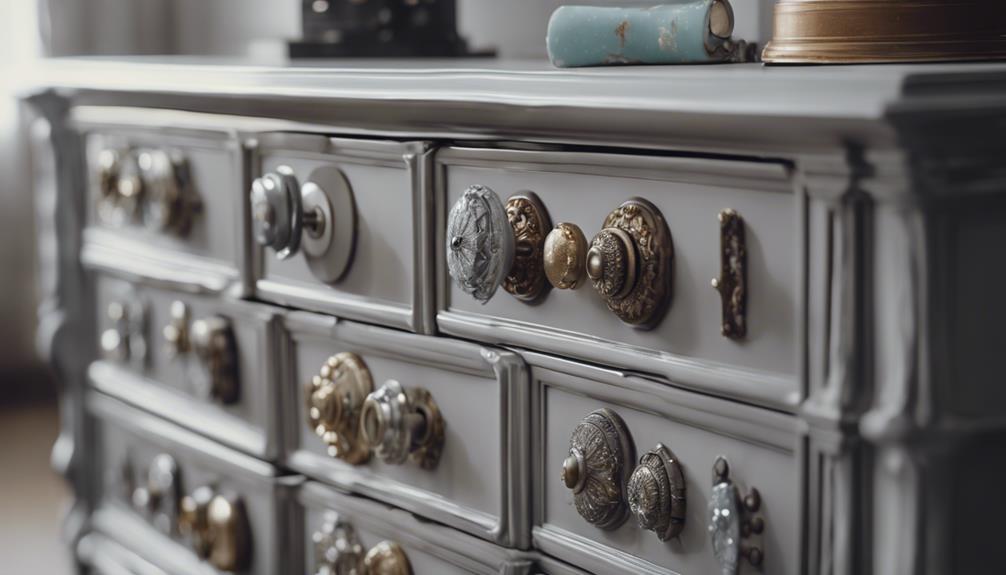
Update Knob Styles
You can instantly elevate the style of your repurposed dresser by swapping out outdated knobs for new ones that match your desired aesthetic, whether modern, vintage, or anything in between. This simple update can transform the look of your dresser, giving it a fresh, personalized touch.
When choosing new hardware, consider the size, color, and material to make sure they complement the overall design of your repurposed dresser. For a modern look, opt for sleek, minimalist knobs in metallic finishes like chrome or brass. For a vintage vibe, try ornate, decorative knobs in distressed finishes.
Updating knob styles is a cost-effective way to personalize your dresser, and with so many options available, you're sure to find the perfect fit for your unique repurposed dresser ideas.
Paint and Stain for a New Look
As you prepare to give your dresser a fresh new look, you'll need to contemplate the best way to prep the surface for painting or staining, choosing the right products and techniques to achieve a professional finish.
Next, you'll explore the various staining options available, from rich wood tones to bold, bright colors, and decide which one suits your style.
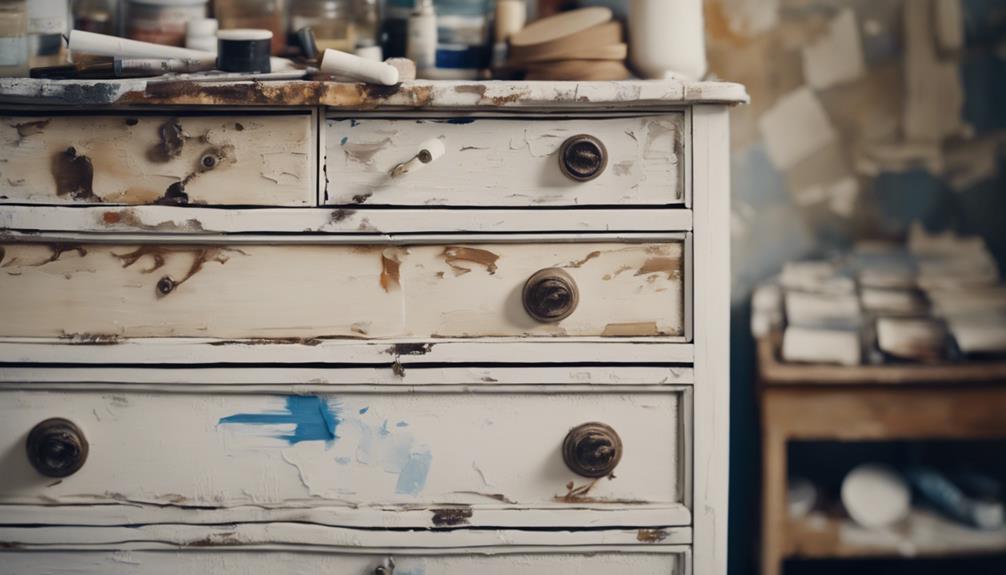
Prep for Painting
Sand the dresser surface to remove any old paint or stain, creating a smooth base for painting. This pivotal step guarantees that your new finish adheres properly and looks amazing.
Now that you've prepped the surface, it's time to think about the actual painting process.
To get started, consider the following essential steps for a flawless finish:
- Use primer before painting to ensure better adhesion and a more durable finish.
- Choose high-quality paint or stain suitable for furniture to achieve a professional and long-lasting look.
- Consider using a paint sprayer for a smooth and even finish, or opt for a brush or roller for a more textured look.
- Apply multiple thin coats of paint or stain, allowing each coat to dry completely before adding the next layer for a flawless finish.
- Remove the drawers and prep them separately to guarantee a uniform finish throughout the dresser.
Staining Options
Elevate your dresser's makeover to the next level by weighing the benefits of paint versus stain, two popular options that can significantly alter its appearance.
You're faced with an important decision: do you want a bold, colorful look with paint, or a natural, wood-grain finish with stain? Paint is ideal for covering up imperfections and adding a pop of color to your dresser, while stain showcases the natural beauty of the wood.
With stain, you can choose from a range of shades, from light to dark, to match your desired aesthetic. On the other hand, paint offers endless color options and finishes, allowing you to customize the look to your heart's content.
Both paint and stain provide durable finishes that protect your dresser and enhance its longevity in its new role. Consider your personal style, the dresser's original wood tone, and the overall vibe you want to achieve in your newly repurposed piece.
Finishing Touches
With your stain or paint selection in hand, you're ready to breathe new life into your dresser by applying the perfect finish. This important step will transform your piece into a stunning, one-of-a-kind masterpiece.
To guarantee a professional-looking result, follow these essential tips:
- Choose a paint color or stain that complements your decor and style preferences.
- Sand the dresser surface to create a smooth finish before applying paint or stain.
- Use a primer before painting to secure better adhesion and coverage.
- Apply multiple thin coats of paint or stain for a professional and even finish.
- Consider adding a protective topcoat to seal and protect the painted or stained surface for durability.
Add Shelves and Storage Compartments
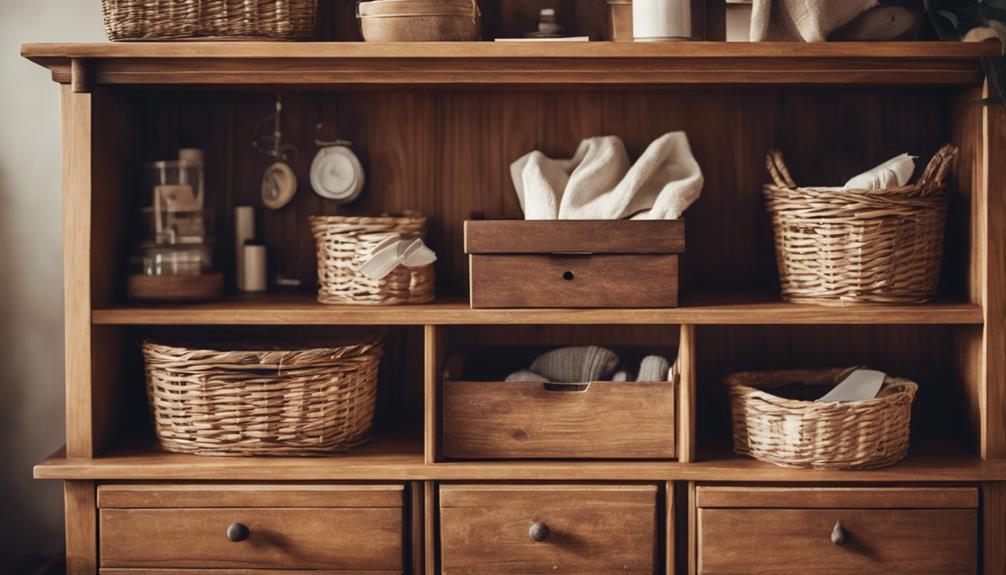
By incorporating shelves and storage compartments, you can transform a repurposed dresser into a highly functional and organized storage unit. To maximize storage space in a room, utilize the existing structure of the dresser to add shelves, creating designated spaces for organizing items.
You can also create storage compartments by dividing drawers or adding additional drawers to the dresser for better organization. This customization will make the repurposed dresser more functional and versatile for various storage needs.
By incorporating shelves and storage compartments, you can create a tailored storage solution that fits your specific needs. For instance, you can add shelves for books, decorative items, or linens, and create compartments for jewelry, accessories, or office supplies.
Modify the Layout for New Purpose
Now that you've decided on the new purpose of your repurposed dresser, frequently assess the existing layout to determine the changes needed to accommodate your desired use.
As you modify the layout, consider the functional requirements of your furniture's new role. This might involve removing or adding shelves, drawers, or dividers to optimize storage and accessibility.
To get started, take inventory of your dresser's current layout and identify areas for modification. You might need to:
- Remove drawers to create open storage space
- Add shelves for display or storage
- Install hooks for hanging items
- Create compartments for organization
- Repurpose drawers into shelving units
Add Decorative Trim and Moulding
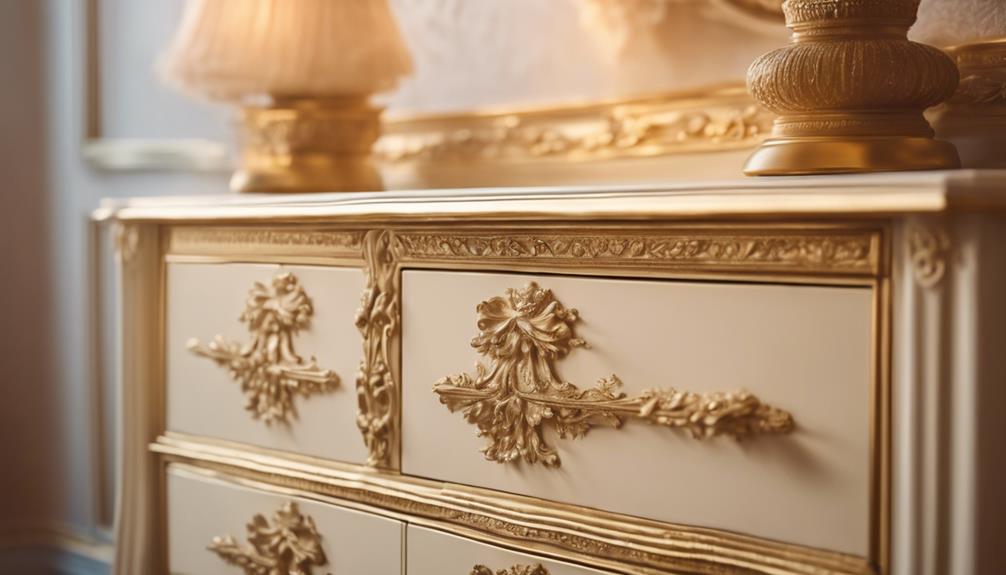
You can elevate the aesthetic of your repurposed dresser by incorporating decorative trim and moulding, which not only adds visual interest but also cleverly conceals any imperfections or outdated design elements. By doing so, you'll upgrade your dresser's look without breaking the bank.
The key is to choose trim and moulding that complements the style of your dresser and fits well with the overall design scheme. You can mix and match different trim pieces to create a unique, personalized look for your repurposed dresser. This budget-friendly approach allows you to transform your dresser without refinishing it entirely.
With decorative trim and moulding, you can add a touch of sophistication and elegance to your dresser, making it a standout piece in your home. So, get creative and experiment with different trim styles to give your repurposed dresser a fresh, updated look that reflects your personal taste.
Install New Fixtures and Fittings
Replace outdated hardware with modern fixtures and fittings to breathe new life into your repurposed dresser. This update won't only enhance the dresser's aesthetic appeal but also improve its functionality. By installing new fixtures and fittings, you'll be able to enjoy a modern appearance that complements your newly repurposed piece.
Here are some key considerations to keep in mind when selecting new fixtures and fittings:
- Choose fixtures and fittings that align with the dresser's style and design to guarantee a cohesive look.
- Consider the dresser's intended use and select fixtures and fittings that enhance its functionality.
- Update hinges, knobs, and handles to give your dresser a fresh, modern look.
- Select fixtures and fittings that are durable and easy to clean.
- Don't be afraid to mix and match different styles and finishes to create a unique, one-of-a-kind look.
Final Touches and Installation
With your new fixtures and fittings in place, it's time to put the finishing touches on your repurposed dresser. Add any final decorative elements, such as trim or embellishments, to enhance the dresser's new purpose.
Double-check the dresser's structure and stability to guarantee safety and longevity of the repurposed piece. Make sure all hardware is securely attached and functioning properly before completing the project.
Next, it's time for installation. Place the repurposed dresser in its designated space according to your initial plan and measurements. Take a step back and admire your transformed dresser, appreciating the creativity and effort put into repurposing it.
You've successfully given new life to an old piece of furniture, and it's now ready to serve its new purpose. Take pride in your accomplishment, knowing that you've not only reduced waste but also created a unique and functional piece for your home.
Frequently Asked Questions
How Can I Repurpose an Old Dresser?
You're wondering how to repurpose an old dresser, and the possibilities are endless! Consider the dresser's condition and envision its new life.
Will it become a bench, shelf, or storage solution? Maybe it'll transform into a unique entertainment center or changing table.
With a solid plan and creativity, you can turn an old dresser into a functional piece that adds character to your home.
How to Renovate a Dresser?
When renovating a dresser, you'll want to start by sanding it down to remove old paint or stains, creating a smooth surface for painting or refinishing.
Next, replace any broken hardware, like drawer pulls or knobs, to give it a fresh look.
Consider adding decorative elements, such as trim pieces or stencils, to enhance its aesthetic appeal.
How Do You Upgrade a Boring Dresser?
As you stand before the dresser, its bland facade staring back at you like a blank canvas, you're faced with the challenging task of transforming it into a masterpiece.
You're not just upgrading a piece of furniture; you're breathing new life into it. Start by sanding away the old to make way for the new.
Then, harness your creativity by adding a fresh coat of paint, new hardware, and decorative elements.
What to Put in a Dresser Besides Clothes?
You're wondering what to put in a dresser besides clothes. Well, the possibilities are endless!
You can store linens, towels, and bedding, or use it to organize accessories like scarves and hats.
Seasonal items like swimsuits, winter gear, and holiday decorations can also find a home in your dresser.
And, if you're a new parent, it's perfect for keeping baby essentials like diapers, wipes, and blankets within reach.
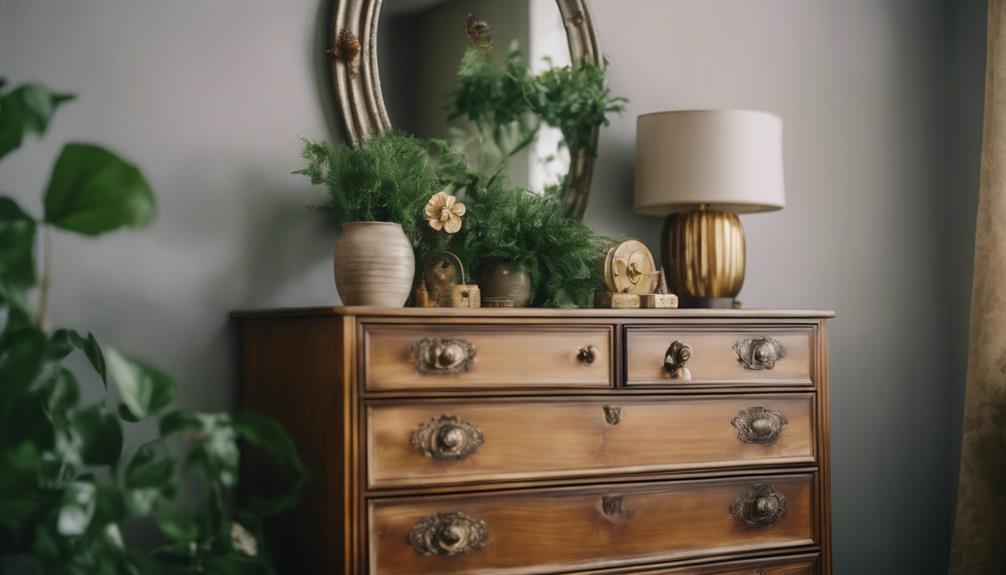
Conclusion
You've transformed a discarded dresser into a one-of-a-kind masterpiece, and the result is nothing short of astonishing. The once-outdated piece now exudes a sense of sophistication, its revamped design a testimony to your creativity and perseverance.
As you step back to admire your handiwork, the dresser's new purpose is clear: it's no longer just a piece of furniture, but a reflection of your imagination and skill.