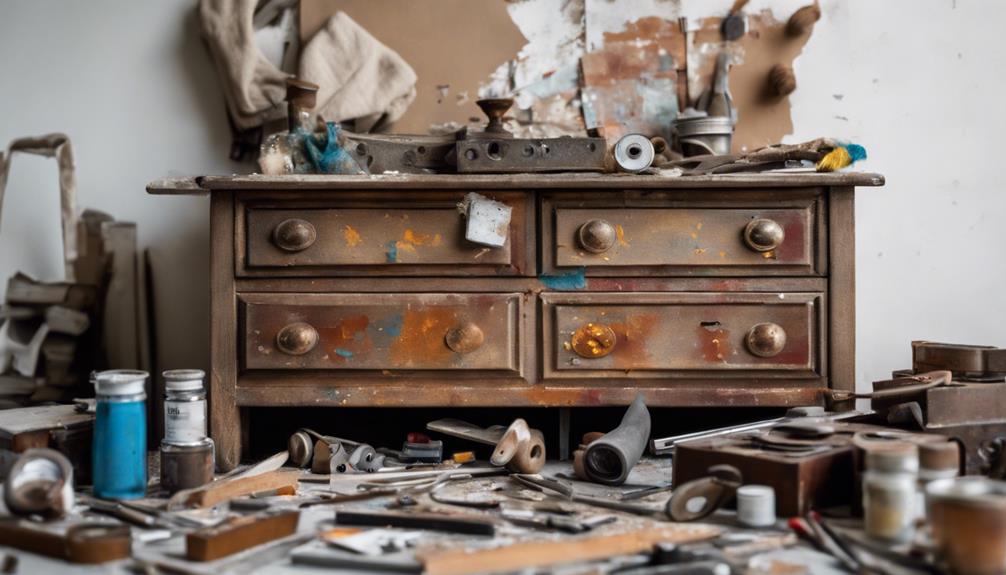
You're about to breathe new life into that old dresser collecting dust in your attic or basement. To repurpose it in 3 simple steps, start by prepping your dresser for a makeover: thoroughly clean and strip it, removing existing hardware and visualizing its new purpose. Next, repair and restore any damage using wood filler and primer to achieve a professional-looking result. Finally, customize your dresser with a fresh look by swapping out hardware, painting or refinishing, and adding unique touches. With these steps, you'll be well on your way to transforming that old dresser into a one-of-a-kind piece that's all yours – and there's more to learn about making it truly unforgettable.
Key Takeaways
• Prep your dresser for repurposing by thoroughly cleaning and stripping it, removing existing hardware, and creating a blank canvas.
• Repair and restore damaged areas using wood filler, sanding, and primer to achieve a smooth surface.
• Customize your dresser with new hardware, paint, or refinishing, and add unique touches like a wooden fence or wallpaper-lined drawers.
• Transform your dresser into a functional piece, such as a changing table, by adding storage solutions and ensuring safety and functionality.
• Express your creativity by incorporating personal style and one-of-a-kind touches to create a truly unique piece.
Prep Your Dresser for Repurposing
Before you start envisioning your old dresser's new life, take the time to thoroughly clean and strip it of any existing hardware, giving yourself a blank canvas for repurposing. This essential step will allow you to start fresh and transform your dresser into something new, like a Changing Table for your nursery.
Remove all knobs, handles, and other hardware, setting them aside for potential reuse or replacement with new hardware that fits your repurposed design. With the old hardware gone, you'll be able to visualize your dresser's new purpose and start planning your makeover.
Repair and Restore the Damage
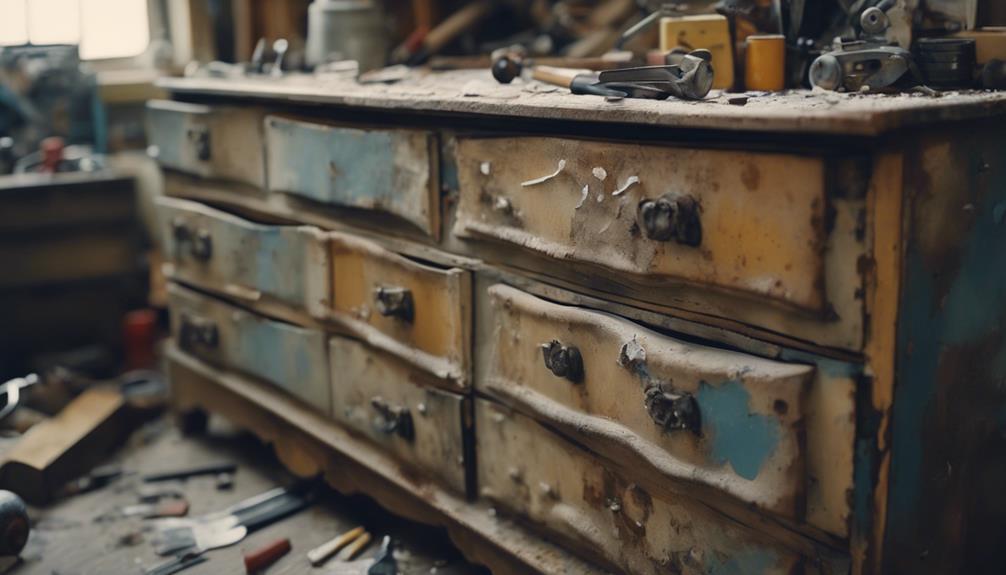
You tackle the task of repairing and restoring your dresser's damaged areas, using Bondo wood filler to rebuild missing veneer and fill in holes left behind by old hardware. This important step guarantees a smooth, even surface for your home decor project.
As you work, you'll be amazed at how these small repairs can completely transform the dresser's appearance, giving it a fresh, updated look.
Next, sand down the wood filler and scuff the entire dresser to create a surface ready for painting or staining. Don't forget to prime the dresser with Bin Shellac primer before applying your chosen finish – this step is essential for a professional-looking result.
With the repairs complete, you'll be thrilled to see your dresser taking on a new look, perfect for a stylish home decor makeover. By investing time in these repairs, you'll be rewarded with a beautifully restored piece that's ready to take center stage in your home.
Customize for a Fresh Look
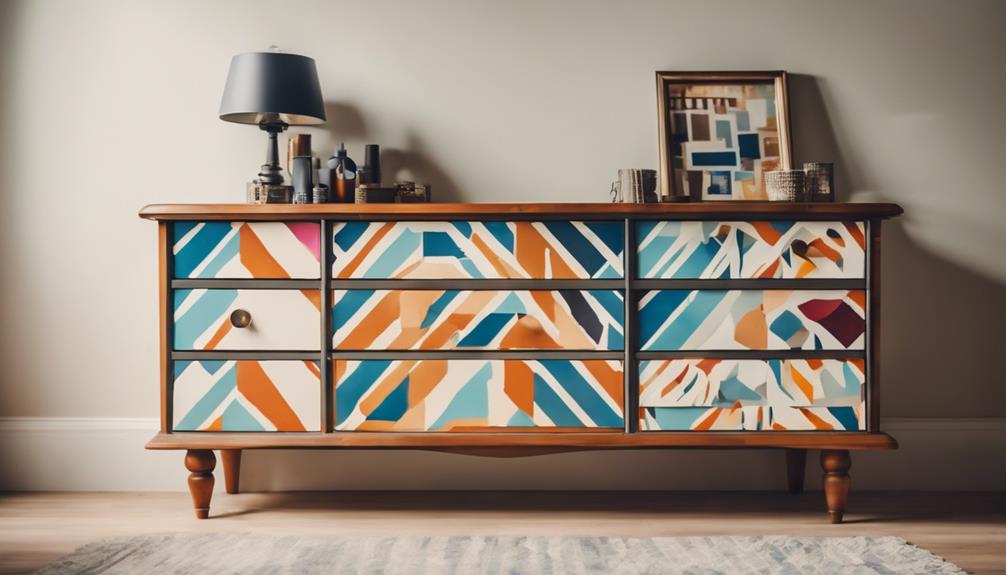
With your dresser's surface now repaired and primed, it's time to express your creativity and customize it with a fresh look that reflects your personal style.
You're going to love the new little details that'll make this piece truly unique. I'm going to guide you through the process, and by the end, you'll have a one-of-a-kind dresser that's both functional and stylish.
Start by swapping out the old hardware for modern brass handles and knobs. This simple swap will instantly update the look of your dresser.
Next, consider painting or refinishing the dresser with a fresh coat of paint or stain to match your decor. If you're feeling adventurous, add a unique touch by incorporating a wooden fence to create a changing pad area on top of the dresser.
You can also personalize the dresser by applying wallpaper to the inside of drawers for a pop of color or pattern. Finally, don't forget to seal the dresser with a protective finish like polyacrylic to preserve the customized look.
With these simple steps, you'll be enjoying your newly repurposed dresser in no time!
Frequently Asked Questions
How Can I Repurpose an Old Dresser?
You're wondering how to repurpose an old dresser, and the possibilities are endless! You could transform it into a stylish bench with storage, a functional shelf, or a unique workspace.
Alternatively, you could convert it into a pet feeding station or a TV stand. The key is to think creatively and consider your needs and preferences.
With a little imagination and some DIY skills, you can breathe new life into that old dresser and give it a fresh purpose.
How to Refurbish an Old Dresser?
When you decide to refurbish an old dresser, you're not just giving it a fresh coat of paint. You're reviving a piece of furniture that's seen better days.
Start by cleaning it thoroughly to remove dirt and grime. Next, repair any damage, sand it down, and prime it for painting.
With a little elbow grease and patience, you'll be amazed at the transformation, and your old dresser will look brand new again.
What Can I Use for a Dresser?
You're wondering what you can use instead of a dresser, and the possibilities are endless, like a blank canvas waiting for a masterpiece.
You could opt for a stylish storage ottoman, a sleek shelving unit, or even a vintage trunk. Consider your needs and the style you're aiming for, and get creative!
With a little imagination, you can find the perfect alternative to a traditional dresser that not only serves a purpose but also adds a unique touch to your space.
How Do You Jazz up an Old Dresser?
You're looking to jazz up an old dresser, and you're wondering where to start. First, consider giving it a fresh coat of paint in a bold, eye-catching color or adding a fun pattern to instantly update its look.
You can also swap out old hardware for stylish knobs and handles or add decorative appliques, stencils, or decals to create a unique design.
Conclusion
You've successfully repurposed your old dresser, giving it a new lease on life. According to the Environmental Protection Agency, the average American generates about 4.4 pounds of trash per day, with furniture being a significant contributor to waste.
By upcycling your dresser, you've not only reduced waste but also created a unique piece that reflects your personal style.
Pat yourself on the back – you've done the environment a favor and given your home a fresh, eco-friendly makeover.
