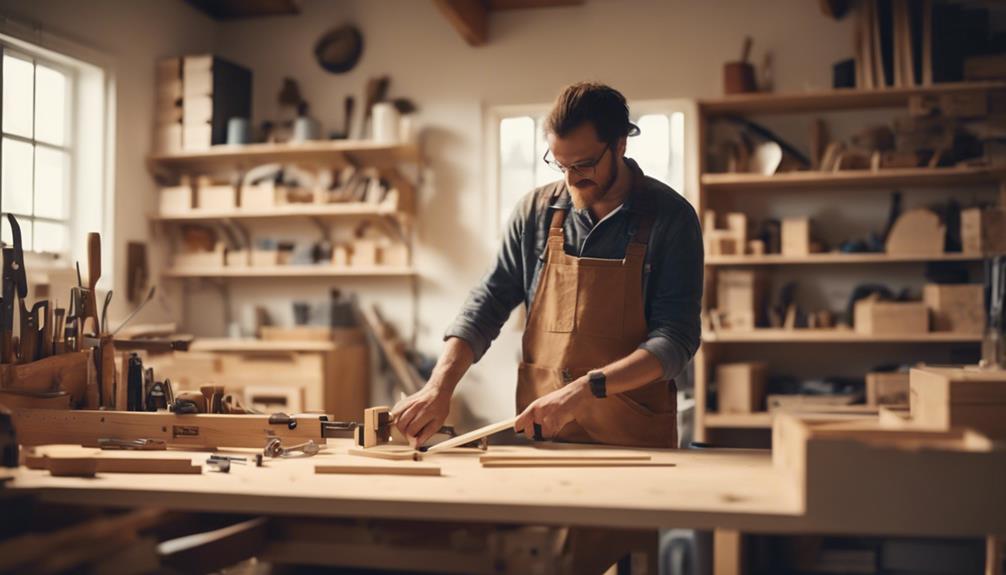
You're ready to upcycle an old bookshelf into a stylish dresser. Start by measuring the bookshelf's dimensions and planning the layout. Remove shelves and dividers, then clean and prep the cabinet's interior. Add drawer slides and reinforce the cabinet for weight support. Install drawers, ensuring secure attachment for weight capacity. Sand and finish the surfaces, then attach drawer fronts and hardware. Finally, add decorative handles, liners, and labels to complete your DIY dresser. With these 10 steps, you'll transform a discarded bookshelf into a functional, one-of-a-kind dresser – and discover the satisfaction of creative repurposing.
Key Takeaways
• Measure the bookshelf's dimensions to determine the space available for drawers and baskets, and plan the layout and style of the new dresser.
• Remove existing shelves and dividers, clean and prep the cabinet interior, and add essential components like drawer slides.
• Install drawer slides, test their functionality and alignment, and ensure secure attachment for weight support.
• Sand surfaces for a smooth finish, apply a wood conditioner and suitable finish, and choose a finish that complements the bookshelf style.
• Evaluate hardware options, choose a suitable mounting technique, and measure and mark hardware placement accurately to ensure smooth operation.

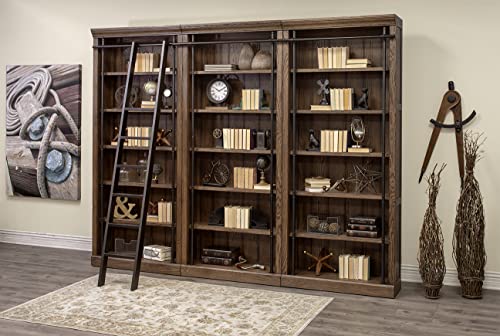
HITHOS 69" Tall Bookshelf, White Gold 4-Tier Bookcase with Wooden Drawers and Ladder Shelves, Free Standing Storage Cabinet Kitchen Bakers Rack with Microwave Oven Stand for Home Office
Ample Storage: The spacious 4-tier shelf is perfect for showcasing your favorite books, cherished family photos, and thriving...
As an affiliate, we earn on qualifying purchases.
Measure and Plan the Conversion
To kick off your bookshelf-to-dresser transformation, start by measuring the dimensions of your bookshelf, taking careful note of its width, height, and depth to determine the available space for drawers and baskets. This vital step will help you plan the layout of your new dresser, ensuring a seamless conversion.
As you measure, consider the number of drawers and shelves you want to include, as well as any decorative elements that'll enhance the aesthetic appeal of your dresser. Don't forget to think about the weight capacity of your bookshelf structure, making sure it can support the added weight of drawers and any modifications you plan to make.
Take a moment to envision the style you want to achieve – modern, rustic, or a mix of both? By taking the time to measure and plan, you'll set yourself up for success and avoid costly mistakes down the line. So, grab your tape measure and get started!

VASAGLE Ladder Shelf, 4-Tier Bookshelf, Storage Rack, Bookcase with Steel Frame, for Living Room, Home Office, Kitchen, Bedroom, Industrial Style, Heather Greige and Ink Black ULLS44MB
【REASONABLE SPACING】This storage rack sized 13.6"D x 22"W x 54.1"H offers plenty of space while taking up a...
As an affiliate, we earn on qualifying purchases.
Prepare the Cabinet for Drawers
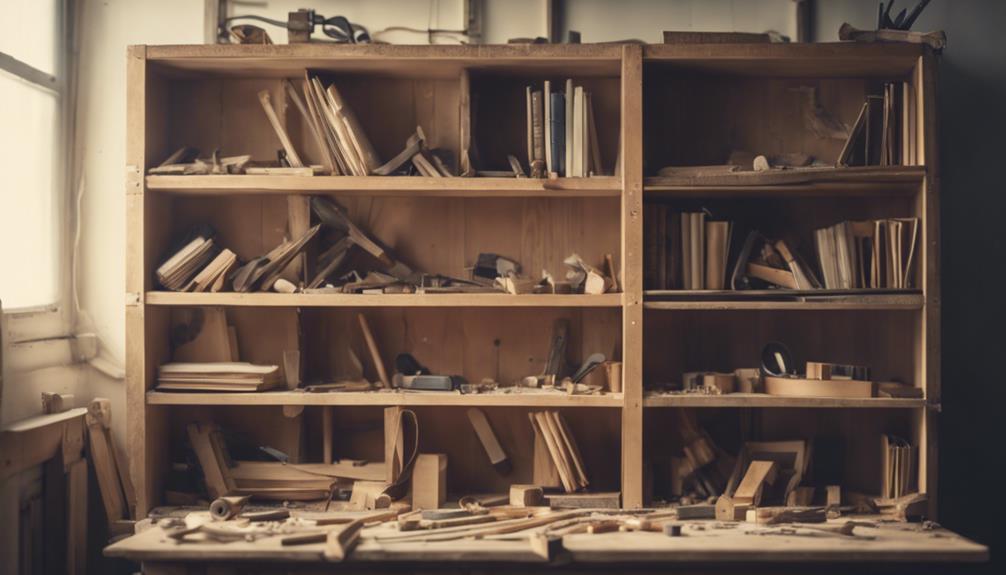
As you prepare the cabinet for drawers, you'll need to remove any existing shelves or dividers, creating a blank slate for your new storage solution.
Next, you'll want to clean and prep the interior of the cabinet, ensuring a smooth installation process.
Now, you're ready to add the essential components, including drawer slides, to bring your cabinet-turned-dresser to life.
Remove Existing Shelves
You'll begin by grabbing your screwdriver and carefully removing the existing shelves from the bookshelf, taking care not to damage the surrounding cabinet. This is an important step in preparing the cabinet for drawers.
As you remove the shelves, take note of the type of material they're made of – are they solid wood, or perhaps a composite material? This will help you determine the best approach for installing the drawers later on.
Once the shelves are removed, take a moment to inspect the interior of the cabinet. Check for any debris or dust that may have accumulated, and give the interior a thorough cleaning to make sure a smooth transformation process.
Measure the interior dimensions of the bookshelf to determine the size of the drawers you'll need to install. This will give you a better idea of how to configure the space to maximize storage and accessibility.
Cabinet Interior Prep
With the shelves removed and the cabinet interior clean, you're ready to prepare the space for your new drawers. This important step, often overlooked, sets the stage for a successful DIY drawers project.
Begin by measuring the interior dimensions of the cabinet to determine the space available for your drawers. Remove any existing shelves or dividers inside the cabinet to create a blank canvas for drawer installation.
A thorough cleaning of the cabinet interior guarantees a smooth surface for drawer placement. Consider adding reinforcement or additional support inside the cabinet for the drawer slides to attach securely. This extra step will provide a sturdy foundation for your DIY drawers.
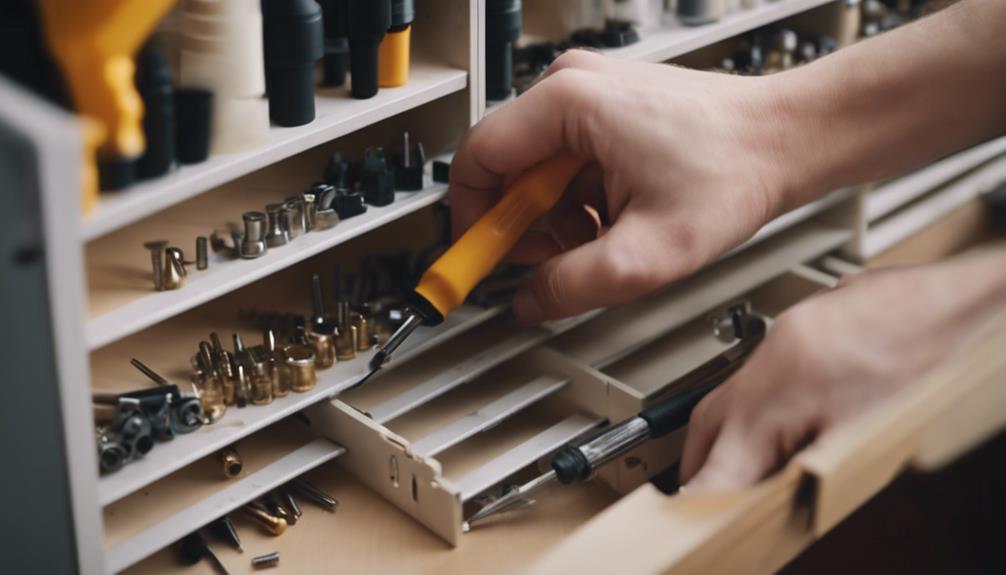
Add Drawer Slides
Measure and mark the placement of drawer slides inside the cabinet, making sure they're level and aligned to create a strong foundation for your DIY drawers. This step is important, as it will impact the overall functionality of your dresser. To guarantee a smooth operation, follow the manufacturer's instructions for attaching the drawer slides to the cabinet.
| Step | Action |
|---|---|
| 1 | Attach slides to cabinet sides |
| 2 | Test slide operation |
| 3 | Adjust if necessary |
Once attached, test the drawer slides by sliding them in and out to ensure they function correctly. If needed, adjust the slides to ensure proper alignment and functionality for smooth drawer operation. Remember, securely attaching the drawer slides is crucial, as they'll be supporting the weight of the drawers once installed. Take your time, and double-check your work to avoid any issues down the line.

Tribesigns 12 Shelves Bookshelf, Industrial Ladder Corner Bookshelf 9 Cubes Stepped Etagere Bookcase, Rustic 5-Tier Display Shelf Storage Organizer for Home Office (Rustic Brown)
✔ 【STEPPED DESIGN & VINTAGE STYLE】:The nine cubes of the multi-height etagere bookcase build up from right to...
As an affiliate, we earn on qualifying purchases.
Construct the Drawer Boxes
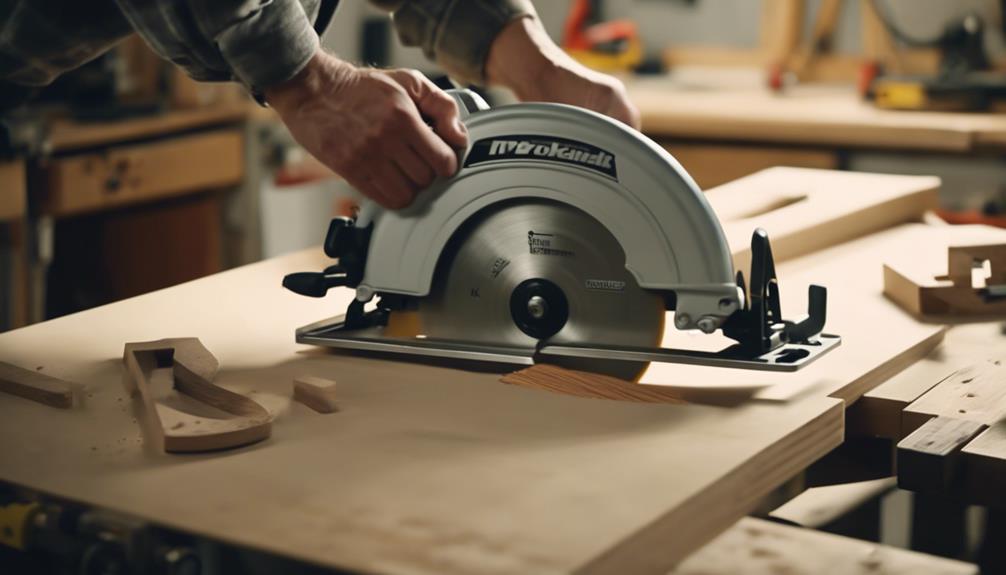
To guarantee a seamless integration with your bookshelf, calculate the best dimensions for the drawer boxes based on the available space and desired storage capacity. Measure the space available for the drawer boxes to confirm a proper fit within the bookshelf. Choose the appropriate height for the drawer boxes based on the dimensions of the bookshelf and desired storage capacity.
Next, construct the drawer boxes using plywood or solid wood, cut to the calculated dimensions with a miter saw. Secure the drawer box joints with glue and 18g brad nails for stability and durability. Finish the drawer boxes by sanding them with medium to fine grit sandpaper and applying edge banding for a polished look.
As you construct the drawer boxes, keep in mind that they'll eventually be paired with drawer slides, which will enable smooth gliding motion. By carefully planning and executing the construction of the drawer boxes, you'll be one step closer to transforming your bookshelf into a functional dresser.
Martin Furniture Avondale 120" W Contemporary Wood Bookcase Wall with Ladder Storage Organizer Display, 5 Adjustable Shelves, Ringed Steel Frame, Fully Assembled, in Brown Finish
Three bookcase wall and ladder
As an affiliate, we earn on qualifying purchases.
Add Hardboard Bottom and Slides
Now that you've constructed the drawer boxes, it's time to add a hardboard bottom and slides to create functional drawers.
You'll need to install a sturdy hardboard bottom, ensuring it's securely attached to the drawer boxes, and then select the right slides for your project.
In this step, you'll learn how to properly install the hardboard and choose the perfect slides for smooth drawer operation.
Hardboard Bottom Installation
You'll start by cutting a piece of hardboard to fit the dimensions of the drawer bottom, providing added stability to the drawer's construction. This hardboard bottom will serve as the foundation of your drawer, so it's crucial to get it right.
Once you've cut the hardboard to size, secure it in place using glue and nails for a sturdy base. Sand the edges of the hardboard to guarantee a smooth finish inside the drawer, and consider adding edge banding for a polished look.
Now it's time to focus on the drawer slides, which will allow you to open and close the drawer smoothly. Properly install the slides onto the hardboard, making sure they're securely attached and aligned properly. This will ensure that your drawer glides in and out effortlessly, making it easy to access your belongings.
With the hardboard bottom and slides in place, you'll have a solid foundation for your drawer, and you can move on to the next step in transforming your bookshelf into a functional dresser.
Slide Selection Criteria
With your hardboard bottom securely in place, you're ready to select the appropriate drawer slides to guarantee effortless opening and closing of your drawers. When choosing drawer slides, consider the weight and size of your drawers, as well as the level of accessibility you need.
| Criteria | Considerations |
|---|---|
| Weight Capacity | Can the slides handle the weight of your drawers? |
| Extension Type | Do you need partial or full extension slides for easy access? |
| Installation | Are the slides easy to install, and do they come with clear instructions? |
Full extension drawer slides are a great option for easy access to the entire drawer. Make sure the slides you choose can handle the weight and size of your drawers, and install them according to the manufacturer's instructions for smooth operation. After installation, test the drawers to make sure they slide in and out smoothly. By selecting the right drawer slides, you'll be able to enjoy your new dresser with ease.
Sand and Finish the Drawer Boxes
As you prepare the drawer boxes for finishing, take the time to thoroughly sand them using medium to fine grit sandpaper to smooth out any rough edges or imperfections. Focus on sanding the edges and corners carefully to guarantee a seamless finish on the drawer boxes. To achieve better control and precision, contemplate using a sanding block or sanding sponge during the sanding process.
Before applying a finish, you might want to contemplate applying a wood conditioner to enhance the wood's natural beauty and guarantee a uniform stain absorption.
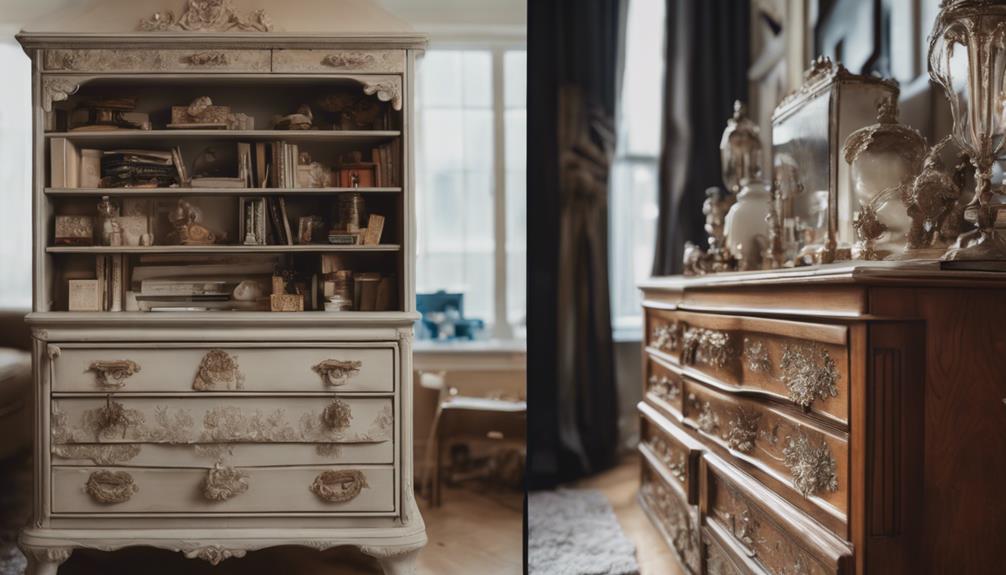
When selecting a finish, choose a suitable option such as stain, paint, or clear sealant to protect the drawer boxes and complement the overall look of the dresser-bookshelf. Remember to choose a finish that complements the original bookshelf's aesthetic to create a cohesive look.
Install Drawer Slides Into Cabinet
Measure the height for the drawer slides inside the cabinet, taking into consideration the size of the drawer front to guarantee a perfect fit.
You want to make sure that the slides are positioned correctly to provide smooth operation and effortless opening and closing.
Next, use a level to confirm that the drawer slides are installed evenly and straight. This is essential for the drawers to slide in and out smoothly.
Now, attach the drawer slides securely to the cabinet sides using screws for stability and support. Be sure to follow the manufacturer's instructions for proper placement and spacing of the drawer slides.
Once you've installed the slides, test them by sliding the drawer in and out to ensure they function correctly before proceeding with the next steps.
If everything feels smooth and even, you're ready to move on to the next step.
Prepare and Install Drawer Fronts

You've successfully installed the drawer slides, and now it's time to focus on preparing and installing the drawer fronts that will complete the transformation of your bookshelf into a functional dresser. This important step in your home improvement project requires attention to detail to guarantee a seamless look.
To prepare your drawer fronts, follow these essential steps:
- Measure the drawer openings: Record the height and width of each opening to determine the size of the drawer fronts needed.
- Select or create the drawer fronts: Purchase or create fronts that match the style and dimensions of the bookshelf for a cohesive look.
- Plan the installation: Use a level to ensure proper alignment and spacing when installing the drawer fronts on the bookshelf.
Secure the drawer fronts in place using screws or adhesive, ensuring they're sturdy and functional for everyday use. Consider adding handles or knobs to the drawer fronts for easy opening and a cohesive design aesthetic.
Attach Hardware to Drawer Fronts
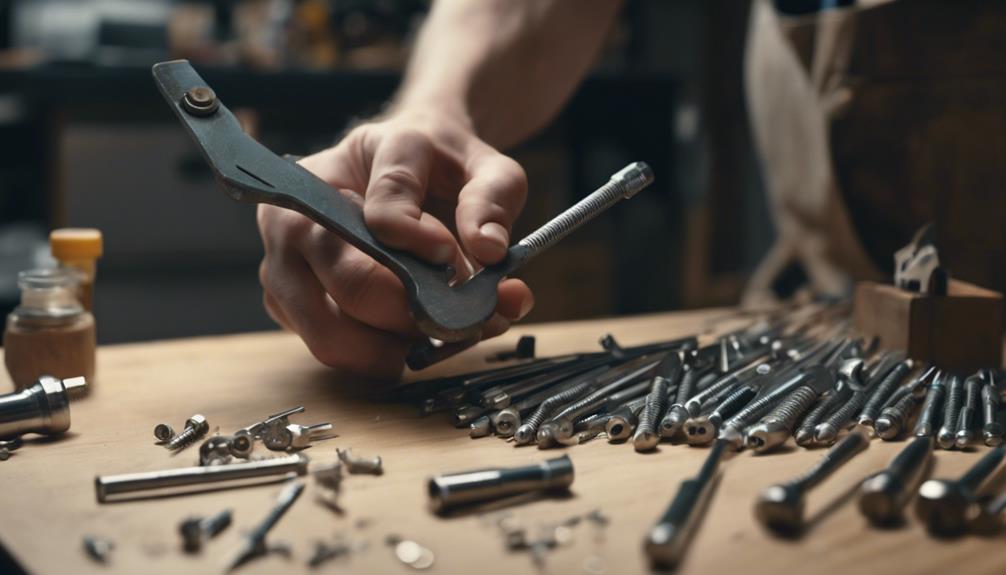
Now that you've prepared and installed the drawer fronts, it's time to attach the hardware that will give your dresser a polished look.
When evaluating hardware, you'll need to ponder your options, such as knobs, pulls, or handles, and decide on a mounting technique that suits your design.
As you attach the hardware, keep in mind that the right choice and installation method can make all the difference in the overall aesthetic of your dresser.
Hardware Options
With your drawer fronts prepared, it's time to select and attach the perfect hardware to create a cohesive look and enhance the functionality of your dresser-bookshelf. You'll want to choose hardware that complements the overall design of your piece, adding a touch of rustic charm to create a unique and functional piece of furniture.
When selecting hardware, consider the following options:
- Knobs: Perfect for adding a touch of elegance, knobs come in a variety of styles and finishes to suit your design aesthetic.
- Pulls: Ideal for creating a more modern look, pulls are available in a range of lengths and finishes to suit your needs.
- Handles: Adding a touch of sophistication, handles are a great option for creating a cohesive look throughout your dresser-bookshelf.
Remember to measure and mark the placement of your chosen hardware carefully, and use a drill and screws to securely attach it to the drawer fronts. Finally, test the functionality of the hardware by opening and closing the drawers to guarantee smooth operation.
Mounting Techniques
As you prepare to attach the hardware to the drawer fronts, precision is key to achieving a seamless and cohesive look. Make sure to measure and mark the placement of the hardware accurately, taking into account the style and design of your dresser-bookshelf transformation.
Choose drawer pulls or knobs that complement the overall aesthetic, ensuring a cohesive look.
When installing the hardware, consider using soft-close drawer slides for added convenience and a high-end feel. These slides will support the weight of the drawers, ensuring smooth opening and closing.
Make sure to choose durable drawer slides that can handle the weight of the drawers, taking into account the materials and size of your dresser-bookshelf.
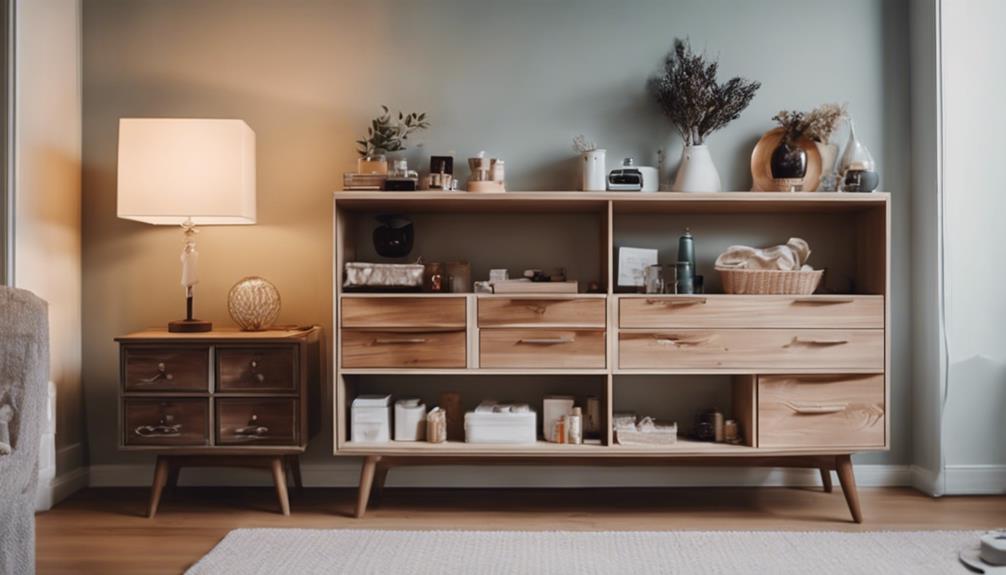
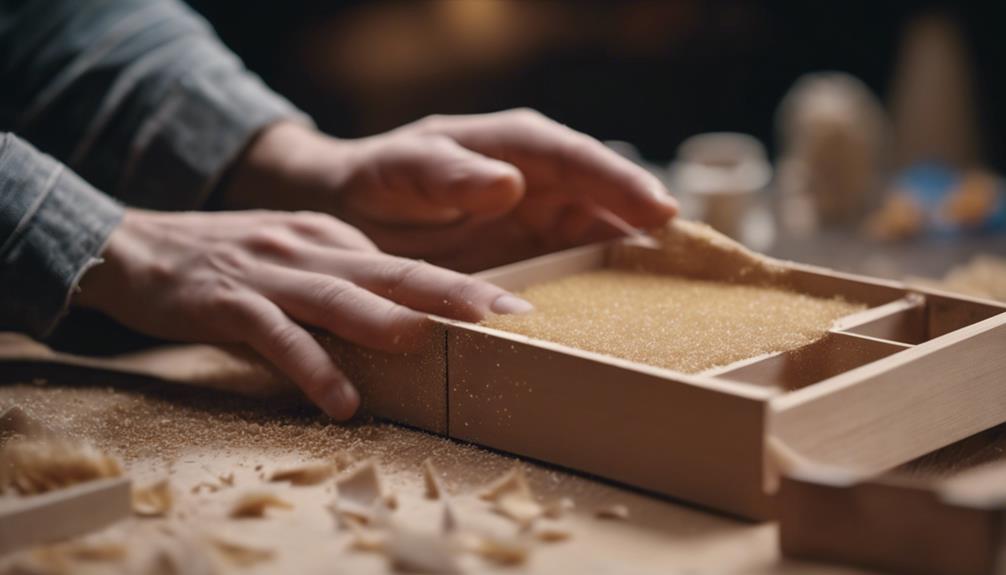
Add Final Touches to Drawers
You can elevate the functionality and style of your dresser by adding a few finishing touches to the drawers. A touch of elegance can be achieved by incorporating decorative elements that reflect your personal taste.
To take your dresser to the next level, consider the following:
- Add decorative handles or knobs: Install unique or vintage handles to give your dresser a one-of-a-kind look.
- Enhance the drawer interior: Add drawer liners to protect your clothing and add a touch of sophistication to the interior.
- Label and organize: Use tags or labels to identify each drawer's contents, making it easy to find what you need.
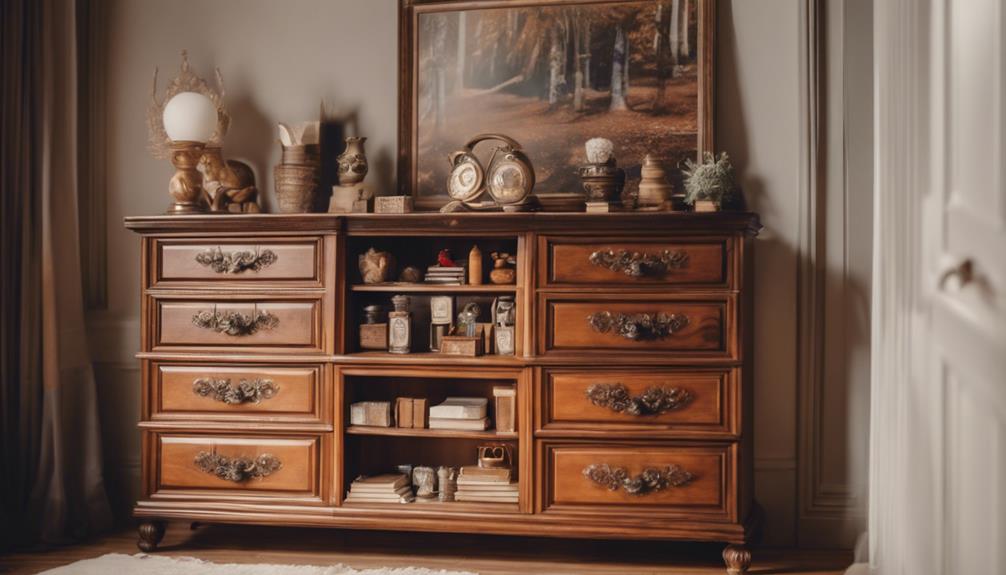
Install and Enjoy Your New Dresser
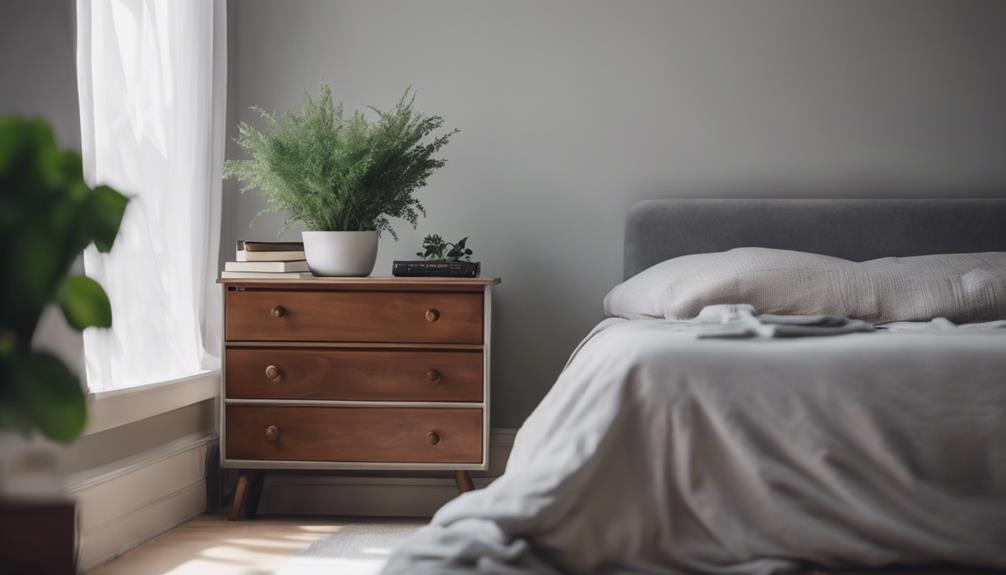
Now that your dresser is fully assembled and customized to your taste, position it in its permanent location, ensuring the dresser-bookshelf is stable and secure. Double-check that it's level and won't topple over, and make any necessary adjustments to the legs or floor to guarantee stability.
With your dresser-bookshelf safely in place, it's time to organize your clothing and accessories inside. Arrange your belongings in a way that makes sense to you, taking advantage of the unique storage spaces you've created. As you fill your dresser, admire the new lease on life you've given an old bookshelf.
Be proud of your handiwork and the functional, one-of-a-kind piece you've created. Don't hesitate to show off your DIY project to friends and family, sharing your success and inspiring others to try their hand at upcycling. With your new dresser-bookshelf, you've not only gained a functional piece of furniture but also a conversation starter that showcases your creativity and resourcefulness.
Frequently Asked Questions
How to Convert Bookshelf to Dresser?
When you want to convert a bookshelf to a dresser, you'll need to measure the bookshelf's dimensions and plan the conversion process accordingly.
Remove the shelves and install slide-out baskets or drawers for storage. Consider adding tension rods and curtains to conceal items and add decorative elements.
You can also customize the dresser-bookshelf with paint, wallpaper, or additional features like legs.
How to Build a Bookshelf Step by Step?
'Measure twice, cut once' is a wise adage to keep in mind when building a bookshelf from scratch. You'll want to carefully plan your design, considering factors like the type of wood, shelf size, and overall aesthetic you're aiming for.
Start by determining the dimensions and layout of your bookshelf, taking into account the space where it will sit and the items you'll be storing on it.
How Do You Style a Bookshelf in a Bedroom?
When styling a bookshelf in your bedroom, you'll want to create a cohesive look by coordinating the decor with your bedroom's color scheme and theme.
Mix books, decorative items, and personal touches to add personality, and consider incorporating storage solutions to keep items organized.
Varying heights and textures will create visual interest, and adding lighting elements can highlight certain items and create ambiance.
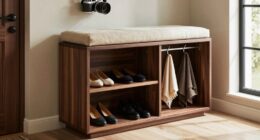
How to Turn a Bookcase Into a Wardrobe?
You're probably thinking, 'Why not repurpose an old bookcase into a wardrobe?' It's a brilliant idea, and you're not alone. In fact, 75% of homeowners have repurposed furniture at some point.
To turn a bookcase into a wardrobe, start by removing shelves to create space for hanging clothes. Then, install a clothing rod and add baskets or bins for folded items. Finally, use tension rods and curtains to conceal your wardrobe contents.
With a little creativity, you'll have a functional and stylish wardrobe in no time!
Conclusion
As you step back to admire your handiwork, the once-humble bookshelf now stands transformed, its drawers bursting with potential, like a butterfly emerging from a cocoon.
The fruit of your labor is a tribute to your creativity and resourcefulness, a symbol of the power of transformation.
Your new dresser is more than just a piece of furniture – it's a reflection of your ability to reimagine and recreate.