Transform an old dresser into a functional storage unit in 5 easy steps. Start by preparing the dresser for upcycling, removing hardware and filling imperfections. Next, measure and cut shelves to fit snugly inside, using adjustable brackets for flexibility. Secure the shelves in place with wood screws and glue, ensuring stability. Add storage options like drawer dividers, hooks, or hanging organizers, and finish with a fresh coat of paint or stain. Finally, refine your design with decorative knobs and a protective sealant. By following these steps, you'll create a tailored storage solution that meets your specific needs – and that's just the beginning.
Key Takeaways
• Prepare the dresser by removing hardware and drawers, filling holes, and sanding to eliminate the existing finish.
• Measure and cut shelves to fit snugly inside the dresser, using adjustable brackets for flexibility.
• Secure shelves in place using wood screws, ensuring they're level and stable, with additional support for heavier items.
• Add storage options and accessories like drawer dividers, hooks, and decorative knobs to create a tailored storage solution.
• Finish and refurbish the dresser by sanding, priming, painting, and applying a protective sealant to achieve a durable and stylish storage unit.
Prepare the Dresser for Upcycling
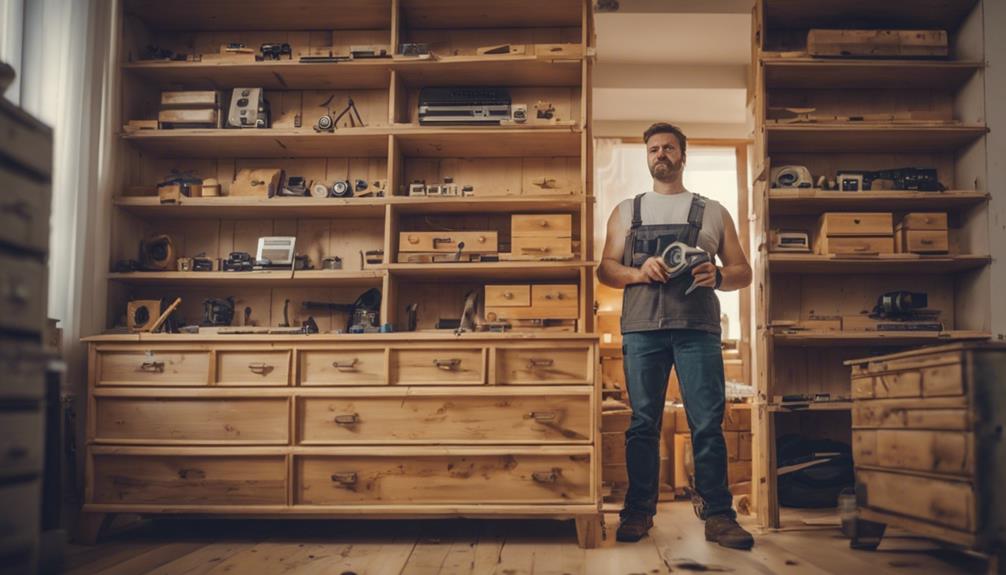
Remove all hardware and drawers from the dresser to give yourself a blank canvas for upcycling. This will allow you to work freely on the dresser without any obstructions.
Next, inspect the dresser for any holes or imperfections and fill them in with wood filler. This will guarantee a smooth surface for your future modifications. After the filler has dried, use sanding to eliminate any existing finish and give your dresser a fresh start. Take your time, as this step is vital in preparing the dresser for its new purpose.
As you sand, think about any modifications you'll need to make to repurpose the dresser into a storage unit. Consider what features you want to add or change to make it functional for your needs.
Once you've finished sanding, make sure the dresser is clean and dry before moving on to the next step in the upcycling process. With these steps complete, you'll be ready to transform your old dresser into a unique storage unit.
Measure and Cut Shelves to Fit

Measure the inside dimensions of the dresser to determine the size of shelves needed, taking into account the space you want to allocate for each storage compartment. This will guarantee you maximize the storage capacity of your dresser. To achieve this, measure the width, height, and depth of the dresser's interior. Record these measurements to use as a guide for cutting your shelves.
| Measurement | Dimension |
|---|---|
| Width | 30 inches |
| Height | 40 inches |
| Depth | 18 inches |
| Shelf Thickness | 0.75 inches |
| Shelf Spacing | 12 inches |
Using a saw, cut your shelves to fit snugly inside the dresser. Consider using adjustable shelf brackets to provide flexibility in shelf placement. This will allow you to adjust the shelves as needed to accommodate items of varying sizes. When cutting your shelves, make sure they are level and secure within the dresser to support the weight of items you'll be storing. By measuring and cutting your shelves accurately, you'll be able to utilize the full height of the dresser, maximizing your storage capacity.
Secure Shelves in Place

Now that you've cut your shelves to fit snugly inside the dresser, it's time to secure them in place to make certain they can support the weight of your stored items. To do this, use wood screws to attach the shelves to the side panels of the old dresser.
Guarantee the shelves are level and stable by using a level during installation. This will prevent them from tilting or collapsing under the weight of your stored items.
Consider adding additional support underneath the shelves for heavier items, such as large storage bins or heavy books. For extra strength and durability, use wood glue in conjunction with screws.
Once the shelves are secure, test them by placing weight on them to ensure they can support the intended items. This will give you peace of mind knowing that your storage unit is sturdy and reliable.
Add Storage Options and Accessories

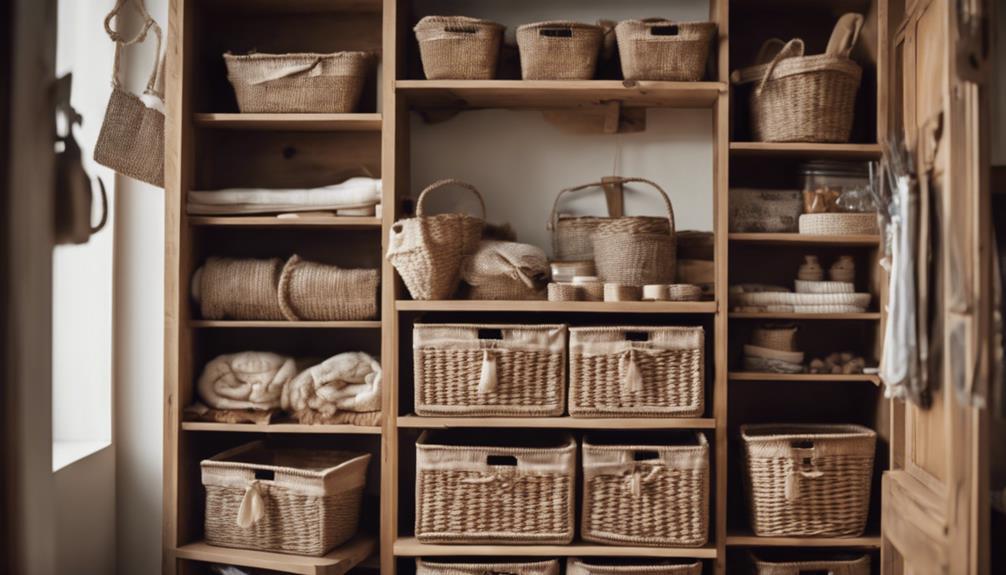
As you contemplate the best storage configuration for your repurposed dresser, consider augmenting its capacity with additional shelves, drawers, or baskets to create a tailored storage solution that caters to your specific needs. This will enable you to maximize space and create a functional storage unit that meets your requirements.
To further enhance the storage capacity of your dresser, consider the following options:
- Incorporate drawer dividers or organizers to keep smaller items organized within the storage unit, making it easier to find what you need.
- Utilize vertical storage by incorporating hooks, rods, or hanging organizers to make the most of the available space.
- Add decorative knobs or handles to enhance the overall look and functionality of the dresser conversion, making it a stylish addition to your home.
Finish and Refurbish the Dresser

You'll want to start by giving your dresser a fresh start, sanding it down to remove any existing finish and create a smooth surface for refurbishing. This will put your dresser in great shape for its new life as a storage unit.
Next, apply a coat of primer to help the new paint adhere to the dresser and provide a clean base for the new finish.
After that, choose a paint color or stain that complements your decor and personal style for the refurbished dresser. Don't forget to add some decorative hardware, such as new knobs or handles, to enhance the dresser's aesthetic appeal and functionality.
Finally, consider applying a protective sealant to the dresser to guarantee longevity and durability of the new finish. By following these steps, you'll be able to refurbish your dresser and turn it into a beautiful and functional storage unit that will serve you well for years to come.
With a little patience and elbow grease, you can give new life to an old dresser and create a unique storage solution that meets your needs.
Frequently Asked Questions
How Do You Use a Dresser for Storage?
You can use a dresser for storage by repurposing its frame to create shelves, compartments, and cubbies.
Remove the drawers and customize the space with doors, baskets, or bins for organization.
Consider painting or staining the dresser to match your decor and give it a fresh look.
This storage unit can efficiently hold clothing, linens, accessories, or other household items, keeping them tidy and out of sight.
How Do You Wrap a Dresser for Storage?
As you stand in front of your dresser, imagining it safely stored away, you wonder how to wrap it securely. You're about to take the first step in protecting your furniture.
Remove any loose items, then grab your trusty supplies – bubble wrap, moving blankets, or furniture covers. Wrap the entire dresser, including corners and edges, to prevent scratches and damage.
Secure the wrapping with tape or straps, and don't forget to label it for easy identification later.
How to Convert Dresser Drawers to Shelves?
You're wondering how to convert dresser drawers to shelves. Start by removing all hardware from the drawers, then fill any holes or imperfections with wood putty for a smooth surface.
Sand the drawers thoroughly to prepare them for their new shelf function. Next, measure the insides of the drawers to determine the width needed for the shelves, and attach them using hidden pocket holes for a clean look.
How Can I Organize My Dresser?
Did you know that 80% of Americans feel overwhelmed by clutter in their homes? You're not alone in struggling to organize your dresser.
To tackle the chaos, start by emptying out your drawers and sorting items into keep, donate, and discard piles. Then, utilize dividers, organizers, or small containers to categorize and separate items within each drawer.
Fold clothing items neatly and vertically to maximize space, and consider labeling drawers for easy access.
Conclusion
In just five easy steps, you've transformed a once-cluttered dresser into a functional storage unit, breathing new life into a discarded piece of furniture.
The contrast between the dresser's former state and its current purpose is striking, serving as proof of the power of upcycling.
Your creativity and resourcefulness haven't only reduced waste but also created a unique, space-saving solution for your storage needs.


