Creating a Natural Christmas Tree Angel in 7 steps is easy! Gather a large silk poinsettia stem, gold ribbon, wire cutters, and a hot glue gun. Use a drill to make a hole in the base for a dowel rod. Insert the rod and secure with cable ties. Arrange flowers and greenery for wings and gown. Attach a bouquet on the angel and place it on the tree. Choose a sturdy branch for stability. Admire the angel's grace as the perfect holiday centerpiece. Elevate your decor with elegance effortlessly!
Key Takeaways
- Drill a hole in the angel's base for stability.
- Secure the angel to a sturdy branch using string.
- Arrange flowers and greenery in a cascading pattern.
- Use a large silk poinsettia stem for the angel's body.
- Insert a dowel rod as a foundation for the angel.
Gather Materials
Let's gather the materials needed for creating a natural Christmas tree angel.
The focal point of this project is a large silk poinsettia stem, which will serve as the angel's body. It's important to make sure the silk flower you choose has a sturdy stem to support the angel's structure.
Additionally, you'll need gold ribbon for crafting the angel's wings and halo. Wire cutters are essential for trimming stems and wires to the right size, ensuring a secure and neat assembly.
Having wire cutters on hand is vital for precise cuts and adjustments during the crafting process. Along with the wire cutters, make sure to prepare a hot glue gun for securely attaching the different components of the angel together.
Drill Hole in Angel

To prepare the angel figurine for assembly, drill a hole in the bottom using a drill with a small bit. Position the drill perpendicular to the base of the angel for a straight hole. Apply gentle pressure while drilling to avoid damaging the figurine.
Make sure to choose a drill bit size slightly smaller than the wooden dowel rod for a snug fit.
Confirm the hole is deep enough to securely hold the dowel rod in place when attached to the tree.
Check the alignment of the hole to guarantee it will fit the dowel rod properly.
Drilling a hole in the angel figurine is an important step in creating a stable base for your Christmas tree topper. By using a little bit and following the guidelines provided, you'll be on your way to completing your natural Christmas tree angel.
Insert Dowel Rod
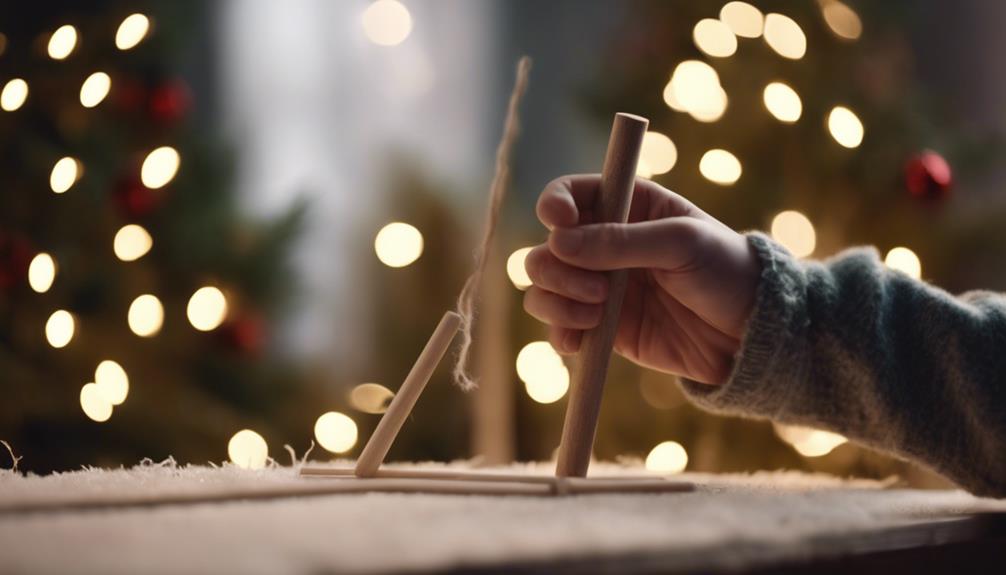
We carefully insert a dowel rod into the base of the angel figurine to provide stability and support for the tree topper. The dowel rod plays a vital role in ensuring that the angel stays securely in place atop the Christmas tree. It should be long enough to reach into the tree without being visible from the outside, maintaining the natural and elegant look of the decoration.
Before inserting the dowel rod, it's important to drill a hole in the base of the angel figurine to accommodate the rod. This hole allows for a snug fit, preventing any wobbling or tilting of the angel once it's on the tree.
Once the dowel rod is securely in place, carefully position the angel on top of the tree, ensuring that it sits straight and stable.
The dowel rod serves as the foundation for the angel, ensuring that it remains a focal point of your festive decor throughout the holiday season.
Secure With Cable Ties
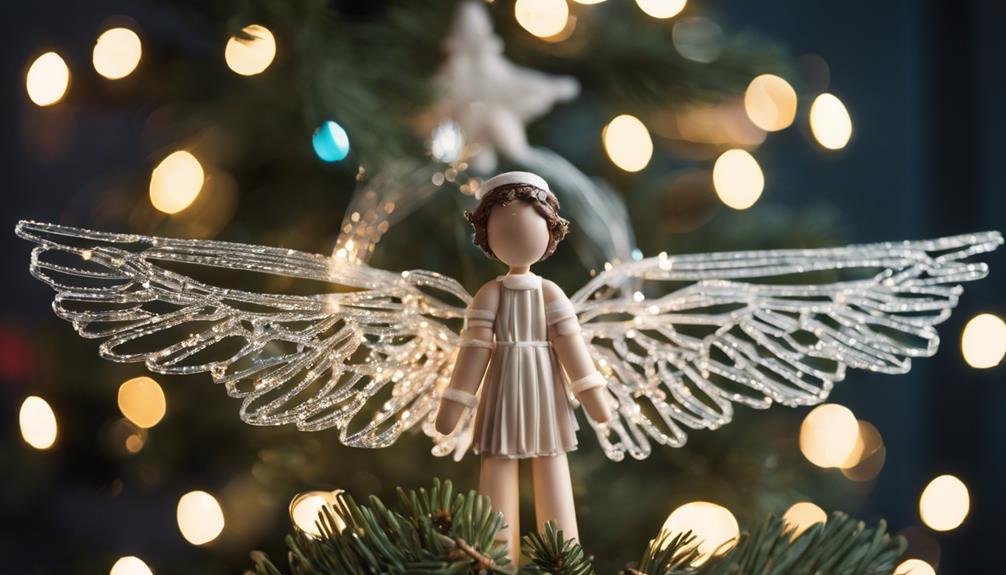
Securing the natural Christmas tree angel with cable ties guarantees stability and prevents shifting or falling. When using cable ties, follow these essential steps for a secure attachment:
- Attach to Angel's Base: Use cable ties to secure the angel's base or frame to the tree. This establishes a strong connection between the angel topper and the tree.
- Tighten Firmly: Make sure the cable ties are tightened firmly to prevent any movement. A snug fit will keep the angel in place throughout the holiday season.
- Trim Excess Length: After securing the angel with the cable ties, trim any excess length for a neat and polished look. This step adds a finishing touch to the overall presentation of the tree angel.
Arrange Flowers and Greenery
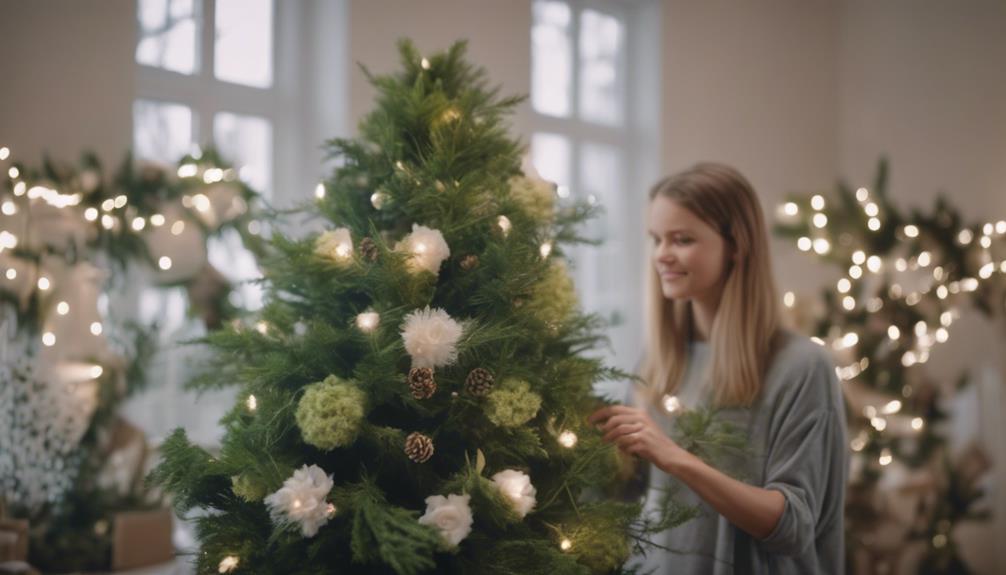
When arranging flowers and greenery for your natural Christmas tree angel, consider selecting a variety of blooms like roses and lilies for the wings and dress.
As for the base, use greenery such as eucalyptus leaves and ivy to create a sturdy foundation for the angel's body.
Remember to arrange the flowers and greenery in a cascading pattern to achieve the graceful look of a traditional angel's gown.
Flower Selection Tips
To achieve a natural and angelic look for your Christmas tree angel, carefully select flowers and greenery that complement each other in color and texture.
When choosing the perfect flowers for your angel's ensemble, consider options like white roses, lilies, and baby's breath for a classic and elegant appearance. These blooms exude a sense of purity and grace, ideal for capturing the angelic essence.
For a touch of nature, incorporate greenery such as eucalyptus, pine branches, and ivy. These additions will bring a fresh and organic feel to your angel creation.
To add a soft and delicate touch, opt for blooms like hydrangeas, orchids, and carnations. These flowers will contribute to an elegant and refined look for your Christmas tree angel.
Greenery Placement Ideas
Let's strategically place the greenery to create wings and a flowing gown for the angel. To achieve this, use a mix of greenery types such as pine, cedar, and eucalyptus. These variations in texture and color will add visual interest to the angel's design.
Arrange the greenery in a cascading manner, starting from the top of the tree topper and flowing down like a graceful gown. Layering the greenery will provide depth and dimension to the angel's wings and dress, giving a more realistic and elegant appearance.
To guarantee the greenery stays in place, secure it using floral wire or hot glue. This will prevent the greenery from shifting or falling off the tree topper.
Attach Bouquet to Angel
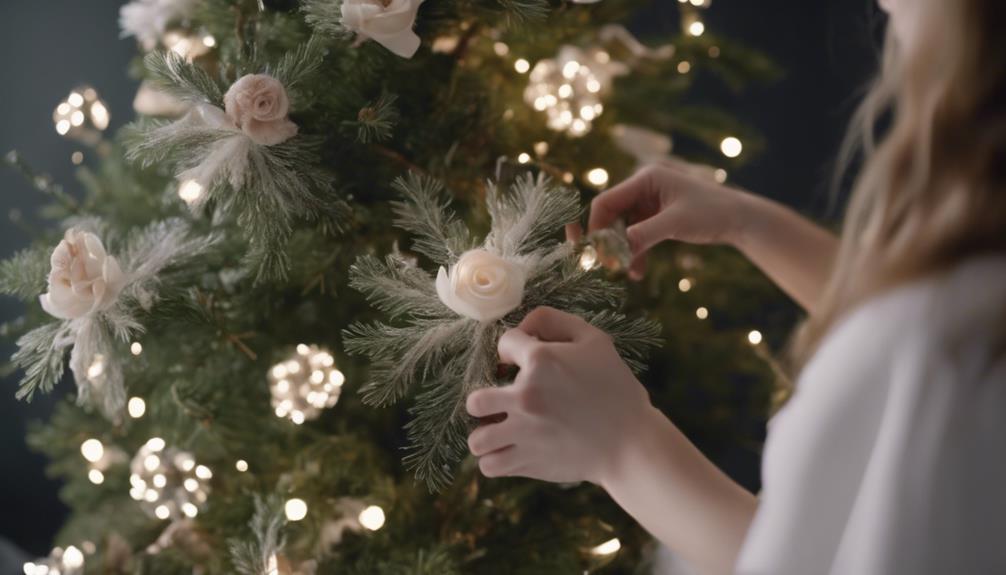
To attach the bouquet to the angel, first, use wire cutters to trim any excess stems.
Then, secure the bouquet to the angel's hands with cable ties for added stability.
Make sure the bouquet is centered and balanced, adjusting the angle as needed for the desired look.
Secure Angel's Wings
We can secure the angel's wings by attaching the floral bouquet to her back using cable ties. Positioning the bouquet close to the angel's body guarantees stability and balance, while centering it creates a symmetrical and visually pleasing appearance.
Adjusting the angle of the bouquet to complement the angel's wings and overall design enhances the aesthetic appeal of the Christmas tree angel.
- Use cable ties to firmly attach the floral bouquet to the angel's back.
- Position the bouquet close to the angel's body for stability and balance.
- Guarantee the bouquet is centered and symmetrical for an aesthetically pleasing look.
Tie Floral Bouquet
Securing the floral bouquet to the angel involves using floral wire to attach it to her hands or dress, ensuring a balanced and symmetrical appearance.
To achieve this, carefully position the bouquet in the desired location, then wrap the floral wire around the angel's hands or waist, twisting it tightly to secure the bouquet in place. This step is essential to prevent the bouquet from slipping or becoming unbalanced.
For added reinforcement, consider applying a small amount of hot glue where necessary.
Once the bouquet is securely attached, trim any excess wire with wire cutters, being mindful to maintain a neat and polished look.
Add Greenery Accents
For a charming touch, consider incorporating silk flower stems and greenery like Eucalyptus to enhance the angel's appearance.
When adding greenery accents to your Christmas tree angel, there are a few key steps to follow:
- Secure the Bouquet: Attach the greenery bouquet securely to the angel with cable ties for stability.
- Position Carefully: Place the bouquet at the back of the angel's head for a natural and harmonious look.
- Trim Excess Material: Use wire cutters to trim any excess material and guarantee a clean finish.
Place Angel on Tree
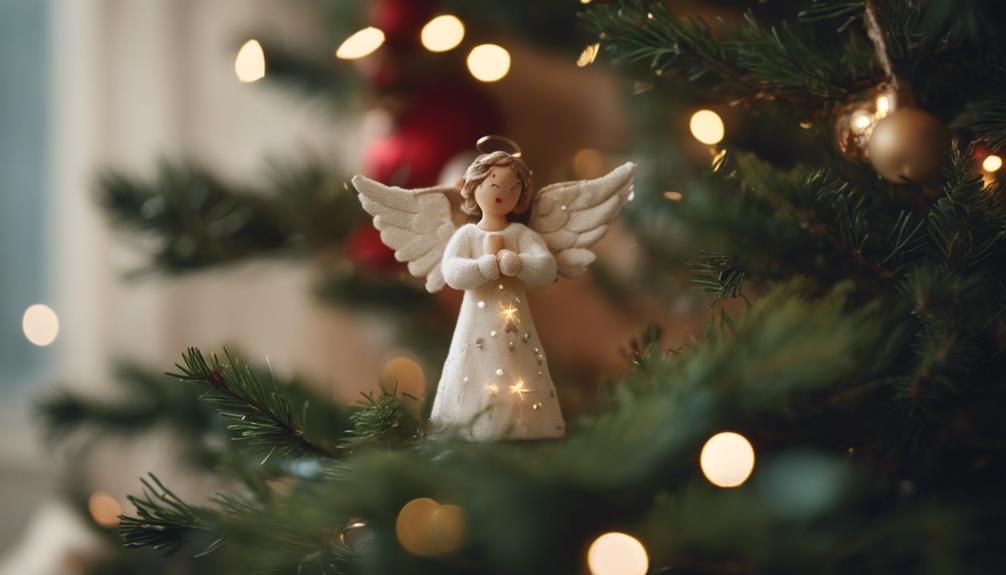
Carefully position the natural Christmas tree angel securely on the top of the tree, ensuring it's centered and straight for a polished display.
Once the angel is lifted into place, take a moment to adjust its wings, dress, and hair to achieve a balanced and elegant look.
To keep the angel in position, gently secure it to the tree using cable ties or by attaching it to a stable branch. This step is essential to prevent the angel from tipping or falling off.
Standing back, take a moment to admire the natural Christmas tree angel as it becomes the finishing touch to your festive decor.
The angel's presence atop the tree adds a touch of grace and beauty, completing the overall look of your holiday centerpiece.
Enjoy the glow of your decorated tree, with the angel shining brightly at the very top, spreading joy and cheer throughout your home.
Frequently Asked Questions
How to Make an Angel for a Christmas Tree?
To make an angel for a Christmas tree, gather materials like a foam cone, white fabric, gold ribbon, and feathers. Cut the fabric into a cone shape and secure it around the foam cone.
Arrange feathers for wings and attach them at the back. Create a halo using gold ribbon and glue above the cone.
Complete the angel by adding a face with a small ornament or drawing. Follow these steps for a beautiful Christmas tree angel.
How to Make Fabric Christmas Angels?
When making fabric Christmas angels, start by cutting shapes from soft fabric like cotton or felt.
Assemble the pieces, adding facial features and hair details. Customize with sequins, beads, or lace.
Attach a loop for hanging on the tree. Personalize your angel with unique touches.
Enjoy crafting these charming decorations for the holiday season.
How to Decorate a Christmas Tree Step by Step?
When decorating a Christmas tree, start by fluffing the branches and stringing lights evenly.
Next, add garlands or tinsel, followed by hanging ornaments starting from the inside out.
Top the tree with a star or angel, securing it properly.
Finish by adding a tree skirt and any additional decorations like ribbons or floral picks.
Step back and adjust as needed for a balanced and festive look.
How to Make an Angel Stay on Top of a Tree?
To make an angel stay on a tree, start with a sturdy base for stability. Consider using a lightweight angel to prevent toppling. Secure the angel with cable ties for stability without damaging the tree.
Position the angel centrally for a balanced display. Guarantee a secure attachment to prevent accidents. These steps assure your angel stays put atop the tree for a safe and visually pleasing holiday display.
Conclusion
Now that you've learned how to create a natural Christmas tree angel in just 7 simple steps, you're ready to add a touch of elegance to your holiday decor.
Imagine the joy on your family's faces as they admire your beautiful creation shining brightly on top of the tree.
So gather your materials, follow the steps, and get ready to spread some festive cheer with your handmade angel this holiday season.
Happy crafting!


