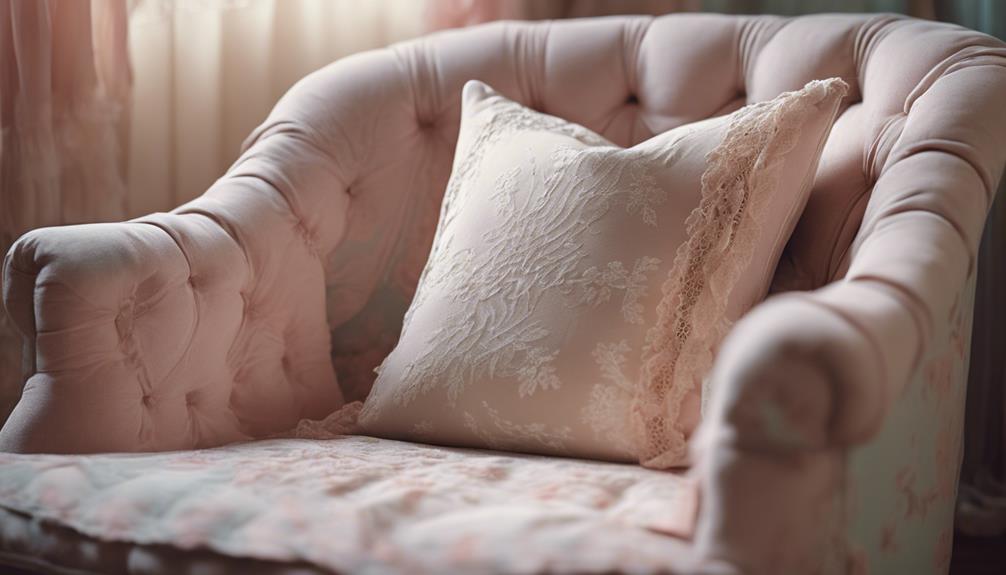
To craft simple no-sew shabby chic pillow covers, we'll start by gathering essential materials, including a yard of fabric and a pillow. Next, we'll prepare a fabric square, folding and tucking the corners to create a crisp, neat look. We'll wrap the pillow corners, securing them with a double knot to guarantee tightness. With fabric pattern selection, we can customize our design, mixing and matching colors and adding decorative elements. Finally, we'll refine our creation with texture and pattern adjustments, guaranteeing a polished look. By following these steps, we'll achieve a beautiful, no-sew pillow cover that adds elegance to any room, and there's more to discover as we continue to craft our unique design.
Key Takeaways
• Choose a fabric pattern that fits your desired aesthetic, considering factors like texture, color, and style.
• Prepare the fabric by folding it to snugly fit the pillow, tucking in ends for a clean finish or leaving them out for texture.
• Master corner folding and tucking techniques to create a polished, professional appearance.
• Experiment with different knot styles and placements to add visual appeal and secure the fabric in place.
• Customize your pillow cover with decorative elements like lace, ruffles, or embroidery to add personality and charm.
Gathering Essential Materials
We begin by collecting the essential materials needed to create our no-sew shabby chic pillow cover, carefully selecting each item to bring our creative vision to life. I'm going to need a yard of fabric, a pillow, scissors, and knot-tying skills to get started.
The yard of fabric will serve as the main material for the pillow cover, so we'll choose a pattern that resonates with our desired aesthetic. Scissors are essential for cutting the fabric to the desired size, ensuring a snug fit around the pillow.
Creativity will come into play when deciding on the final look of the pillow cover, from the fabric pattern to the knot-tying technique. With these materials at hand, we'll be well on our way to creating a beautiful no-sew shabby chic pillow cover that adds a touch of elegance to any room.
Preparing the Fabric Square
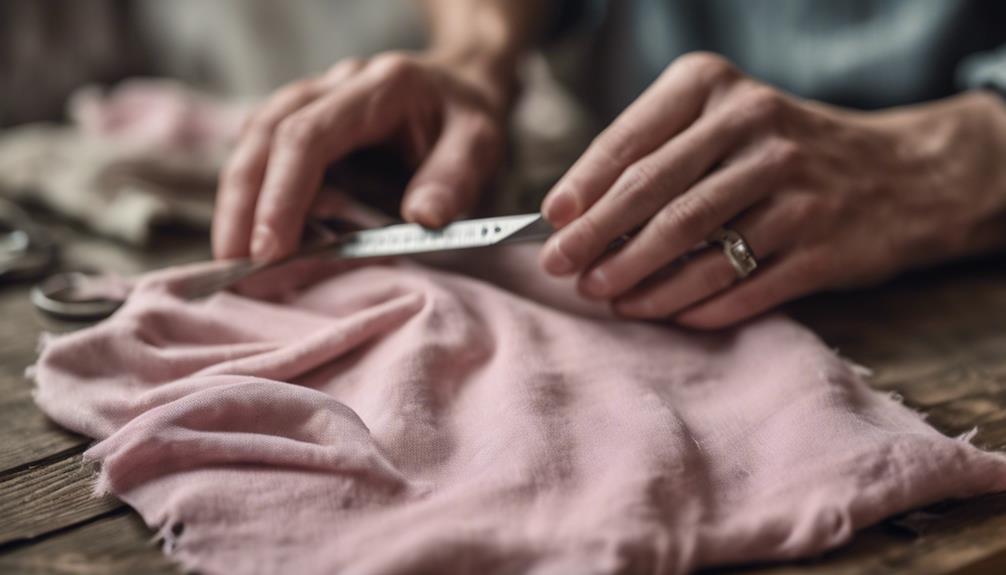
With our materials in hand, we'll now turn our attention to preparing the fabric square, folding it into a shape that will snugly envelop our pillow. To achieve this, we'll need to fold the fabric into a square shape, ensuring it's larger than the pillow to allow for a snug fit.
We'll start by folding the fabric in half to center the pillow, which will help us achieve neater corners. As we fold, we'll need to tuck in the ends to create a clean finish. However, if we're going for a more textured look, we can experiment with leaving the ends out.
It's essential to note that the folding technique involves rolling the fabric around the pillow and wrapping the corners to secure it in place. By doing so, we'll create a clean and crisp fold that will give our pillow cover a professional finish.
As we work with the fabric, we'll need to be mindful of the corners, making sure they're secure and even. With a little patience and practice, we'll have a beautifully prepared fabric square, ready to be transformed into a stunning shabby chic pillow cover.
Wrapping the Pillow Corners
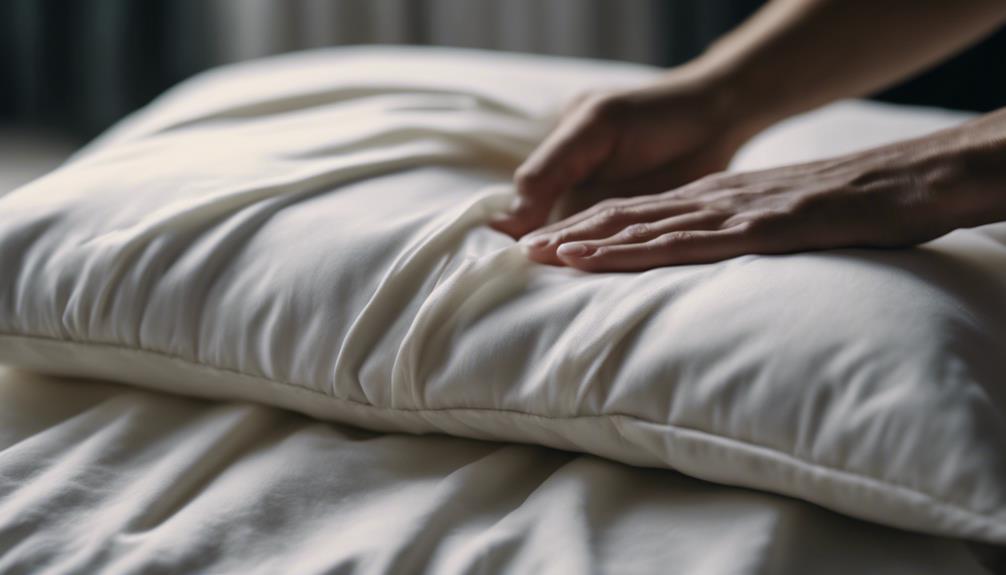
As we wrap the pillow corners, the fabric begins to take shape, its creases and folds transforming into a snug, shabby chic haven. To achieve this, we tuck in the corners of the fabric neatly, creating a polished look for the pillow cover.
By bringing the corners to the center, we secure the fabric around the pillow, ensuring a snug fit. Next, we tie a double knot securely to keep the pillow cover in place. We can experiment with leaving the ends out for a more casual look or tucking them in for a cleaner finish.
Mastering the technique of wrapping the corners allows us to achieve a textured pillow effect, a hallmark of the shabby chic style. By following these simple steps, we can create a beautiful, no-sew pillow cover that adds a touch of elegance to any room.
As we perfect our wrapping technique, we'll be amazed at how quickly our pillow covers come together, transforming our homes with ease.
Tucking and Folding Corners
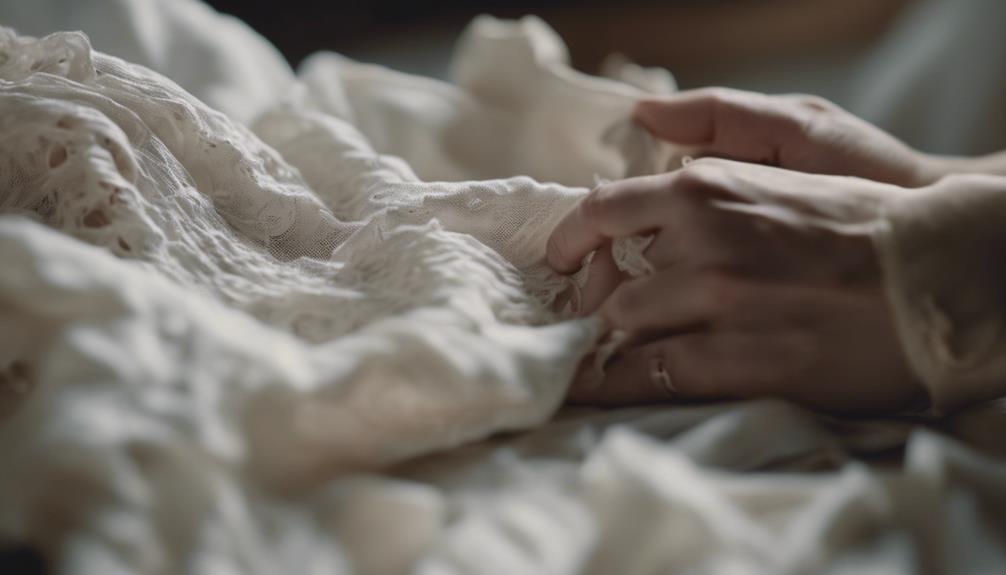
Now that we've wrapped our pillow corners, we're ready to tackle the art of tucking and folding, an essential step in creating a polished, professional-looking shabby chic pillow cover.
To achieve crisp, clean corners, we'll explore various folding techniques, learn how to tuck in excess fabric, and master the skill of creating sharp, well-defined corners that elevate our DIY project.
Folding Corner Techniques
We tackle the often-tricky task of folding corners, where a simple tuck or fold can transform the entire look of our no sew shabby chic pillow cover. Mastering this technique can elevate the overall look of our DIY project and give it a professional touch.
Here are three key folding corner techniques to keep in mind:
- Tucking in the ends: This creates neater and more polished corners, adding a touch of sophistication to our pillow cover.
- Bringinging fabric ends to the middle: This helps secure the cover in place with a double knot, ensuring our pillow cover stays put.
- Experimenting with texture: By tucking and folding the corners of the fabric, we can create a textured pillow effect, adding visual interest to our shabby chic pillow cover.
Tucking in Excess Fabric
To achieve a polished, professional look, we carefully tuck in excess fabric at the corners, securing them neatly and creating a clean, seamless appearance for our shabby chic pillow cover.
This technique is vital for achieving a stylish and cohesive look, as it guarantees that the corners of our pillow cover stay securely in place. By tucking in the excess fabric, we can prevent any loose ends from showing, giving our DIY pillow cover a professional finish.
Additionally, tucking in the fabric helps to maintain the shape of the pillow cover, ensuring that it lies flat and even. We find that this step is essential in achieving a high-quality, store-bought appearance for our no-sew pillow cover.
Creating Crisp Corners
As we work on creating crisp corners, tucking in the ends of the fabric is crucial to achieving a polished, professional look for our shabby chic pillow cover. This step guarantees that our corners are neatly folded, giving our pillow cover a clean and stylish finish.
By tucking and folding the corners, we can achieve a professional finish without sewing, which is perfect for our no-sew shabby chic pillow cover.
To create crisp corners, we need to:
- Tuck in the ends of the fabric, making sure they're neatly folded and out of sight.
- Fold the corners neatly, ensuring they're crisp and sharp.
- Pay attention to detail, as neatly tucked corners add a touch of elegance to our shabby chic pillow cover design.
Securing With a Double Knot
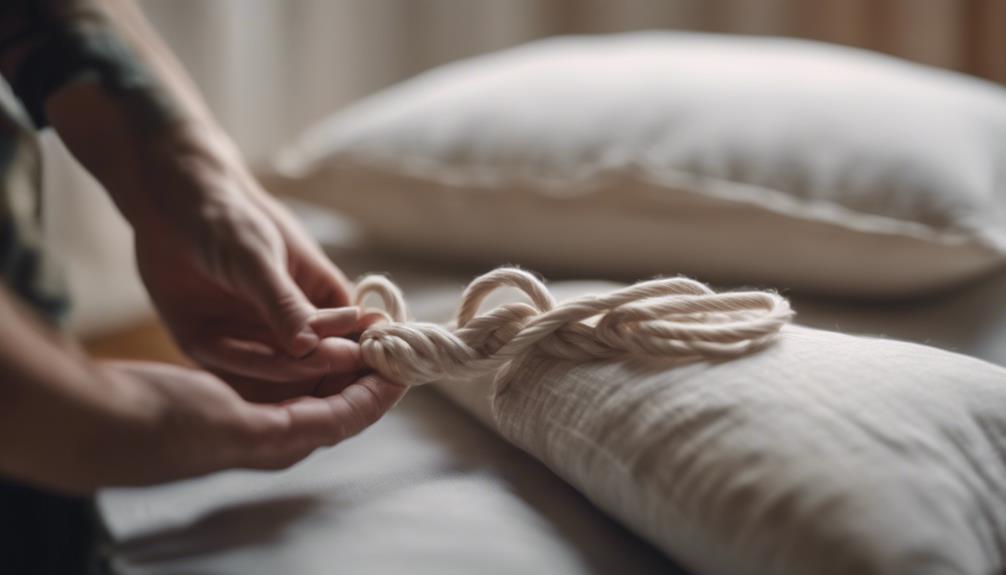
As we move on to securing our no-sew shabby chic pillow covers with a double knot, we'll focus on three vital points: tying the knot securely, strategically placing the knot, and tightening it to perfection.
By mastering these elements, we can guarantee a polished and professional-looking finish.
Tying the Knot Securely
We bring the ends of the fabric to the middle, preparing to secure our pillow cover with a dependable double knot. To guarantee a tight and secure hold, we make sure to pull the fabric ends tightly before tying the double knot. This step is vital in maintaining a neat appearance and preventing the pillow cover from coming undone.
Here are some key considerations when tying the knot securely:
- Pull tightly: Make sure to pull the fabric ends tightly before tying the double knot to prevent loose threads.
- Use a double knot: A double knot ensures that the pillow cover stays in place and maintains a neat appearance.
- Check periodically: Check the knots periodically to ensure they're still tight and secure.
Knot Placement Matters
Now that our knot is securely tied, we need to contemplate where to place it to achieve the desired shabby chic look. The placement of the double knot can greatly impact the overall aesthetic of our DIY pillow cover.
We've learned that securing our pillow cover with a double knot guarantees a strong and durable hold, preventing the fabric from unraveling or coming loose over time. However, it's equally important to take into account the visual appeal of the knot's placement.
Experimenting with different knot styles can add a unique touch to our shabby chic pillow covers. For instance, placing the knot at the bottom corner of the pillow cover can create a charming, rustic look, while a centered knot can evoke a more modern, streamlined feel.
Tightening the Knot
Let's tie the knot tightly by looping the ends together twice, guaranteeing our pillow cover stays snug and secure around the pillow.
This double knot technique is simple yet effective in keeping the cover securely wrapped around the pillow. By pulling the ends tightly, we can adjust the tightness of the knot to our preference, whether we like a looser or tighter fit.
Here are some key points to keep in mind when tightening the knot:
- Double knot for extra security: Looping the ends together twice provides an extra layer of security, preventing the cover from coming loose during use.
- Pull tightly for a snug fit: Make sure to pull the ends tightly to ensure the pillow cover stays in place.
- Adjust to your preference: You can adjust the tightness of the knot based on your preference for a looser or tighter fit.
Customizing With Fabric Patterns
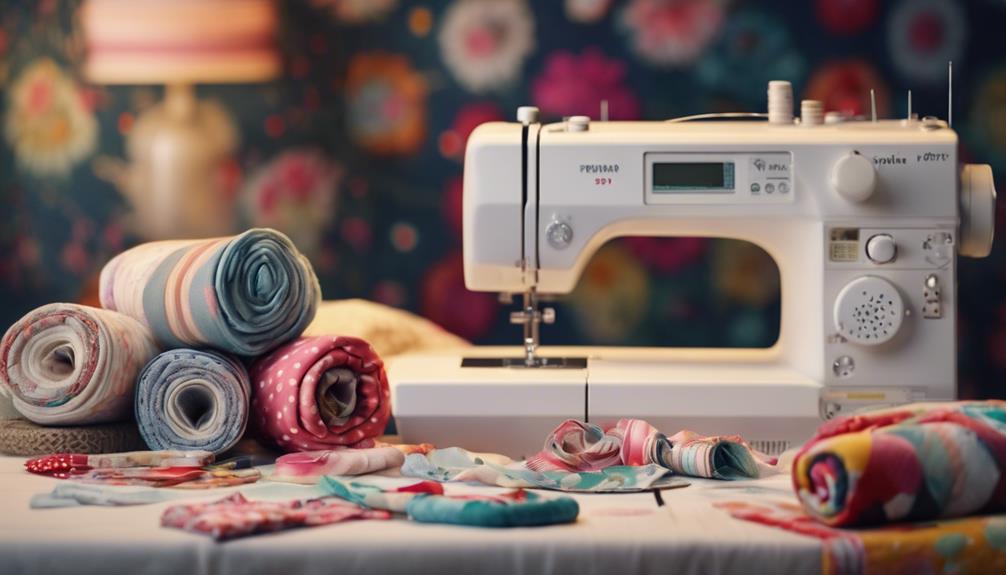
By selecting fabrics with floral, vintage, or rustic patterns, we can instantly evoke the shabby chic style in our no-sew pillow covers. To enhance this aesthetic, we opt for pastel colors or faded prints, which add a soft, romantic touch to our pillow covers. Additionally, incorporating lace, ruffles, or frayed edges can add texture and charm to our creations.
For a more eclectic and personalized style, we can mix and match different fabric patterns, such as combining a vintage floral print with a rustic stripe. Experimenting with layering different fabrics or adding a distressed finish can also create a truly shabby chic vibe.
Mixing and Matching Colors
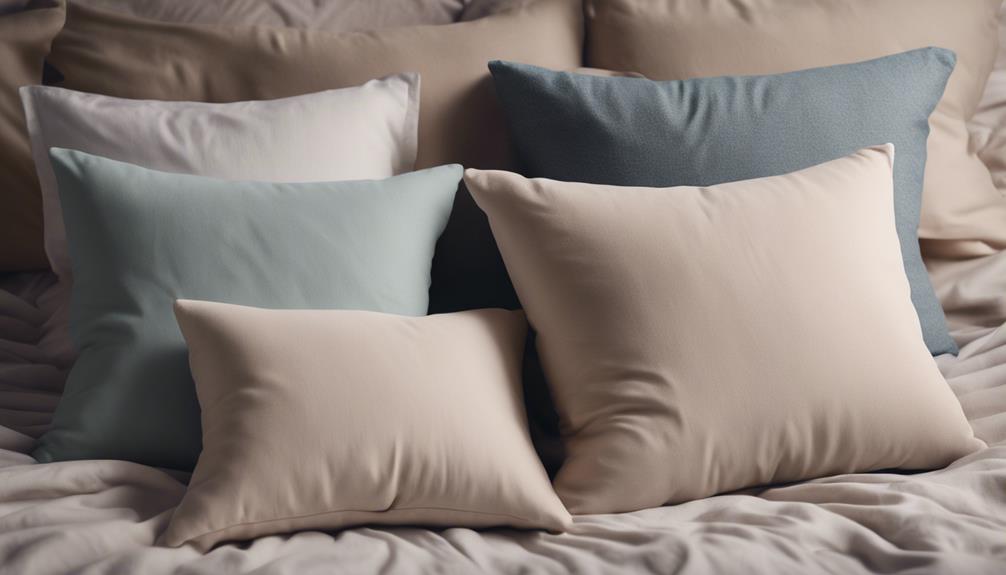
As we craft our no-sew pillow covers, we can further enhance their shabby chic charm by thoughtfully mixing and matching colors that complement our existing decor or add a bold pop of personality to our space. By doing so, we can create a cohesive look that ties in with our existing aesthetic or adds a fresh twist to our interior design.
Here are some tips to keep in mind when mixing and matching colors:
- Play with shades: Experiment with different shades of the same color to create a cohesive look or opt for contrasting colors for a bold statement.
- Add patterns and prints: Incorporate patterns or prints in coordinating colors to add visual interest to your pillow covers.
- Layer textures: Don't be afraid to layer different textures of fabric in your pillow covers for a shabby chic, cozy feel.
Adding Decorative Elements
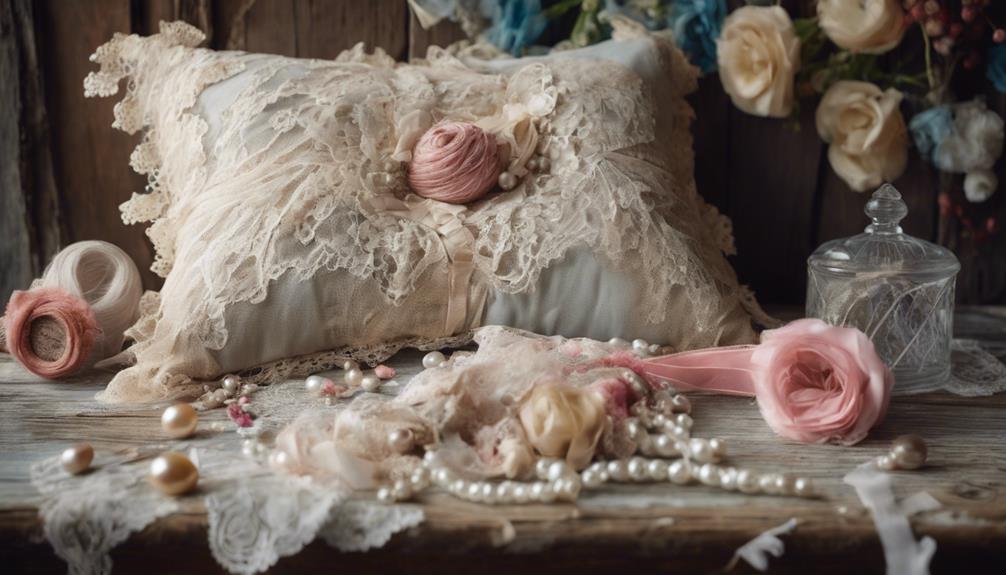
We can elevate our no-sew shabby chic pillow covers from simple to stunning by incorporating decorative elements that add a touch of elegance, whimsy, or vintage charm. To achieve this, we can incorporate lace trim, ruffles, or fringes to add a vintage touch to our pillow covers.
For a whimsical and charming look, we can use fabric flowers, buttons, or beads as embellishments. Experimenting with ribbons, bows, or tassels can also enhance the overall aesthetic of our pillow covers.
Additionally, we can consider adding appliques, patches, or embroidery for a personalized and unique design element. If we want to create custom patterns or designs, we can opt for fabric paint, stencils, or stamps.
Final Touches and Adjustments

With our decorative elements in place, it's time to refine our no-sew shabby chic pillow covers with a few final tweaks that will elevate their charm and character. We'll make some adjustments to guarantee our pillow covers look polished and professional.
Here are a few things we can do to add that extra something special:
- Tuck in loose fabric: Make sure the fabric is smooth and even, and tuck in any loose ends to create a clean finish.
- Adjust fabric folds: Adjust the folds to ensure the pillow is snug and the cover is properly aligned.
- Embellish with texture and pattern: Experiment with different fabric textures and patterns to achieve the perfect shabby chic look, and don't be afraid to add embellishments like lace, buttons, or ribbons for a personalized touch.
Frequently Asked Questions
How to Make a Pillow Cover Without Stitching?
We're curious about making a pillow cover without stitching, and we've discovered a clever folding technique that eliminates the need for sewing, allowing us to create a stylish cover with just a yard of fabric!
How to Make a No-Sew Pillow Sham?
We're excited to make a no-sew pillow sham by folding a yard of fabric into a square, placing a pillow in the center, and tying knots to secure it without sewing.
How Do You Make a Simple Throw Pillow Cover?
As we lounge in our Victorian-era parlour, sipping tea, we'll create a simple throw pillow cover by folding a yard of fabric into a square, wrapping it around the pillow, and securing it with a rustic knot, voila!
How to Make a Pillowcase Without a Sewing Machine?
We're making a pillowcase without a sewing machine by folding a yard of fabric into a square, wrapping it around the pillow, and securing the corners with a double knot – easy and chic!
Conclusion
As we step back to admire our handiwork, our no-sew shabby chic pillow covers transform into a tranquil oasis, reminiscent of a soft summer breeze on a lazy afternoon.
Like a masterfully woven tapestry, our carefully selected fabrics, carefully tucked and folded, come together in perfect harmony.
'The beauty of shabby chic lies in its imperfections,' notes stylist and designer, Rachel Ashwell.
With our simple, no-sew technique, we've successfully distilled the essence of this iconic style, creating a haven of comfort and elegance in our own homes.
