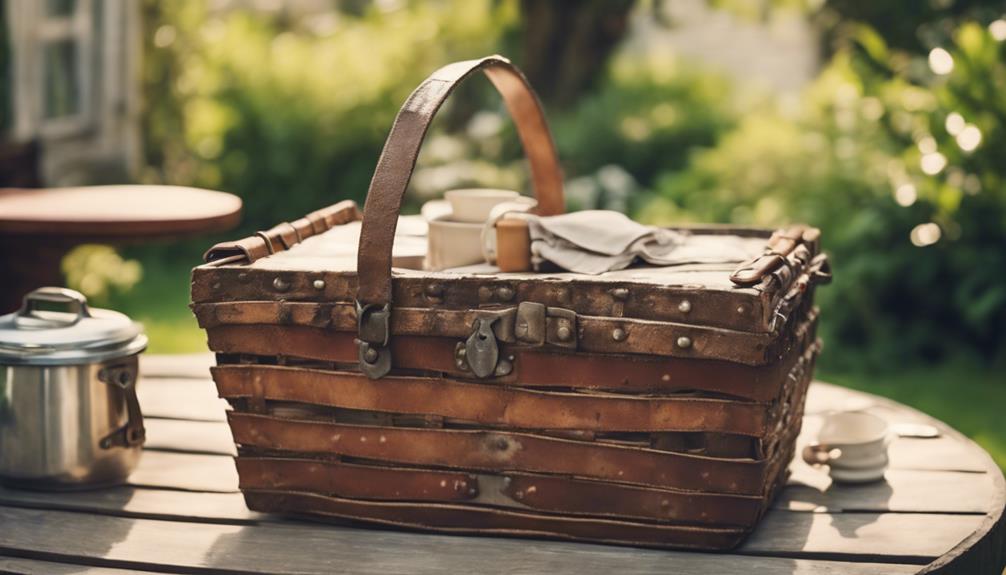
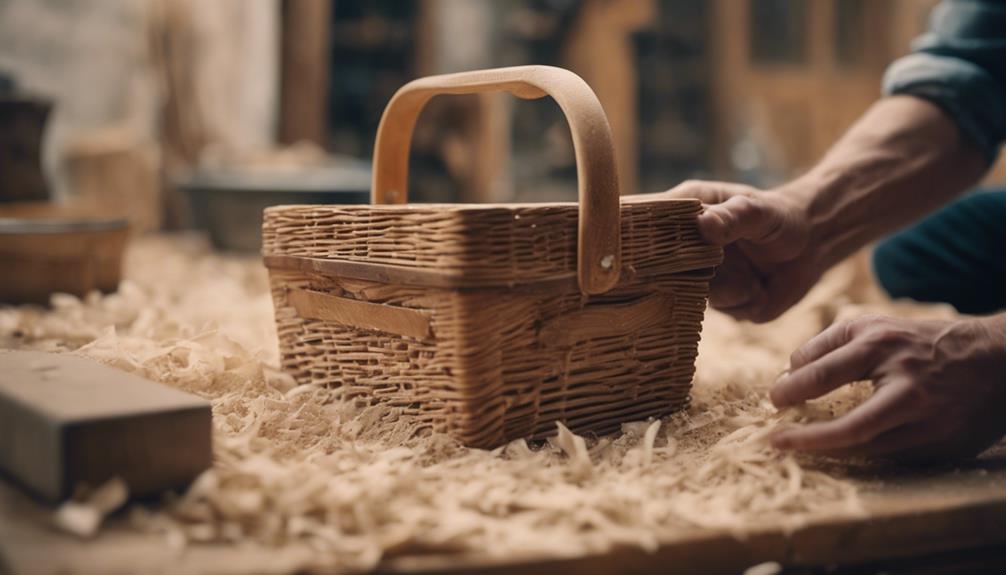
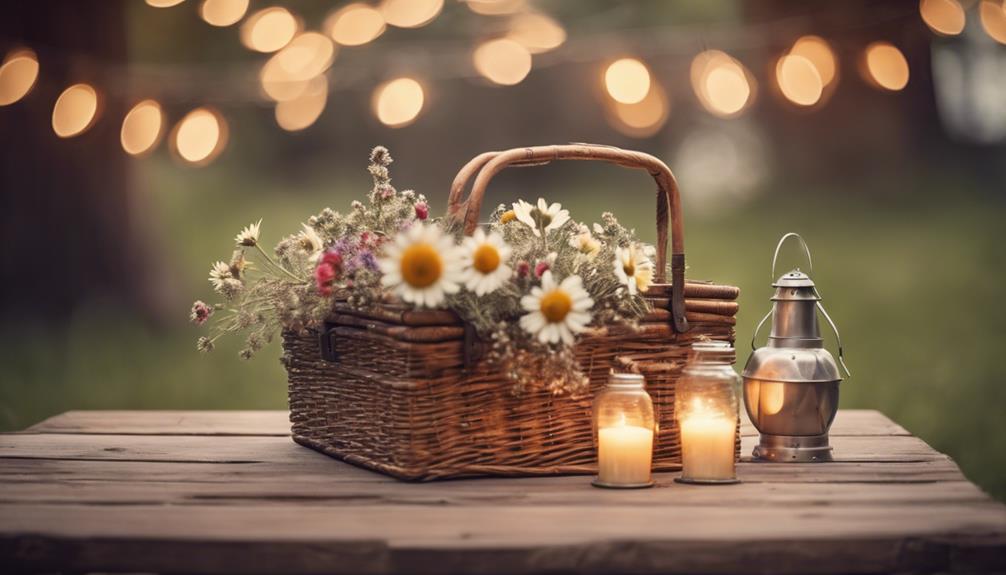
We're upcycling a vintage picnic basket into a unique outdoor table in 7 steps! First, we'll clean and prep the basket, then sand and smooth the surface. Next, we'll apply primer and paint for a durable finish. To protect our handiwork, we'll add a clear sealant. Sturdy legs will provide stability, and decorative touches will give our table personality. Finally, we'll add a tabletop and finishing touches. With these steps, we'll create a one-of-a-kind table that showcases our creativity and commitment to sustainability. And, by following these steps, we'll uncover the full potential of our repurposed picnic basket masterpiece.
Key Takeaways
• Clean and prepare the vintage picnic basket by removing dirt, inspecting for rough spots, and repairing any loose or broken parts.
• Sand the wood surface, apply primer and paint, and elevate the basket for a smooth and even finish.
• Apply a clear sealant suitable for outdoor use and reapply regularly to ensure durability and longevity.
• Attach sturdy legs to the basket using metal brackets and wood screws, ensuring levelness and stability.
• Add decorative elements, a tabletop material, and a clear coat or sealant to complete the transformation into a functional table.
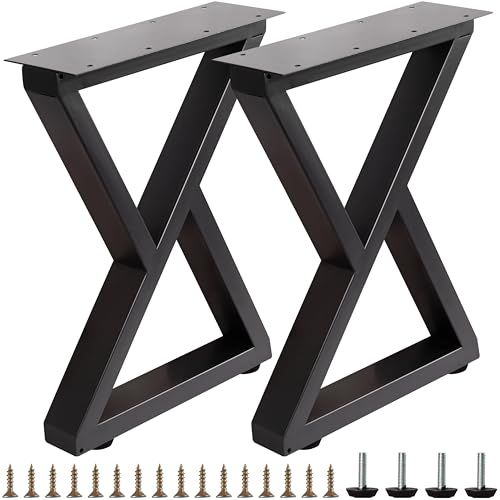
VASGOR 16-Inch Heavy-Duty Metal Table Legs (Set of 2), Black Double Triangle Design, Furniture Leg for Bench, Coffee Table, DIY Projects – Includes Screws & Floor Protectors (16" – Z Shape)
🛠️ Heavy-Duty Steel Construction – Built from thick, premium-grade steel, these 16-inch table legs can support up to…
As an affiliate, we earn on qualifying purchases.
As an affiliate, we earn on qualifying purchases.
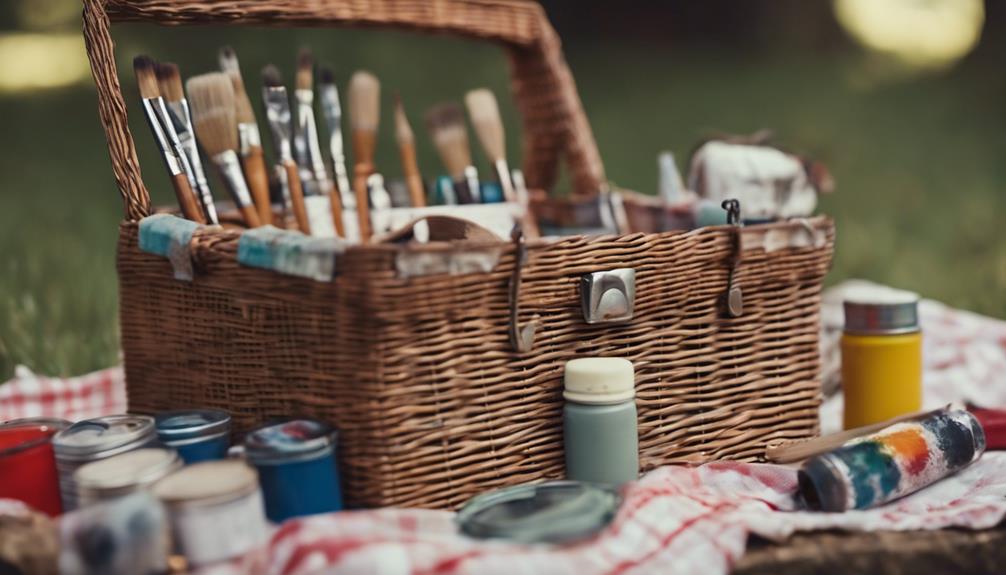
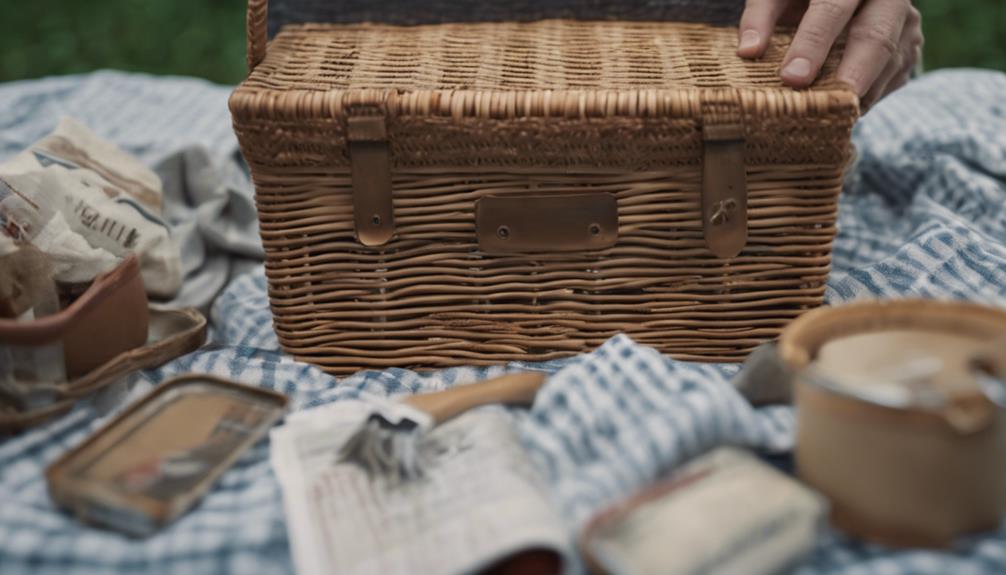
Prepare the Vintage Basket
We begin by giving our vintage picnic basket a thorough cleaning to remove any dirt, dust, or debris that may have accumulated over the years. This step is essential in ensuring a smooth repurposing process.
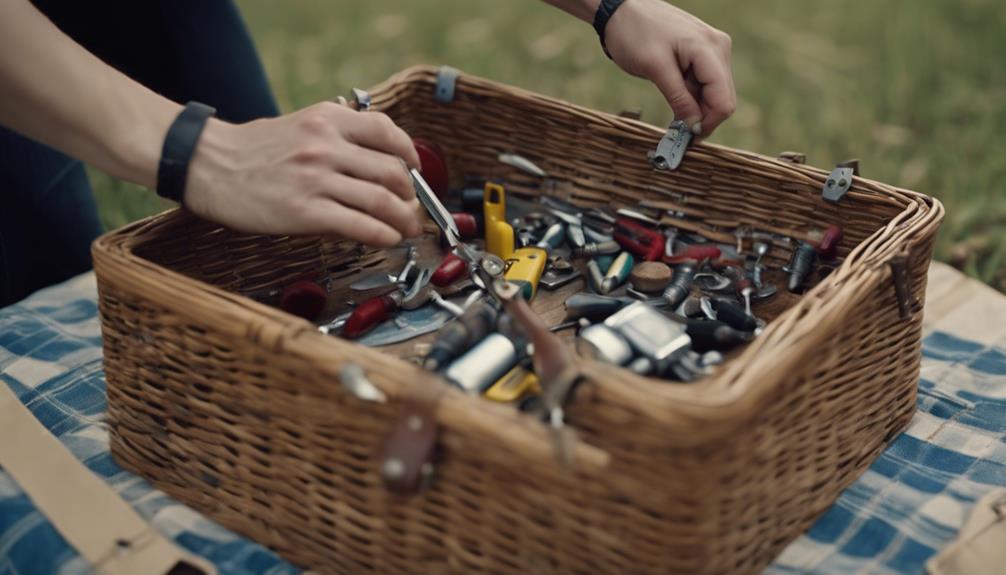
We gently scrub away any stubborn stains or grime, taking care not to damage the basket's delicate materials. Once clean, we inspect the basket for any rough spots or old paint that may need sanding.
We take our sandpaper and carefully smooth out the surface, making sure it's even and ready for the next steps. Any loose or broken parts, such as wicker strands or wooden slats, require our attention for repair.
We take the time to fix these areas, ensuring the basket's structural integrity is intact. By doing so, we can confidently move forward with our repurposing project, knowing our vintage picnic basket is ready for its new life.

Roxil Wood Sealer Liquid (1 Gallon Clear) – 10 Year Waterproof Outdoor Wood Protection Liquid for Deck, Fence, Sheds and Furniture
Waterproofs & Seals Softwood Timber – Advanced silicone wood sealer penetrates deeply to create a durable waterproof wood…
As an affiliate, we earn on qualifying purchases.
As an affiliate, we earn on qualifying purchases.
Sand and Smooth the Surface
After confirming the vintage picnic basket's structural integrity, we shift our focus to refining its surface, starting with a thorough sanding process to eliminate any rough patches or imperfections. We use a medium-grit sandpaper to smooth out the wood, concentrating on areas that may have splinters or bumps to create a seamless finish on the basket.
As we sand, we're cautious to wipe down the basket with a clean cloth to remove any dust or debris, establishing a clean slate for the next steps.
Sanding and smoothing the surface is essential in providing a clean canvas for our upcoming paint or stain job. By doing so, we're establishing an even surface that will allow our chosen finish to adhere evenly and look its best. We take our time, working methodically to ensure every inch of the basket is smooth and even.
With the surface now refined, we're one step closer to transforming this vintage picnic basket into a unique and functional table.
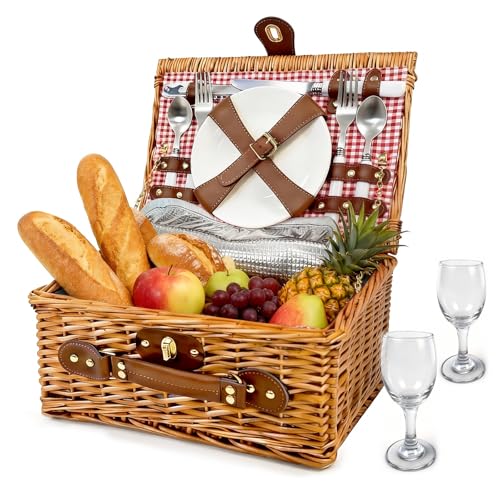
Picnic Basket for 2 – Picnic Basket with Cutlery Kit and Glasses, Insulated Picnic Set with Waterproof Liner, Portable Wicker Picnic Baskets with Lid and Handle for Outdoor, Picnic, Camping, Holidays
Available Picnic Basket for 2: This picnic basket is designed for 2 persons and includes 2 x ceramic…
As an affiliate, we earn on qualifying purchases.
As an affiliate, we earn on qualifying purchases.
Apply Primer and Paint
With the surface refined, we're ready to prime and paint the vintage picnic basket, starting with a coat of Rustoleum Flat White Primer to create a perfect base for our chosen color. This primer guarantees a smooth, even finish and helps the paint adhere well to the surface.
Once the primer is dry, we'll apply Rustoleum Satin White Spray Paint in short back-and-forth strokes to achieve an even coat. To avoid any smudges or paint damage, we'll elevate the basket on paint stands, making sure to get every nook and cranny.
Don't forget to prime and paint the underside of the handles and any additional wooden signs for a cohesive finish. After applying the paint, we'll let it dry completely before handling or moving the basket to prevent any smudges or damage.
With patience and attention to detail, our vintage picnic basket is transforming into a beautiful table base.

YNZDRWA 8 Pack Sanding Sponge, Washable and Reusable Sanding Blocks for Drywall Wood Metal Furniture, 60/80/120/220 Grit Sandpaper Block Assortment
【ASSORTED GRIT SANDING BLOCKS】Includes 8 sanding blocks in 4 grits, from coarse to superfine specifications in 60/80/120/180/220 grit,…
As an affiliate, we earn on qualifying purchases.
As an affiliate, we earn on qualifying purchases.
Add a Protective Sealant
Now that our picnic basket has a beautiful, evenly coated finish, it's time to shield it from the elements with a protective sealant. This important step will guarantee our new table can withstand outdoor use.
To do this, we'll choose a clear sealant specifically designed for outdoor use. We'll apply it in a well-ventilated area to make sure of proper coverage and drying.
Here's how we'll add a protective sealant:
- Choose a clear sealant suitable for outdoor use to protect the repurposed picnic basket.
- Apply the sealant in a well-ventilated area to make sure of proper coverage and drying.
- Use a paintbrush or spray can to evenly distribute the sealant on all surfaces of the basket.
- Allow the sealant to dry completely according to the manufacturer's instructions before using the table outdoors.
- Regularly reapply the sealant as needed to maintain the protection and durability of the picnic basket table.
Attach Table Legs Securely
As we attach table legs securely to our repurposed picnic basket, we'll need to contemplate a few key points.
First, we'll select the right legs for the job, ensuring they're sturdy enough to support the weight of our new table.
Next, we'll explore sturdy attachment methods that will keep our table stable and level.
Leg Selection Criteria
We select table legs that are sturdy enough to support the weight of our repurposed picnic basket table when it's fully loaded, ensuring our creation remains stable and secure. After all, we don't want our beautiful table to collapse under the weight of our favorite dishes and drinks!
Here are some key considerations for choosing the right table legs:
- Sturdy table legs: We opt for legs that can support the weight of our picnic basket table, even when it's fully loaded.
- Appropriate height: We select legs that are the right height for our desired use, whether that's a coffee table, side table, or dining table.
- Additional reinforcement: We consider adding corner braces or brackets to prevent wobbling or tipping of the table.
- Material and finish: We choose legs that match the aesthetic of our picnic basket, whether that's modern, rustic, or vintage-inspired.
- Adjustability: We look for legs that are adjustable, so we can level our table on uneven surfaces.
Sturdy Attachment Methods
With our sturdy table legs selected, we focus on securely attaching them to the vintage picnic basket to guarantee a stable and level surface. To achieve this, we'll use metal corner brackets to provide a strong and rigid connection between the legs and the basket. We'll also make certain the table legs are of appropriate length and thickness to provide stability and support.
Next, we'll use wood screws and a drill to firmly attach the table legs to the basket, making sure they're evenly spaced and securely fastened. As we attach the legs, we'll use a level to confirm they're attached evenly and securely for a balanced table.
Finally, we'll test the sturdiness of the attached table legs by gently rocking the table to check for stability. By following these steps, we'll have a sturdy and level table that's perfect for our repurposed vintage picnic basket.
With the table legs securely attached, we can now focus on the next step in our repurposing project.
Leveling and Balancing
Now that our table legs are attached, it's important we verify they're properly leveled and balanced to prevent any wobbling or instability.
We want our repurposed vintage picnic basket table to be sturdy and functional, thanks for sharing our enthusiasm for this DIY project!
To achieve this, we'll follow these quick and easy steps:
- Check the levelness of the table by placing a level on the tabletop surface
- Confirm the table legs are securely attached to the picnic basket using appropriate hardware such as screws or brackets
- Make adjustments as needed to guarantee the table is stable and level for practical use
- Verify that the table can withstand qualifying purchases, such as holding a certain amount of weight
- Double-check that the legs are firmly attached to prevent any accidents or mishaps
Add a Decorative Touch
By incorporating a decorative element, we can enhance the aesthetic appeal of our repurposed picnic basket and make it a stylish addition to our outdoor decor. A little bit of creativity can go a long way in giving our picnic basket a unique charm.
We can choose a decor transfer that complements the style of the basket, cut it out, and apply it to the surface. To guarantee a smooth and even application process, we can elevate the basket on paint stands before applying the transfer. For a more rustic touch, we can attach a wood sign to the basket using twine and securing it with Scotch tape. French transfers from Redesign with Prima (through affiliate links) offer an elegant design option.
With a few simple steps, we can transform our repurposed picnic basket into a beautiful and functional piece of outdoor furniture. By adding a decorative touch, we can create a one-of-a-kind piece that reflects our personal style and adds a touch of elegance to our outdoor space.
Finish and Enjoy Your Table
Now that we've added a decorative touch to our repurposed vintage picnic basket, it's time to put the finishing touches on our unique table.
We'll start by considering the perfect tabletop, whether it's glass or wood, and securely attaching it to the basket.
Next, we'll make our final decor decisions and get ready to enjoy our handiwork in our outdoor space or living room.
Table Top Touches
We add the perfect finishing touches to our repurposed vintage picnic basket table by applying a clear coat or sealant to protect the finish and make it durable for outdoor use. This final step guarantees our hard work will withstand the elements and remain a beautiful piece for years to come.
To truly make our table shine, we consider adding some decorative touches. Here are a few ideas to get us started:
- Add a table runner or centerpiece to enhance the look of our table
- Use outdoor dinnerware to create a cohesive look
- Protect our table top from spills, heat, and scratches with coasters or placemats
- Regularly clean and maintain our table to preserve its finish
- Enjoy our repurposed vintage picnic basket table for outdoor dining, gatherings, or as a unique decorative piece in our home
Final Decor Decisions
With our repurposed vintage picnic basket table complete, we're ready to put our personal stamp on it by making some final decor decisions that reflect our unique style.
First, we'll choose a finish that complements our personal style and home decor, whether it's a distressed look or a glossy finish. We'll also consider adding protective coatings like varnish or polyurethane to guarantee our table withstands outdoor elements.
Next, we'll incorporate decorative elements like a tablecloth, placemats, or a centerpiece to enhance the table's aesthetic appeal. We'll test out different placement options to find the perfect spot in our home or outdoor space.
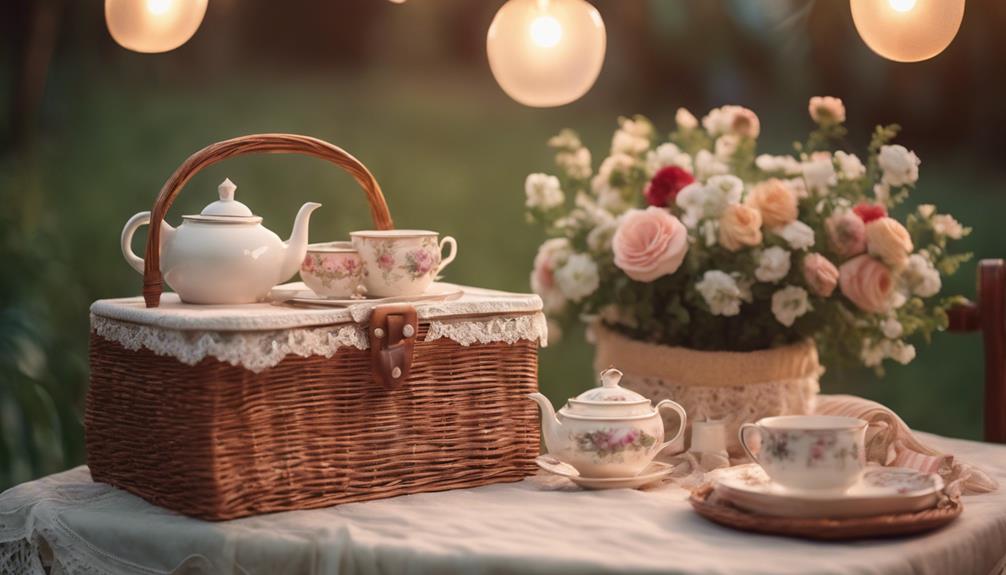
Enjoy Your Handiwork
Finishing our repurposed picnic basket table is just the beginning, as we get to enjoy the fruits of our labor in our outdoor space. We've worked hard to transform an old vintage picnic basket into a functional and charming table, and now it's time to reap the rewards.
Here are a few ways we can enjoy our handiwork:
- Place our table in a sunny spot in our garden or patio to create a cozy outdoor space.
- Use our table for outdoor picnics or gatherings with family and friends.
- Admire the unique character and vintage charm of our repurposed table as we relax and enjoy the outdoors.
- Style our table with a tablecloth, plants, or other decor to enhance its visual appeal.
- Take pride in knowing we've given new life to an old item, reducing waste and embracing sustainability.
We've earned the right to relax and enjoy our outdoor space, surrounded by the beauty of nature and the satisfaction of a job well done.
Frequently Asked Questions
What Can I Do With a Vintage Picnic Basket?
We're often left wondering what to do with a vintage picnic basket that's no longer serving its original purpose. The good news is that it can be repurposed into a functional and decorative piece for our homes.
We can get creative and transform it into a unique table, adding a touch of nostalgia and character to our decor. With some DIY skills, we can breathe new life into an old item and create a conversation piece that's both functional and beautiful.
How to Use Picnic Baskets?
We've got a million uses for picnic baskets!
But seriously, we love using them for outdoor gatherings, like picnics, beach trips, or backyard BBQs. We pack them with food, drinks, and utensils, and they keep everything organized and within reach.
We also use them as decorative storage or display pieces in our homes, adding a touch of rustic charm to any room.
What Do You Put in a Gourmet Picnic Basket?
We're excited to share our gourmet picnic basket essentials with you!
We include a variety of gourmet cheeses like brie, aged cheddar, and gouda for a sophisticated touch.
We also pack cured meats like prosciutto, salami, and chorizo for savory flavors.
Artisanal crackers, breadsticks, and freshly baked bread complement our selection, while olives, pickles, and spreads add depth.
Fresh fruits, nuts, and a bottle of wine or sparkling water complete our gourmet picnic spread.
How to Pack a Great Picnic Basket?
When we pack a great picnic basket, we prioritize variety and freshness. We include a mix of sandwiches, fruits, cheese, crackers, and sweets to cater to different tastes.
We use containers and ziplock bags to keep food fresh and prevent leaks. Additionally, we bring utensils, plates, cups, and napkins for a complete picnic experience.
Conclusion
We've transformed an old picnic basket into a unique table, and it's amazing!
According to a study, 77% of people prefer one-of-a-kind, handmade items over mass-produced ones. Our repurposed table fits the bill, and we can't wait to enjoy it.
With a little creativity and some elbow grease, we've given new life to an old basket. Now, it's time to gather around and make some unforgettable memories with our newly crafted table.